Main tutorial
Ghost Notes in Ableton Live 12: Bounce It Using Macro Controls (Oldskool Jungle / DnB Vibes) 🥁🔥
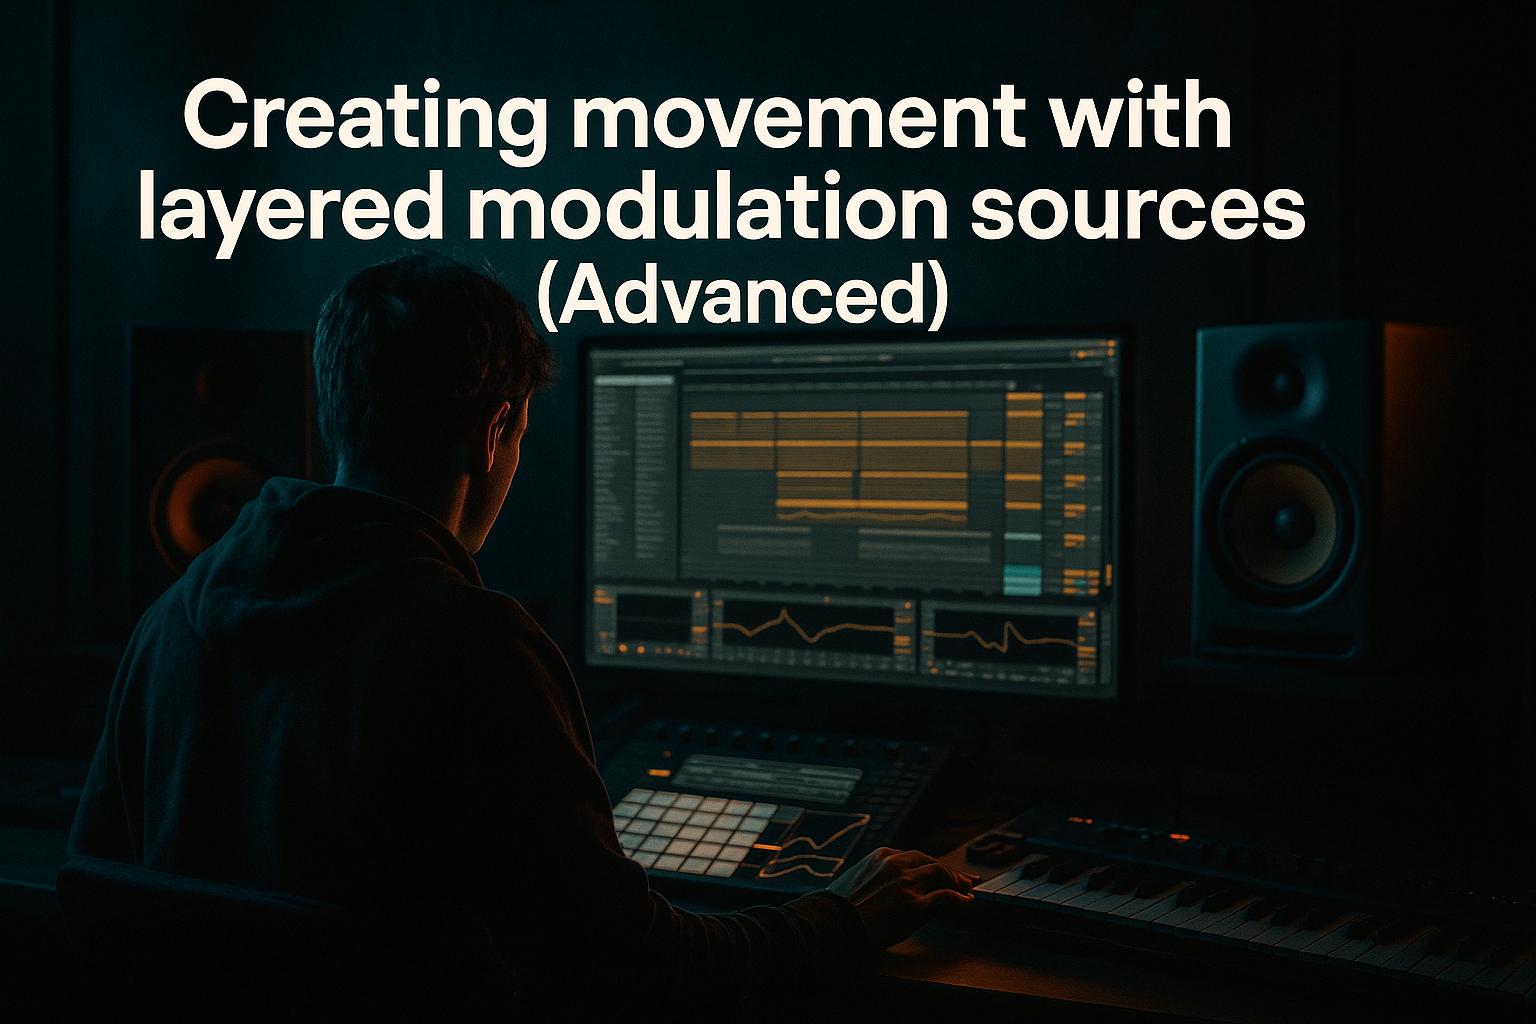
1. Lesson overview
Ghost notes are the quiet, fast, characterful hits that make jungle and oldskool DnB drums feel alive—especially around the snare and hats. In Ableton Live 12, we can go beyond “just add low-velocity notes” and treat ghost notes as a controllable performance layer using Macros, then bounce/resample multiple variations to create that classic “edited break” feel.
This lesson is about:
- Building a ghost-note generator lane inside a Drum Rack (or Simpler)
- Mapping Macros to timing/feel/tone
- Bouncing (printing) variations quickly (so you commit like oldschool sampling)
- Reassembling the best bits for authentic jungle edits 🎛️
- A Drum Rack with:
- A Macro panel controlling:
- A resampling workflow to print:
- A method to chop those prints into a jungle-style arrangement (call/response, fills, drop edits)
- Volume: -12 to -24 dB (yes, quiet)
- Filter: ON
- Amp Envelope:
- Pitch: often +1 to +3 st (gives “tick”/stick feel)
- Main snare on beat 2 and 4.
- Kick pattern: keep it simple at first.
- Pre-snare drags: 1/16 before snare
- Post-snare chatter: 1/16 after snare
- Amen-style clusters: 1/32 bursts (sparingly!)
- Main snare: 105–120
- Ghost snare: 18–55 (varied!)
- Avoid uniform velocity—old breaks are messy but intentional.
- Map Ghost Snare pad’s Simpler Volume
- Range: from -inf / very low up to -10 dB
- This lets you “perform” the ghost intensity per section.
- Range: 250 Hz → 1.5 kHz
- Lower = thicker ghost (more body)
- Higher = more tick / less mud
- Range: 50 ms → 220 ms
- Short = tight funk
- Longer = more “rattle” (careful with clutter)
- Drive: start 5–15%
- Transients: start +10 to +35
- Drive (small range)
- Transients (bigger range)
- Set Delay to Time mode (not synced) OR synced tiny values.
- Start values:
- Range: 0 ms → 22 ms
- Downsample: subtle (start 1.2–2.5)
- Bit reduction: optional light (start 12 → 8 bits)
- Range: 1.0 → 3.0
- If EQ Eight: a gentle high shelf +2 to +5 dB @ 6–10 kHz
- `GhostPass_A_Tight`
- `GhostPass_B_Crunchy`
- `GhostPass_C_LooseSwing`
- Bars 1–4: tight ghosts, low level
- Bars 5–8: increase micro-swing + a touch of crunch
- Bars 9–12: pull ghost tone up (less low-mid) and add more hits
- Bars 13–16: big jungle fill by swapping in your wildest sliced bar
- Glue Compressor
- EQ Eight
- Saturator
- Make ghosts shorter, sharper: reduce decay and push Drum Buss Transients. Dark rollers love tight percussion that implies speed.
- Use parallel distortion only on ghosts:
- Phase-aware layering: if you layer a ghost with a re-pitched snare tick, keep it mostly high-frequency to avoid weird low-mid cancellations.
- Accent placement for menace: place ghosts after the snare (late chatter) for a sinister lurch; place before for urgency.
- Reverb discipline: if you add space, use Reverb with:
- Ghost notes aren’t just quiet hits—they’re a controllable groove layer.
- In Live 12, you can macro-control ghost level, tone, tail, swing, and crunch per section.
- The key oldskool trick is to bounce/resample multiple macro performances, then slice and recompose like a breakbeat editor.
- Keep ghosts filtered, short, varied, and commit to audio for authentic jungle energy.
Advanced focus: workflow, control, committing audio, and arrangement tactics.
---
2. What you will build
You’ll create a Break Ghost Engine in Ableton Live 12:
- Main snare + kick
- A ghost snare layer (short, filtered, transient-y)
- Optional ghost hat / ride tick
- Ghost level, tone, length, transient snap
- Swing/feel (micro-shift using Delay)
- Saturation/drive
- “Old sampler” crunch (Redux + filtering)
- 8–16 bars of macro-performed ghost variations
---
3. Step-by-step walkthrough
Step 0 — Set the session like a jungle record
1. Set tempo to 165–172 BPM (classic jungle sweet spot: 168 BPM).
2. Create these tracks:
- Drums (MIDI): Drum Rack
- Ghost Print (Audio): for recording resamples
- (Optional) Break Print FX (Audio/MIDI Return): for dubby throws
---
Step 1 — Build a Drum Rack with a dedicated ghost layer
1. Load a Drum Rack on your Drums MIDI track.
2. Add your core hits:
- Kick on C1
- Main snare on D1
- Hat on F#1 (or wherever you like)
3. Create a Ghost Snare chain:
- Duplicate your snare to another pad (e.g., D#1).
- Rename it: “Ghost Snare”.
- On the Ghost Snare pad, load Simpler (one-shot mode).
Ghost Snare settings (starting point):
- Type: HP12
- Frequency: 300–800 Hz (start ~500 Hz)
- Resonance: 0.20–0.40
- Attack: 0 ms
- Decay: 80–160 ms
- Sustain: -inf (or very low)
- Release: 30–70 ms
Why: This turns a snare into a percussive “stick” ghost that doesn’t compete with the main snare body.
---
Step 2 — Add a ghost-note MIDI lane (with real jungle logic)
In your drum MIDI clip (start with 2 bars looping):
Classic framework (2-step-ish):
Ghost placement ideas (choose 1–2 styles):
- Notes at 1.4.4 → snare at 2.1
- Notes at 3.4.4 → snare at 4.1
- Notes at 2.1.2 and/or 4.1.2
- Add a quick pair before beat 2 or 4
Velocities (important):
Ableton Live 12 tip: Use MIDI Transformations (right panel) to quickly randomize velocity within a range, then manually correct the few that matter most.
---
Step 3 — Put “ghost feel” under Macro control (the fun part) 🎚️
Open the Drum Rack’s Macro section. We’ll map key parameters on the Ghost Snare chain.
#### Macro 1 — “Ghost Level”
#### Macro 2 — “Ghost Tone”
Map Simpler Filter Frequency (HP filter):
#### Macro 3 — “Ghost Tail”
Map Amp Decay
#### Macro 4 — “Snap/Spit”
Add Drum Buss after Simpler (on Ghost chain only).
Map:
This is a big part of “break bite” without making it loud.
#### Macro 5 — “Micro-Swing”
Add Delay (stock) on the Ghost chain ONLY.
- Time L: 8–18 ms
- Time R: 0 ms (or slightly different for width)
- Feedback: 0%
- Dry/Wet: 100% (because it’s a micro-shift trick)
Map the Delay Time L to a Macro:
This creates “behind/ahead” ghost timing without moving MIDI notes. Super oldschool feel.
#### Macro 6 — “Crunch”
Add Redux after Drum Buss on ghost chain:
Map Downsample:
Now you can “SP-ish” the ghosts without destroying the main snare.
#### Macro 7 — “Air Tick”
Add Auto Filter or EQ Eight after Redux.
Map that shelf gain (or filter freq).
---
Step 4 — “Bounce it” (print multiple ghost performances fast) 🎥➡️🎧
Oldschool jungle is commitment. Here’s the modern version: resample your macro performance, then cut it like a break.
#### Option A (fast and clean): Resample to audio
1. Create Ghost Print (Audio) track.
2. Set its Input to:
- Resampling (or “Drums” track if you want only that)
3. Arm Ghost Print.
4. Hit record and perform your Macros live for 8–16 bars:
- Increase Ghost Level during fills
- Push Micro-Swing in the second half
- Add Crunch briefly to “age” the loop
- Pull Tone up for busy sections to avoid low-mid clutter
Record 3–5 takes. Name them like:
#### Option B (targeted): Freeze + Flatten
If CPU is heavy or you want exact repeats:
1. Duplicate the Drums track.
2. On duplicate, solo ghost chain (or mute main hits).
3. Freeze Track → Flatten.
4. Now you have printed audio to slice.
---
Step 5 — Slice and recompose like jungle edits ✂️
Now you’re in the classic workflow: audio becomes the instrument.
1. Take your best print and:
- Consolidate to a neat chunk (e.g., 8 bars).
2. Right-click → Slice to New MIDI Track.
3. Slice settings:
- Slice by: Transient (or 1/16 if it’s too messy)
- Create one-shot slices in Simpler (Drum Rack)
4. Now write a new clip using slices:
- Repeat a clean 1-bar loop for the “roll”
- Drop in a gnarlier bar as a turnaround (bar 4 / bar 8)
- Use “stutter” (retrigger 1/32–1/16 slices) leading into drops
Arrangement idea (16 bars):
---
Step 6 — Glue it with bus processing (don’t ruin it)
On your Drum Bus (group your drums):
- Attack: 3–10 ms
- Release: Auto or 0.1–0.3 s
- Ratio: 2:1
- Aim: 1–3 dB GR (don’t smash)
- High-pass around 20–30 Hz
- If muddy: small dip 250–450 Hz
- Soft Clip ON
- Drive: 1–4 dB (taste)
Goal: ghosts stay felt, not obviously “a separate loop.”
---
4. Common mistakes
1. Ghosts too loud: if you hear them as primary hits, it stops feeling like funk. Keep them tucked. 🎚️
2. Same velocity every time: machine-gun ghosts = dead break. Randomize then curate.
3. Over-swinging globally: jungle swing is often selective. Micro-swing the ghost chain, not the whole kit.
4. Too much low-mid in ghosts: they’ll fight bass and main snare body. High-pass is your friend.
5. Never committing: if you don’t print takes, you won’t get those happy accidents that define oldskool edits.
---
5. Pro tips for darker/heavier DnB 🕶️
- Create a Return track with Saturator → Auto Filter → Compressor
- Send only the Ghost chain to it
- Filter out lows so it becomes gritty “air aggression”
- Decay: 0.3–0.7 s
- High-pass in reverb: 500 Hz+
- Very low send—ghosts should not wash out the groove.
---
6. Mini practice exercise (15–20 minutes) ⏱️
1. Build the Ghost Snare chain and map 7 Macros as above.
2. Make a 2-bar drum loop with:
- 2-step kick/snare
- 6–12 ghost notes total (varied velocity)
3. Record three 8-bar resamples:
- Take 1: tight (low swing, low crunch)
- Take 2: loose (more micro-swing)
- Take 3: dirty (more redux + transient snap)
4. Slice the best take and create a 16-bar arrangement:
- Use at least 2 different bars as fills/turnarounds
- Automate Ghost Level Macro rising into bar 16
Deliverable: one 16-bar drum arrangement that sounds like it could sit under a jungle bassline.
---
7. Recap ✅
If you want, tell me your current drum source (Amen chops, 2-step one-shots, sampled break, etc.) and your target vibe (1993 hardcore jungle vs 1996 techstep vs modern roller), and I’ll tailor a macro map + ghost placement grid specifically to that style.

