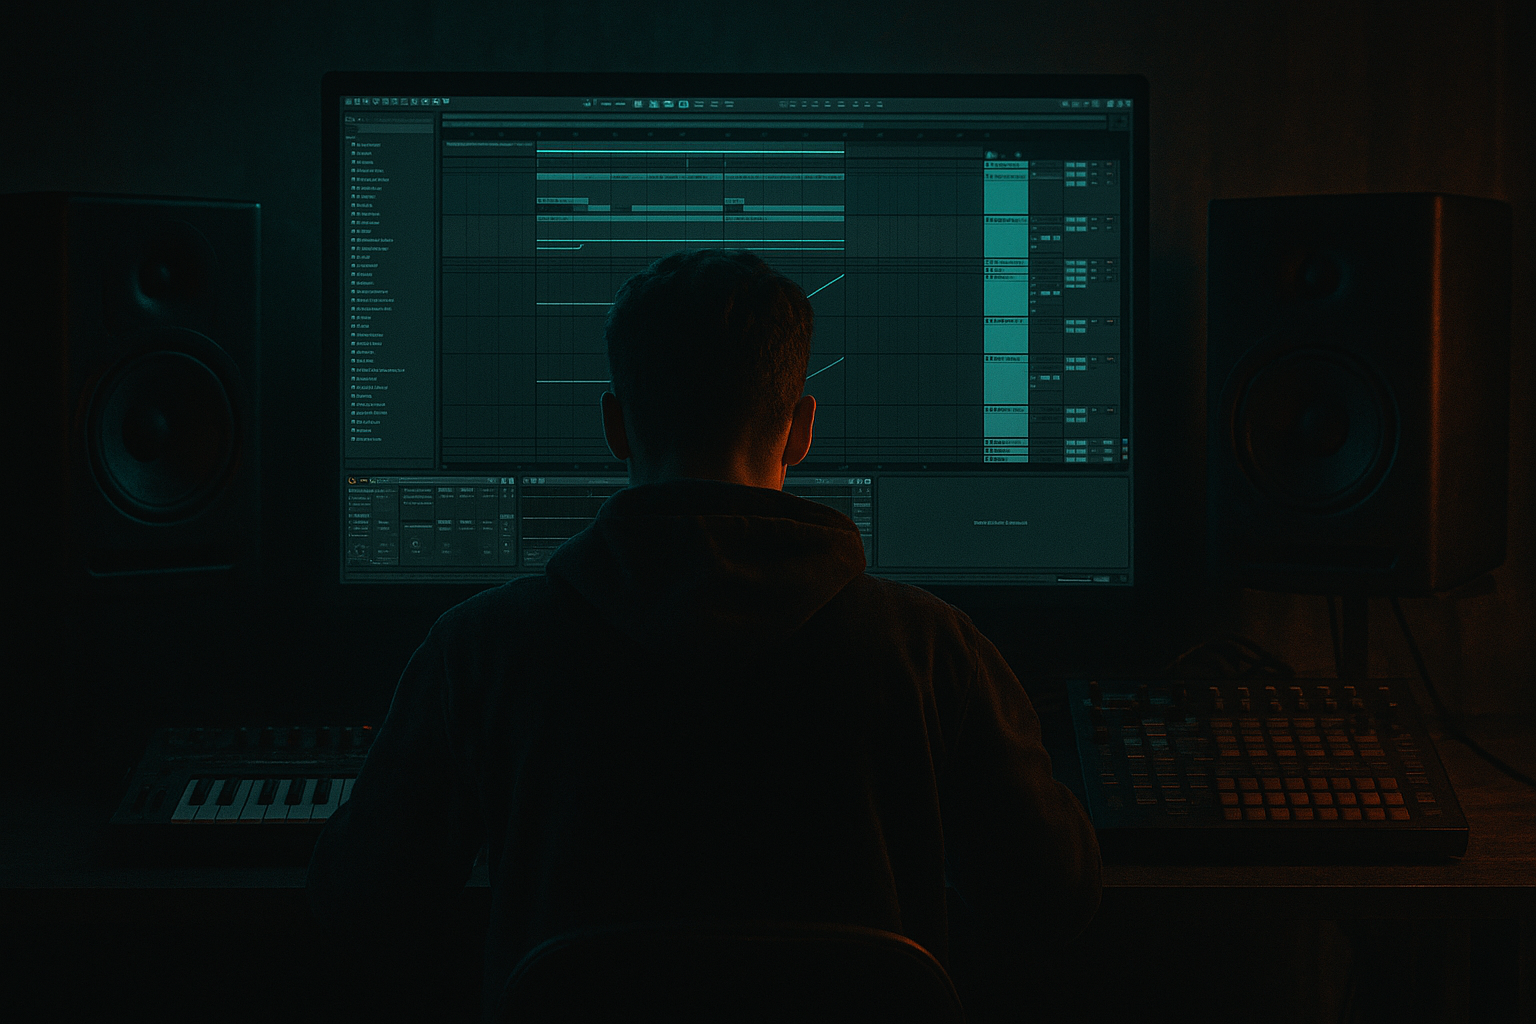
Main tutorial
Ghost Note Sequence Session for Deep Jungle Atmosphere in Ableton Live 12
1. Lesson overview
Ghost notes are the tiny, almost-hidden percussion hits that give drum and bass its movement, swing, and shadowy depth. In deep jungle and atmospheric DnB, ghost notes are not just “extra hats” — they are part of the micro-rhythm that makes the groove feel alive.
In this lesson, you’ll build a ghost note sequence session in Ableton Live 12 designed for:
- deep jungle atmosphere 🌲
- rolling breakbeat energy
- subtle propulsion without clutter
- darker, heavier DnB tension
- space for bassline and pads to breathe
- programming ghost notes with MIDI and audio warping
- shaping them with Ableton stock devices
- making them sit behind the main drums
- arranging them for a proper DnB journey
- a main break for the core rhythm
- a ghost note percussion layer using sampled hits
- a subtle jungle shaker/noise layer
- a processing chain that keeps the ghosts tucked into the mix
- an 8-bar loop that can be expanded into a full arrangement
- humid, dark, late-night jungle
- bass pressure underneath
- tiny drum flickers darting between the kick and snare
- movement that feels organic, not quantized-flat
- 170–174 BPM for classic jungle / DnB
- This tutorial will use 172 BPM
- chopped audio from a classic break
- one-shot rimshots
- tiny hi-hat ticks
- low-volume snare ghosts
- brushed percussion
- vinyl noise or foley clicks
- Drum Rack
- Simpler
- Sampler if you want deeper control
- Auto Filter
- Drum Buss
- Glue Compressor
- EQ Eight
- Redux for grit
- Saturator
- Utility
- soft rimshot
- muted snare tap
- tiny hat tick
- reversed percussion click
- dusty foley hit
- filtered break fragment
- shortening the decay in Simpler
- lowering volume
- applying a high-pass filter
- adding a tiny bit of Saturator or Drum Buss
- reducing transient sharpness with volume envelope shaping
- just before the snare
- just after the snare
- between kick hits
- in the tiny spaces after a break accent
- as call-and-response with the main drum phrase
- Bar 1:
- Bar 2:
- velocity range: 15–55
- main accents: 80–110
- vary velocity per hit
- avoid uniform repetition
- make some notes almost inaudible
- slightly late = laid-back, deeper feel
- slightly early = nervous, tense jungle energy
- put some notes late
- keep some dead on
- use a few early pickups to generate momentum
- High-pass at 180–250 Hz
- remove low mud
- if harsh, dip around 3–6 kHz
- if too thin, add a gentle boost around 800 Hz–1.5 kHz depending on the sample
- keep ghost notes audible
- avoid clashing with kick, snare, and bass
- Drive: 5–15%
- Crunch: low or off
- Boom: usually off for ghost notes
- Transient: slightly negative if too clicky
- Analog Clip
- Drive: 2–6 dB
- Soft Clip: on
- automate cutoff subtly
- open it slightly in fills
- close it for darker sections
- reduce gain if the layer is too loud
- widen slightly if needed, but don’t overdo it
- check mono compatibility
- filtered break loop
- vinyl crackle
- rain/foley sample
- tiny shaker loop
- chopped ride noise
- Auto Filter
- Redux for lo-fi edge
- Echo with low feedback
- Reverb with short decay
- EQ Eight
- lower volume than the ghost note track
- high-pass aggressively
- use it to create width and air
- Auto Pan on the ghost layer for subtle stereo drift
- Shaper or LFO if you have Max for Live tools
- Echo with filtered repeats for occasional tails
- automation of filter cutoff and reverb send
- automate Auto Filter cutoff every 4 bars
- slightly open the high end during transitions
- close it during drop sections to keep the mix dark
- Bars 1–2: sparse ghost notes, more room
- Bars 3–4: add extra pickups and slightly brighter filter
- Bars 5–6: introduce fill ghosts before snare or kick turnarounds
- Bars 7–8: strip back a little, then reintroduce for the next section
- Use ghost notes to lead into snare fills
- Thin them out during bass drops so the low end stays clean
- Bring them back in breakdowns with reverb and delay
- Automate them to become more apparent before transitions
- Do the ghost notes compete with the snare?
- Are they masking the bass movement?
- Are they too loud in the 2–5 kHz range?
- Do they vanish entirely once the bass drops?
- lower ghost note level before boosting anything
- high-pass if needed
- tame harshness with a narrow EQ dip
- use sidechain compression if the bass is crowding them
- vinyl hiss
- cymbal tail
- room noise
- metallic foley
- short decay
- low wet amount
- high-cut on the reverb return
- main break
- ghost notes
- percussion
- fills
- Glue Compressor
- EQ Eight
- slight Drum Buss
- present enough to create motion
- quiet enough that the snare still dominates
- sub bass
- reese bass
- pad wash
- a second break layer
- Start with a strong break foundation
- Build ghost notes from short, filtered samples
- Use velocity, swing, and timing nudges for movement
- Process lightly with EQ Eight, Drum Buss, Saturator, and Auto Filter
- Keep ghosts behind the main drums, not on top of them
- Arrange them dynamically so they evolve across the track
We’ll focus on:
This is a mastering-oriented workflow in the sense that you’ll be learning how to refine detail, polish groove, and control movement at a high level.
---
2. What you will build
By the end, you’ll have a session with:
Target feel
Think:
Suggested tempo
---
3. Step-by-step walkthrough
Step 1: Set up the session
1. Open Ableton Live 12.
2. Set the tempo to 172 BPM.
3. Create these tracks:
- Drums - Main Break
- Ghost Notes
- Atmos Perc
- Bass
- Pad / Texture
4. Turn on metronome and set global quantization to 1 Bar.
Step 2: Choose your source material
For ghost note work, you want short, detailed sounds.
Use either:
#### Good stock Ableton choices
Step 3: Build your main break first
Before ghost notes, establish the groove anchor.
#### Option A: Audio break method
1. Drag a breakbeat into an audio track.
2. Use Warp if needed.
3. Set warp mode to:
- Beats for crisp drum material
- Complex Pro if the break is more tonal or messy
4. Slice the break into a new MIDI track if you want full control:
- right-click clip → Slice to New MIDI Track
- use Transient slicing
#### Option B: MIDI break method
1. Load break samples into a Drum Rack.
2. Program:
- kick on the main downbeats
- snare on the classic backbeat
- closed hats or ride fragments for motion
At this stage, keep it solid and simple. The ghost notes will sit around this foundation.
---
Step 4: Create the ghost note track
Create a new MIDI track named Ghost Notes.
#### Load a Drum Rack
Add a Drum Rack and place 4–6 very short samples:
Suggested pads:
#### Sample design tips
If you only have one drum sample, you can make it ghost-worthy by:
---
Step 5: Program the ghost note pattern
Open a 2-bar MIDI clip and start light.
#### Basic ghost note placement idea
Use ghost notes:
For jungle flavor, ghost notes often work best in syncopated clusters rather than evenly spaced ticks.
#### Example 2-bar concept
- soft ghost at 1.3.3
- tiny tick at 1.4.2
- another near 1.4.4
- ghost before snare at 2.2.4
- light double-tap before kick fill
- subtle hat whisper on the “and” of 4
Velocity is everything
Keep ghost notes quiet:
In the MIDI editor:
This dynamic variation is what makes them feel human and jungle-like.
---
Step 6: Add groove with timing variation
Ghost notes should feel slightly off-center, but not messy.
#### Use Ableton Groove Pool
1. Drag a groove from the Groove Pool:
- try MPC swing
- or a subtle 16th swing
2. Apply it lightly:
- Timing: 10–30%
- Velocity: 5–15%
- Random: minimal or off
#### Manual timing trick
Nudge a few ghost notes:
A good rule:
---
Step 7: Shape the ghosts with a processing chain
Now make them sit like shadows in the mix.
#### Suggested device chain for Ghost Notes
1. EQ Eight
2. Drum Buss
3. Saturator
4. Auto Filter
5. Utility
#### EQ Eight settings
Start with:
Goal:
#### Drum Buss
Use lightly:
This adds body without turning them into lead drums.
#### Saturator
Try:
Great for making tiny hits audible on smaller systems.
#### Auto Filter
Use a low-pass or band-pass filter for atmosphere:
This is excellent for jungle tension.
#### Utility
Use to:
---
Step 8: Build a parallel atmosphere layer
Ghost notes feel more cinematic if they’re paired with a texture layer.
Create Atmos Perc and add one of these:
#### Processing chain suggestion
Keep this layer buried:
This is especially effective in deep jungle arrangements where atmosphere matters as much as groove.
---
Step 9: Use modulation for life
Static ghost notes can sound robotic. Add movement.
#### In Ableton Live 12, try:
#### Example modulation approach
The trick is to make the listener feel the layer more than consciously hear it.
---
Step 10: Arrange the sequence like a DnB tune
Once the loop works, turn it into an arrangement.
#### 8-bar structure example
#### Arrangement ideas
This makes the track feel composed, not looped.
---
Step 11: Check the mix in context
Put bass and drums together early.
#### What to listen for
#### Quick mix fix checklist
A very light Compressor or Glue Compressor sidechained from the kick/snare can help ghost notes stay tucked behind the main hit.
---
4. Common mistakes
1. Making ghost notes too loud
If you can clearly hear every ghost hit as if it’s a lead percussion part, they’re no longer ghost notes.
Fix: lower velocity and track volume.
2. Over-quantizing everything
Perfect grid placement kills jungle feel.
Fix: use subtle groove or manual nudging.
3. Using samples with too much body
If the sample has heavy low mids, it will fight the kick and bass.
Fix: high-pass and shorten the sample.
4. Too much reverb
Ghost notes should create depth, not wash out the groove.
Fix: use short, dark reverbs or send-based ambience only.
5. Overcrowding the rhythm
Too many ghost layers can blur the break.
Fix: keep one main ghost layer and one texture layer at most.
6. Ignoring context
A ghost note that sounds great solo can ruin the mix with bass.
Fix: always audition in full arrangement.
---
5. Pro tips for darker/heavier DnB
Tip 1: Use filtered break fragments as ghosts
Instead of clean percussion, slice tiny bits from a break and band-pass them. This gives you that old-school jungle dust.
Tip 2: Layer a ghost hit with noise
Add a whisper of:
Then filter it hard. This helps the ghost notes feel like part of the environment.
Tip 3: Add controlled distortion
A touch of Saturator or Pedal can make ghost notes audible on small speakers without raising volume.
Tip 4: Let the bass and ghost notes dance
If your bassline is busy, simplify the ghost pattern.
If the bass is long and sustained, you can use more ghost detail.
Tip 5: Use reverb as distance, not wash
Try Hybrid Reverb or Reverb with:
That gives the impression of a jungle room, not a cathedral.
Tip 6: Make the ghosts react to the drop
In heavier DnB, ghost notes can become more aggressive in the build-up and then thin out after the drop to leave room for the bass weight.
Tip 7: Group your drums
Group:
Then process gently on the group with:
This glues the whole rhythmic bed together.
---
6. Mini practice exercise
Exercise: Build a 4-bar ghost note phrase
#### Goal
Create a ghost note pattern that supports a jungle break without overpowering it.
#### Instructions
1. Set tempo to 172 BPM.
2. Program a main break with kick/snare structure.
3. Create a ghost note track with 3 samples:
- soft rim
- tiny hat
- filtered break click
4. Write a 4-bar loop:
- Bar 1: sparse
- Bar 2: slightly denser
- Bar 3: introduce one syncopated double-tap
- Bar 4: add a pickup into bar 1
5. Apply:
- EQ Eight high-pass at around 200 Hz
- Saturator with 3 dB drive
- Auto Filter automation over 4 bars
6. Compare the loop:
- with ghost notes
- without ghost notes
#### Challenge
Make the ghosts feel:
If it works, bounce it and test it against:
That’s the real jungle test 🔥
---
7. Recap
You now have a practical workflow for creating a ghost note sequence session in Ableton Live 12 for deep jungle atmosphere.
Key takeaways
The main idea
In DnB and jungle, ghost notes are not decorative extras — they are part of the groove’s personality. When programmed well, they make the track feel alive, haunted, and forward-driving.
If you want, I can also turn this into a project-based Ableton template, or write a follow-up lesson on ghost note layering with reese bass and amen breaks.

