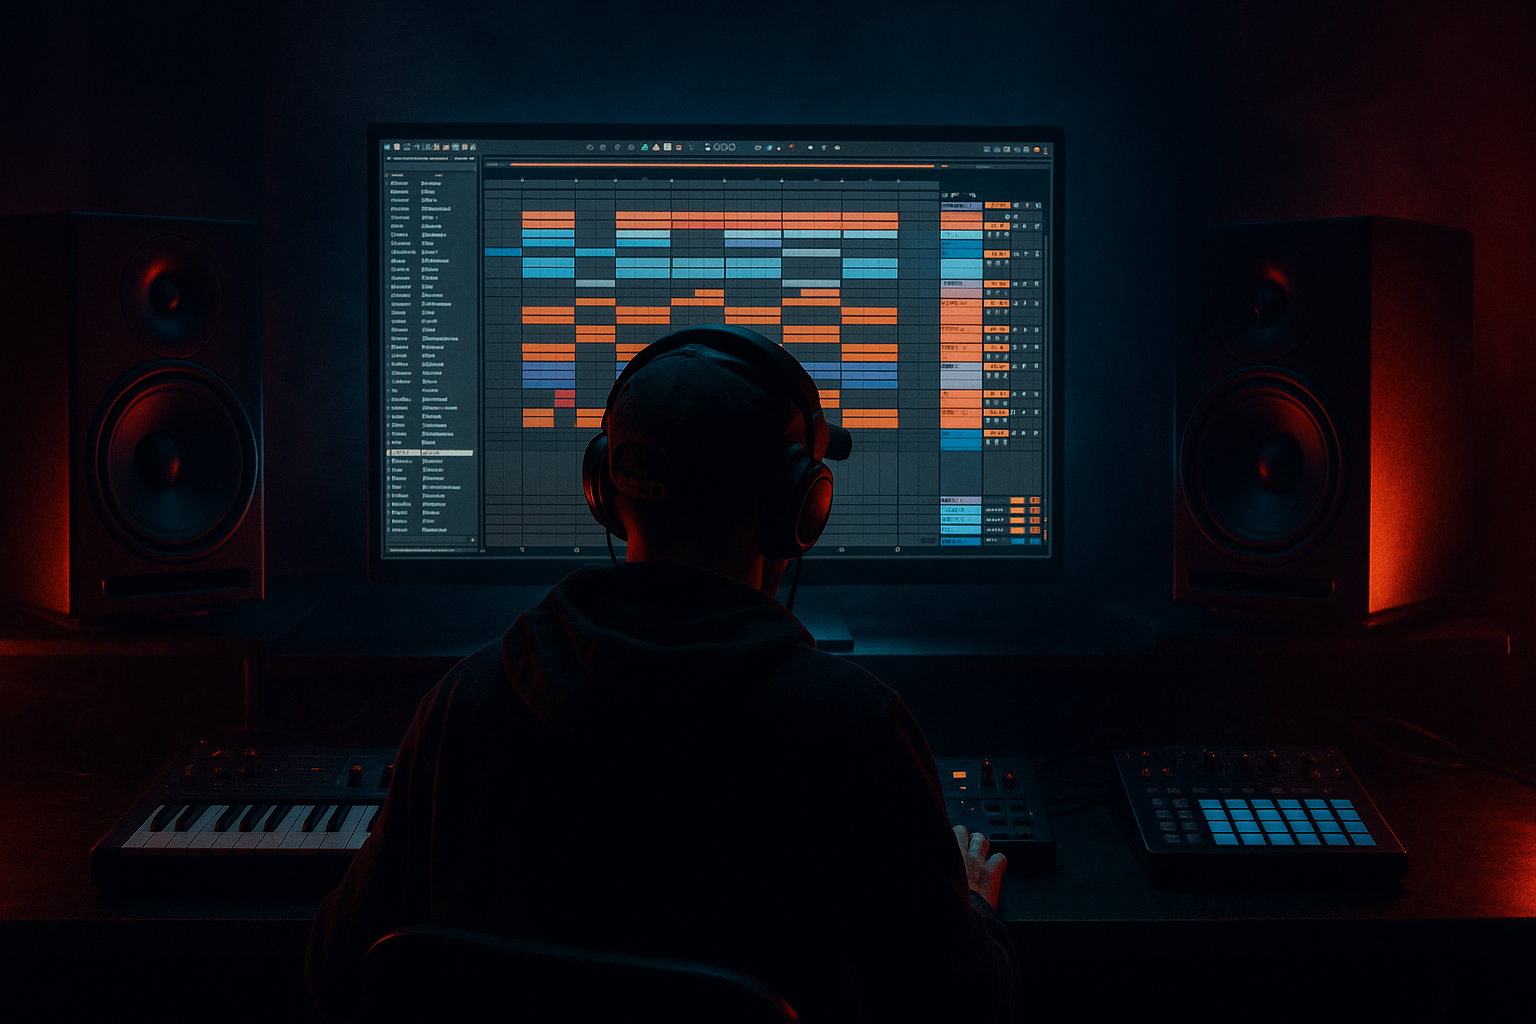
Main tutorial
Lesson Overview
In this lesson, you’ll build a darkside intro that feels glued together by macro-controlled movement inside Ableton Live 12. The goal is not to make a busy intro for the sake of it — it’s to create a tight, DJ-friendly, jungle-leaning opening where the drums, atmospheres, and filtered textures all breathe as one system.
This technique lives in the intro and first build of a DnB track, especially before the drop or before a switch into the main groove. It works best in oldskool jungle, dark rollers, minimal darkside, and heavyweight intro sections where the mood needs to be eerie, controlled, and rhythmically alive without crowding the eventual drop.
Why it matters musically and technically: a lot of beginner DnB intros feel like separate loops stacked on top of each other. That sounds flat. Here, you’ll use macros to make one grouped intro respond like a performance instrument — opening filters, adding grit, shifting space, and pushing movement in a way that supports the break and sets up the drop. That means the intro feels intentional, not just assembled.
By the end, you should be able to hear a dark, atmospheric intro with a break-led pulse, controlled low-end, and evolving tension that still leaves room for the drop to hit hard. A successful result should feel like it’s “breathing” toward the drop, not already spending all its energy in the first eight bars.
What You Will Build
You’ll create a 4- to 8-bar dark intro loop built around a chopped break, a low filtered sub or rumble layer, and a tense atmospheric bed, all grouped into a single macro-controlled rack. The result will sound:
- shadowy and claustrophobic, but still clean
- rhythmically active with oldskool jungle energy
- slightly degraded and gritty, without losing the kick/snare shape
- mix-ready enough to sit before a drop, not just sound cool in solo
- Keep the low support narrow and disciplined. If you add a rumble layer, make sure it stays centered and doesn’t blur the kick/snare relationship. Dark does not mean unfocused.
- Use macro motion to imply violence, not constant chaos. A slow filter rise plus a short delay throw often feels heavier than nonstop distortion because the listener gets contrast.
- Let the snare define the intro’s spine. In jungle and oldskool DnB, the snare is often the anchor. If your atmosphere hides it, the whole intro loses authority.
- Use a small amount of grit on the break, then automate the feel around it. Movement should come from the changing balance of filter, space, and tension — not from crushing the loop.
- Try short, controlled Echo throws instead of long washy delays. A brief throw on the last hit of a phrase can feel more sinister and more DJ-friendly than a big lingering tail.
- Keep a “dry version” available. If your macro version gets too big, duplicate the group and keep one almost naked. Comparing the two will help you hear whether the processing is actually improving the groove or just making it louder.
- Use call-and-response across 2 bars. Example: bar 1 is mostly break and murk; bar 2 opens with a slightly brighter snare or atmosphere lift. That simple push-pull is a classic dark DnB tension move.
- Use only stock Ableton devices
- Use one break loop or break chop
- Use one atmosphere or noise layer
- Use no more than four macros
- Keep the low end centered and mono-safe
- one main break
- one atmosphere layer
- macro automation for filter, grit, space, and tension
- a simple final bar transition cue
- Can you hear the snare clearly in the intro?
- Does the intro become more intense by the final bar?
- Does it still leave room for a heavy drop right after it?
The role in the track is to set tone, disguise the incoming structure, and make the listener feel movement before the drop arrives. In practical terms, this intro should still leave space for the DJ mix and should not overload the low end or smear the snare transient.
Success sounds like this: the break feels alive, the atmosphere opens and closes in time with the phrase, and the whole intro can be pushed darker, wider, dirtier, or more tense with just a few macro moves — while the groove still lands clearly in mono.
Step-by-Step Walkthrough
1. Start with a short intro scene that has room to breathe
In Session View or Arrangement, set up a 4-bar or 8-bar loop. For a beginner, 4 bars is ideal because it forces discipline. Put a classic break chop, a simple sub pulse or low rumble, and one atmosphere or texture into the loop.
Keep the drums simple at first: use a break slice or a looped break with a strong snare on 2 and 4 feel. If you have a kick/snare pattern underneath, keep it sparse. This is an intro, not the full drop.
Why this matters: darkside intros work because they hint at the main groove without giving it away. If the intro is already too dense, you lose the tension that makes the drop feel like a payoff.
What to listen for:
- Does the break create forward motion without sounding like a full drum loop?
- Can you still imagine the drop entering after this section without feeling crowded?
2. Build a simple drum-first group and keep the hierarchy clear
Group your drum elements into a single drum group so you can shape them together later. If you’re using a break slice in Simpler, keep it in one track. If you’re layering a snare hit or ghost snare, keep that separate but still inside the drum group.
A good beginner move is:
- Break chop in Simpler
- Additional snare or rim layer
- Light percussion or shuffled top loop
Use the break as the main personality. The extra layer should support it, not fight it. If the break already has a strong snare, don’t stack another huge snare on every hit. That usually makes the intro feel cheap and brittle.
Add a subtle groove by nudging one or two ghost hits slightly late, or by using Ableton’s groove pool lightly on the break. Keep the feel oldskool rather than hyper-quantized. Jungle and early DnB often feel better when the micro-timing is alive.
3. Create a macro-controlled drum rack or instrument rack for the intro
Put your main intro elements into a Group, then add an Instrument Rack or Audio Effect Rack on the group. Map a few key parameters to macros. For a beginner, keep it to four core macros:
- Macro 1: Filter Open
- Macro 2: Grit
- Macro 3: Space
- Macro 4: Tension
For the break layer, map:
- Auto Filter cutoff
- Saturator drive or Overdrive amount
- Reverb dry/wet
- Delay or Echo dry/wet
If you’re working with multiple tracks in a Group, you can also place an Audio Effect Rack on the group bus and map those same kinds of controls there. The point is to make one set of moves affect the whole intro in a musical way.
Realistic starting ranges:
- High-pass/low-pass filter movement: roughly from a closed position up to a brighter mid position, not full open all the time
- Saturator Drive: gentle to moderate, often around 2–6 dB of drive for a gritty intro texture
- Reverb dry/wet: light at first, then rising only enough to create space around the break
- Delay/Echo dry/wet: subtle, short throws rather than constant wash
Why this works in DnB: the intro needs to change over time, but it must still stay rhythmically readable. Macros let you automate that change smoothly and with intention, which is ideal for tension-building before a drop.
4. Shape the break with a tight filter + saturation chain
On the break track, try this stock-device chain:
- Auto Filter
- Saturator
- EQ Eight
Set Auto Filter as your main movement tool. For a dark intro, start with the filter partially closed so the break feels tucked into the mix, then automate it opening over 4 or 8 bars. A useful range is moving from a darker starting point into a more present midrange area — enough to reveal snare crack and hi-hat detail, but not so much that the intro turns bright.
Add Saturator after the filter. Use it to give the break more density and make the ghost hits easier to hear. Keep it tasteful; if the break starts sounding crunchy in a way that masks the snare, you’ve gone too far.
Use EQ Eight last to clean up excess low-end or harshness. If the break has muddy low mids, trim a little around the 200–400 Hz area. If the top end is spiky, tame the harshest zone rather than boosting the whole high end.
What to listen for:
- The snare should stay clear even when the break gets darker
- The kick or low hit should not become fuzzy once saturation is added
5. Add an atmospheric layer that responds to the same macros
Use a pad, texture, field recording, vinyl noise bed, reversed stab, or a dark synth drone. This is not the star. Its job is to make the intro feel like a place.
Put the atmosphere through:
- Auto Filter
- Echo or Delay
- Reverb
Map its filter and reverb to the same macro system so the ambience opens with the drums. For a darker feel, keep the atmosphere narrow at first, then widen it slightly as the intro progresses. A subtle stereo spread is fine here, but don’t make the whole intro huge and wide from the start.
Decision point — A versus B:
- A: Murky and claustrophobic
Keep the atmosphere darker, filtered lower, and more mono-focused. This suits raw jungle, warehouse rollers, and pressure-heavy darkside.
- B: Haunted and cinematic
Open the atmosphere more gradually and let the reverb bloom a little more. This suits longer breakdown-style intros or tracks that need more emotional contrast before the drop.
Choose A if the drop will be aggressive and drum-led. Choose B if the track needs more narrative and suspense.
6. Create movement with automation, not random clutter
Now automate your macros over the intro phrase. A great beginner pattern is a simple 8-bar movement:
- Bars 1–2: mostly closed, restrained, more atmosphere than impact
- Bars 3–4: slightly more open, break becomes clearer
- Bars 5–6: add grit and a little more space
- Bars 7–8: open tension further so the listener expects the drop
You do not need all four macros moving at once. That usually sounds messy. Pick one main movement and one supporting movement. For example:
- Filter Open rises steadily
- Tension rises only in the final two bars
- Grit increases slightly on the second half of the phrase
- Space increases only on the last snare or fill
This creates a very oldskool DnB feeling: restrained at the start, then progressively more dangerous.
Workflow efficiency tip: once you like the macro motion, commit the automation shape as your template for future intros. You can reuse the same rack in later projects and just swap the break and atmosphere.
7. Check the intro against the future drop space
This is where beginners often go wrong: they make a cool loop that sounds great alone, but it steals the drop’s impact. Put a placeholder kick, snare, and bass drop section after the intro and check the handoff.
Listen for whether the intro leaves enough headroom and contrast. If the intro already has huge reverb tails, wide stereo noise, and heavy low rumble, the drop may feel smaller by comparison.
A useful arrangement example:
- 8 bars intro with macro movement
- 2-bar tension lift or drum fill
- Drop enters on a clean downbeat or after a short stop
- First 2 bars of the drop stay simple before the full bass phrase arrives
Why this works in DnB: the genre relies on contrast and momentum. If the intro is doing too much, the drop has less authority. The intro should prepare the floor, not flatten it.
8. Use a stop-here moment and print what works
Stop here if the intro already feels compelling in context and the macro moves are musical. If you have a break, atmosphere, and low support that can be performed with the macros, commit this to audio if needed. Printing the intro lets you edit the energy more precisely and keeps you from endlessly tweaking filters.
In practice, resample or consolidate the best 4 or 8 bars if you want to:
- chop the tail of a delay throw
- reverse a snare swell into the drop
- create a one-off fill before the transition
This is especially useful in jungle and oldskool-inspired DnB because printed audio edits often feel more authentic than endlessly automated perfection.
9. Add one final transition cue that matches the style
Before the drop, add a short fill, reverse hit, or snare pickup. Keep it simple:
- a one-bar break fill
- a reversed crash
- a filtered tom hit
- a short echo throw on the final snare
Use your macros to exaggerate this only at the end of the phrase. For example, increase Space briefly on the last hit, then pull it back quickly so the drop feels dry and powerful by comparison.
This is the final glue move: the intro should feel like it is pulling the whole section into the drop, not just ending with a random effect.
10. Do a mono and low-end sanity check before you move on
Play the intro in mono or at least check it with the stereo width reduced on the atmosphere. The low end should stay stable. If the break or rumble disappears, your intro is too dependent on stereo information.
A strong darkside intro should still read clearly when the widest elements are removed. The bass should feel controlled, the snare should still strike, and the atmosphere should still suggest a mood without becoming essential to the groove.
If the low end starts wobbling or the groove feels weaker in mono, simplify the atmosphere, narrow the stereo image, or high-pass the texture a little higher so it doesn’t interfere with the drums.
Common Mistakes
1. Making the intro too bright too soon
Why it hurts: the drop loses contrast and the intro sounds like a full section instead of a build.
Fix: start the filter lower and automate only enough opening to reveal the snare and upper break detail near the end of the phrase.
2. Overloading the break with saturation
Why it hurts: the snare becomes papery and the transients stop cutting through.
Fix: back off the Saturator drive and use EQ Eight to clean mud instead of forcing more distortion.
3. Using too much reverb on the whole intro
Why it hurts: the groove smears, the snare loses precision, and the drop has no room left to expand.
Fix: keep reverb mostly on the atmosphere or automate it only in small throws on transitions.
4. Widening the intro so much that it collapses in mono
Why it hurts: club translation suffers and the intro can sound hollow on a system.
Fix: keep the break and low support centered; let width live mostly in the higher atmosphere layer.
5. Letting every macro move at once
Why it hurts: the intro feels chaotic rather than tense, and the listener can’t follow the progression.
Fix: choose one main automation arc and one secondary arc. Keep the other controls restrained.
6. Forgetting the drop context
Why it hurts: the intro might sound cool solo but it steals the punch from the drop.
Fix: always audition the last bar of the intro against the first bar of the drop with a placeholder bass or drum pattern.
7. Leaving the break too busy for a beginner arrangement
Why it hurts: too many ghost hits and edits can make the groove messy and beginner-unfriendly.
Fix: simplify the break pattern to a few strong accents, then add one or two movement details instead of constant slicing.
Pro Tips for Darker / Heavier DnB
Mini Practice Exercise
Goal: Build a 4-bar dark intro that can be controlled with four macros and sits cleanly before a drop.
Time box: 15 minutes
Constraints:
Deliverable:
A 4-bar intro loop with:
Quick self-check:
If yes, you’ve built something useful. If not, simplify the atmosphere and reduce the reverb before adding more effects.
Recap
A strong darkside intro in Ableton Live is built from controlled movement, not overload. Use macros to make your break, atmosphere, and tension elements behave like one instrument. Keep the snare readable, the low end stable, and the automation purposeful. In DnB, the intro’s job is to create pressure and contrast so the drop lands harder — and if you do that with clean macro control, you’ve got a proper jungle-minded foundation that can survive in a real track.

