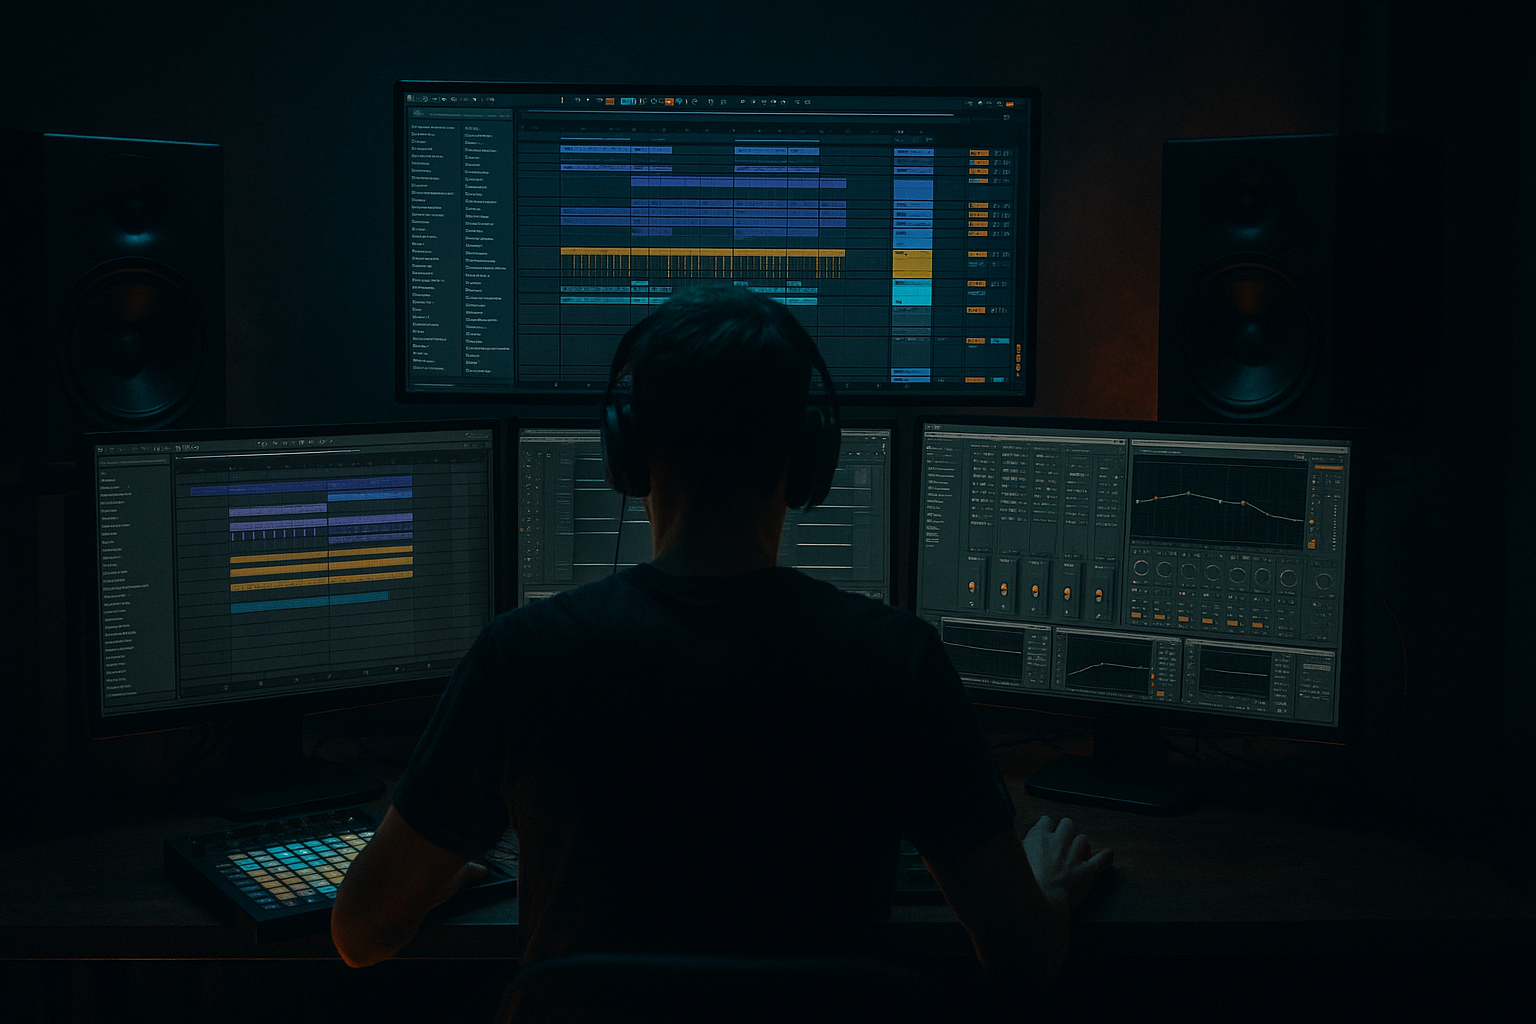
Main tutorial
```markdown
Groove Contrast Between Intro and Drop (DnB in Ableton Live) 🔥🥁
1. Lesson overview
In drum & bass, groove contrast is one of the fastest ways to make a drop feel massive without just adding more sounds. The goal:
- Intro = controlled, restrained, teasing groove (often straighter, lighter swing, less low-end movement)
- Drop = wider pocket, stronger push/pull, more syncopation and ghost detail (while staying tight on the grid where it matters)
- Groove Pool + extraction
- micro-timing + velocity architecture
- layered drum phase alignment
- arrangement-driven groove contrast (automation + density + “reveal”)
- 16-bar intro groove: minimal, controlled, “head-nod but held back”
- 16-bar pre-drop: tension groove (hinting at swing, adding ghosts)
- 32-bar drop: full rolling groove with kick/snare anchor + hats/percs pocket + ghost snare architecture
- A workflow template you can reuse on any rolling/jungle-ish tune
- Kick: 1.1.1 and 1.3.1 (classic DnB two-step)
- Snare: 1.2.1 and 1.4.1 (backbeats)
- Pick a kick with short low-end tail (DnB needs space for bass).
- Pick a snare with a strong 200 Hz body + crisp top.
- Drum Buss
- Glue Compressor
- EQ Eight
- Downbeats slightly louder
- Offbeats slightly quieter
- Add occasional accent pushes right before snares
- Velocities roughly: 95, 70, 90, 68, 96, 72, 88, 66
- Place a ghost at 1.1.4 (just before beat 2 snare)
- Another at 1.3.4 (before beat 4 snare)
- Keep velocity 15–35 (seriously low)
- Ghosts can be late by 5–12 ms for “drag”
- Hats can be late by 3–8 ms
- Kicks/snares stay mostly on-grid (or extremely subtle)
- Turn off grid temporarily: `Cmd/Ctrl + 4` (Adaptive Grid off)
- Use the Note Editor and nudge with Track Delay if you prefer global shifts:
- Keep kick minimal (or no kick)
- Keep snare less frequent (or use rim/clave)
- Use straight hats (less swing)
- Reduce ghost density
- Remove/limit sub movement
- Intro hats: Groove timing 0–10%
- Drop hats: Groove timing 25–45%
- Gradually introduce one ghost note position
- Add a shaker/ride with a tiny late feel (+4 ms)
- Increase groove amount slowly
- Groove Pool Timing automation isn’t directly automatable, so do it musically:
- Automate Send to a short room reverb on hats:
- Bars 1–16 (Intro): restrained hats, filtered drums, no full pocket
- Bars 17–32 (Build/Pre): add ghosts + slight swing hints, tension FX, bass tease
- Bar 33 (Drop): full groove, full bandwidth, full pocket
- Bars 33–64 (Drop): variation every 8 bars (remove/add percs, switch hat pattern)
- Bars 33–40: full groove
- Bars 41–48: remove one hat layer, add break layer quietly
- Bars 49–56: bring hat back, add extra ghost
- Bars 57–64: “end phrase” fill (snare flam, tom hit, or break stab)
- If you layer snares: zoom in and align transient peaks.
- Use Utility to flip phase if needed (rare but sometimes fixes thin layers).
- Use EQ Eight mid/side lightly on hats group if too wide:
- Mute bass and listen at low volume: does it still roll?
- Then mute hats: do kick/snare feel authoritative?
- Make the drop feel slower with “late top”: keep kick/snare tight, push hats/percs +5 to +10 ms.
- Ghost snare through saturation:
- Use break texture but modern punch:
- Controlled darkness in hats:
- Sidechain groove clarity:
- Groove contrast is about pocket + density + timing hierarchy, not just “more swing.”
- Keep kick/snare as anchor, move tops/ghosts for feel.
- Use Groove Pool selectively; extracted break grooves are gold for jungle-rooted roll.
- Make the intro a shadow: tighter, lighter, filtered, fewer ghosts.
- Arrange groove changes with intent (clip swaps, density ramps, automation).
This lesson focuses on advanced groove design inside Ableton Live using:
---
2. What you will build
You’ll create a 64-bar DnB loop sketch with:
---
3. Step-by-step walkthrough
Step 0 — Session setup (don’t skip this) ⚙️
1. Set tempo to 172–176 BPM (use 174 BPM as default).
2. Create groups:
- DRUMS (Group)
- Kick
- Snare
- Hats
- Percs/Foley
- Break layer (optional)
- BASS (Group)
- MUSIC/ATMOS (Group)
Ableton tip: Color-code groups now. Groove work is detail-heavy—you want fast navigation.
---
Step 1 — Build a “tight anchor” drop drum grid first (kick + snare)
Your groove contrast only works if the drop has a stable anchor.
In a MIDI clip (1 bar loop to start):
Sound selection:
Suggested stock chain on DRUMS group (starting point):
- Drive: 5–15%
- Boom: 0–20% (be careful—DnB bass owns subs)
- Transients: +5 to +20
- Attack: 3 ms
- Release: Auto
- Ratio: 2:1
- Gain reduction: 1–3 dB on loudest hits
- High-pass around 25–35 Hz (gentle)
- Optional: tiny dip 250–400 Hz if boxy
Keep this dry-ish for now. Groove comes from timing/velocity before reverb.
---
Step 2 — Create the drop pocket with hats & ghosts (micro-timing + velocity)
Now we make it roll.
#### 2A) Hats: build motion with velocity “ramps”
Add a closed hat pattern with 1/8 notes (or 1/16 if you’re going skippy).
Then shape velocity:
Example (1/8 hats):
#### 2B) Ghost snare architecture (the secret engine)
Add low-velocity ghost notes around the snare:
Then nudge timing slightly:
Ableton workflow:
- Hats track delay: +6 ms
- Ghost snare track delay: +8 ms
- Kick/Snare: 0 ms
This creates a drop groove that feels wide and heavy without sounding sloppy.
---
Step 3 — Extract groove from a break (then use it selectively) 🧬
If you want jungle-rooted swing but still modern weight, extract timing from a break.
1. Drop a breakbeat sample (Amen-ish, Think, etc.) into audio.
2. Right-click → Slice to New MIDI Track (or keep as audio for analysis).
3. If audio: enable Warp, set mode:
- Beats for crisp rhythmic sections
- Complex Pro if you’re preserving more character (often not needed for breaks)
4. In Clip view, click Groove → Extract Groove.
5. Go to Groove Pool:
- Start with Timing: 20–40%
- Velocity: 0–20%
- Random: 0–5% (tiny!)
- Base: 1/16 (common for DnB shuffle)
Key move:
Apply extracted groove to hats + percs first, not the main snare.
Let the snare be the “flagpole” that everything swings around.
---
Step 4 — Design the intro groove as a controlled “shadow” of the drop
Now we create contrast: the intro should hint at movement but feel contained.
#### Intro groove recipe (16 bars):
Practical approach in Ableton:
1. Duplicate your drop drum clips to an “INTRO” scene/section.
2. Edit with intention:
- Remove 50–70% of ghost hits
- Quantize hats slightly tighter (or remove groove)
- Lower hat velocities overall by 10–20
3. Use Auto Filter on drum group:
- HP filter around 200–400 Hz for intro
- Automate down toward 80–120 Hz approaching the drop (but don’t fully open until impact)
Groove Pool trick:
This alone creates a “release” sensation when the drop hits.
---
Step 5 — Pre-drop: foreshadow the pocket (without giving it away) 😈
The pre-drop is where you teach the listener the coming groove.
Over 8–16 bars:
Automation ideas:
- Swap clips: “Pre-drop hats” with 15% groove → “Drop hats” with 35% groove
- Ableton Reverb (or Hybrid Reverb)
- Decay: 0.3–0.7s
- Predelay: 5–15 ms
- HP in reverb: 500 Hz+ to keep low end clean
---
Step 6 — Arrangement: make groove contrast obvious in 10 seconds
Here’s a reliable 64-bar DnB arrangement that highlights groove contrast:
Drop variation pattern (every 8 bars):
---
Step 7 — Tightness check: groove ≠ flamming
Advanced groove must still hit hard.
Phase/Transient checks:
- High shelf on Sides only above 8–10 kHz (subtle)
Groove sanity test:
If not, your “anchor” is drifting.
---
4. Common mistakes 🚫
1. Swinging the snare too much
Your backbeat is the ruler. If it moves, the whole track feels unstable.
2. Too much groove percentage (especially on 1/16 patterns)
60–80% timing on hats often becomes lazy instead of rolling.
3. Random timing on transients
Random works on shakers/foley, not on main hats that define pace.
4. No velocity architecture
If every hat is velocity 100, you don’t have groove—you have a metronome.
5. Intro is already “full drop”
If the intro groove is already rolling hard, the drop loses impact.
---
5. Pro tips for darker/heavier DnB 🖤
Put Saturator on ghost/snare group:
- Drive: 2–6 dB
- Soft Clip: On
Then turn the track down. You want presence, not volume.
Low-pass the break at 7–10 kHz, high-pass at 120–200 Hz, tuck it under the drums for movement.
Use Auto Filter low-pass at 10–14 kHz with tiny envelope movement; dark hats + heavy bass = weight.
Sidechain bass to the kick only (not the whole drum bus) using Compressor:
- Attack: 0.1–1 ms
- Release: 50–120 ms (tempo dependent)
- Gain reduction: 2–5 dB
Clean low end makes groove read clearer.
---
6. Mini practice exercise 🎯
Goal: Create a clearly different intro groove that still “belongs” to the drop.
1. Build a 4-bar drop loop:
- Kick/snare anchor
- Hats with velocity ramp
- 2 ghost notes per bar
2. Duplicate it and make an intro version:
- Remove 60% ghosts
- Reduce groove timing on hats by ~25% (or remove groove)
- Filter drums (HP 300 Hz)
3. Arrange:
- 8 bars intro → 8 bars pre-drop → 16 bars drop
4. Export a quick bounce and ask:
- Does the drop feel like it opens up rhythmically even before you add more sounds?
Bonus: try two versions—one with timing contrast, one with velocity-only contrast—and compare.
---
7. Recap ✅
If you want, share a screenshot of your MIDI drum clip + Groove Pool settings and I’ll suggest exact timing/velocity tweaks for a cleaner roll and harder drop impact.
```

