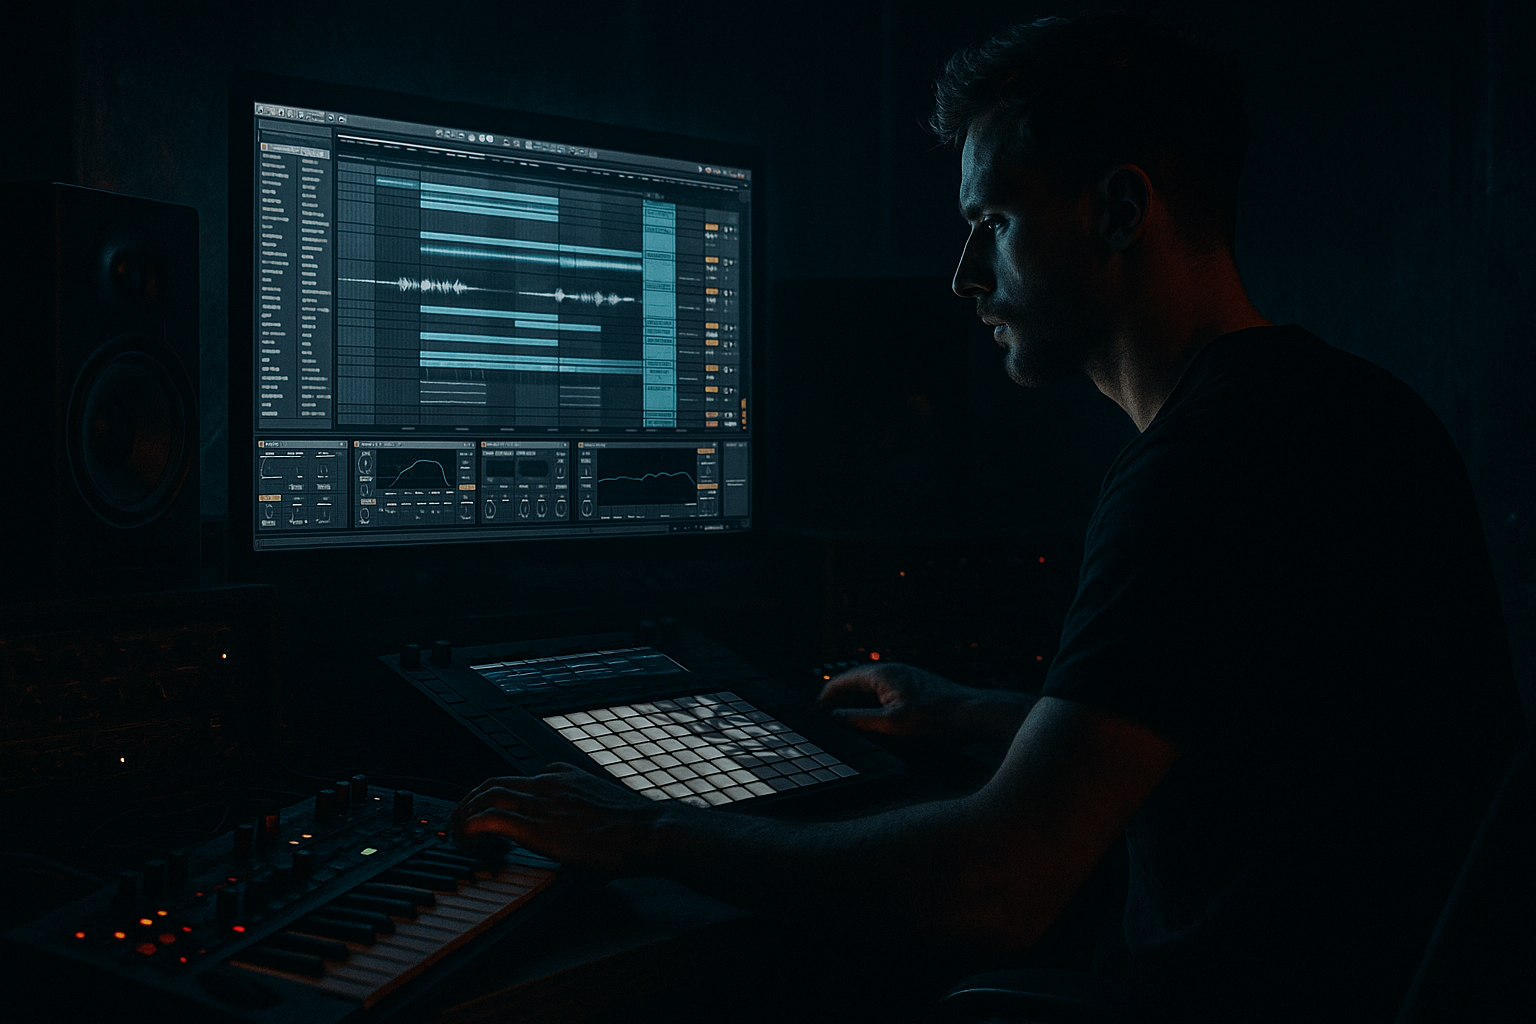
Main tutorial
```markdown
Groove from Alternating Break Sources (DnB in Ableton Live) 🥁⚡
1. Lesson overview
This lesson is about creating rolling, human-feeling DnB groove by alternating between multiple break sources—not just layering them, but switching the “lead break” per hit, per 1/8th, or per bar.
You’ll use Ableton Live’s stock tools to:
- Extract the “feel” (timing + velocity + micro-swing) from breaks
- Alternate break slices intentionally to generate groove and movement
- Keep it tight and club-ready with phase/time control, transient shaping, and bus processing
- Break A provides the core cadence (e.g., classic Amen-style urgency)
- Break B provides alternate ghost notes / hats / percussion grit
- Break C (optional) adds fills + odd accents
- The result feels like a single drummer, but with hybrid texture and evolving groove
- A Drum Rack that plays slices from multiple breaks
- A groove-controlled MIDI pattern that can be rearranged quickly
- A drum bus chain suitable for rolling or heavier DnB
- Break A (Timing leader): strong snare placement + consistent hats (e.g., Think, Amen-ish)
- Break B (Texture + ghosts): crunchy room tone, different hat grain, more shuffle
- Break C (Fills/accents): sparse, tom hits, ride hits, or funk percussion
- `Rack A (Lead)`
- `Rack B (Ghost)`
- `Rack C (Fill)`
- C1: Kick (A)
- C#1: Kick alt (B)
- D1: Snare (A)
- D#1: Snare alt / rim (B)
- F#1–A#1: Hats/ghosts from A & B alternating
- C2–E2: Fill hits from C
- Duplicate the MIDI clip into two versions:
- Apply Groove A to Clip 1, Groove B to Clip 2.
- Set Groove parameters (starting points):
- Hit Commit only once you like it (keeps CPU stable and locks timing).
- Alternating samples (A snare → B snare)
- Alternating groove templates (Bar 1 feels like A, Bar 2 feels like B)
- Or both (best results)
- Keep main kick/snare stable (often from Break A).
- Swap ghost snares and hats between A and B every 1/8 or 1/16.
- Snare on 2 and 4 (D1)
- Add ghost hits before snares using B’s ghosts (D#1)
- Hats: alternate A and B on offbeats to create texture movement
- Bar 1: mostly A slices
- Bar 2: mostly B slices
- Keep the same MIDI rhythm; just swap which samples are used.
- Use Break C only at end of phrase:
- Create a Return track `Drum Smash`:
- On hat slices from Break B, reduce decay slightly:
- On ghost hits:
- Nudge select hits:
- Over-warping the breaks: too many warp markers kills the original pocket.
- Alternating main snares randomly: phase + tone changes can feel like a mistake. Keep a “hero snare,” use alternates as spice.
- Groove Pool too strong: Timing at 80–100% often turns DnB into sloppy hip-hop feel. Use 20–40%.
- No frequency management: breaks stacked/alternated without EQ leads to harsh hats and muddy low-mids fast.
- Over-compressing the bus: you’ll flatten the very groove you’re building.
- Pitch Break B down by -1 to -3 semitones (Clip Transpose) for weighty grit, then high-pass it to avoid low-end chaos.
- Use Redux (subtle!) on a parallel return:
- Make snares feel “heavier” without replacing them:
- For neuro/tech darkness: add Roar (if you have Live 12 Suite) gently on parallel for controlled distortion movement.
- Sidechain hats/ghost bus very lightly to the kick (Glue Compressor sidechain):
- Alternating break sources isn’t random swapping—it’s role-based selection (lead, ghost, fill) ✅
- Use Slice to Drum Rack + a Master Rack to “compose” alternation like a drummer 🥁
- Extract grooves from multiple breaks and apply them selectively (bar-to-bar or element-to-element) 🎛️
- Lock it in with smart warping, small envelope tweaks, and a controlled drum bus chain for punch without killing feel 🔥
Think: jungle DNA + modern punch, without the loop sounding copy-pasted.
---
2. What you will build
A 2–8 bar drum loop where:
You’ll end with:
---
3. Step-by-step walkthrough
Step 0 — Session setup (tight DnB workflow)
1. Set tempo to 172–175 BPM.
2. Turn on Warp defaults:
- Preferences → Record/Warp/Launch:
- Auto-Warp Long Samples: Off (optional, but helps avoid messy auto warps)
3. Create tracks:
- Audio Track x3: `Break A`, `Break B`, `Break C`
- MIDI Track: `Break Rack`
- Audio Track: `Drum Bus` (group later)
---
Step 1 — Choose breaks with complementary “roles”
Pick breaks that contrast in a useful way:
Tip: Don’t choose three breaks that all have huge snares; you want different strengths.
---
Step 2 — Warp each break properly (this is where pros win) 🎯
For each break audio clip:
1. Double-click the clip → Clip View.
2. Set Warp Mode:
- Beats mode for breaks (tight transient control)
- Preserve: Transients
- Transient Loop Mode: Off
3. Set Transient Envelope:
- Start with Envelope: 80–90
- If it’s too clicky: drop to 60–75
4. Place Warp Markers minimally:
- Set 1.1.1 on the true downbeat
- Correct only obvious drift (don’t grid-perfect everything—keep character)
Advanced move: If Break B is very “draggy,” let it be. You’ll use that drag selectively for groove.
---
Step 3 — Slice each break to a Drum Rack (but keep them separate first)
For Break A:
1. Right-click audio clip → Slice to New MIDI Track
2. Slicing preset:
- Slice by: Transient
- Create one slice per: Transient
- Built-in preset: “Slice to Drum Rack”
Repeat for Break B and Break C.
Now you’ll have 3 Drum Racks. Rename them:
---
Step 4 — Build one “Master Break Rack” with all slices (organized + playable)
We want one rack where slices from multiple sources can be alternated.
1. Create a new empty Drum Rack on `Break Rack` MIDI track.
2. From `Rack A`, drag key slices (kick, snare, hats, key ghost hits) into your Master Rack.
3. From `Rack B`, drag alternate hats + ghost snares + little percussion into nearby pads.
4. From `Rack C`, drag fills into another octave/row.
Organization suggestion (fast brain mapping):
Why this matters: You’ll now “compose” break switching like drum programming, not like audio collage.
---
Step 5 — Extract groove from each break, then apply selectively 🧠
Ableton’s Groove Pool is perfect for this, but the trick is not applying one groove to everything.
1. From Break A clip: drag the clip into the Groove Pool (or right-click → Extract Groove).
2. Repeat for Break B.
3. In Groove Pool, you’ll have two grooves, e.g.:
- `BreakA_Extracted`
- `BreakB_Extracted`
Now program a 2-bar MIDI pattern on `Break Rack`.
Apply grooves selectively:
- `Clip 1 (A feel)`
- `Clip 2 (B feel)`
- Timing: 20–40% (DnB needs control)
- Velocity: 10–25%
- Random: 0–10%
- Base: 1/16
Core concept: Your “alternation” can be:
---
Step 6 — Create alternation patterns that actually roll 🚂
Here are 3 proven DnB alternation approaches:
#### A) “Ghost-note swap” (most musical)
Example idea (2-step base):
#### B) “Bar-to-bar lead break”
This gives the listener a subtle “drummer changes sticks” vibe without changing the beat.
#### C) “Call and response fills”
- Bar 4: 1–2 fill hits
- Bar 8: bigger fill + crash (or ride burst)
Arrangement tip: In DnB, fills land best in the last 1/2 bar or 1/4 bar of a phrase.
---
Step 7 — Tighten punch without killing groove (bus chain)
Group your Master Rack to a Drum Bus track.
On `Drum Bus`, use a stock chain like this:
1. EQ Eight
- HP filter: 30 Hz, 24 dB/oct (clean rumble)
- Gentle dip: 250–400 Hz if boxy (–2 to –4 dB)
- Optional presence: +1–2 dB at 3–6 kHz if hats need bite
2. Drum Buss
- Drive: 5–15% (taste)
- Crunch: 0–10% (careful on bright breaks)
- Transients: +5 to +20
- Boom: Off or very subtle (DnB subs usually live elsewhere)
3. Glue Compressor
- Attack: 3 ms (lets transients through)
- Release: Auto or 0.1–0.3 s
- Ratio: 2:1
- Aim for 1–3 dB gain reduction
4. Saturator (optional, darker weight)
- Mode: Analog Clip
- Drive: 1–4 dB
- Soft Clip: On
Parallel option (big roller energy):
- Overdrive → Drum Buss → EQ Eight (HP at 120 Hz)
- Send your drums at -15 to -8 dB for controlled aggression.
---
Step 8 — Micro-editing: make the alternation feel intentional
Now the advanced touch: small timing and envelope differences.
In the Master Drum Rack:
- Simpler → Amp Envelope:
- Decay: shorten by 10–30%
- Reduce velocity 10–25 vs main hits
- Use Track Delay (per track) if you split hats to a separate chain:
- Hats chain: +5 to +15 ms (late hats = roll)
- Ghost snare chain: +3 to +10 ms for funk drag
Key idea: Don’t nudge everything—nudge the alternation hits so they feel like a different limb.
---
4. Common mistakes
---
5. Pro tips for darker/heavier DnB 🖤
- Downsample: small amount
- Bit reduction: minimal
- Blend quietly for industrial texture.
- Duplicate snare slice chain → EQ Eight (band-pass 180–3k) → Saturator → blend low.
- It creates space and makes the roll feel faster without changing BPM.
---
6. Mini practice exercise (15 minutes) ⏱️
1. Choose two breaks only (A and B).
2. Slice both to racks and create a Master Rack.
3. Program a 2-bar pattern:
- Main snare stays from A
- Every offbeat hat alternates A/B
- Add 3 ghost hits from B (before snares)
4. Extract grooves from both breaks.
5. Apply Groove A to bar 1, Groove B to bar 2:
- Timing 30%, Velocity 15%
6. Bounce a 4-bar loop and ask:
- Does bar 2 feel like a different drummer but same track?
- If it feels messy, reduce groove Timing or simplify alternation.
---
7. Recap
If you want, tell me what style you’re aiming for (jungle/rollers/neuro/techstep) and I’ll suggest an exact alternation map (which hits to swap on which steps) plus a bus chain tailored to that vibe.
```

