Main tutorial
Lesson Overview
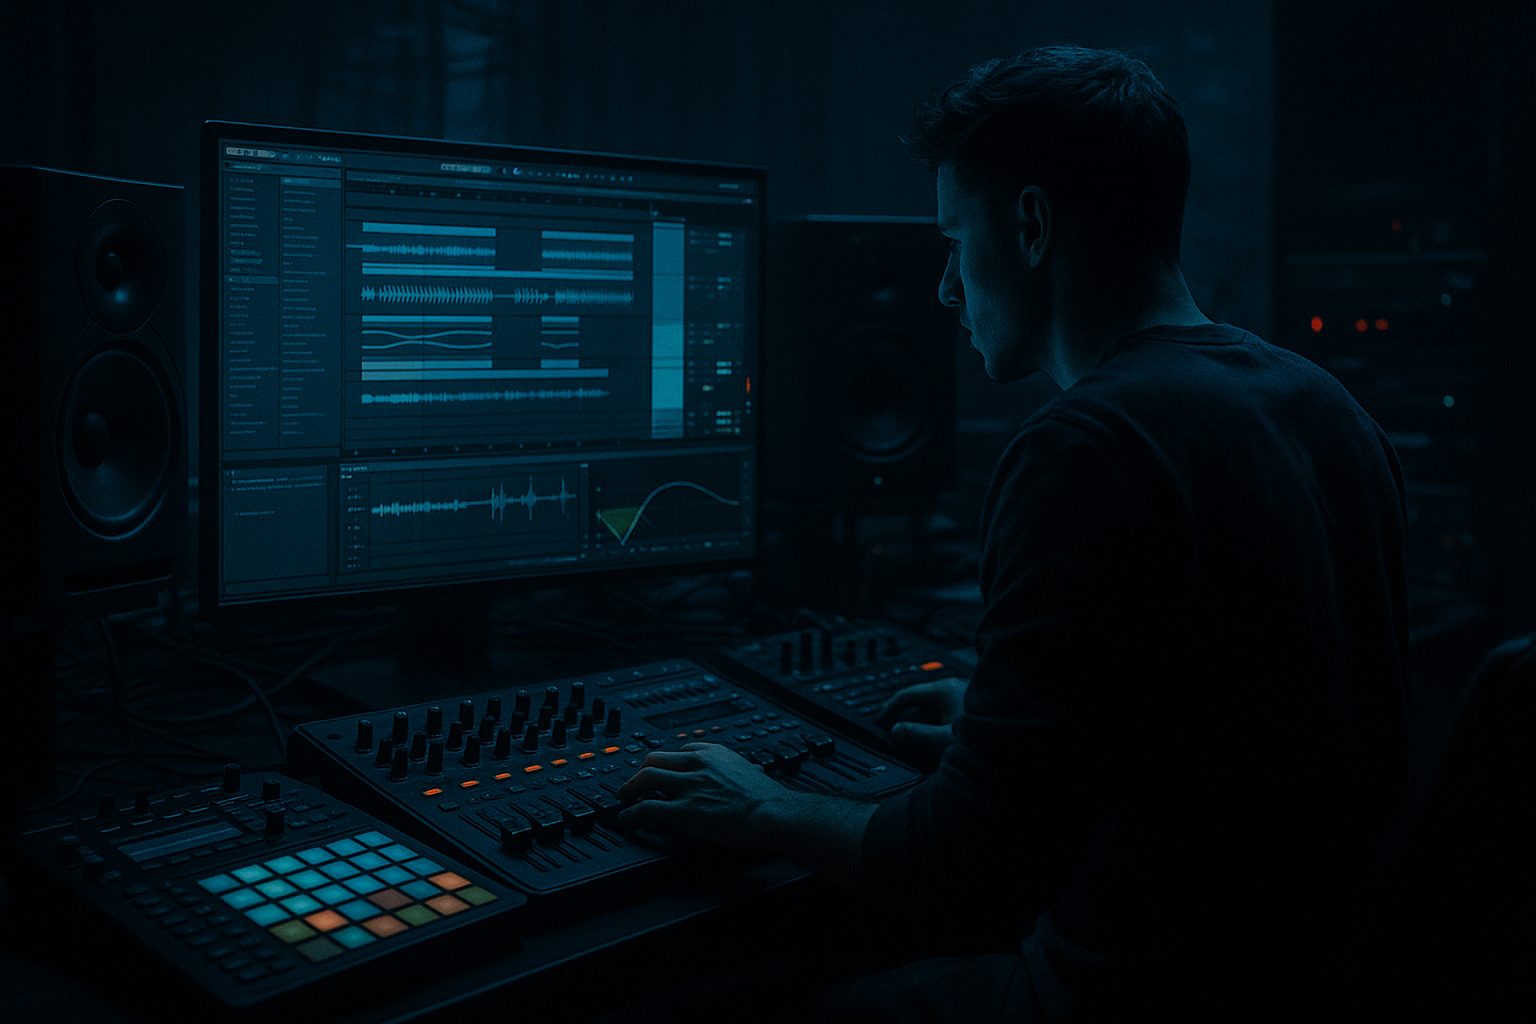
This lesson is about building a smoky warehouse-style drop for oldskool jungle / DnB in Ableton Live 12, with enough groove and grit to feel like it belongs in a dark system-heavy set, not a polished pop arrangement.
The focus is on the first 16 bars of the drop: how to make the drums hit with swing and attitude, how to let the bassline breathe without losing pressure, and how to arrange call-and-response so the drop feels alive rather than looped. In darker DnB, the drop is not just “when everything comes in” — it’s where you establish the relationship between breakbeats, sub, reese movement, and tension. If that relationship is locked, the whole track feels instantly more authentic.
Why this matters in DnB: the genre lives or dies on groove identity. A strong smoky drop doesn’t rely on constant layering; it relies on the right micro-timing, ghost notes, sub control, and contrast. You want the listener to feel the room, the air, and the movement in the drums and bass, while still having enough low-end discipline for the mix to survive on a system. 🎛️
---
What You Will Build
By the end of this lesson, you’ll have a 16-bar warehouse drop section with:
- A jungle-style break-led drum groove using chopped amen-style phrasing or similar break edits
- A sub bass foundation that stays mono and stable
- A mid-bass/reese layer that moves in call-and-response with the drums
- Atmospheric smoke and tension FX that support the drop without washing out the low end
- Arrangement switch-ups every 4 or 8 bars to keep the drop evolving
- A mix structure that leaves headroom, keeps kick/snare authority, and avoids low-end mud
- Set tempo to 172 BPM
- Create a 16-bar loop for the drop section
- Put a reference track on a separate audio track and loop a similar 16-bar drop
- Use Cue Volume and the Utility device on your reference track to keep comparisons clean
- How much of the drop is drums versus bass
- Whether the bass is constant or phrases in and out
- How much reverb and atmosphere exists before the listener actually notices it
- Drag an amen-style break into Simpler
- Set to Slice
- Trigger slices from a MIDI clip
- Use a pattern with strong backbeat placement and shuffled ghost notes
- Snare on 2 and 4
- Kick accents around 1, 1a, 3, and occasional pickup hits
- Ghost notes between snare hits to create bounce
- Keep some slices slightly loose rather than perfectly grid-locked
- Groove Pool: try a light swing groove, around 54–58% swing feel
- Quantize only the obvious hits; leave ghost notes and micro-fills more human
- Drum Buss on the break bus:
- Saturator before or after Drum Buss if you need extra bite:
- Drum Rack with a clean kick and snare
- Or a short one-shot snare to reinforce the main backbeat
- Kick sample: short decay, focused around 50–80 Hz
- Snare layer: center around 180–220 Hz for body, with a little 2–5 kHz for crack
- Use EQ Eight to carve space:
- Add Transient shaping with Drum Buss or a short Compressor attack if needed
- Route break edits and drum layers to a Drum Group
- Put Glue Compressor on the drum bus with gentle settings:
- Oscillator: sine
- Turn off unnecessary modulation
- Amp envelope:
- Keep it mono
- Use Portamento/Glide only if the phrase benefits from sliding notes
- Don’t write a constant drone
- Use short phrases that answer the drums
- Leave holes after snare-heavy moments
- Let some notes land just before or after the kick for groove tension
- Hit on bar 1 with a long note
- Pause on bar 1.3/1.4
- Re-enter on the offbeat after the snare
- Use a slight pickup into bar 3 or bar 7 for forward motion
- EQ Eight: low-pass if needed, but be careful not to dull the sub
- Saturator: subtle, to help the bass translate
- Utility: width at 0% on sub
- Check in mono regularly
- Two detuned saws in Wavetable
- Low-pass filter around 200–600 Hz, depending on how bright you want it
- Slight LFO movement on filter cutoff
- Add Auto Filter or the built-in filter section for modulation
- Detune: subtle, not hyperwide
- Filter resonance: moderate
- Drive: enough to add hair, not fuzz
- Modulation rate: slow, around 1/2 bar to 2 bars
- Saturator or Pedal for grit
- Multiband Dynamics only if you need to stabilize harsh mids
- EQ Eight to remove low-end overlap below the sub region
- Utility to narrow the low mids if the stereo image gets messy
- Let the reese answer the break every 2 bars
- Use longer notes in bars 1–4
- Switch to chopped stabs or syncopated hits in bars 5–8
- Bring in slightly more aggression in bars 9–12
- Bars 1–4: drums establish the groove, bass phrases sparingly
- Bars 5–8: add a second bass response or a variation in the drum chop
- Bars 9–12: introduce a fill, reverse hit, or bass twist
- Bars 13–16: reduce one element slightly and set up the next phrase
- Break fill on the last half of bar 4
- Bass answer starts on bar 5 with a longer note
- Snare ghost notes at the end of bar 6
- Reese stab lands on the “and” of 3 in bar 7
- Short dropout in bar 8 for tension
- Use clip duplication to create a base 4-bar loop
- Then intentionally mutate each 4-bar block
- Keep automation lanes visible
- Name your clips by function: “drums A,” “bass call,” “bass response,” “fill”
- Hybrid Reverb or Reverb
- High-pass the return heavily, around 300–600 Hz
- Keep decay moderate: roughly 1.2–2.5 s
- Use small pre-delay if needed, around 10–25 ms
- Vinyl crackle / room noise / field texture as a low-level audio layer
- Filtered noise risers using Auto Filter
- Reverse cymbal or reverse break slice into bar changes
- Short impact hits at phrase starts, but keep them tucked behind the drums
- Automate reverb send only on the end of a phrase
- Pull it back hard on the next bar so the drop resets
- Use Echo for occasional dubby tails on a snare fill, but keep feedback moderate
- 1-bar drum fill at the end of bar 4 or 8
- Pitch shift one break slice slightly down for a nasty accent
- Automate filter cutoff on the reese over 4 bars
- Automate Saturator drive by a small amount during tension moments
- Mute the sub for half a beat before a major hit to create impact
- Bass filter opens from 25% to 45% over 4 bars
- Reverb send rises briefly only on the last snare hit of a phrase
- Drum Buss transient amount increases slightly before a fill
- Utility gain on the bass dips by 1–2 dB in dense sections if the low end gets crowded
- Kick/snare clarity
- Sub mono and stable
- Break grit without harshness
- Reese width above the sub, not in it
- Put EQ Eight on every major element
- Use Utility on sub to confirm mono
- Check the master with no limiter first
- Aim to leave enough headroom so the drop can breathe; don’t crush it early
- Solo drums and bass together only briefly, then listen in full context
- If the snare is masked, cut bass around the snare fundamental zone slightly
- If the reese is edgy, tame 2–5 kHz with a narrow EQ cut
- If the low end feels blurry, reduce overlap between kick, sub, and bass body
- Making the break too quantized
- Letting the sub and reese fight in the same octave
- Overusing reverb on drums
- Writing bass that plays nonstop
- Using too much distortion too early
- Ignoring phrase structure
- Layer a clipped break with a cleaner top break so you get grit without losing transient definition.
- Use Drum Buss on the break group with low Boom and controlled Transients to keep the kit punching.
- Resample your bass movement once you like the sound, then chop it into response phrases. This gives a more intentional oldskool feel.
- Automate Filter frequency on the reese very slowly across 8 bars for underground tension.
- Use a tiny amount of stereo on the upper bass only; keep everything below roughly the low bass region mono.
- Dark ambience works best when filtered. High-pass your atmospheres aggressively so they feel like smoke, not mud.
- Let one element feel “late” sometimes — a slightly delayed ghost hit or bass reply can make the groove feel more human and dangerous.
- Use a short mute before a phrase hit to create weight. Silence is a weapon in DnB.
- Build the drop around a chopped break with groove
- Keep the sub mono, simple, and phrase-aware
- Use a reese or mid-bass for movement and tension
- Structure the drop in 4-bar call-and-response sections
- Add atmosphere and FX with restraint
- Mix for headroom, clarity, and low-end discipline
Musically, think of a track sitting around 170–174 BPM, with a drop that could sit after a dark intro and breakdown: maybe a 4-bar tension build, then a 16-bar drop where bar 1 lands hard, bars 5–8 add variation, bars 9–12 introduce a new fill or bass response, and bars 13–16 begin the next phrase or set up the second drop.
---
Step-by-Step Walkthrough
1) Set the drop grid and choose your reference vibe
Start by deciding the exact flavor of “smoky warehouse” you want. For this lesson, aim for a dark oldskool jungle / roller hybrid: gritty breaks, minimal but weighty bass, and plenty of space.
In Ableton Live 12:
What to listen for:
Why this works in DnB: reference-based arrangement helps you avoid overfilling the drop. DnB drops often feel huge because they’re selective, not crowded. If you can identify what occupies the first 2 bars, the next 2 bars, and the 8-bar evolution, you’ll make faster decisions.
---
2) Build the drum core with a chopped break and a solid snare anchor
Create an Audio track for your break loop or sample, then use Simpler in Slice mode if you want more control over individual hits. For a more oldskool feel, choose a break with strong snare presence and some room noise.
Suggested workflow:
A practical starting groove:
Ableton tools to use:
- Drive: 5–15%
- Boom: very subtle, or off if sub is already busy
- Transients: +5 to +15
- Soft Clip on
- Drive around 2–6 dB
Keep the break fairly dry at first. You can add room later.
---
3) Add a separate kick/snare support layer for weight and consistency
Even in jungle-inspired drops, the sampled break alone often won’t give enough modern pressure. Layer a controlled kick or snare support track underneath.
Use:
Suggested settings:
- High-pass snare layer below 120 Hz
- Cut muddy resonance around 250–400 Hz
Workflow tip:
- Ratio 2:1
- Attack 10–30 ms
- Release Auto or 0.1–0.3 s
- Aim for only 1–2 dB of gain reduction
This gives the drop a stable spine without killing the break’s character.
---
4) Design the sub: keep it simple, mono, and phrase-aware
Create a MIDI track for the sub using Operator or Wavetable. For classic DnB sub, Operator is ideal because it’s clean and fast.
Recommended Operator starting point:
- Attack: 0–5 ms
- Decay: short to medium
- Sustain: full or near full
- Release: 40–120 ms
Bass phrasing:
A good smoky warehouse pattern might:
Processing chain:
Why this works in DnB: sub needs to feel like a physical foundation, not a melodic lead. In a warehouse vibe, the sub should be strong enough to support the break, but restrained enough to leave room for the snare crack and the smoky atmosphere above it.
---
5) Add a reese or mid-bass layer for dark movement
Now create the character layer. This is where the drop starts sounding like DnB instead of just drums plus sine.
Use Wavetable, Analog, or Operator with unison-style movement if desired. A practical Ableton-native reese approach:
Suggested settings:
Process the reese:
Arrangement idea:
For a smoky warehouse feel, the reese should feel like fog moving through metal, not a bright lead line.
---
6) Use call-and-response between drums and bass
This is the heart of the drop. Don’t let everything play at once all the time. Build a conversation.
Create a simple arrangement map:
Practical call-and-response example:
Ableton workflow:
This keeps the drop feeling composed, not looped.
---
7) Shape atmosphere and FX without washing out the groove
Smoky warehouse vibes come from space, but too much reverb kills the impact. The trick is using atmosphere as a frame, not a blanket.
Create a return track with:
Add subtle FX:
Good move:
A smoky warehouse drop should feel like air is swirling around the kit, not sitting on top of it.
---
8) Add variation with fills, edits, and tiny automation moves
A strong DnB drop evolves through small changes. Don’t wait until the breakdown to change things.
Use these variation tools:
Useful automation ideas:
Keep the variation subtle. In underground DnB, tiny changes read as sophistication.
---
9) Mix the drop for impact and headroom
Once the arrangement works, focus on balance.
Mix priorities:
Ableton stock workflow:
Helpful checks:
A good DnB drop often feels loud because the low end is disciplined and the transient information is sharp.
---
Common Mistakes
Fix: leave ghost notes slightly loose and use light swing instead of rigid grid timing.
Fix: keep the sub mono and clean; carve low mids from the reese with EQ Eight.
Fix: high-pass reverb returns and automate sends only at phrase endings.
Fix: create holes for snare impacts and let the groove breathe.
Fix: add saturation in stages, then check that the snare still cuts and the sub still reads.
Fix: organize the drop into 4-bar sections so the listener gets motion and payoff.
---
Pro Tips for Darker / Heavier DnB
---
Mini Practice Exercise
Spend 10–20 minutes building a basic smoky warehouse drop using only Ableton stock tools.
1. Set tempo to 172 BPM.
2. Create a 4-bar drum loop from a chopped break in Simpler.
3. Add a kick/snare support layer with a Drum Rack.
4. Program a simple Operator sub line with 3–5 notes.
5. Add a Wavetable reese that only answers on select bars.
6. Put Drum Buss on the drum group and Utility on the sub.
7. Add one atmospheric return with Hybrid Reverb.
8. Duplicate the 4-bar loop to make 16 bars.
9. Change one detail every 4 bars:
- a fill
- a bass pause
- a filter sweep
- a reverb throw
10. Listen in mono and ask:
- Does the snare still hit?
- Is the sub clear?
- Does the drop evolve?
Goal: by the end, your drop should already feel like a real section, not just a loop.
---
Recap
The core of a smoky warehouse DnB drop is groove, space, and controlled aggression.
Remember the essentials:
If the drums breathe, the bass talks back, and the arrangement keeps evolving in small ways, you’ll get that dark oldskool energy that feels right in a warehouse system.

