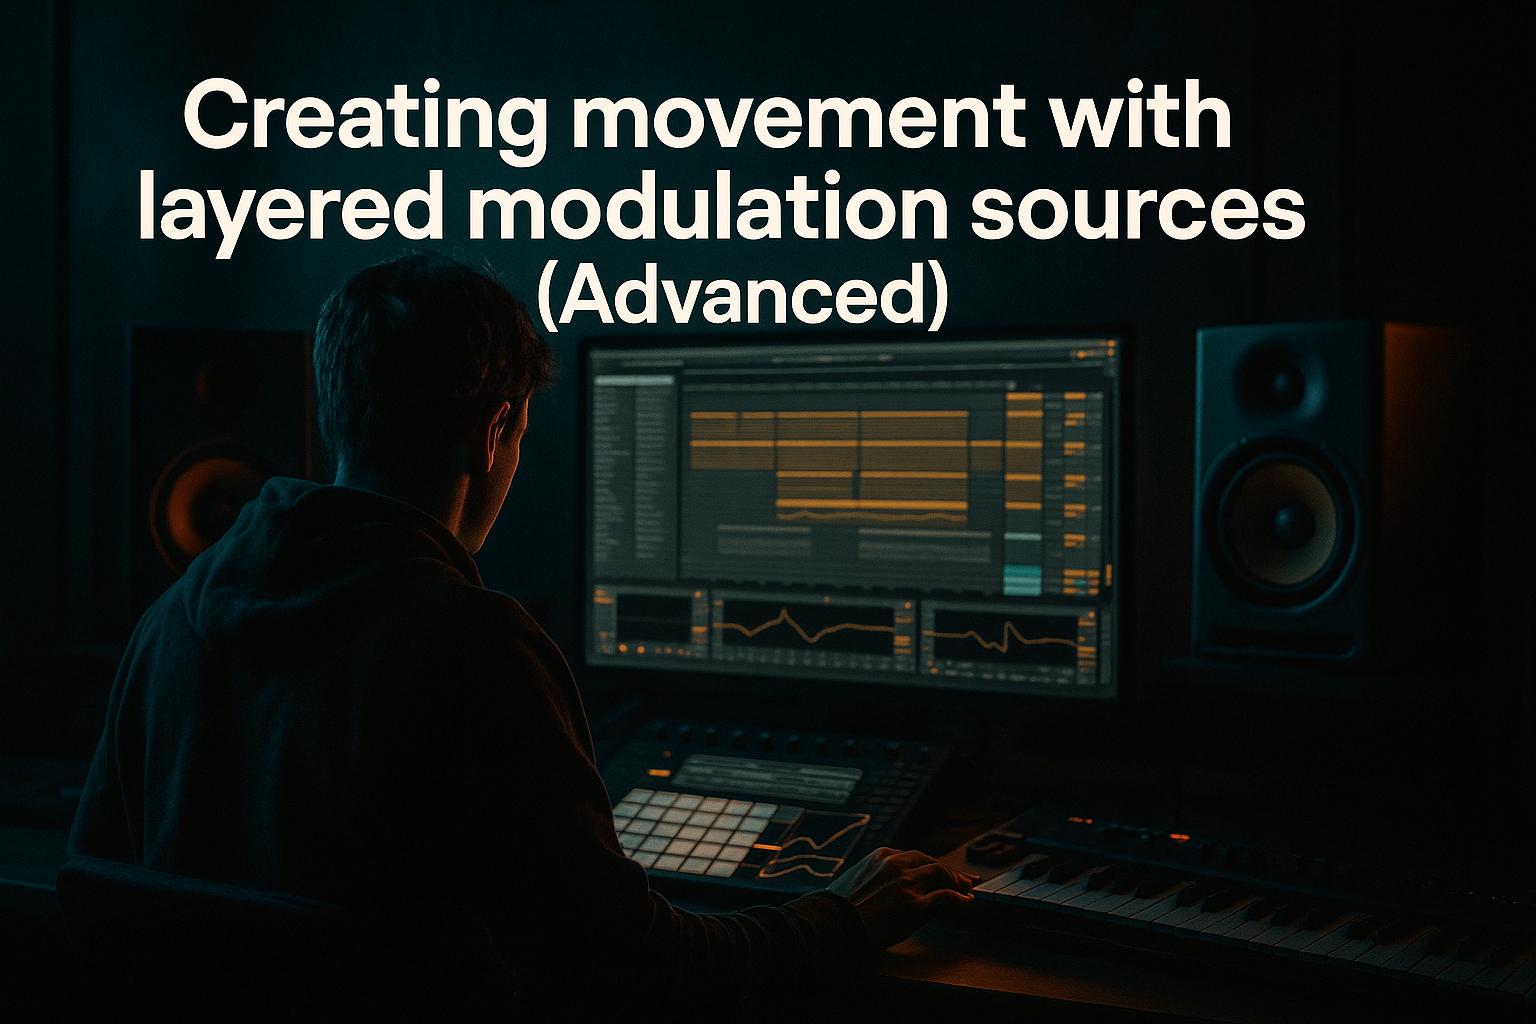
Main tutorial
```markdown
Guide: Snare Snap for Rewind‑Worthy Drops (Oldskool Jungle / DnB) in Ableton Live 12 🥁⚡
1) Lesson overview
The “rewind snare” in jungle/DnB isn’t just loud—it’s fast, bright, tight, and emotionally timed. In this lesson you’ll build a snare that snaps on small speakers, cuts through a rolling bassline, and hits hardest right at the drop—using Ableton Live 12 stock devices and a workflow that’s reliable at intermediate level.
We’ll focus on:
- Layering (body + crack + noise)
- Transient shaping + saturation
- Parallel smack
- Classic jungle timing (ghosts + pre-drop impact)
- Mix placement (EQ, space, and phase)
- Layer A (Body): short snare/tom-ish mid punch (150–250 Hz)
- Layer B (Crack): rimshot/909-ish top snap (2–8 kHz)
- Layer C (Noise): fast burst for air + aggression (7–12 kHz)
- A parallel “Snap Bus” for extra bite
- A drop impact moment (pre-drop tail/reverb automation + tight at drop)
- A ghost-note groove that makes the main hit feel bigger
- Put a Simpler on the snare pad (Layer A).
- Group it (Cmd/Ctrl+G) → now you have an Instrument Rack.
- In the rack, create 3 chains: `Body`, `Crack`, `Noise`.
- Put a Simpler in each chain.
- Sample type: short snare with mid meat or even a tight tom/snare hybrid.
- In Simpler:
- Add EQ Eight:
- Sample type: rimshot, 909/707-ish snare, or a tight acoustic crack.
- Simpler settings:
- Add Saturator (stock, perfect for snap):
- HP at ~250–400 Hz
- Add a presence bell +2 to +5 dB at 3.5–6 kHz
- If harsh, notch slightly 7–9 kHz
- Create noise quickly:
- Add Auto Filter:
- Add Gate:
- Put Drum Buss on the snare rack track (not per-layer yet).
- Add Multiband Dynamics
- Use only the High band:
- This makes the crack speak without overcooking the whole hit.
- Bars 1–8: drums building, snare verb send slowly rising
- Bar 8 (last beat): 1-beat pause or tape-stop on breaks (optional)
- Drop (bar 9): first snare hit is dry, bright, and slightly louder
- Bars 9–16: reintroduce small verb + parallel snap gradually
- Automate Utility gain on the snare rack: +0.5 to +1.5 dB on the first 2/4 of the drop only.
- Mute ghost notes for the first bar of the drop (let the main hit stand alone).
- Too much low end in the snare: it fights the kick/sub and feels slower. HP your crack/noise layers hard.
- Over-saturating the whole snare: you’ll get fizzy hash instead of snap. Do heavy distortion in parallel.
- Long reverb tails in the drop: it smears your transients and kills the “forward” feel.
- Ignoring phase: layering without alignment can remove punch even if it’s louder.
- No contrast: if the snare is equally wet/loud all the time, the drop won’t feel like a moment.
- Make the crack narrower: put Utility on Crack layer → Width 60–90% (keep body more mono).
- Add a tiny metallic tick: a super-short foley click layered at -20 dB can add “knife edge.”
- Dynamic control without killing transients:
- Carve space in the bass (huge in darker rollers):
- Break topping: blend a filtered break snare on top:
- Slight pitch drift for movement:
- Build snap with layer roles: Body (weight) + Crack (attack) + Noise (air) 🥁
- Win the punch by aligning phase/timing and keeping tails controlled.
- Use Drum Buss Transients for quick snap, and parallel processing for aggression without ruining clarity.
- Create rewind impact with contrast: wetter before drop, dry and sharp at the drop.
- Jungle/DnB magic comes from ghost notes, groove extraction, and tiny edits—not just loudness.
---
2) What you will build
A 3-layer snare rack designed for oldskool/jungle vibes:
Plus:
---
3) Step-by-step walkthrough
Step 0 — Session context (so you’re building the right snare)
1. Set tempo to 165–174 BPM (try 170 BPM).
2. In Arrangement View, lay a basic 2-step-ish grid:
- Kick on 1 and “& of 2” (classic DnB feel)
- Snare on 2 and 4
3. Use a break loop as reference (optional but very jungle):
- Drop a break (Amen/Funky Drummer style) into audio.
- Warp mode: Beats, Preserve: Transients, set Envelope 0–20.
This gives you a target: your snare must compete with break energy.
---
Step 1 — Build a Snare Rack (clean workflow)
1. Create a MIDI Track → load Drum Rack.
2. Choose a pad (e.g., D1) for your snare.
3. Drop in three Simplers on the same pad by creating Instrument Racks:
Method (fast):
✅ Why: You’ll control layers with chain volumes, filters, and phase-safe processing.
---
Step 2 — Pick and shape the layers (oldskool-leaning choices)
#### Layer A: Body (weight + punch)
- Classic mode
- Snap on (for tight start)
- Start: adjust so transient hits immediately
- Fade In: 0–2 ms (just enough to avoid clicks if needed)
- Length: keep tight; aim 90–170 ms total tail for DnB punch
- HP filter at ~90–120 Hz (24 dB/oct)
- Gentle bell boost +2 to +4 dB at 180–220 Hz if it’s too thin
- Dip 300–450 Hz if it gets boxy
Goal: Body gives “thunk” without eating your kick + sub.
---
#### Layer B: Crack (the “rewind” snap)
- Tighten: shorten Decay/Length so it’s 30–90 ms
- Pitch: try +1 to +3 semitones if it needs more urgency
- Mode: Analog Clip
- Drive: +2 to +6 dB
- Output: trim to match level
- Enable Soft Clip if it’s spiky
Then EQ Eight:
Goal: This is the layer that makes the snare talk through dense bass.
---
#### Layer C: Noise (air + edge, jungle-style)
- Add Operator (or another Simpler with a noise sample).
- In Operator, use Noise oscillator.
- Envelope: Attack 0 ms, Decay 40–110 ms, Sustain -inf, Release 30–80 ms
- Filter: HP 12 dB
- Cutoff: 6–9 kHz
- Resonance: low (0.3–0.7)
- Threshold: set so it opens only on snare hits
- Return: fast (keep it snappy)
Goal: This gives “spray paint” on top—small speakers love it.
---
Step 3 — Phase + timing alignment (this is where snap is won) 🧠
Layering can kill punch if transients don’t align.
1. Solo Body + Crack.
2. Zoom in on the waveform (Arrangement) by recording a bar of snare hits to audio:
- Resample the snare rack to an audio track (quick bounce).
3. If the transient peaks are offset:
- In each Simpler, nudge Start slightly.
- Or use Track Delay (bottom right of mixer in Live):
- Nudge Crack by -1 to -5 ms if it’s late
- Nudge Body by +1 to +5 ms if it’s too early
4. Flip polarity if needed:
- On one layer, add Utility → click Phase Invert L/R
- Pick the setting that gives more “thwack” immediately.
Goal: combined transient should feel sharper, not bigger-but-blurry.
---
Step 4 — Transient shaping (stock devices only)
Ableton doesn’t have a dedicated transient shaper stock, but you can get there:
Option A (clean and effective): Drum Buss
- Drive: 2–10% (small moves)
- Crunch: 0–15% (careful)
- Transients: +10 to +35 (this is your snap knob)
- Boom: Off (usually—Boom can fight the kick/sub)
- Damp: adjust if too bright
Option B (more control): Multiband Dynamics as “snap enhancer”
- Set crossover around 3–4 kHz
- High band: mild upward compression:
- Threshold: ~-30 to -20 dB
- Ratio: 1.3:1 to 2:1
- Attack: 1–5 ms
- Release: 40–120 ms
---
Step 5 — Parallel “Snap Bus” (the secret weapon) 💥
Parallel processing keeps the main snare clean while a crushed copy provides aggression.
1. Create a Return track named `SNAP`.
2. On the return, add this chain:
SNAP Return Chain (stock)
1) EQ Eight
- HP: 250–400 Hz
- Gentle shelf boost: +2 to +5 dB at 6–10 kHz
2) Saturator
- Analog Clip, Drive +6 to +12 dB, Soft Clip ON
3) Glue Compressor
- Attack: 0.3 ms
- Release: Auto
- Ratio: 4:1
- Threshold: aim for 3–7 dB gain reduction
4) Optional: Drum Buss
- Transients: +10–25
3. Send your snare to `SNAP` at around -18 to -10 dB send level.
4. Bring the return fader up until it feels “present” but not fizzy.
Goal: main snare stays punchy; parallel provides that “radio-ready slap.”
---
Step 6 — Space: classic jungle reverb trick (big before drop, tight after)
Oldskool vibe often has short rooms or gated verbs, but drops need tightness.
1. Create a Return named `SNARE VERB`.
2. Add Hybrid Reverb:
- Algo: Room or Plate
- Decay: 0.4–0.9 s (oldskool short!)
- Pre-delay: 10–25 ms (keeps snap intact)
- HP filter in reverb: 300–600 Hz
- LP filter: 7–10 kHz to avoid harsh fizz
3. Add Gate after Hybrid Reverb (gated reverb feel):
- Threshold: set so it clamps tail quickly
- Return: fast
4. Automate for the drop:
- In the bar before the drop, raise snare verb send for a “lift”
- At the drop, pull it down so the first snare is dry and deadly
That contrast is a rewind trigger.
---
Step 7 — Groove: ghosts and little edits (jungle attitude) 🎛️
A snap snare feels bigger when the groove supports it.
1. Add ghost notes on the snare lane:
- Place very low-velocity hits just before 2 and/or 4 (like 1/16 or 1/32 early).
- Velocity: 10–35 (keep subtle)
- You can trigger only the Noise layer for ghosts by using chain selector mapping or by duplicating a “ghost snare” pad.
2. Add one-time edits before the drop:
- Snare flam: two hits 10–25 ms apart
- Pitch drop: automate Simpler Transpose on the Crack layer down -2 to -5 st into the first drop hit
3. Use Groove Pool:
- Extract groove from a break (right-click loop → Extract Groove)
- Apply to your snare MIDI at 20–40% strength
- Keep timing human but not sloppy.
---
Step 8 — Arrangement moves for rewind-worthy impact
Try this 16-bar structure:
Two small but massive moves:
---
4) Common mistakes
---
5) Pro tips for darker/heavier DnB 🖤
- Use Glue Compressor with Attack 3–10 ms, Release Auto, just 1–3 dB GR on the main snare.
- On bass group, use EQ Eight dip 2–5 kHz a touch so the snare crack owns that zone.
- HP the break at 300–500 Hz, keep just the grit and air.
- Modulate Crack layer pitch ±3 to ±8 cents with subtle random (LFO if available, or manual clip automation).
---
6) Mini practice exercise (15–20 minutes) 🎯
1. Build the 3-layer rack exactly as above.
2. Create three versions of the snare:
- A: Dry/clean (minimal verb, light snap bus)
- B: Classic jungle (gated short verb, a bit more noise)
- C: Dark roller (more mid punch, narrower top, heavier parallel)
3. For each version, do a 4-bar drop test:
- Bar 1: dry snare
- Bar 2–4: add a touch of verb + snap bus
4. Bounce each to audio and level-match them (use Utility to match perceived loudness).
5. Choose the best one based on how it feels at the drop, not solo.
---
7) Recap
If you want, tell me your tempo + reference track (e.g., early Moving Shadow, Metalheadz, 95–97 jungle) and I’ll suggest a snare tuning range and a rack macro layout for fast iteration.
```

