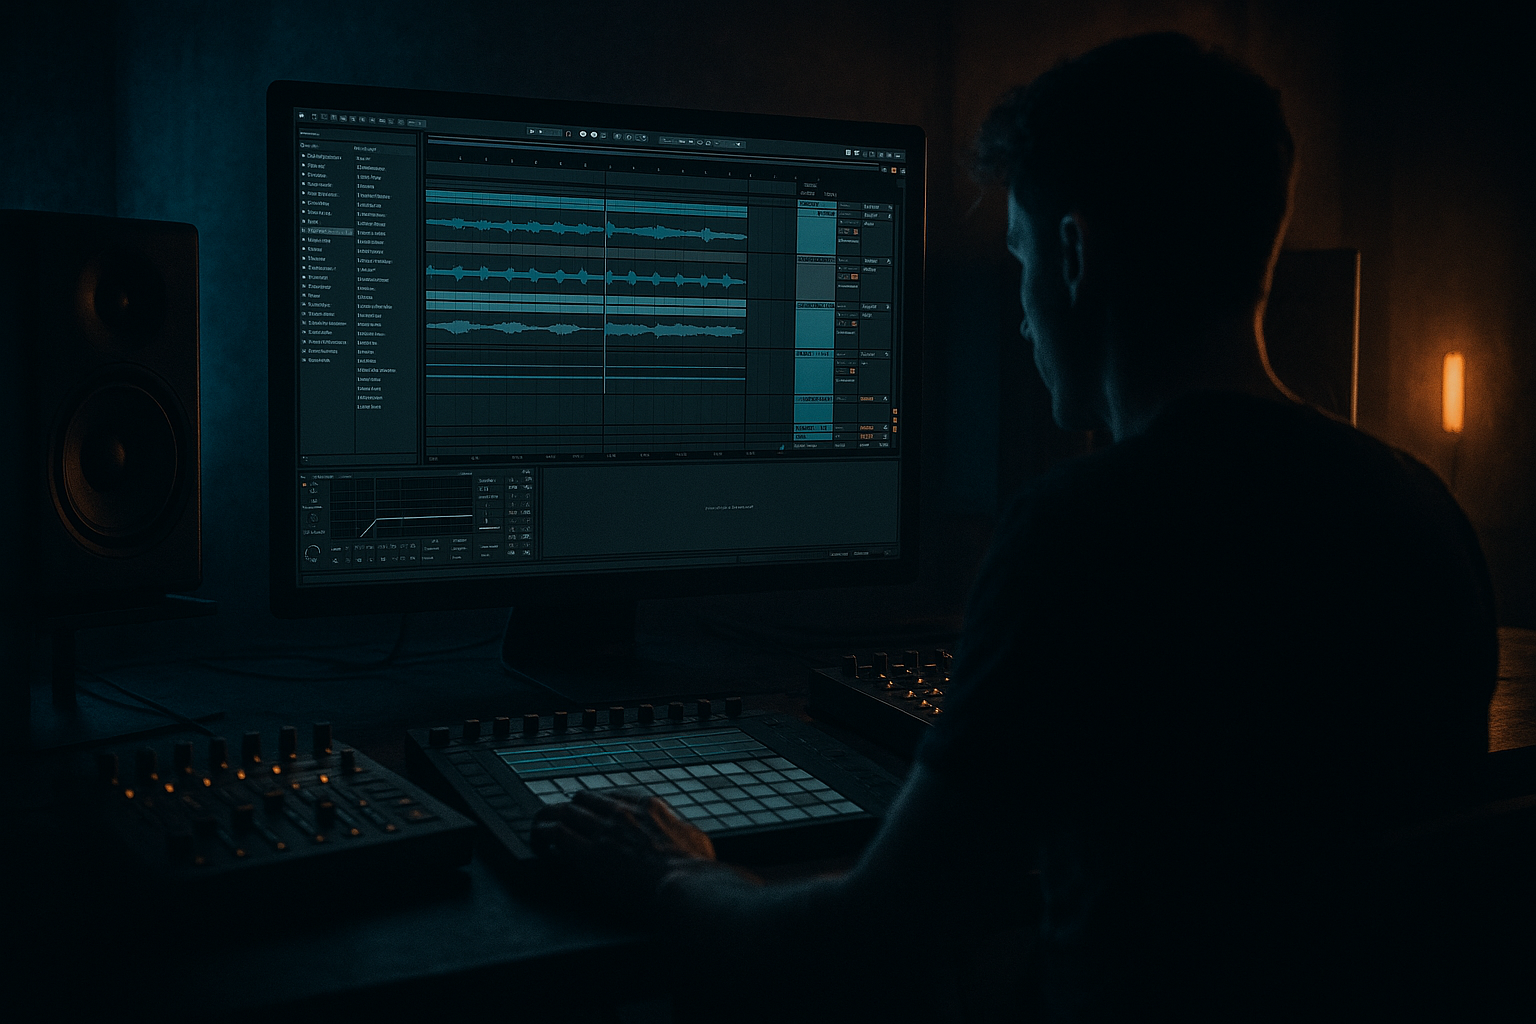
Main tutorial
```markdown
Headroom for Mastering (From Scratch) — Pirate-Radio Energy in Ableton Live 📻🔥
Category: Mixing
Level: Intermediate (DnB/jungle/rolling bass producers)
---
1. Lesson overview
In drum & bass, loud isn’t just about crushing the limiter—it's about building controlled, aggressive energy that survives mastering. This lesson shows you how to mix with intentional headroom while keeping that pirate-radio, clipped, forward vibe: punchy breaks, weighty subs, snarling reese, and a mix that can be mastered hard without falling apart.
You’ll learn:
- What headroom actually means in modern DnB
- A clean, repeatable gain-staging workflow in Ableton Live
- How to get “broadcast” density without destroying transient impact
- Practical device chains using stock Ableton tools
- Drum bus that hits hard (break + kick/snare), controlled peaks
- Bass system split (SUB / MID) for consistent low-end
- A mix that peaks around -6 dBFS on the master (pre-master chain)
- Optional “pirate radio” monitor chain so you can vibe-check loudness without committing it
- Your track feels energetic and dense, but your master has enough space to push into a limiter later.
- On every new audio/MIDI track, drop Utility first in the chain.
- Set a default trim like -10 dB to -12 dB on Utility.
- Kick peaks: around -10 to -8 dBFS
- Snare peaks: around -10 to -7 dBFS (often the loudest transient in DnB)
- Drum bus peaks: around -8 to -6 dBFS
- Master peak (no limiter): around -8 to -6 dBFS by the drop
- Mix with it on to feel the pressure ✅
- Then turn it off regularly and ensure the mix still holds ✅
- Before exporting for mastering: bypass the whole monitor chain.
- Put your break on its own track.
- Put kick and snare (one-shots) on separate tracks.
- Group all into DRUMS.
- SUB (sine/clean)
- MID BASS (reese/growl layers)
- Put a ghost kick (MIDI) on a muted track (or use the real kick).
- On SUB, add Compressor:
- In the first 8 bars of the drop, avoid adding all layers at once.
- Use call/response between reese phrases and drum fills.
- Keep the sub constant, but automate the mid bass intensity.
- Bar 1–8: main groove + core bass
- Bar 9–16: add hats/shaker layer + extra mid bass octave
- Bar 17–24: add a distorted stab or foghorn hit
- Bar 25–32: pull something out (negative space = perceived loudness)
- With your monitor chain OFF, your master should peak around -8 to -6 dBFS.
- If it’s higher:
- Disable/bypass any Limiter on the master (and most “loudness” processing).
- Leave gentle glue/saturation only if it’s essential to the sound.
- Export:
- Use Saturator as a peak manager
- Clip the snare (tastefully)
- Mid-bass aggression without killing headroom
- Use reverb like fog, not wash
- Tighten breaks with transient control
- Headroom for mastering in DnB isn’t “quiet”—it’s controlled peaks and intentional density.
- Start every track with Utility trim so layers don’t stack into clipping.
- Use soft clipping/saturation on drums and bass mids to keep energy while lowering peak spikes.
- Split bass into SUB (mono, controlled) and MID (distorted, aggressive).
- Use a monitor-only loudness chain to chase pirate-radio hype safely.
- Aim for -8 to -6 dBFS peak on the master with the monitor chain OFF—your mastering stage will hit harder and cleaner.
---
2. What you will build
A master-ready DnB mix template (starting from zero) with:
Target result:
---
3. Step-by-step walkthrough
Step 0 — Project setup (so headroom is easy) ✅
1. Sample rate: 44.1k or 48k (either fine—just be consistent).
2. Tempo: 172–175 BPM (classic).
3. Turn on Warp for loops. Use Complex Pro sparingly; for breaks usually Beats mode.
4. Set up groups early:
- DRUMS (Group)
- BASS (Group)
- MUSIC (Group) (pads, stabs, atmos)
- FX (Group)
- VOCALS (if any)
- PREMASTER return track (optional routing trick below)
Ableton tip: Color-code groups and keep peak meters visible. Headroom is a visual sport too.
---
Step 1 — Build your headroom baseline (gain staging from bar 1) 🎛️
The fastest way to lose headroom: starting everything too hot.
Do this first:
Why?
DnB layering adds up quickly—especially breaks + tops + bass mids. Starting quieter keeps you from mixing into accidental clipping.
Targets (rough but practical):
> You are not aiming for “quiet.” You’re aiming for space to shape.
---
Step 2 — Create a “Pirate Radio” monitoring chain (loud vibe, safe mix) 📻
You want that hyped density while mixing, but you don’t want to bake in bad decisions.
Set up a MONITOR chain on the Master, but keep it easy to bypass:
Master chain (monitoring only):
1. Utility (gain = 0; use as an on/off switch)
2. Glue Compressor
- Attack: 10 ms
- Release: Auto
- Ratio: 2:1
- Threshold: aim for 1–2 dB gain reduction on loud sections
- Make-up: off (manually adjust if needed)
3. Limiter
- Ceiling: -1.0 dB
- Lookahead: 1 ms
- Aim for only 1–4 dB reduction for monitoring
Workflow rule:
This gives you pirate-radio energy without painting yourself into a corner.
---
Step 3 — Drum headroom: make it hit hard without peak chaos 🥁
DnB drums often peak aggressively—especially breaks. We want “slam” but controlled.
#### A) Break + One-shot layering (classic rolling approach)
Break track chain (stock):
1. EQ Eight
- High-pass around 30–40 Hz (get rid of sub-rumble)
- Optional small dip at 200–350 Hz if boxy
2. Drum Buss
- Drive: 2–6
- Crunch: 0–20% (taste)
- Boom: Off or very subtle (Boom can steal headroom)
- Transients: +5 to +20 depending on break
3. Glue Compressor (optional)
- Attack: 3–10 ms
- Release: 0.1–0.3 s or Auto
- Aim: 1–3 dB GR
#### B) Drum bus control (where headroom is won)
On the DRUMS group:
1. EQ Eight
- Very gentle cleanup, don’t over-EQ groups
2. Glue Compressor
- Ratio 2:1
- Attack 10 ms (let transients through)
- Release Auto
- Aim: 1–2 dB GR for “gel”
3. Saturator
- Mode: Soft Sine or Analog Clip
- Drive: 1–4 dB
- Turn on Soft Clip (important)
4. Limiter (optional “safety,” not loudness)
- Ceiling: -1 dB
- Only catching rare spikes: <1 dB reduction ideally
Key concept:
Saturation/soft clipping on drums can reduce peak height while keeping perceived punch. That’s the pirate-radio trick: density without losing impact.
---
Step 4 — Bass headroom: split SUB and MID like a grown-up 🐍
Low end eats headroom. If your sub isn’t controlled, your master won’t be.
#### A) Create two bass tracks:
Group them into BASS.
#### SUB chain:
1. Instrument (Operator is perfect)
- Sine wave
- Add a tiny bit of saturation later (not in the synth)
2. EQ Eight
- Low-pass around 80–120 Hz (depends on your sound)
- Remove anything above that if you want a pure sub
3. Saturator
- Drive 1–3 dB
- Soft Clip On
4. Utility
- Mono: Width 0%
- Gain trim to sit right
Sub target: consistent, not huge.
Let it read on meters without dominating peaks.
#### MID BASS chain:
1. EQ Eight
- High-pass around 80–120 Hz (make room for SUB)
2. Saturator or Overdrive
- Overdrive can add nasty harmonics (great for darker DnB)
3. Compressor (or Glue)
- Use to stabilize mid movement if needed (1–3 dB GR)
4. Utility
- If stereo is wide, keep it controlled below ~200 Hz (see next note)
Low-end width rule:
Anything below 120 Hz should be mono.
If your MID layer has low junk, high-pass it harder.
---
Step 5 — Sidechain the right way (energy + headroom) 🫀
Sidechain isn’t just “pump.” In DnB it’s space management.
Classic routing:
- Sidechain input: Ghost Kick
- Ratio: 4:1
- Attack: 0.5–3 ms
- Release: 40–120 ms (set to groove with tempo)
- Threshold: get 2–6 dB ducking
On MID BASS, do a lighter version (1–3 dB).
This reduces low-frequency pileups → more headroom → louder master later.
---
Step 6 — Arrangement decisions that preserve headroom (and hype) 🧨
Headroom isn’t only mixing—it’s arrangement.
Drop design tips:
Practical move:
Perceived loudness increases when contrast exists. If everything is maxed all the time, mastering has nowhere to go.
---
Step 7 — Check your master peak and “pre-master export” 📦
When your drop hits:
- Don’t pull the master fader down first.
- Instead, reduce the loudest groups: usually DRUMS or MID BASS by 1–3 dB.
Export for mastering:
- WAV/AIFF
- 24-bit (or 32-bit float if you prefer)
- No normalization
- Dither: off (unless final 16-bit delivery)
---
4. Common mistakes ⚠️
1. Mixing into a hard limiter from the start
You’ll overpush mids, lose transient punch, and masking gets worse.
2. Sub not mono / uncontrolled low end
Stereo sub = unstable headroom and weak translation on club systems.
3. Boosting lows to feel weight
Weight is often controlled 50–80 Hz + harmonics, not giant sub peaks.
4. Over-compressing drum groups
If your snare stops snapping, you’ll chase loudness with more gain (bad loop).
5. Too many layers in the same band
Three “top loops” + hats + rides = harshness and no extra energy.
---
5. Pro tips for darker/heavier DnB 🕶️
Soft Clip on drums and bass mids can give that “pirate broadcast” density.
A clipped/snapped snare reads louder without huge peaks. Try:
- Saturator (Analog Clip, Soft Clip ON, Drive 3–6 dB)
Then reduce output to match level.
Distort mids, not subs:
- High-pass MID BASS at 100 Hz
- Go harder with Overdrive / Amp (stock)
Your master limiter will thank you.
Dark DnB likes space, but reverb adds RMS fast.
- Put reverb on Return, filter it (EQ Eight), and keep it subtle.
If a break is too spiky, Drum Buss transients and mild saturation often beat heavy compression.
---
6. Mini practice exercise 🎯 (20 minutes)
Goal: Build a drop that peaks at -6 dBFS with monitor chain OFF, but feels “radio-loud” with it ON.
1. Load:
- 1 break loop
- 1 kick one-shot pattern
- 1 snare one-shot
- Sub (Operator sine)
- Reese (any synth/sample)
2. Put Utility -12 dB on each track.
3. Make an 8-bar drop loop.
4. Build chains:
- Break: EQ Eight → Drum Buss
- Drums group: Glue → Saturator (Soft Clip)
- Sub: EQ Eight (LP) → Saturator → Utility (mono)
- Mid: EQ Eight (HP) → Overdrive
5. Add sidechain ducking on SUB (2–6 dB).
6. Create the Master monitor chain (Glue → Limiter).
7. Check:
- Monitor OFF: master peak near -6 dBFS
- Monitor ON: feels loud and glued, limiter doing 1–4 dB max
Write down what you adjusted to hit the target (drums vs bass vs arrangement).
---
7. Recap ✅
If you want, tell me your current drum+bass chain (or drop a screenshot of your Ableton mixer), and I’ll suggest exact gain trims and where you’re likely losing headroom.
```

