Main tutorial
Lesson Overview
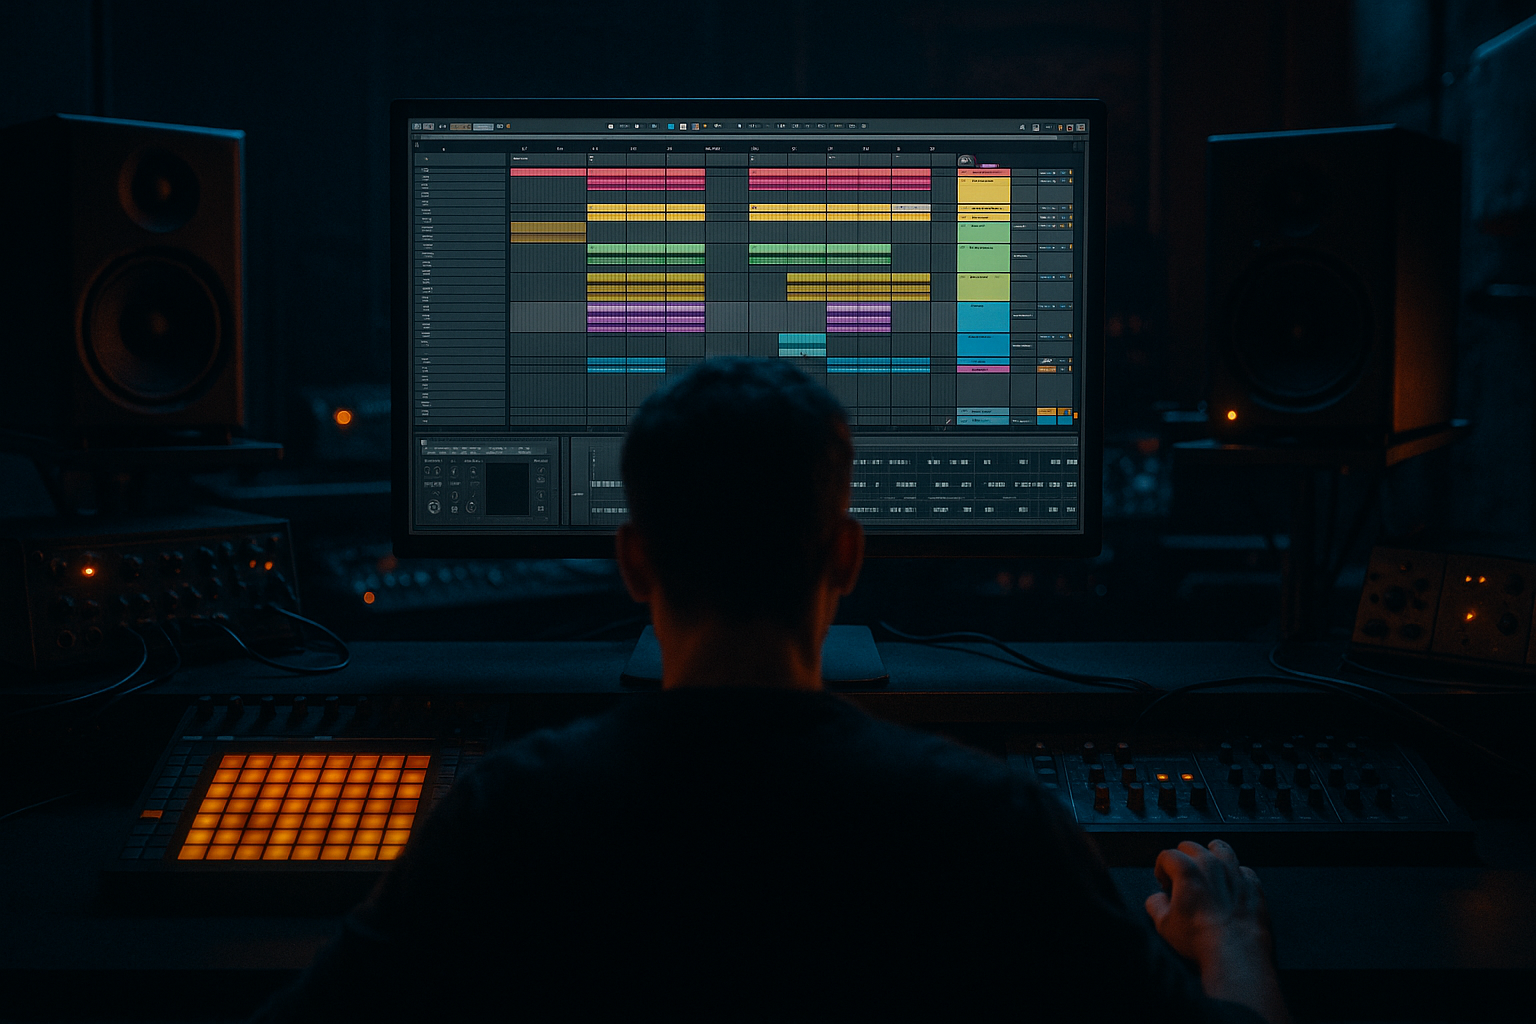
The Heatwave amen variation sequence system is a practical way to turn one strong amen chop into a full Drum & Bass / jungle variation engine inside Ableton Live 12, using automation first thinking instead of endlessly duplicating clips. The goal is to make the break feel like it is evolving every 4, 8, or 16 bars while still staying DJ-friendly, punchy, and easy to mix with a bassline.
In DnB, a great break rarely just loops unchanged. Even in rollers and darker minimal tunes, the drums need subtle movement: ghost-note changes, filter shifts, transient reshaping, reverse tails, tension fills, and quick switch-ups before a drop or phrase change. The “Heatwave” approach is about taking a single amen source and building a sequence of variations that can be controlled mostly through automation lanes, so your arrangement feels intentional rather than copy-pasted.
Why this matters: in a DnB track, listeners lock onto the drum narrative as much as the bassline. If the break is static, the tune can flatten out by the second 16 bars. If it changes too much, it loses groove. This workflow helps you sit in that sweet spot: consistent enough to drive the track, varied enough to keep tension and momentum. 🔥
---
What You Will Build
You will build a compact but powerful drum system made from:
- One main amen break track
- A few variation clips that alternate groove, density, and tone
- A drum bus with controlled saturation, filtering, and glue
- Automation that drives:
- A simple arrangement pattern that works for:
- 8 bars of main groove
- 4 bars of slightly stripped variation
- 2 bars of tension build
- 1 bar fill or reverse hit
- return to the groove with stronger impact
- Making every bar equally busy
- Automating too many things at once
- Over-compressing the amen
- Letting the break fight the sub
- Using huge reverb on fast drum sections
- Ignoring phrase structure
- Forgetting stereo discipline
- Use saturation before reverb
- Automate low-pass filters on the break, not just high-pass
- Layer a quiet noise or vinyl texture under the amen
- Resample a distorted break bus
- Use tiny pre-fill gaps
- Let the bass and break answer each other
- Keep one “ugly” element controlled
- Build your amen as a variation sequence, not a static loop.
- Use automation first to shape energy across 4-, 8-, and 16-bar phrases.
- Keep the break punchy with EQ Eight, Drum Buss, Saturator, and light Glue Compression.
- Use filter, width, reverb send, and resampled fills to create movement.
- Protect the sub, check mono, and leave space for bass call-and-response.
- In DnB, the best drum parts feel alive because they evolve just enough to carry the arrangement forward.
- break filtering
- reverb send pushes
- transient shaping
- resampled fills
- stereo width changes
- noise/atmosphere motion
- rollers
- jungle
- dark halftime-to-DnB switch-ups
- neuro-leaning drum sections
Musically, the result should feel like:
You’ll end up with an amen sequence that can carry a drop, support a bass call-and-response, and create movement without overcrowding the low end.
---
Step-by-Step Walkthrough
1. Choose and prep your amen source
- Start with a clean amen break slice or full loop placed on an audio track.
- If you have a break with a strong transient but weak low end, that’s fine—this lesson is about variation and automation, not just raw break selection.
- Warp the loop carefully so the groove stays tight. For classic jungle feel, avoid over-correcting the microtiming.
- If the source is too busy, commit to a version with fewer hits or use a sliced break with extra headroom.
- Gain-stage it so the break peaks around -10 to -6 dB on the track meter before processing.
Useful Ableton tools:
- Warp
- Simpler if you want to slice the amen into a MIDI instrument
- Drum Rack if you want per-hit control later
2. Create the “Heatwave” sequence logic with 3 variation lanes
Build three versions of the same amen pattern so the listener feels movement without losing identity:
- Lane A: Full groove — most of the original break, including ghost notes and hats
- Lane B: Stripped groove — remove one or two busy ghost hits, tighten the kick/snare emphasis
- Lane C: Fill / tension version — add a reverse snare, short amen stab, or extra hat burst in the last half-bar
In Ableton Live 12, you can organize this cleanly using either:
- separate audio clips on one track, or
- a Drum Rack/Simpler setup with MIDI clips triggering variants
For intermediate workflow speed, a clean audio approach is often faster:
- Duplicate the original clip into 3 lanes
- Edit each clip with different slices or shortened sections
- Name them clearly: `Amen_A`, `Amen_B`, `Amen_Fill`
This system gives you the “sequence” part: you are not just looping one break, you are sequencing a controlled evolution.
3. Set up the core processing chain for drum movement
On the amen track, insert a chain that gives you control over tone and punch while preserving transient energy.
A strong stock chain:
- EQ Eight
- High-pass gently if the break is fighting the sub: try 30–45 Hz
- Cut harsh ring if needed around 2.5–5 kHz
- Drum Buss
- Drive: 5–15%
- Crunch: subtle, around 5–20%
- Boom: usually off or very low for breaks, unless you want extra low-end glue
- Saturator
- Soft Clip on
- Drive: 2–6 dB
- Optional Glue Compressor
- Ratio 2:1
- Attack 10–30 ms
- Release Auto or 0.1–0.3 s
- Aim for only 1–3 dB of gain reduction
Why this works in DnB: the amen needs enough edge to cut through fast bass movement, but too much compression kills the shuffle and makes the break feel small. Light saturation and controlled bus glue help the break stay present without flattening the dynamics.
4. Map your automation-first controls before arranging
This is the key heatwave idea: instead of drawing endless clip edits, build a few macro-level controls you can automate across the tune.
If you group the break chain into an Audio Effect Rack, map these parameters:
- EQ Eight filter frequency
- Drum Buss Drive
- Saturator Drive
- Reverb Send
- Utility Width
- optional Auto Filter cutoff
Suggested control ranges:
- Filter cutoff sweep: 180 Hz to 18 kHz
- Reverb send for fills: 0% to 20%
- Width: 0% to 120% depending on section
- Drive automation moves: usually small, around +1 to +4 dB on fills
Now draw automation across a 16-bar phrase:
- Bars 1–8: mostly stable groove
- Bars 9–12: slight filter opening and drive lift
- Bars 13–14: reverb send rises
- Bar 15: width narrows to mono or near-mono for tension
- Bar 16: fill hits with filtered wash, then snap back
Automation-first workflow means you make the energy curve first, then edit the details to fit it.
5. Build groove variation with note and hit-level decisions
This is where the amen becomes a real DnB instrument rather than a loop.
In your full groove clip:
- Keep the core snare hits locked to the pocket
- Let ghost notes breathe slightly behind the grid
- Offset a few hats or shuffles by a few milliseconds for human feel
- Remove one repeated hat or ghost hit every 4 or 8 bars to create space
If you convert the amen to Simpler Slice mode, you can trigger specific hits from MIDI and create:
- a tiny kick/snare push
- a missing ghost note for tension
- a double-hit fill at the end of a phrase
For jungle and rollers, the key is not constant density. Use:
- one busy bar
- one stripped bar
- one setup bar
- one payoff bar
That contrast keeps the tune moving without making the drum bus sound cluttered.
6. Add bass-call response support around the break sequence
The amen variation system is strongest when the bassline leaves room for it.
In a dark DnB arrangement, try this:
- Main bass phrase hits on bars 1, 3, 5, 7
- Amen variations fill the gaps with snare ghosts and hat movement
- During fill bars, reduce bass note length or mute a bass stab to let the drums breathe
A practical bass relationship:
- Use a sub layer in a mono Utility chain
- Add a mid bass layer with Wavetable, Operator, or a resampled Reese
- Keep the mid bass slightly off the exact snare transient so the break has space
If the bass is very aggressive, automate a tiny dip in bass volume or tone during the last 1/2 bar before a drum fill. That makes the fill feel bigger without adding extra elements.
7. Automate transitions and texture, not just volume
This is where the section starts sounding like an arrangement, not a loop.
Add supporting FX to separate the amen variations:
- Reverb on a return track for snare throws and reversed hits
- Echo for short atmosphere tails or one-shot delays
- Auto Filter on noise or ambience for tension sweeps
- Utility to collapse width before a drop
- optional Hybrid Reverb for dark, short rooms on fill hits
Practical automation ideas:
- Automate snare reverb send up in the last 1/4 bar of a 16-bar phrase
- Automate a band-pass filter on the break during a build
- Automate a very short delay throw on one ghost hit for a “surprise” moment
- Automate Utility width from 110% down to 0–20% right before the drop, then reopen it
For a Heatwave-style variation sequence, these FX changes should be short and purposeful. Think tension accent, not cinematic wash.
8. Resample one pass of the break movement
Once your automation is working, resample or freeze a version of the movement so you can edit it like a performance.
In Ableton:
- Record the break output to a new audio track
- Capture the most interesting 4 or 8 bars
- Slice the resampled audio into tiny fill clips
- Reverse a few of them or trim them to create stutters
This is especially useful in neuro-leaning or heavier dark rollers because the resampled version often sounds more unified than individual edits.
Good resampling uses:
- one fill tail
- one filtered wash
- one transient-heavy hit
- one reverse snare or reverse cymbal
Then place those as markers in the sequence: end of 8 bars, end of 16 bars, pre-drop, or between bass phrases.
9. Arrange the sequence like a DnB tune, not a loop
A practical arrangement example:
- Intro: stripped amen hits + atmosphere + DJ-friendly drum intro
- Drop 1: full amen groove
- Bars 9–16: automation opens filter, bass enters in call-and-response
- Switch-up: strip half the ghosts, add fill on bar 16
- Drop 2: stronger amen variation with more saturation and tighter bass/drum interaction
- Outro: subtract layers, keep a clean DJ exit
For a 174 BPM track, this can translate into:
- 8 bars intro
- 16 bars drop A
- 8 bars variation
- 16 bars drop B
- 8 bars outro
The sequence system helps you avoid the classic problem of a DnB drop that slams hard but never evolves. By pre-planning variation lanes, each phrase has a job.
10. Check the mix in mono and protect the low end
Because amen breaks contain lots of midrange activity, you need to keep the sub clean.
Do this:
- Put Utility on the drum bus and check mono
- Keep sub-bass fully mono
- High-pass the amen if the break source has unnecessary rumble
- Use EQ to tame harsh snare top if it starts dominating around 6–9 kHz
- If the break feels too wide, reduce width on the variation clips, not just the whole track
In darker DnB, the kick and sub often occupy the center while the break provides motion above them. If the break’s low end is too big, the whole track loses punch.
---
Common Mistakes
- Fix: leave intentional gaps. One or two stripped bars make the busy bars feel stronger.
- Fix: choose one main energy move per phrase, such as filter, width, or reverb. Too many changes sound messy.
- Fix: back off Glue Compressor or Drum Buss Crunch. Preserve transient snap and shuffle.
- Fix: high-pass the amen gently and keep the real sub in a separate mono lane.
- Fix: use short, dark rooms and automate sends only on fills or transitions.
- Fix: place your biggest variation at the end of 8- or 16-bar sections, not randomly in the middle.
- Fix: narrow the break in dense sections and widen only when the bass leaves space.
---
Pro Tips for Darker / Heavier DnB
- A lightly saturated fill often feels heavier than a pristine one because it generates more density in the midrange.
- Pulling the top end down in build sections can create a “looming” effect that works great in dark rollers.
- Keep it subtle and automate it in and out. This adds grime and motion without cluttering the drums.
- Print a version through Drum Buss + Saturator, then chop the resample for aggressive transitions.
- Muting the last 1/16 note before a snare fill can make the impact feel much bigger.
- In darker neuro-leaning DnB, a bass stab can hit, then the amen responds with a snare ghost or hat flourish. That call-and-response keeps the tune alive.
- A little crackle, a clipped snare, or a distorted tail can add attitude if it’s band-limited and automated properly.
---
Mini Practice Exercise
Spend 10–20 minutes building a four-bar Heatwave sequence:
1. Load one amen loop and create two duplicates: one full, one stripped.
2. Add EQ Eight, Drum Buss, and Utility to the amen track.
3. Automate the filter cutoff from around 1 kHz to 8 kHz across four bars.
4. Automate Utility width from 90% to 30% in the last bar.
5. Add one short reverb send on the final snare of bar 4.
6. Resample the result and cut one reverse fill from it.
7. Place the reverse fill into bar 4 and check how it resets the groove.
8. Listen in mono and make one correction to keep the low end clean.
Goal: by the end, you should have one drum phrase that clearly evolves without losing the core amen identity.
---

