Main tutorial
Lesson Overview
In this lesson, you’ll take a Heatwave-style jungle idea and turn it into a properly shaped, arranged Ableton Live 12 section that feels ready for a full track. The focus is not just writing a loop — it’s learning how to turn a vibe into a composition: shaping drums, bass, and atmosphere so the edit has clear phrasing, movement, tension, and release.
This is especially important in DnB because the best tracks rarely stay static for long. A strong loop might hit for 8 bars, but a strong arrangement keeps the listener locked by changing the drum energy, bass call-and-response, and textural density every few bars. That’s what makes a jungle edit feel alive rather than repetitive.
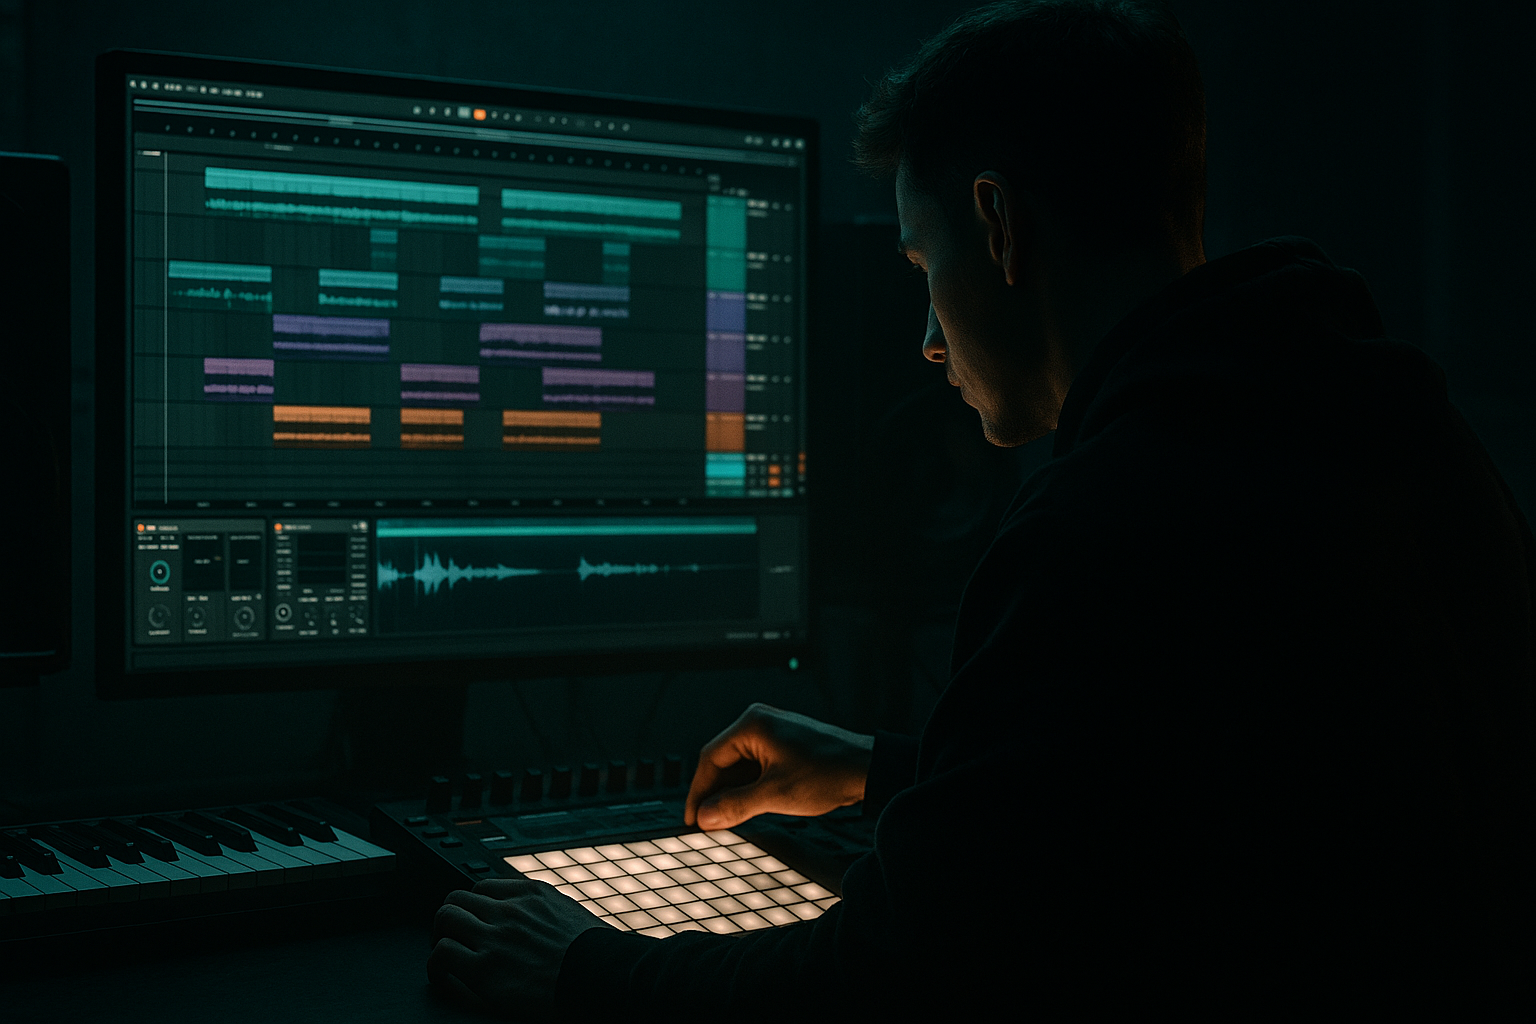
We’ll build this around an intermediate Ableton workflow using stock devices like Drum Rack, Simpler, Warp modes, Auto Filter, Saturator, Drum Buss, EQ Eight, Utility, Echo, Reverb, and Envelope Follower-style automation through standard envelopes. The goal is to make your section sound like a real DnB production: gritty, musical, and DJ-friendly, with enough detail to survive replay later 🔥
What You Will Build
By the end of this lesson, you’ll have a 16- to 32-bar Heatwave jungle edit section with:
- A tight break-led drum arrangement using chopped break edits, ghost notes, and fills
- A sub + reese bass relationship that leaves room for the drums but still pushes the track forward
- Call-and-response phrasing between bass hits and drum fills
- A clear intro → groove → variation → breakdown/drop return shape
- Automation for tension, including filter movement, reverb throws, and delay transitions
- A mix that keeps the low end disciplined, the mids controlled, and the energy focused
- Using a loop without arranging it
- Letting the bass compete with the snare
- Overprocessing the break
- No contrast between sections
- Stereo bass in the low end
- Too much atmosphere in the drop
- Use parallel distortion on the reese: duplicate the bass, distort the copy with Saturator or Drum Buss, and blend it low underneath the clean layer.
- Add tiny pitch movement on bass notes with short clip envelopes or subtle glide to make the line feel less static.
- Try ghost snares and quiet break hats just before the main snare to create tension without adding obvious new elements.
- Use Echo throws on single bass notes or stab hits, but filter the repeats so they don’t clutter the low mids.
- For darker character, reduce brightness in the reese and let upper-mid growl come from distortion, not from raw oscillator harshness.
- If the drop feels too clean, resample a bar of drums and bass, then re-chop the audio for extra grit and unpredictability.
- In heavier DnB, a slightly under-theorized trick is simply to leave more space before the snare. The snare hits harder when the phrase breathes.
- Think in phrases, not just loops.
- Let the break, sub, and reese each have a clear role.
- Use automation and arrangement contrast to keep the edit moving.
- Keep the low end mono, controlled, and intentional.
- In DnB, the best sections feel like they’re constantly opening, tightening, and releasing.
Musically, think:
moody jungle atmosphere, heat-haze shimmer, rolling breakbeat pressure, and a bassline that feels half hypnotic, half dangerous. A good reference point is the kind of edit that could sit between old-school jungle DNA and modern darker DnB impact.
Step-by-Step Walkthrough
1. Set the session up for arrangement first, not loop perfection
Open Ableton Live 12 and set your project tempo between 170 and 174 BPM if you want a classic jungle-driven feel with modern DnB weight. For a Heatwave-type edit, 172 BPM is a strong starting point.
Create these core groups:
- DRUMS
- BASS
- ATMOS / FX
- MUSICAL HOOKS if you’re using a stab, vocal, or melodic fragment
In Arrangement View, draw a rough 32-bar structure immediately, even if it’s empty. This helps you think compositionally instead of endlessly looping. Mark sections like:
- Bars 1–8: intro / tease
- Bars 9–16: groove lock
- Bars 17–24: variation / lift
- Bars 25–32: heavier return or drop setup
Why this works in DnB: the genre depends on fast payoff and constant forward motion. If you only build loops, your track can feel flat. A planned arrangement gives every drum fill and bass switch a purpose.
2. Build a break foundation with edits, not just one loop
Drop your main break into a Simpler track or audio track and warp it cleanly. If the break is busy, use Warp mode: Beats for sharp transients, or Complex Pro only if you need smoother tonal movement. For jungle edits, keep the transient energy crisp.
Duplicate the break onto two lanes:
- Main break lane
- Edit / fill lane
Use clip envelopes or slicing to create changes every 2 or 4 bars:
- Remove the kick at the end of bar 4 or 8 to create space
- Add a tiny snare flam before the main backbeat
- Move a ghost note slightly ahead of the grid for urgency
- Reverse a snare tail or small cymbal hit into the next phrase
In Ableton, you can use:
- Slice to New MIDI Track for fast break chopping
- Drum Rack with individual break hits for more hands-on sequencing
- Simpler’s Slice mode if you want a performance-style workflow
Suggested processing on the break bus:
- EQ Eight: high-pass around 25–35 Hz if needed, reduce muddy buildup around 200–400 Hz by 1–3 dB
- Drum Buss: Drive around 5–15%, Crunch lightly, Boom only if the kick needs body
- Saturator: Soft Clip on, Drive around 1–4 dB for density
Keep the break alive by varying velocity, timing, and layer balance. Jungle feels good when it sounds like it’s breathing, not machine-perfect.
3. Design the sub and reese relationship before adding more layers
Create two bass layers:
- SUB: pure low-end support
- REESE / MID BASS: character, movement, and attitude
For the sub, use Operator or Wavetable with a sine wave. Keep it simple:
- Oscillator: sine
- Mono mode on
- Glide very subtle or off
- Low-pass filtering unnecessary unless you’re shaping harmonics intentionally
Add Utility and keep the bass mono. Make sure the sub lives mainly below 90–100 Hz.
For the reese, use Wavetable, Analog, or duplicated detuned Oscillators:
- Detune slightly
- Use a low-pass filter with resonance kept modest
- Add Auto Filter with LFO or automation for movement
- Add Saturator or Roar if you want more grit and midrange aggression
A practical bass phrase idea:
- Bar 1: one long note
- Bar 2: two shorter notes
- Bar 3: a gap, then a syncopated answer
- Bar 4: a pickup into the next phrase
This gives you call-and-response with the drums. Leave space for snares and break hits. In DnB, bassline phrasing matters as much as sound design because the rhythm of the line is part of the hook.
4. Shape the bass into a drum-friendly pattern
Place the sub and reese together in MIDI, but think of them as separate roles. The sub should support the groove; the reese should answer the drums.
A useful arrangement strategy:
- Let the sub hit on downbeats or long notes when the break is busiest
- Use the reese for offbeat replies or short stabs after the snare
- Avoid continuous notes over every snare unless you’re intentionally making a wall-of-sound section
Try this musical context example:
- In bars 9–12, the bass comes in with a simple two-note phrase
- In bars 13–16, introduce a higher note or octave leap on the last beat of bar 16
- In bars 17–24, add one extra syncopated note every 2 bars for variation
Use MIDI velocity and note length to control energy. Shorter notes create more punch; longer notes feel heavier and more legato. In darker DnB, a bass that’s too sustained can swamp the drums, so keep the envelope tight and deliberate.
On the bass bus:
- EQ Eight: cut unnecessary low-mid buildup around 180–350 Hz
- Saturator: drive slightly for harmonics that translate on smaller speakers
- Utility: use Bass Mono or reduce width below the low end if needed
5. Add atmospheric layers that make the edit feel like a scene
Heatwave jungle edits often work best when they feel like a space or climate, not just a drum loop. Add one or two atmospheric elements:
- vinyl-style noise
- field recording
- distant pad
- airy stab
- filtered vocal texture
Use Simpler for texture chops or Granulator-like layering is not stock, so stay with Simpler, Sampler, or plain audio clips. The trick is to make them subtle and rhythmic.
Workflow:
- High-pass atmospheres aggressively with EQ Eight around 150–300 Hz
- Put Auto Filter on them and automate cutoff slowly
- Add Reverb with a long decay, but keep the dry level low
- Use Utility to keep the layer narrow if it competes with the stereo drums
Put these atmospheres in the intro and transition sections, then thin them out when the drop is at full force. That contrast makes the section feel bigger without needing more elements all the time.
6. Arrange the first 16 bars like a proper DJ-friendly story
Don’t just stack everything at once. Build the section in layers:
- Bars 1–4: break + atmos + filtered teaser of bass
- Bars 5–8: full break groove, light sub support
- Bars 9–12: bassline opens up, add a fill on bar 12
- Bars 13–16: variation, maybe a higher bass note or extra snare roll
Use one or two signature moves to keep the listener engaged:
- a 1-bar drum drop where only the tail of the break and a filtered bass note remain
- a snare fill into bar 9 or 17
- a reverse cymbal into a phrase change
- a filter sweep on the reese over 4 bars
For DJ-friendliness, keep the intro and outro clear enough that a selector can mix them. Even if this lesson is about the main edit, good arrangement discipline starts here. A clean phrase structure makes your tune easier to perform and easier to finish.
7. Automate transitions so the section evolves every 4 bars
In Ableton, automate:
- Auto Filter cutoff on bass or atmos
- Reverb send on snare hits
- Delay / Echo feedback on fill notes
- Utility gain for subtle energy drops before the next phrase
Practical automation ranges:
- Bass filter cutoff: move from about 200–400 Hz in a restrained section up to 1–2 kHz for the open section, then pull it back
- Reverb send on a snare throw: brief lift to -10 to -6 dB send, then snap back
- Echo feedback: short climbs to 20–35% for a transition, then return to near zero
Use these automations to create momentum:
- bars 4, 8, 12, 16 = phrase endings
- bars 3, 7, 11, 15 = build tension
- bars 5, 9, 13 = drop-in points
This is where the composition starts feeling professional. The listener should feel the section turning corners, not just repeating.
8. Shape the drum bus for impact without flattening the groove
Route your break edits and percussion to a DRUM BUS group. This lets you control the whole drum identity in one place.
On the drum bus, try:
- EQ Eight: gentle low cut only if needed
- Drum Buss: Drive low to moderate, Transients up if the break needs more snap
- Glue Compressor: very light glue, around 1–2 dB gain reduction, slow attack, auto or medium release
- Saturator: use sparingly to add density
Don’t crush the drums. Jungle and DnB need transient punch and swing, especially if the break is doing musical work.
If the snare loses authority, back off the bus compression and instead boost the snare layer or automate a small level lift on the key backbeats.
9. Check the low end in mono and make the bass/drum balance intentional
Put Utility on the master or bass group and check the low end in mono. In DnB, the low end should feel centered and stable.
Balance targets:
- Sub should support, not dominate every hit
- Kick and snare must remain clear over the bass
- Reese should speak in the mids, not smear across the entire spectrum
Use EQ Eight to carve space:
- remove harshness in the bass around 1.5–4 kHz if it competes with hats/snares
- reduce muddy overlap in drums or atmos around 250–500 Hz
- if the kick and sub clash, decide which one owns the lowest fundamental and trim the other gently
A good rule: if the groove feels heavy but the drum transients disappear, your balance is wrong. In DnB, clarity is part of the weight.
10. Finish the section with a tension/release choice, not just more elements
For the final 8 bars of this edit, choose one of these composition outcomes:
- Option A: strip down into a half-time-feel breath before the next drop
- Option B: intensify with extra break edits and a more aggressive bass response
- Option C: use a stop/start bar with a delayed snare tail and filter open
This is where a lot of intermediate producers miss the opportunity. They keep adding layers, but stronger DnB often uses absence as arrangement power.
If you’re building toward a second drop, end the section with:
- a short drum fill
- bass cutoff automation
- a reverse reverb swell
- a clean 1-bar or 2-bar pre-drop gap
The goal is to make the next section feel inevitable.
Common Mistakes
- Fix: break the loop into 4-bar phrases and create at least 2 meaningful variations.
- Fix: shorten bass notes around backbeats, cut low-mid buildup, and keep the sub focused.
- Fix: preserve transient punch. Use light bus shaping instead of crushing the life out of it.
- Fix: automate filters, mute layers, or thin the arrangement every 4–8 bars.
- Fix: keep sub mono with Utility and let width live in the mid bass and atmospheres.
- Fix: move wide textures to the intro, breakdown, and transitions; keep the drop leaner.
Pro Tips for Darker / Heavier DnB
Mini Practice Exercise
Set a 15-minute timer and build a 16-bar Heatwave jungle edit skeleton in Ableton Live 12:
1. Choose or import one break and chop it into at least 3 variations.
2. Create a sub and reese bass pair with Operator/Wavetable and keep the sub mono.
3. Write a 4-bar bass phrase with at least one gap before a snare hit.
4. Add one atmospheric layer and automate its filter cutoff across 8 bars.
5. Build a phrase change at bars 4, 8, and 12 using fills, reverses, or stop-start moments.
6. Group drums and bass separately, then do a quick level balance so the kick, snare, and sub feel stable.
When the timer ends, export the section or freeze it and listen back once without touching anything. Ask:
Does it move forward every 4 bars? Does the bass leave room for the drums? Does the edit feel like a real DnB phrase?
Recap
If you can shape a Heatwave jungle edit so it breathes over 16–32 bars, you’re not just making a loop — you’re building a real drum & bass composition.

