Main tutorial
Heatwave: Percussion Layer Saturate for VHS-Rave Color in Ableton Live 12
Jungle / oldskool DnB drums tutorial
1. Lesson overview
In this lesson, you’ll learn how to build a percussion saturation layer that adds grit, heat, and VHS-rave color to your drum programming in Ableton Live 12. The goal is not to make your drums simply louder or dirtier — it’s to create a character layer that sits on top of your clean break, reinforcing the oldskool jungle / rolling DnB energy with a slightly warped, tape-worn edge.
This technique is especially useful when you want:
- more presence in busy break patterns
- a nostalgic rave haze without losing punch
- extra midrange bite on hats, rimshots, ghost notes, and percussion
- a more cohesive drum bus for jungle, breakbeat, and dark rolling DnB
- takes a percussion loop or break slice
- isolates the high-mid rhythmic texture
- processes it with saturation, filtering, compression, and subtle modulation
- creates a “heatwave” layer that feels like old VHS tape, club heat, and rave dust
- blends into your drum bus for jungle flavor and DnB movement
- lo-fi rave percussion
- slightly toasted break tops
- tape-smudged hats and shuffles
- gritty, animated top-end
- nostalgic but still punchy
- harsh digital fizz
- blown-out white noise
- overcooked distortion that kills groove
- a drum break with strong hats and ghost notes
- a percussion loop with shakers, rimshots, tambourine, or congas
- a chopped-up top loop from a jungle break
- a custom MIDI percussion pattern played with sampled hits
- good rhythmic motion
- audible transient detail
- enough top-end to react to saturation
- not too much low end
- clean core break
- saturated heat layer
- optional sub or low break layer
- High-pass filter: around 180–300 Hz
- Use a steep slope if the source has too much low-end bleed
- If the loop has nasty resonant low mids, dip around 250–500 Hz
- If the hats are too brittle, gently tame 7–10 kHz
- Drive: +4 to +9 dB
- Soft Clip: On
- Curve Type: Analog Clip or A bit of saturation-style curve depending on taste
- Output: Trim to match bypass level
- increase Drive to +10 to +14 dB
- then reduce Output so the layer stays controlled
- Drive: 5–20%
- Crunch: low to moderate, around 5–15%
- Boom: usually off or very low for this layer
- Damp: adjust to soften harshness if needed
- Drive: mild to moderate
- Circuit: try different modes until the tone gets pleasingly dirty
- Bias: use sparingly if the tone gets too sharp
- Drum Buss = more attack and smack
- Dynamic Tube = more warmth and warped color
- Ratio: 2:1 or 4:1
- Attack: 10–30 ms
- Release: Auto or around 100–200 ms
- Threshold: just enough for 2–4 dB gain reduction
- Use a high-pass around 200 Hz
- Optionally use a low-pass around 10–14 kHz
- Try a slight resonant bump just below the low-pass cutoff for a more nasal, colored texture
- Auto Pan: for subtle rhythmic width
- Chorus-Ensemble: for a smeared VHS sheen
- Frequency Shifter: very lightly for unstable lo-fi motion
- Echo: extremely short and filtered for space
- Amount: 10–25%
- Rate: 1/2, 1/4, or synced to the groove
- Phase: 0° if you want it to move together instead of stereo-wobble
- Keep mix low
- Use it only if the source is too static
- Time: 1/16 or 1/32
- Feedback: very low
- Filter: roll off top and bottom
- Dry/Wet: 5–12%
- If the layer feels too wide, reduce width with Utility
- If it’s competing with the snare, lower the gain by a few dB
- If the groove feels disconnected, automate volume slightly by section
- Start with the heat layer muted
- Bring it up slowly
- Stop when the break starts sounding more vintage, dense, and alive
- If you hear the layer clearly as a separate effect, you’ve probably gone too far
- kick
- or the full drum bus
- just a few dB of ducking
- fast attack
- medium release
- Verse / intro: low blend, filtered down
- Pre-drop: automate saturation drive up slightly
- Drop: let the full heat layer in
- 8-bar variation: increase Auto Pan or add a touch more Echo
- Breakdown: widen the layer, then filter it out for contrast
- high-pass more aggressively
- keep saturation focused on hats, rims, and break noise
- let the sub and punch live elsewhere
- easier editing
- easier slicing
- more control over arrangement
- less CPU if using multiple processors
- +1 to +3 dB extra Drive for the last half-bar
- then pull it back on the downbeat
- mute certain hits
- keep only ghost notes
- accent the shuffle
- use it as a rhythmic ghost layer under heavier drums
- Redux very lightly
- or a tiny bit of bit reduction after saturation
- Saturator Drive
- Auto Filter cutoff
- or Auto Pan amount
- kick
- snare
- bassline
- ride or shaker
- intro texture
- drop support
- fill accent
- duplicate the percussion or break
- high-pass before saturation
- add saturation, tube, or drum buss color
- compress lightly to glue it
- filter and subtly modulate for tape-like character
- blend it under the clean drums
- automate and resample for arrangement energy
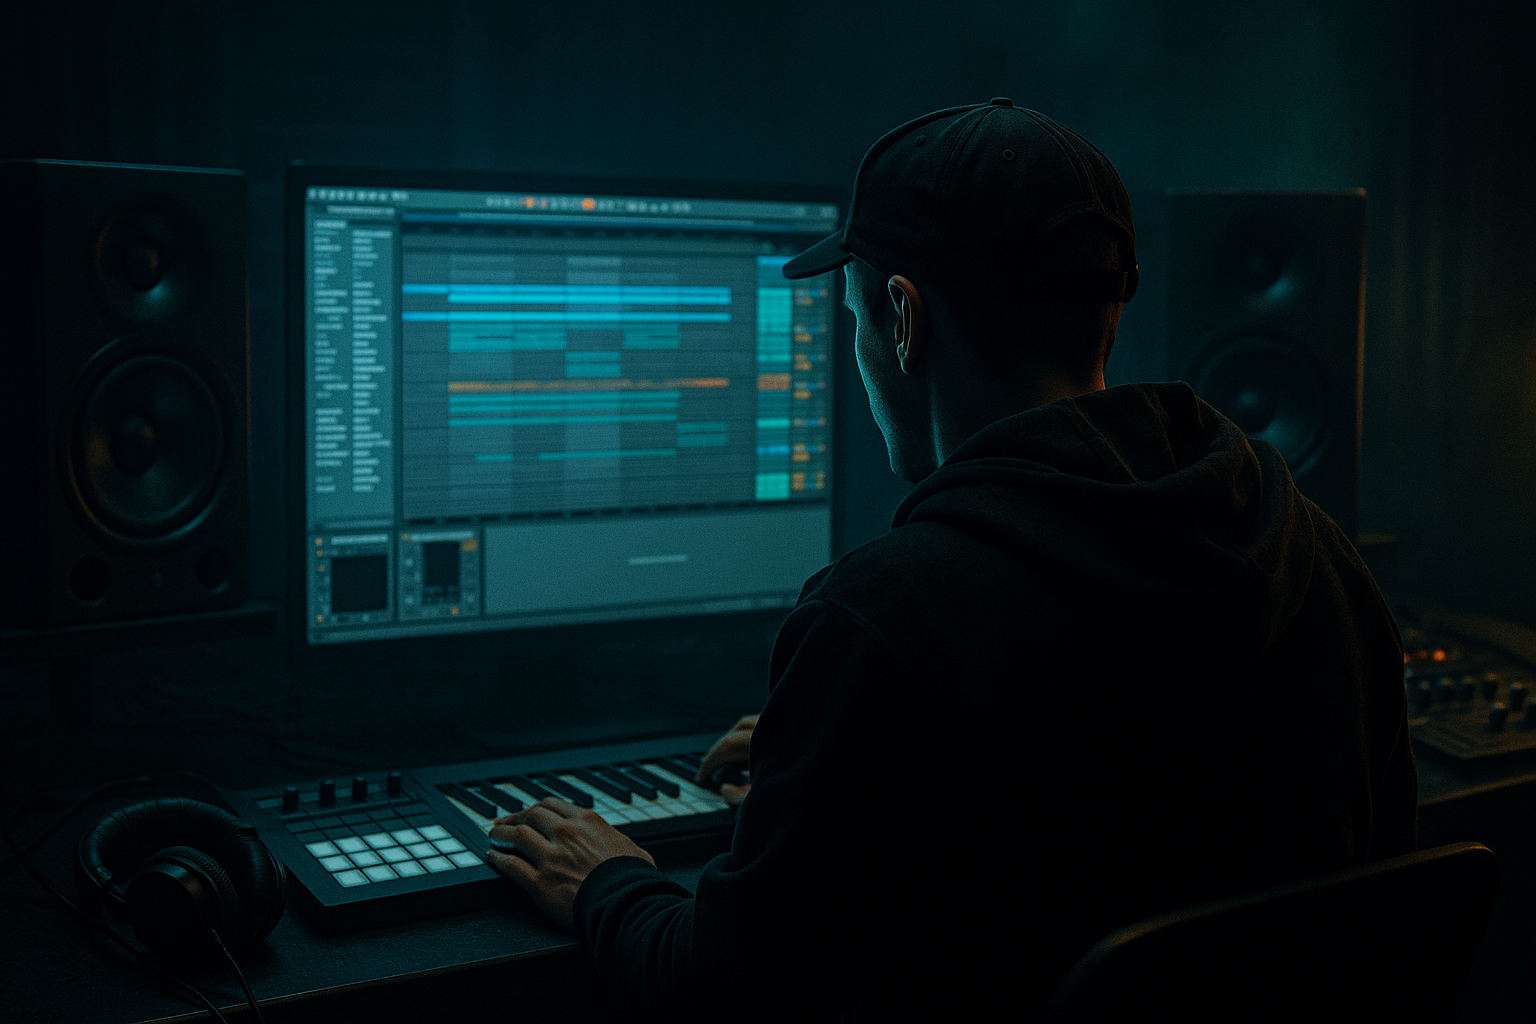
We’ll use stock Ableton devices to create a parallel percussion layer that you can blend tastefully with your main drum kit. 🎛️
---
2. What you will build
By the end of this lesson, you’ll have a reusable Ableton chain that does this:
The sound target
Think:
Not:
---
3. Step-by-step walkthrough
Step 1: Choose the right source material
Start with one of these:
#### Best source characteristics
Look for material with:
If your source is a full break, you’ll likely split it into layers:
---
Step 2: Make a duplicate layer for processing
In Ableton Live:
1. Duplicate your percussion or break track.
2. Rename the duplicate something like “Heatwave Perc”.
3. Keep the original clean layer untouched.
4. Turn the duplicate into a parallel character layer.
This way you can blend the effect in without destroying your punch.
---
Step 3: Clean the source before saturation
On the duplicated track, place EQ Eight first.
#### Suggested EQ Eight starting point
#### Why this matters
Saturation on full-range percussion can muddy the drum bus fast.
For this effect, you want the texture, not the bass weight.
---
Step 4: Add saturation for VHS-rave color
Use Saturator as the core effect.
#### Suggested Saturator settings
Start with:
If you want more aggression:
#### Practical tip
If the layer starts sounding too modern or crispy, back off the Drive and follow with filtering and gentle compression.
The sweet spot is usually noticeably grittier, but not obviously distorted.
---
Step 5: Shape the grit with Drum Buss or Dynamic Tube
You can use one of these after Saturator:
#### Option A: Drum Buss
Great for adding punch and smack.
Suggested settings:
This is useful if you want the layer to feel a bit more like a smoked-out break top.
#### Option B: Dynamic Tube
Great for warmer, more tape-like coloration.
Suggested settings:
#### Rule of thumb
---
Step 6: Add compression to glue the movement
Use Compressor or Glue Compressor after saturation.
#### Glue Compressor starting point
The aim is to keep the saturation layer stable and rhythmic, not wild and spiky.
If the percussion is still too jumpy, reduce attack time slightly.
If it sounds flattened, lengthen the attack.
---
Step 7: Add gentle filtering for the VHS effect
Now use Auto Filter or EQ Eight to create a more “seen-through-an-old-screen” vibe.
#### Useful filter approach
For oldskool jungle flavor, don’t make it too hi-fi. A slightly narrowed top can help it sound like a sample lifted from a dusty rave tape. 📼
---
Step 8: Add subtle movement with modulation
To keep the layer alive, add a very small amount of motion.
#### Good stock options in Live 12
#### Suggested subtle movement settings
##### Auto Pan
##### Chorus-Ensemble
##### Echo
This should feel like air movement, not a clear delay effect.
---
Step 9: Control the blend with Utility
Use Utility at the end of the chain for gain staging.
#### Useful checks
A great rule: the layer should be felt more than heard until the drop or fill.
---
Step 10: Blend with the clean break
Now return to your clean drum track and blend the heat layer underneath.
#### Mixing approach
A good mix point often sits around -12 to -20 dB lower than the main break, depending on the arrangement.
---
Step 11: Sidechain the layer to the kick and snare if needed
For rolling DnB, the extra layer should support the groove, not cloud it.
Use Compressor with sidechain from:
#### Suggested sidechain behavior
This helps preserve punch while keeping the saturated texture tucked behind the core drum hits.
---
Step 12: Turn it into an arrangement tool
This layer is not just for the loop. Use it in arrangement to create energy movement.
#### Great arrangement ideas
In jungle and oldskool DnB, the drum energy often comes from layer changes more than from adding new hits.
---
4. Common mistakes
1. Saturating too much low end
If you don’t filter first, the saturation can smear the kick and drum fundamentals.
Fix: high-pass before the saturator.
2. Making it too bright
A harsh top layer can make the drums sound cheap instead of vintage.
Fix: tame the top end with EQ Eight or Auto Filter after saturation.
3. No level matching
A louder processed layer will fool your ears.
Fix: match output level before judging tone.
4. Using the layer as a full drum replacement
This layer is meant to enhance, not replace, your main break.
Fix: keep a clean core break underneath.
5. Too much stereo movement
Wide modulation can weaken impact in DnB, especially when the bass is mono-heavy.
Fix: keep most of the movement subtle and mono-safe.
6. Over-compressing
If you squash the life out of the percussion, the groove stops breathing.
Fix: aim for control, not flattening.
---
5. Pro tips for darker/heavier DnB
Tip 1: Put the saturation layer on just the tops
For darker DnB, you often want aggression in the upper percussion without muddying the low end.
Tip 2: Resample your processed layer
Once you’ve got a sound you like, resample it to audio.
Why:
This is very jungle-friendly because you can chop the resampled audio into new fills and stabs.
Tip 3: Automate the drive before fills
A tiny rise in saturation drive before a fill can make the drums feel like they’re heating up.
Try:
Tip 4: Combine with break slicing
Slice a break, process one copy as a heat layer, then:
This is a classic oldskool trick with modern Ableton control.
Tip 5: Use a touch of spectral dirt
If the layer needs extra character, add:
Keep it subtle. The goal is “rave tape coloration,” not destroyed audio.
Tip 6: Mono the low-mids
If the layer starts widening the mix too much, use Utility to narrow the stereo field or keep it near mono.
That keeps your bassline and kick dominant, which is crucial for heavier DnB.
---
6. Mini practice exercise
Exercise: Build a 4-bar VHS percussion layer
#### Step 1
Choose a 1-bar jungle break or percussion loop.
#### Step 2
Duplicate it and build this chain on the duplicate:
1. EQ Eight
- high-pass at 220 Hz
2. Saturator
- Drive +6 dB
- Soft Clip on
3. Drum Buss
- Drive 10%
- Crunch 8%
4. Glue Compressor
- 2–3 dB gain reduction
5. Auto Filter
- low-pass around 11 kHz
6. Utility
- reduce gain to sit under the original
#### Step 3
Automate one parameter over 4 bars:
#### Step 4
Listen in context with:
#### Step 5
Render the result to audio and chop it into:
#### Goal
Make it sound like a tired rave tape that still hits hard. ⚡
---
7. Recap
You’ve now got a practical method for building a percussion saturation layer in Ableton Live 12 that brings VHS-rave color into jungle and oldskool DnB production.
The core workflow
The big idea
This technique gives your drums that heated, worn, rave-soaked edge while preserving the punch and clarity needed for proper drum and bass impact.
If you do it right, the listener won’t say “nice distortion.”
They’ll feel the atmosphere, the age, and the pressure of the groove.
If you want, I can also turn this into a step-by-step Ableton rack preset recipe with exact device order and macro assignments.

