Main tutorial
1. Lesson Overview
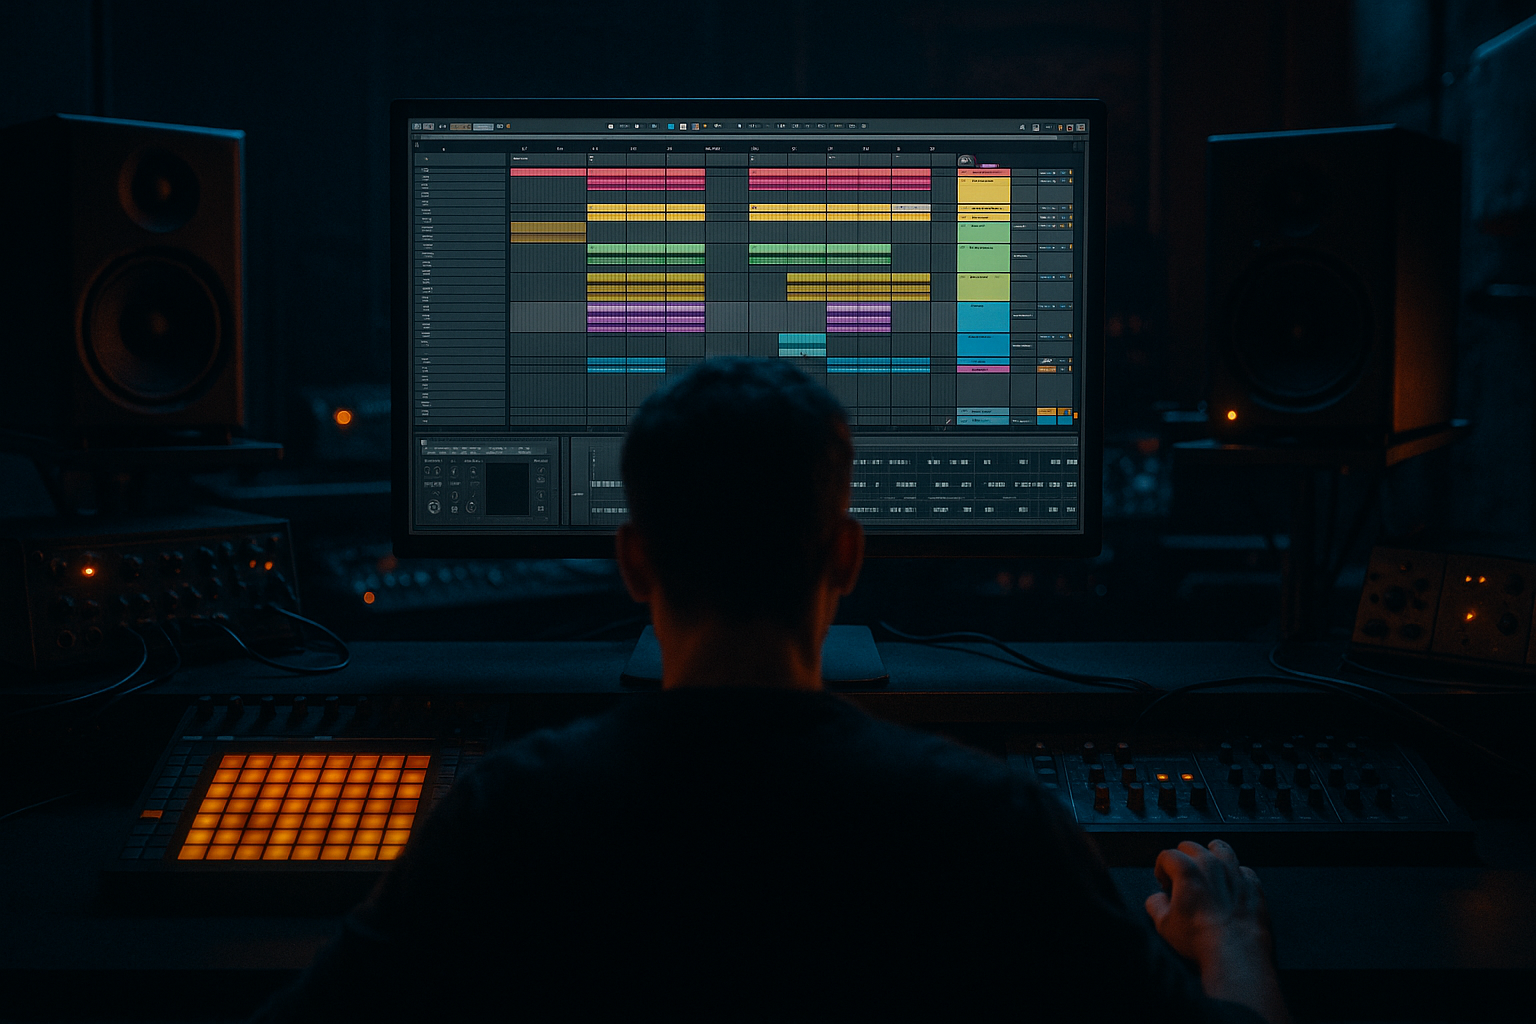
This intermediate Ableton Live 12 FX lesson walks you through "Hedex field recording texture: carve and arrange in Ableton Live 12 for smoky warehouse vibes." You’ll take a raw Hedex field recording texture, surgically carve frequency and transient content, create layered FX chains with stock Live devices, and arrange it into a breathing, smoky warehouse atmosphere that sits with a Drum & Bass rhythm. The emphasis is practical — warping, slicing, spectral shaping, modulated grain/delay, reverb sends, and arrangement automation — using only Ableton Live 12 stock devices and workflows.
2. What You Will Build
- A multi-layered atmospheric bed from one Hedex field recording texture sample:
- Two return FX buses: Hybrid Reverb (distant hall) and Echo/Grain Delay (closer, lo-fi reflections)
- An Instrument Rack with macros to perform realtime carving (cutoff, send, grit)
- An arrangement section (intro → build → drop-support) with automated send levels and filter moves to create the “smoky warehouse” vibe that sits under DnB elements
- Over-reverbing: Too much wet reverb on low content causes mud and masks the bass. Use high-pass on reverb returns and shorten decay or reduce send for low layer.
- Leaving everything full-band: Not splitting into Low/Mid/Air makes carving difficult and creates frequency masking with drums/bass.
- Too much bit reduction/saturation: Overdoing Redux on the mid can destroy detail—use subtle dry/wet and automations.
- Ignoring phase/stereo collapse: Very wide textures with heavy low content can collapse on mono. Keep sub frequencies mono or use Utility to reduce low width.
- Using improper Warp modes: Using Beats warp for tonal material will create glitches. Use Complex/Complex Pro for preserved texture, Beats for percussive crackles.
- Use EQ Eight in Mid/Side mode: tighten mids around 200–400 Hz and boost sides around 3–8 kHz to get a smoky yet clear stereo image that won’t fight the kicks.
- Pre-delay is your distance dial: longer pre-delay (40–80 ms) on reverb makes the texture feel far in a cavernous warehouse.
- Automate Hybrid Reverb “Size” and “Diffusion” slowly across long sections for evolving space; map them to macros for quick live changes.
- Use small amounts of frequency shifting (Frequency Shifter device) on the mid layer to emulate the pitch instability of large physical spaces.
- Create “warehouse metallic hits” by duplicating short transients, pitching them down 1–2 octaves, then applying short gated reverb (Hybrid Reverb with short decay and a sharp envelope).
- Resample early and often: when you like a combination of effects, resample to a new clip and chop it — this prevents CPU strain and lets you treat processed audio as a fresh instrument.
- Low rumble sub-layer (resampled & filtered)
- Main mid-texture (sliced/warped for rhythmic motion)
- High crackle/air layer (grain/delay + high-pass)
3. Step-by-Step Walkthrough
Note: Keep the original Hedex field recording texture file in your project folder. This walkthrough assumes Live 12 Suite (Sampler/Simpler/Hybrid Reverb available). I’ll call the sample “Hedex_Texture.wav”.
A. Import & initial warp / audition
1. Drag Hedex_Texture.wav into an empty Audio Track. Rename the track “Hedex_TX_MID”.
2. In Clip View, enable Warp. Set Warp Mode = Complex Pro (best for preserving tonal texture). Set Transient BPM to your project tempo (e.g., 174 BPM for DnB).
3. Trim start to remove silence; set sample loop off for initial exploration. Play and listen for dominant energy bands (rumbles, metallic hits, breathy highs).
B. Create three tracks from the same sample (Low / Mid / Air)
1. Duplicate the original clip two times (Cmd/Ctrl+D) so you have three tracks: Hedex_TX_LOW, Hedex_TX_MID, Hedex_TX_AIR.
2. Label them accordingly.
C. Carve the Low Layer (Hedex_TX_LOW)
1. Warp mode: Complex (or Complex Pro). Set Transients: reduce sensitivity to preserve long low energy.
2. Insert EQ Eight (high-quality) after the clip: enable High-Pass/Low-Pass band controls. Do a steep high-pass at 30–40 Hz (to protect subs), then use a Low-Pass shelf at ~300–450 Hz to remove mids.
- Settings suggestion: Low-pass (Bell at 220 Hz) Q around 0.7; gain -inf above target so it’s mainly sub/low-mid.
3. Add Saturator (Soft Clip) set very subtly Drive 1–2 dB, Dry/Wet 40% to add harmonic warmth.
4. Add Glue Compressor on the track with Slow Release (200–400 ms) and a light ratio (2:1) to glue the rumble.
5. Optionally resample: Create a new audio track set to “Resampling”, arm it, solo the low track, hit record to create a compact resampled low file — now you can pitch-shift or time-stretch without hurting the original texture.
D. Carve the Mid Texture (Hedex_TX_MID)
1. On the MID track, open Simpler (or Sampler for more control). Drop the clip into Simpler’s Sample slot and switch to Classic mode (or Sampler for loop envelopes).
- Use Simpler’s start offset to move beginning slightly forward to create a different attack.
2. Add Auto Filter (LP + Resonant) after Simpler. Use a band-pass-mid approach: set Filter = Bandpass or Low-pass with resonance ~1.2–1.6. Start cutoff around 600–900 Hz.
3. Add EQ Eight (in M/S mode — click the “Mode” button and choose Mid/Side) to shape stereo content:
- On the Mid: reduce 200–400 Hz by -2 to -4 dB if muddy.
- On the Sides: gentle boost +2–3 dB around 3–6 kHz to add air.
4. Insert Grain Delay (or Echo) after EQ:
- Grain Delay: Time ~1/8 or 1/16 sync, Pitch small +/- 1–3 st, Spray 30–60, Feedback 10–20%, Dry/Wet ~30–40% for shimmering movement.
- If using Echo: set Sync to 1/8 dotted, Feedback 20–30%, Hi-cut ~6–8 kHz to darken repeats.
5. Add Frequency Shifter very subtly (0.1–1 Hz) and enable dry/wet ~10–20% to create a slow detune/motion for “warehouse” eeriness.
E. Carve the Air / Crackle Layer (Hedex_TX_AIR)
1. On AIR track: set Warp mode to Beats or Complex with transient emphasis so sharper clicks/crackles hold.
2. Add EQ Eight: high-pass at 800–1,200 Hz to isolate shimmer and noise. Boost small shelf around 6–12 kHz if needed.
3. Add Redux (bit reduction) or Saturator with drive pushed for character. For Redux: downsample subtly (e.g., 11–14 kHz) and bit reduction low (10–12 bits) for grit — dry/wet 20–30%.
4. Add Texture movement with Auto Filter LFO: set Filter = High-pass with LFO rate synced to 1/4 or 1/8 and small depth; this makes the air sweep subtly.
5. Pan this layer slightly off-center (10–25% L or R) for stereo image.
F. Create FX Sends (Reverb / Reflection)
1. Create Return track A: Hybrid Reverb. Preset: Large Room or Plate -> modify:
- Size 70–90, Decay 2.5–6 s depending on intensity, Diffusion high, Damping low to keep tail dark.
- Add a High-cut at ~4–6 kHz within Hybrid Reverb (or follow with EQ Eight) to avoid washing out highs.
- Pre-Delay 40–80 ms to keep source perception and create distance.
2. Create Return track B: Echo (for tempo-synced reflections) or Grain Delay for lo-fi repeats:
- Echo: Hi-cut ~6–8 kHz, Feedback 20–35%, Sync 1/8 or 1/16.
- Option: use a third return with Convolution-style short metallic impulse (create by resampling a metallic hit and using it in Simpler with long decay via reverb) for warehouse metallic reflections.
3. On Hedex tracks, set send levels:
- Low layer: Send A (Reverb) low (10–15%), Send B (Echo) 5–10%
- Mid layer: Send A 20–30%, Send B 20–30%
- Air layer: Send B higher (30–40%) and Send A medium (15–20%)
G. Macro Rack & Performance Controls
1. Group the three Hedex tracks into a Drum Rack-style Rack? Instead, create an Audio Effect Rack on the group bus and map:
- Macro 1: Main Filter Cutoff (map Auto Filter cutoff on MID and AIR)
- Macro 2: Reverb Send (map each track’s Send A)
- Macro 3: Grain/Echo Feedback (map Grain Delay feedback)
- Macro 4: Saturation/Drive (map Saturator Drive on Low + Mid)
2. Set macro ranges so small tweaks create expressive movement.
H. Arrangement: Build smoky warehouse vibe sections
1. Intro (bars 1–16): Start with Low + Air only. Automate reverb send up gradually (0 → 25%) over 8 bars to create distance.
2. Build (bars 17–32): Bring in the Mid layer with low-pass cutoff closed; gradually open cutoff and increase Grain Delay feedback to add texture.
3. Drop/Support (bars 33–64): All layers present. Automate a subtle sidechain on Mid and Air to the kick/snare bus (Glue Compressor or Utility volume envelope) for rhythm breathing with DnB drums.
4. Add interest: automate Macro 3 (Grain Feedback) in small bursts before transitions. Automate Hybrid Reverb Decay and Pre-Delay slowly across long sections for evolving space.
5. Use short mutes/automation of Filter Cutoff for “smoke bursts” — e.g., sudden high-pass sweeps to reveal the sub rumble.
I. Final polish & Bus processing
1. On the group bus: Add Multiband Dynamics to control excessive energy in mid-band (120–800 Hz) with gentle threshold. This keeps texture sitting underneath bass/low-end.
2. Add Utility for Stereo Width control: narrow the low band (below 200–250 Hz) with automatic mid/side processing on EQ Eight or M/S width technique, keep the air wide.
3. Bounce a resampling (Ctrl+Shift+R) of the final bed to a new track for CPU savings and to commit creative decisions.
4. Common Mistakes
5. Pro Tips
6. Mini Practice Exercise
Objective: In 30–45 minutes, take a 10–20 second Hedex field recording texture and produce a 16-bar atmospheric loop that could sit under a 174 BPM DnB intro.
Steps:
1. Import the sample; create the three tracks (Low/Mid/Air) and apply the carving steps (EQ + Saturator + Grain/Echo).
2. Set up two return sends (Hybrid Reverb + Echo). Dial send amounts for distance.
3. Group and create 3 macros (Filter Cutoff, Reverb Send, Grain Feedback).
4. Arrange a 16-bar loop:
- Bars 1–8: Low + Air only, reverb slowly rising
- Bars 9–12: Bring Mid in with cutoff closed
- Bars 13–16: Open cutoff, small grain bursts (automated Macro 3)
5. Export a loop (Bounce/Resample) and compare with a reference (e.g., a Hedex-like warehouse texture) to check vibe.
7. Recap
You’ve learned how to take a Hedex field recording texture and carve it into three purposeful layers (low rumble, mid texture, high air), process each with Live 12 stock devices (EQ Eight, Simpler/Sampler, Grain Delay, Hybrid Reverb, Saturator, Echo), and arrange them into a smoky warehouse atmosphere that works under Drum & Bass material. Key actions: split and carve frequency bands, use return reverb/delay with pre-delay, map macros for expressive performance, and automate sends and filter movement to create breathing space. Practice the mini exercise to lock the workflow into your production routine.

