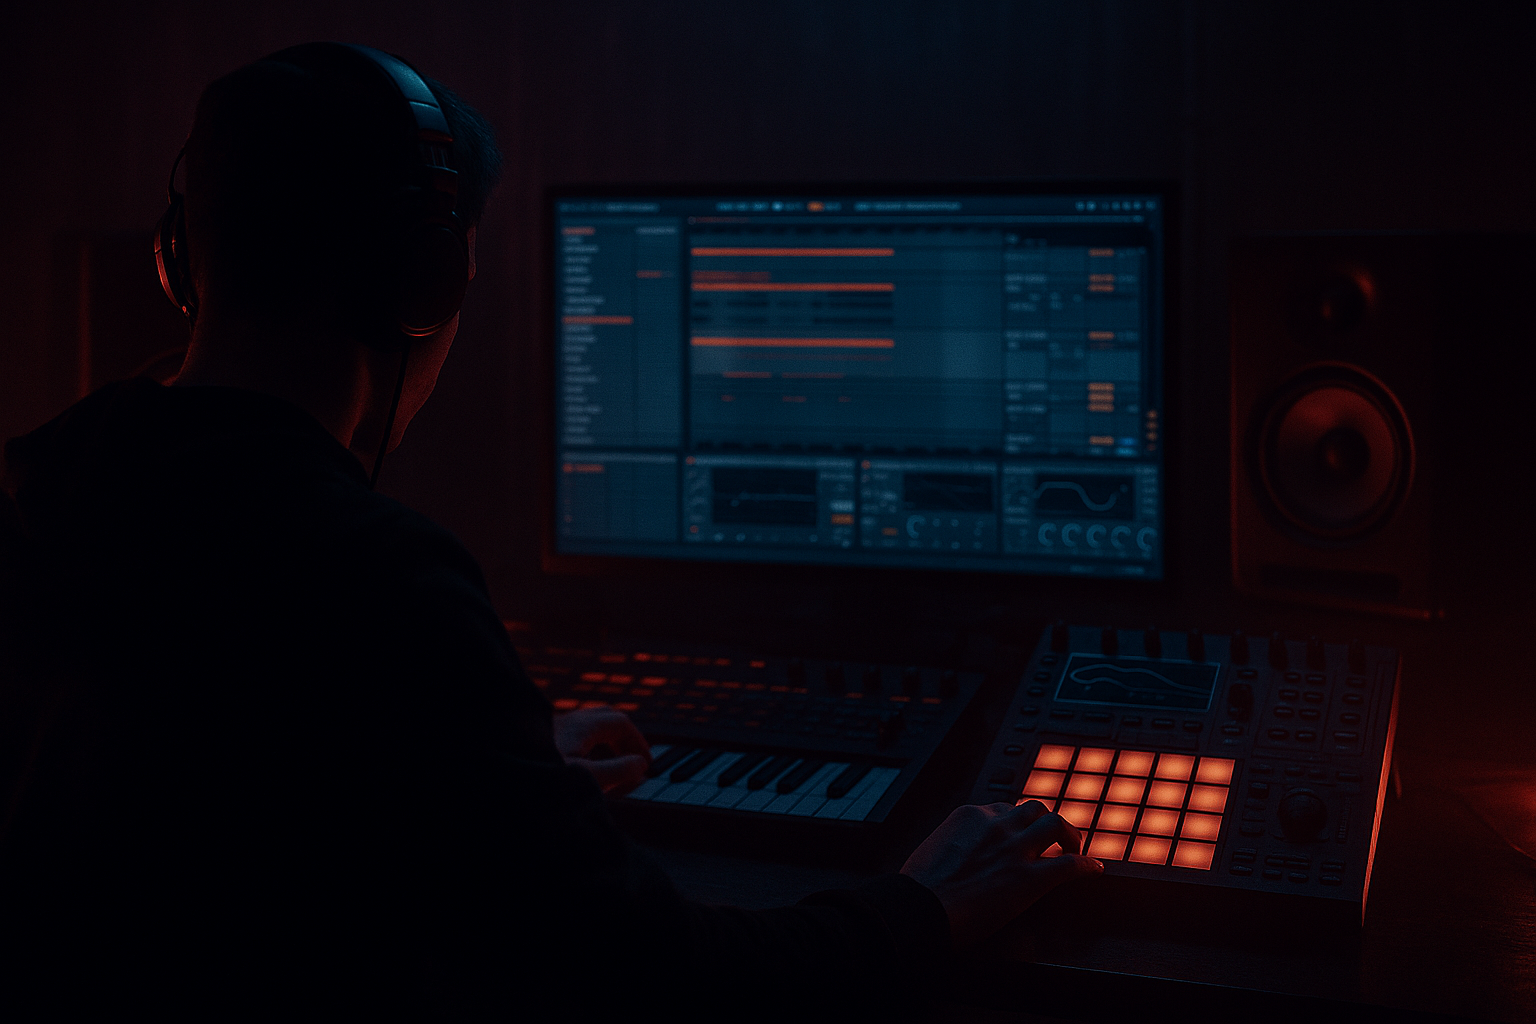
Main tutorial
Hot Pants Ableton Live 12 Intro Deep Dive with Jungle Swing
1. Lesson overview
In this lesson, we’re taking a classic “Hot Pants” sample approach and turning it into a rolling, punchy, jungle-influenced drum and bass intro in Ableton Live 12. The goal is not just to chop a loop — it’s to build a musical, DJ-friendly intro with swing, tension, movement, and serious low-end discipline.
We’ll cover:
- finding and preparing a break/sample
- slicing it for expressive rearrangement
- adding jungle swing with groove and micro-timing
- processing the loop for a modern DnB intro
- building a bass-aware intro arrangement
- using Ableton stock devices for speed and control
- a Hot Pants-style sampled drum groove
- chopped and rearranged hits with jungle swing
- filtered and automated layers for tension
- a controlled pre-drop intro that can lead into a full DnB drop
- a clean Ableton chain you can reuse for future jungle / roller ideas
- early jungle energy
- modern mix clarity
- enough space for a bassline to enter hard
- a loop that can evolve into a full track intro
- strong snare transients
- defined ghost notes
- some room tone, but not too much wash
- a groove that can survive chopping
- Seg. BPM: let Live detect the tempo, then check the timing manually.
- If the break has natural swing, do not over-tighten it immediately.
- Preserve feel first, quantize later.
- You can rebuild the groove from the original performance
- You can duplicate, mute, and rearrange hits quickly
- You can layer your own kicks, snares, and ghosts under the break
- syncopation
- late snare placement
- ghost-note chatter
- micro-timed percussion
- uneven groupings that feel alive
- snare on 2 and 4 or a strong backbeat variant
- ghost kicks before the snare
- kick pick-ups after the snare
- tiny extra hits between main beats
- move some ghost notes slightly behind the grid
- shift a few hats ahead for urgency
- leave room in the low end for the future bassline
- MPC-style 16 swing
- MPC 55–60% as a starting point
- reduce Timing Amount to around 20–40%
- keep Random very subtle, around 2–8%
- hats slightly early
- ghost snares slightly late
- main snare dead center
- main chopped break
- filtered top loop
- single hit accents
- a ride or hat layer
- optional vocal stab or atmospheric texture
- Bars 1–4: filtered break, minimal low end
- Bars 5–8: add ghost hits and hat movement
- Bars 9–12: open the filter, bring in snare variations
- Bars 13–16: build tension for the drop, maybe with risers or tape stop style automation
- leave space before the snare for tension
- create call-and-response between kick and ghost notes
- avoid too many hits on every 16th note
- vary velocity on repeated hats and ghost snares
- use the velocity lane to humanize repeated notes
- vary clip length slightly for certain sliced hits
- nudge selected hits by a few milliseconds
- fewer identical repetitions
- stronger dynamic contrast
- one or two unexpected syncopations
- a filtered sub pulse
- a short reese stab
- a low synth note with an LFO movement
- a reversed bass swell leading into the drop
- Operator for a sine/sub layer
- Wavetable for a reese or moving bass hint
- Auto Filter for intro motion
- Chorus-Ensemble or Phaser-Flanger for width on upper bass layers only
- high-pass anything not meant to own the sub
- keep sub below 100 Hz mono and simple
- automate the filter opening over 8 or 16 bars
- Auto Filter cutoff
- Drum Buss Drive
- Reverb dry/wet
- Delay amount
- Utility width
- sample start position if you’re doing creative resampling
- bars 1–4: low-pass filter closed, minimal brightness
- bars 5–8: cutoff slowly rises
- bars 9–12: transient emphasis and more top-end
- bars 13–16: tension peaks, then strip elements before the drop
- Auto Filter
- Hybrid Reverb
- Echo
- Utility
- Envelope Follower if you want extra movement linked to the drum signal
- commits the feel
- lets you process the break as audio
- makes edits easier and often more musical
- gives you the chance to create unique fills
- chop the resampled file
- reverse a snare tail
- create a one-bar tension fill before the drop
- 1–4 bars: atmosphere + chopped break
- 5–8 bars: more percussion and ghost notes
- 9–12 bars: bass hint + filter opening
- 13–15 bars: drum fill, snare roll, riser, or brake
- 16th bar: drop setup with a clean gap or impact
- reverse cymbal into the drop
- one-bar drum mute for tension
- snare fill with increasing density
- FX stop using Beat Repeat or an audio reverse
- tighter upper mids
- controlled air
- more focused snare body
- Roar or Pedal
- Saturator
- EQ Eight after distortion to tame fizz
- transient shaping with Drum Buss
- short plate or room reverb with low decay
- layering a clipped snare transient under the break
- the sliced break
- one filtered bass hint
- one FX riser or reverse hit
- slice breaks for control, not just looping
- use swing thoughtfully, not excessively
- shape the intro with automation and arrangement
- keep the low end disciplined
- resample to capture character and create variation
- a bar-by-bar Ableton project template
- a Device Rack chain for the break
- or a full intro-to-drop arrangement blueprint for darker DnB.
This is an advanced workflow, so I’ll assume you already know basic warping, clip launching, and drum programming. Here we’re focused on taste, groove, and function in a DnB context. 🔥
---
2. What you will build
By the end, you’ll have a 16-bar intro section that includes:
The end result should feel like:
---
3. Step-by-step walkthrough
Step 1: Source and prep the sample
You want a clean, punchy break or “Hot Pants” style funk drum loop with:
If you’re using a classic “Hot Pants” style recording, the key is to treat it like raw rhythmic material, not a finished drum loop.
#### In Ableton:
1. Drag the sample into an audio track.
2. Turn on Warp.
3. Set Warp Mode to:
- Beats for drum breaks
- try Transient loop mode off
4. Set the start marker so the groove begins tightly on the downbeat.
#### Warp suggestions:
#### Important:
If the break has a strong organic pocket, keep some of that human push/pull. Jungle swing often comes from not perfectly aligning every transient.
---
Step 2: Slice the break into a Drum Rack
This is where the fun starts. For advanced work, don’t just loop the break — reprogram it.
#### Process:
1. Right-click the audio clip.
2. Choose Slice to New MIDI Track.
3. Slice by:
- Transient for maximum control
- or 1/8 if you want a more structured starting point
Ableton creates a Drum Rack with the slices mapped to pads.
#### Why this matters:
---
Step 3: Rebuild the groove with jungle swing
Now we create the feel.
Jungle swing is not just generic shuffle. It’s a mix of:
#### MIDI programming approach:
Start with a 2-bar loop and place:
Then:
#### Groove settings:
Open the Groove Pool and test:
If the groove gets too sloppy, dial back the swing and instead manually offset select hits.
#### Practical trick:
Use Track Delay or note nudging to create contrast:
That contrast is what makes the rhythm feel energetic.
---
Step 4: Build the “Hot Pants” intro attitude
A DnB intro often needs identity before impact. The “Hot Pants” aesthetic gives you a funky, break-led tension bed.
#### Think in layers:
You don’t need a full drum wall yet. The intro should hint at the energy to come.
#### Arrangement idea:
---
Step 5: Design the drum chain
For a clean but gritty DnB intro, start with a practical processing chain on the Drum Rack or grouped drums.
#### Suggested chain on the break group:
1. EQ Eight
- High-pass around 30–40 Hz if needed
- Cut mud around 200–400 Hz
- Add a little presence around 3–6 kHz if the snare needs bite
2. Drum Buss
- Drive: 5–15%
- Crunch: light to medium
- Boom: usually off or very low for this intro layer
- Transients: small boost if needed
3. Glue Compressor
- Ratio: 2:1
- Attack: 10–30 ms
- Release: Auto or 0.3 s
- Aim for 1–3 dB gain reduction
4. Saturator
- Soft Clip on
- Drive: 1–4 dB
- Use to thicken without destroying transients
5. Optional Corpus or Erosion
- very subtle for texture
- useful if the loop feels too clean
#### If you want more grit:
Add Redux extremely lightly, or automate a parallel return with distortion for selected fills.
---
Step 6: Make the swing feel intentional
Advanced jungle swing is about where you don’t place things.
#### Do this:
#### In Ableton:
#### Rule of thumb:
If the groove sounds “correct” but not exciting, it probably needs:
That’s where the jungle energy lives.
---
Step 7: Layer an intro bass hint
Even if the bassline isn’t fully in yet, tease it.
#### Options:
#### Ableton stock devices:
#### Practical setup:
The intro should suggest low-end power without fully revealing it yet.
---
Step 8: Add automation for movement
A static break is not enough. Use automation to evolve the intro.
#### Automate:
#### A strong intro automation pattern:
#### Useful devices:
---
Step 9: Resample the groove for extra character
This is a very DnB move. Once the groove is working, resample it.
#### Why resample?
#### Method:
1. Create a new audio track.
2. Set input to Resampling.
3. Record your 16-bar intro.
4. Edit the recorded audio for fills, reverse hits, drop-outs, and tape-style moments.
Then:
This is especially effective for jungle intros because it introduces a slightly unstable, lived-in quality.
---
Step 10: Finish the arrangement for a proper DnB intro
A good intro should work in a mix or as a standalone section.
#### Practical DnB intro layout:
#### Transitional ideas:
---
4. Common mistakes
Over-quantizing the break
If you snap everything too tightly, you kill the jungle swing. Leave human timing in selected hits.
Too much low end in the intro
Your intro should leave space for the bassline and kick later. High-pass or thin out unnecessary sub content.
Repeating the same bar too long
A DnB intro needs evolution. Even small changes every 2 or 4 bars matter a lot.
Overprocessing the break
Too much compression, saturation, and reverb can flatten the snap. Keep the transient punch alive.
Weak velocity contrast
If every ghost note is the same volume, the groove loses its conversation. Shape the dynamics carefully.
Ignoring arrangement function
A loop can sound great but still fail as an intro. Make sure it builds tension and prepares the drop.
---
5. Pro tips for darker/heavier DnB
1. Make the break darker with tone shaping
Use EQ Eight to gently reduce harsh top end if the sample feels too bright. Dark DnB often benefits from:
2. Parallel distortion
Set up a return track with:
Blend it in subtly for weight without destroying the main break.
3. Use mono discipline for the low end
With Utility, keep sub layers mono. The intro can be wide up top, but the bottom should stay centered.
4. Make the snare feel aggressive
Try:
5. Resample and re-chop
Dark DnB thrives on mutation. Once you have a great loop, resample it and make it more broken, more unstable, more personal.
6. Let silence do work
A one-beat gap before the drop can hit harder than another fill. Space is heavy. 🖤
---
6. Mini practice exercise
Exercise: Build a 8-bar jungle-swing intro from one break
#### Your task:
Use one funk break or “Hot Pants”-style sample and make an 8-bar intro with only:
#### Steps:
1. Slice the break to a Drum Rack.
2. Program a 2-bar groove with:
- 2 and 4 snare emphasis
- 2–4 ghost notes per bar
- slight timing variation on hats
3. Duplicate to 8 bars.
4. Change at least one element every 2 bars:
- remove a kick
- add a snare ghost
- open the filter
- add a reversed slice
5. Add automation to the break group:
- Auto Filter opening over 8 bars
- Drum Buss Drive increasing slightly
6. Resample the final pass and trim it into a clean intro clip.
#### Challenge:
Make the intro feel like it belongs before a dark roller drop, not a generic loop.
---
7. Recap
In this lesson, you learned how to turn a Hot Pants-style sample into a jungle-swing DnB intro using Ableton Live 12.
Key takeaways:
The real win here is not just making a good break loop — it’s making an intro that has identity, pressure, and forward motion. That’s what makes drum and bass feel alive. 🚀
If you want, I can also turn this into:

