Main tutorial
Lesson Overview
This lesson is about building a Hot Pants-style kick weight inside Ableton Live 12, then giving it a crunchy sampler texture that feels right for oldskool jungle / early DnB / rough edits. The goal is not just “make the kick louder” — it’s to make the kick feel like it has body, attitude, and a little bit of broken sampler character, the kind that sits underneath chopped breaks, rude bass stabs, and quick arrangement edits.
In Drum & Bass, especially jungle-influenced edits, the kick often has to do three jobs at once:
- hit hard enough to anchor the groove
- leave room for sub and breaks
- carry enough texture to feel like it came from a sampler, not a polished pop drum machine
- Drum Rack
- Simpler
- Saturator
- Drum Buss
- EQ Eight
- optional Glue Compressor and Utility
- short, punchy low-end
- slightly broken, crunchy midrange texture
- enough attack to cut through chopped breakbeats
- controlled decay so it doesn’t fight the bassline
- intro edit sections with sparse drums and tension
- drop patterns where the kick supports a chopped break
- roller grooves where the kick needs to stay steady and heavy
- oldskool jungle switch-ups where a rougher texture helps the transition feel authentic
- Keep the sample selection simple
- Don’t start with a super clicky trap kick
- Don’t start with a huge boomy kick either
- a clear transient
- a short, weighty tail
- enough headroom to be processed
- Set Start just before the transient, not on it
- Shorten Decay slightly if the kick tail is too long
- If needed, reduce Volume a little before processing to keep headroom
- Decay: around 80–180 ms for a tight DnB kick
- Transpose: try -1 to -3 semitones if the kick needs more low-end weight
- Duplicate the kick sample
- In the second Simpler, reduce the sample start slightly later, so it loses some clean attack
- Shorten the decay
- Lower the volume
- Drive: 4–8 dB
- Soft Clip: On
- Output: trim down so the level matches your original kick
- Drive: 5–15%
- Crunch: low to moderate, around 5–20%
- Transients: slightly up if you need more attack
- Boom: usually off or very low for this layer
- a high-pass filter around 80–120 Hz to stop low-end buildup
- a small dip if the kick becomes boxy around 200–400 Hz
- if the click gets harsh, tame 3–6 kHz gently
- reduce the top end slightly with a low-pass around 8–12 kHz
- use Automate the EQ Eight filter slightly in fills or switch-ups for movement
- Clean kick: main level
- Crunch layer: -6 to -12 dB quieter than the main kick
- kick on the downbeat
- snare on 2 and 4
- chopped break or ghost percussion around it
- set the texture layer slightly quieter
- keep the clean kick centered
- if the texture is stereo for some reason, make it mono with Utility
- Ratio: 2:1
- Attack: 10–30 ms
- Release: Auto or 0.3–0.6 s
- Gain Reduction: just 1–2 dB
- small cut around 250–350 Hz if the kick feels muddy
- gentle boost around 50–70 Hz only if the low-end needs help
- cut harshness if the crunchy layer bites too hard
- use a simple sub or reese bass
- loop a chopped Amen or another break
- place the kick on strong downbeats or as part of a syncopated edit
- Automate the Drive on Saturator slightly higher for the last bar before a drop
- Automate the Dry/Wet of Drum Buss on the texture layer for fills
- Mute the crunchy layer in the intro, then bring it in on the drop
- In a 2-bar switch-up, briefly boost the texture layer volume for extra impact
- Intro: clean kick only, minimal texture, space for atmosphere
- Pre-drop: introduce the crunchy layer more strongly
- Drop: full kick + crunch + break edits
- Mid-section switch: remove the texture for 2 bars so the return feels heavier
- Hot Pants Kick Weight
- Jungle Crunch Kick
- Oldskool Edit Kick
- cleaner body
- dirtier texture
- more sub-friendly low-end
- high-pass the texture layer at 80–120 Hz
- shorten the kick tail
- keep the sub bass out of the kick’s exact moment if possible
- lower the layer by 6–12 dB
- use EQ Eight to remove unnecessary top-end or boxiness
- remember: texture should support, not dominate
- reduce Saturator drive
- turn on Soft Clip rather than pushing harder
- use Drum Buss in moderation
- shorten the kick tail
- keep bass notes controlled on kick hits
- check the mix in mono
- avoid stacking too many low hits at once
- automate the texture in and out
- strip it back for breakdowns
- bring it back for drop impact
- bars 1–4: cleaner kick feel
- bars 5–8: add the crunch layer and make the energy rise
- whether the kick still hits clearly
- whether the low-end stays controlled
- whether the texture adds oldskool attitude without clutter
- keep the kick short and weighty
- put the gritty texture in the mids, not the subs
- blend the layers so the kick feels unified
- use automation for edit energy and drop impact
- always check the kick against bass and breaks in context
This technique matters because oldskool DnB is full of controlled grime. The kick should feel solid and physical, but also a little ragged around the edges. That roughness helps the whole track feel more authentic and more alive, especially when you’re editing breaks, dropping bass hits, or arranging DJ-friendly sections with tension and release.
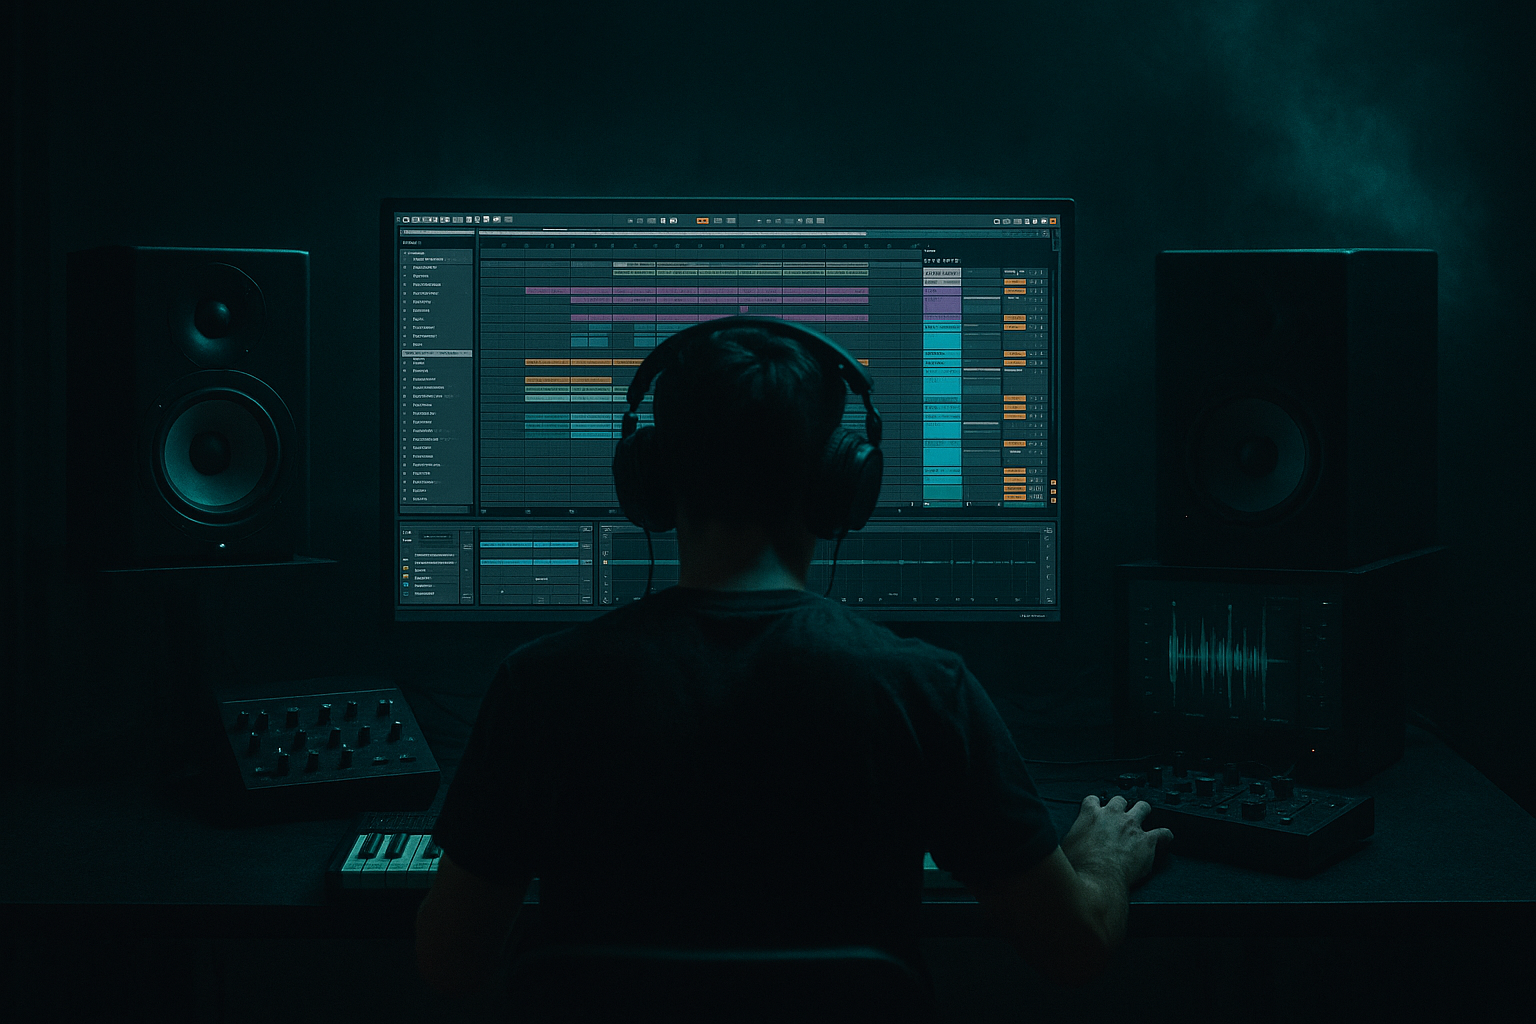
We’ll use Ableton stock devices and a beginner-friendly workflow:
By the end, you’ll have a kick layer that can sit under jungle breaks, work in a roller, or add weight to a darker DnB edit without muddying the mix.
What You Will Build
You will build a two-part kick sound:
1. a low, solid kick body that gives weight and impact
2. a crunchy sampler layer that adds bite, dirt, and oldschool texture
The end result should feel like a kick you’d hear in a gritty jungle edit:
Musically, this kick will work well in:
Think of it like a kick that says: “I’m the weight in the room,” but with a bit of sampler dust on it.
Step-by-Step Walkthrough
1. Start with a simple drum-focused rack
Create a new MIDI track and load Drum Rack. On one pad, load a kick sample into Simpler. Pick a kick that already has a strong low fundamental — anything in the 45–70 Hz area is a good starting point for DnB.
Beginner workflow tip:
You want a kick that has:
If you’re working from a break-heavy jungle session, choose a kick that feels like it could live under an Amen or Think break without fighting the snare.
2. Shape the kick in Simpler for weight and punch
Open Simpler and set it to Classic mode if you want the sample to behave more traditionally. Turn on Warp only if needed — for a straight kick sample, often it’s better to leave it off and keep the transient clean.
Useful starting moves:
Two practical parameter suggestions:
Why this works in DnB:
A kick that is too long will blur into the bass and break. In DnB, especially with fast tempos like 170–174 BPM, you need the kick to punch and clear out quickly so the groove stays tight.
At this stage, your kick should feel solid but still a bit plain. That’s fine — the crunch comes next.
3. Build the crunchy sampler texture layer
Duplicate the Simpler chain or create a second pad in the same Drum Rack for a texture layer. This second layer should not be a full kick copy; it should be a slightly degraded version of the kick.
Here’s a beginner-safe way to do it:
Now add Saturator after the second Simpler.
Good starting settings:
If you want more oldskool crunch, try Overdrive mode in Saturator carefully. Keep it subtle. You’re not trying to destroy the kick — just give it that “sampled from a dusty box” feel.
Then add Drum Buss after Saturator:
This layer should sound a bit nastier and more midrangey than the clean kick. That grain is what makes it feel like a jungle edit rather than a sterile drum machine hit.
4. Filter and clean the texture so it supports the weight
The crunchy layer should add character, not ruin the kick. Use EQ Eight after the processing chain on the texture layer.
Start with:
This is important in DnB because the sub and bassline need the deepest space. The crunchy texture should live mostly in the midrange, where the ear reads presence and attitude.
If you want the texture to feel more “sampler-like,” you can also:
This helps the texture feel more like a real edit element, not just a static layer.
5. Blend the clean body and crunchy layer
Now balance the two layers inside the Drum Rack.
Good starting balance:
Listen in context with a simple jungle-style pattern:
The clean layer should give the low-end punch. The crunchy layer should be felt more than heard when the whole drum pattern plays.
Use Utility on each layer if needed:
Beginner rule:
If you can clearly hear the crunch layer by itself, it may be too loud in the full mix.
6. Group the kick layers and shape them as one sound
Select both layers and group them into a Drum Rack chain or route them to a group track. On the group, add Glue Compressor if the layers need to feel glued together.
Suggested starting point:
If the kick loses punch, slow the attack a little or reduce compression. If the layers feel disconnected, a small amount of compression can make them feel like one intentional hit.
Then add EQ Eight on the group:
This is where the kick starts feeling “produced” rather than just assembled.
7. Make it work with bass and breaks in a DnB context
Now test the kick against a bassline and break. For a beginner-friendly jungle setup:
Important mix decision:
The kick and sub should not both dominate the same moment. If the bass hits on the downbeat, shorten the kick tail. If the kick needs to land hard, make sure the bass note starts slightly after or uses less low-end on that beat.
Use Utility on the bass for mono control if needed, and keep the kick centered.
Why this works in DnB:
Fast tempos leave very little time for low-end clutter. A kick with a strong body and a crunchy mid layer can cut through breaks without needing to be huge. That means the groove stays faster, cleaner, and more aggressive.
8. Add edit movement with automation and arrangement
This is where the “Edits” category comes alive. Don’t leave the kick texture static for the whole track. Use it as an arrangement tool.
Try these simple edit ideas:
A strong arrangement example:
This creates contrast. In DnB, contrast is power.
9. Save the result as a reusable rack
Once the sound works, save it as a Drum Rack preset or a grouped instrument rack. Name it clearly, like:
Also save a version with:
That way, you can reuse the rack in future rollers, jungle edits, and darker bass tracks without rebuilding it every time.
Common Mistakes
Too much low-end from both layers
If both the clean kick and texture layer carry strong sub, the low end will blur.
Fix:
Crunch layer is too loud
A loud texture layer can make the kick feel thin and noisy.
Fix:
Overdistorting the kick
Too much drive can flatten the transient and make the kick lose impact.
Fix:
Kick and bass fighting each other
In DnB, this is one of the fastest ways to lose clarity.
Fix:
No arrangement contrast
If the kick texture is always on, the track stops feeling like it develops.
Fix:
Pro Tips for Darker / Heavier DnB
Use a slightly damaged sample for more character
A kick that is already a little rough often sounds more authentic once processed. In jungle and darker DnB, that slight imperfection adds attitude.
Layer texture, not low-end
For heavier tracks, keep one layer responsible for the weight and another for the grit. This separation keeps the mix clearer and makes the kick easier to control.
Use subtle frequency shaping on the group
A small boost around 60 Hz can add power, but don’t chase huge lows. In fast DnB, too much sub on the kick can make the drop feel slower.
Automate crunch for tension
Before a drop or a switch-up, automate the crunchy layer slightly louder or more distorted. Then pull it back when the full bassline returns. That contrast makes the drop hit harder.
Keep it mono and centered
Heavy DnB kicks should stay centered. Use Utility to keep the kick mono, especially if the texture layer has any stereo spread from processing.
Let the break breathe around the kick
If you’re using an Amen or other chopped break, consider leaving tiny gaps where the kick lands cleanly. Those gaps make the kick feel heavier without needing extra volume.
Mini Practice Exercise
Spend 10–20 minutes making three versions of this kick rack in Ableton Live:
1. Clean version
- just the main kick in Simpler
- minimal processing
- aim for a solid, short low-end hit
2. Crunch version
- duplicate the kick
- add Saturator and Drum Buss
- high-pass the texture layer
- make it gritty but controlled
3. Drop version
- group both layers
- add a little Glue Compressor
- automate the texture layer louder for the last 2 bars
- test it against a simple bass note and a chopped break
Then loop an 8-bar jungle-style section:
Listen for:
If you have time, bounce the kick to audio and re-import it to see how it feels as a resampled edit element.
Recap
The key idea is simple: build a kick with solid weight first, then add crunchy sampler texture second. In Ableton Live, that usually means using Simpler, Saturator, Drum Buss, EQ Eight, and Utility in a controlled way.
Remember the big takeaways:
If you get this right, your DnB edits will feel more authentic, more dangerous, and much easier to arrange into proper jungle or oldskool-inspired tracks.

