Main tutorial
Hot Pants: Ragga Cut Widen for Oldskool Rave Pressure (Ableton Live 12) 🥁🔥
Skill level: Intermediate
Category: Mastering (but we’ll also touch bus processing + arrangement so it lands like proper DnB)
---
1. Lesson overview
This lesson is about making a ragga vocal cut (“Hot Pants”-style vibe) feel wide, hyped, and rave-ready in a drum & bass mix, without wrecking mono compatibility or smearing your drums.
We’ll do it the way an oldskool jungle/DnB record feels:
- Dry, punchy center + controlled stereo width on the right parts
- Band-limited “pirate radio” energy
- Short delays + micro-shifts for width
- Master-bus safe so your tune still translates in clubs 🔊
- A main ragga cut track that stays stable and forward
- A stereo widen return that you automate per phrase
- A mid/side-safe master approach so your widened vocal doesn’t collapse or cause phase issues
- An arrangement technique: widen on callouts, pull to mono before drops for impact
- Keep the send low (or off) during busy drum sections
- Push send up on the last word of the phrase or on callouts
- Pull it back to mono right before the drop for maximum impact
- Verses/rolling groove: send around -18 to -12 dB
- Pre-drop: ramp to -9 to -6 dB
- Drop first 8 bars: reduce to -15 dB (leave space for drums)
- Compressor
- “Mono call → wide answer”:
- Pre-drop tension:
- Bar 16 switch-up:
- Make the widen “brighter” than the dry vocal
- Add grime with multiband distortion (subtle)
- Keep sub and kick dead center
- Use a dub-style throw for one word only
- Contrast = heaviness
- Keep the ragga cut centered and controlled (EQ → Glue → Saturator).
- Create width using a parallel widen return (EQ band-limit → short stereo Delay → optional Chorus → Utility width + Bass Mono).
- Automate the send for classic rave pressure: wide in builds/callouts, tighter in drops.
- Use M/S EQ to stop low-end width and protect mono compatibility.
- Always check mono and keep your kick/sub/snare authority intact.
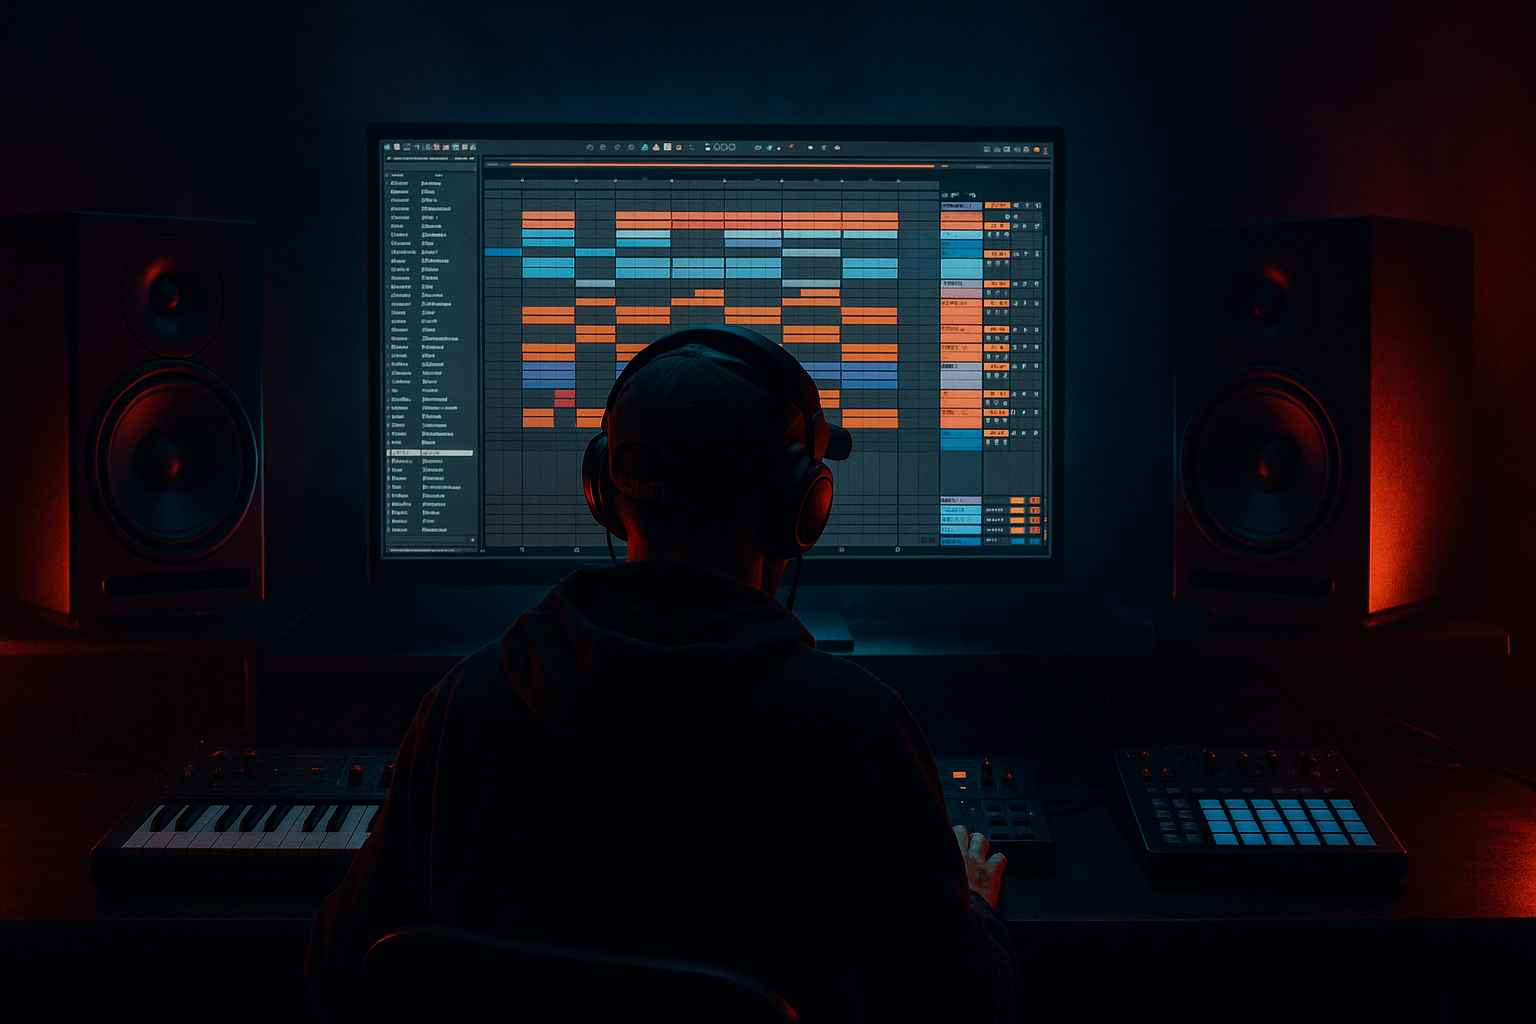
Ableton Live 12 stock devices only (with optional extras if you like).
---
2. What you will build
You’ll end up with a repeatable “Ragga Cut Widen” rack and a workflow that fits DnB:
---
3. Step-by-step walkthrough
Step 0 — Prep: choose the right ragga cut 🎙️
1. Grab a short phrase (e.g., “hot pants”, “rewind”, “booyaka”, “original nuttah” type energy).
2. Warp mode: Complex Pro (good for vocals).
3. Set the clip so it hits tight in DnB timing: usually on the “and” before a snare, or bar starts leading into fills.
DnB placement tip: Try triggering the cut on beat 4 right before a drop, or on beat 2 to answer the snare.
---
Step 1 — Clean + focus the cut (so widening doesn’t get messy)
On the Ragga Cut track, insert:
#### Device chain (Track)
1. EQ Eight
- High-pass: 100–150 Hz (24 dB/Oct)
- Cut harshness: sweep 2.5–5 kHz and dip -2 to -4 dB if needed
- Optional air: shelf 8–12 kHz +1 to +3 dB if it’s dull
2. Glue Compressor (light control)
- Attack: 10 ms
- Release: Auto
- Ratio: 2:1
- Threshold: aim 1–3 dB gain reduction on peaks
- Makeup off (match level manually)
3. Saturator (rave density)
- Mode: Analog Clip
- Drive: 2–6 dB (don’t destroy consonants)
- Soft Clip: On
- Output: trim to unity
This gives you a solid mono-forward core before we create width.
---
Step 2 — The “Hot Pants Widen” concept (keep center clean, widen the sides) ↔️
Instead of widening the main track directly (risky), we’ll do parallel widening via a Return track.
#### Create Return A: “Ragga Widen”
Send the ragga cut to Return A. Keep the main track mostly dry/center.
On Return A, build this chain:
##### Return A device chain (Widen bus)
1. EQ Eight (band-limit for jungle/ragga vibe)
- High-pass: 200–350 Hz
- Low-pass: 7–10 kHz
This keeps the widen effect from messing with sub/air and keeps it “radio”/rave.
2. Delay (use as a stereo widener)
- Mode: Time
- Left: 15–25 ms
- Right: 25–40 ms
- Feedback: 0–8% (keep it tight)
- Dry/Wet: 100% (because this is a return)
- Filter in Delay: HP around 300 Hz, LP around 8–10 kHz
This is a Haas-style width trick, but controlled.
3. Chorus-Ensemble (optional, for extra shimmer)
- Amount: 10–25%
- Rate: 0.2–0.6 Hz
- Width: 120–200%
- Mix: 15–35%
Keep it subtle—DnB hates seasick vocals unless you want a specific dub effect.
4. Utility (stereo & mono safety)
- Width: start 120–150%
- Bass Mono: On, set around 150–200 Hz (important!)
5. Limiter (catch peaks)
- Ceiling: -1.0 dB
- Just shaving occasional spikes
✅ Now your main vocal remains punchy, and the widen is a controlled “aura” around it.
---
Step 3 — Add “oldskool rave pressure” with hype + movement 🎚️
Oldskool ragga cuts often feel exciting because they move.
#### Option A: Automate send for phrases (best DnB technique)
Suggested automation:
#### Option B: Sidechain the widen return to the snare (cleaner mix) 🥁
On Return A, add:
- Sidechain input: Snare track (or Drum Bus)
- Ratio: 3:1
- Attack: 2–10 ms
- Release: 60–140 ms
- Gain reduction: 2–5 dB on snare hits
This makes the widen “duck” slightly so the snare stays upfront.
---
Step 4 — Mid/Side polish (mastering-safe) in Ableton Live 12
We’ll control the sides so width feels huge but stable.
#### On the Ragga Cut Group (or Mix Bus), add EQ Eight in M/S mode:
1. Set EQ Eight to Mid/Side.
2. On the Side channel:
- High-pass around 150–250 Hz (gentle slope)
- Small dip around 3–6 kHz if sides get spitty
3. On the Mid channel:
- Keep intelligibility: tiny boost around 1–2 kHz if needed
This keeps the widen effect from adding low-end phase and makes it translate on club rigs.
---
Step 5 — Arrangement moves that scream jungle/rave 🚨
Try these classic moves:
First hit is mostly dry/center, second hit gets the widen send boosted.
Automate the widen send up + add a 1/8 or 1/4 echo (separate return) right before the drop.
In rolling DnB, at bar 16 or 32, widen the ragga for 1–2 bars to mark progression without adding new elements.
---
Step 6 — Master bus considerations (so your widen survives mastering) 🧠
If you’re doing final loudness, be careful: stereo widening can trigger limiters weirdly.
On the Master (light touch):
1. Limiter
- Ceiling -1.0 dB
- Aim for loudness appropriate to your style, but don’t crush the snare
2. Metering (use what you have)
- Watch correlation (if you use a meter): avoid living in negative correlation
- Periodically hit Utility → Mono on the master to check collapse
If mono kills the vocal: reduce Delay times, reduce Utility width, or keep more dry signal.
---
4. Common mistakes ❌
1. Widening the main vocal track directly
You lose punch and risk phase problems. Parallel is safer.
2. Too much Haas delay (like 40–60 ms+)
Starts sounding like a flam/echo rather than width.
3. Wide low-mids
If 200–500 Hz is wide, your mix goes cloudy fast—especially with reese + breaks.
4. No automation
Constant width gets boring and reduces impact when you need hype.
5. Fighting the snare
Ragga cuts often land near the snare. Sidechain the widen return or EQ space around 180–250 Hz / 2–4 kHz depending on your snare tone.
---
5. Pro tips for darker/heavier DnB 🌑🔊
Band-limit return but keep a touch more upper presence than the dry—gives “halo” without mud.
On Return A, before Utility:
- Multiband Dynamics (OTT very lightly)
- Downward + upward tiny amount, or use it just to stabilize
Then Saturator (Drive 1–3 dB)
Use Utility (Bass Mono) on the bass group too. The moment your sub gets “wide,” your whole tune loses weight.
Create a second return: Echo set to 1/4 or 1/8 dotted, filter down, automate send on the last word. Classic jungle drama.
The heaviest drops often have less width in vocals than the build. Wider in the build, tighter in the drop.
---
6. Mini practice exercise 🎯
Do this in a fresh project:
1. Load a ragga one-shot phrase and a rolling DnB drum loop (or your own drums).
2. Build the Return A “Ragga Widen” chain exactly as above.
3. Create 16 bars:
- Bars 1–8: ragga cut every 2 bars, send at -14 dB
- Bars 9–12 (build): automate send up to -7 dB
- Bar 13 (pre-drop): add a quick Echo throw on the last word
- Bars 14–16 (drop): reduce widen send back to -15 dB
4. Hit Master Utility → Mono and confirm:
- Vocal still audible and punchy
- No weird hollowing/phasey disappearance
5. Adjust Delay L/R times until it feels wide but not flammed.
---
7. Recap ✅
If you want, tell me what kind of ragga cut you’re using (clean studio vocal vs dusty sample), your BPM, and whether your drums are break-led or 2-step—then I’ll suggest exact delay times and EQ points to match your groove.

