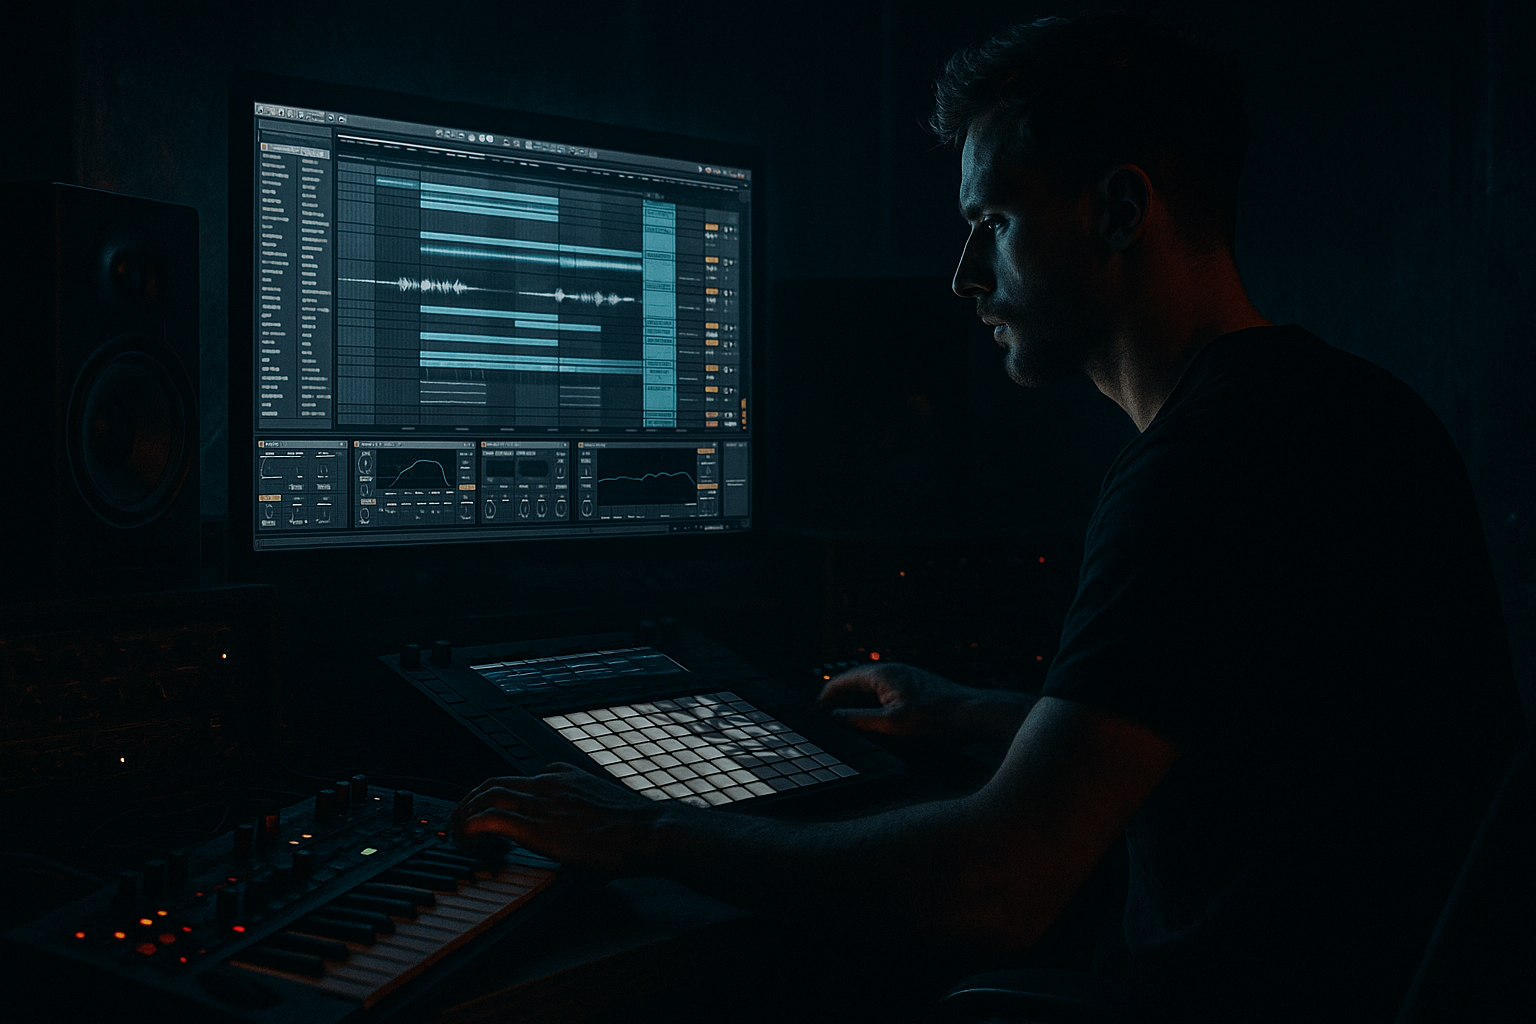
Main tutorial
Hot Pants Vocal Texture Modulate System for Ragga-Infused Chaos in Ableton Live 12 🎛️🔥
1. Lesson overview
In this lesson, you’ll build a vocal edit system that turns a simple ragga-style vocal phrase into a moving, gritty, high-energy DnB texture. Think chopped-up call-and-response phrases, filter movement, glitchy repeats, delay throws, and texture layering that feels right at home in jungle, ragga jungle, jump-up, and rolling amen pressure.
The goal is not just “adding effects.”
It’s about designing a repeatable vocal edit chain that can be dropped into a drop, used as a transition, or stretched across eight bars for controlled chaos.
We’ll use Ableton Live 12 stock devices only, so you can build this in any standard setup.
---
2. What you will build
By the end, you’ll have a Hot Pants vocal texture modulate system with:
- a chopped vocal phrase arranged like a DnB edit
- filter movement for tension and release
- modulation for wobble, movement, and instability
- delay and reverb throws for space
- distortion and saturation for grime
- a simple resampling workflow so you can print your own vocal textures
- an arrangement-ready vocal chain that works in breakdowns, fills, and drops 🎙️
- ragga vocal one-shots
- sampled MC phrases
- “hot pants”, “move”, “whoa”, “selecta”, “pull up” style cuts
- short shouted phrases with attitude
- a dry ragga-style vocal clip
- a single spoken phrase
- a shouted ad-lib
- a syllable-heavy sample like “hot pants”, “skank”, “reload”, “move it”
- pick something with sharp consonants
- avoid overly long melodic vocals for this effect
- keep it short enough to chop into 1/2-bar, 1/4-bar, or 1/8-note slices
- Turn Warp on
- Try Complex Pro if the vocal is longer and needs to stay natural
- Try Beats if it’s short and percussive
- Set the clip to your project tempo, usually 172–174 BPM for classic DnB
- Cut the phrase into small chunks
- Move syllables around to create a call-and-response rhythm
- Right-click the audio clip
- Choose Slice to New MIDI Track
- Slice by transients or 1/8 notes
- This is great for playing vocal chops like an instrument 🎹
- High-pass around 90–140 Hz
- Cut muddy area around 200–400 Hz if needed
- Add a small presence boost around 3–6 kHz if the vocal feels dull
- If there’s harshness, notch a little around 6–9 kHz
- Drive: +3 to +8 dB
- Soft Clip: On
- Output: adjust so the level stays controlled
- try Analog Clip mode
- push drive harder, then pull the output down
- Filter type: Low-pass 24 dB
- Cutoff: around 800 Hz to 3 kHz depending on how muffled or open you want it
- Resonance: 10–25%
- Drive: a little if you want more edge
- Bars 1–2: low-pass closed for tension
- Bar 3: open the filter suddenly for a drop
- Bar 4: automate movement up and down for a talking, breathing effect
- Reduce bit depth slightly
- Downsample gently
- Use this for crunchy digital edge
- Mode: Noise or Sine
- Frequency: try 3–8 kHz
- Amount: subtle at first
- Redux: subtle bit reduction only
- Erosion: low amount, then automate it on fills
- Time: 1/8 or 1/16 dotted
- Feedback: 20–40%
- Filter the delay repeats so they don’t clutter the mix
- Wet/Dry: keep low if it’s always on
- Automate the Dry/Wet up only on the last word or syllable of a phrase
- Automate feedback higher for a single moment
- Then pull it back down immediately
- Decay: 0.8–1.8 s for tight drum and bass spaces
- Predelay: 10–30 ms
- Low cut: around 200–400 Hz
- High cut: around 6–10 kHz
- Wet: low, unless it’s a breakdown effect
- automate more reverb in breakdowns
- reduce it in the drop so the vocal stays punchy
- automate Auto Filter cutoff in a wave-like pattern
- automate Saturator drive slightly on phrase peaks
- automate Delay feedback for “swells”
- automate Hybrid Reverb wet for tension moments
- use tiny pitch movement for eerie texture
- keep it subtle, around a few cents or a gentle shift
- great for unsettling jungle atmospheres
- Rate synced to 1/4 or 1/8
- Amount subtle to moderate
- phase adjustments can make the vocal swirl around the stereo field
- snares
- ghost hits
- fills
- call-and-response hooks
- Bar 1: one short vocal hit on beat 1
- Bar 2: two chopped syllables answering on beat 3
- Bar 3: a reversed or filtered vocal pickup
- Bar 4: a longer delay throw into the drop
- just before the snare
- after the snare
- on the offbeat before a bass hit
- cut the best moments
- reverse them
- rearrange them
- stack them with drums
- use them like FX hits
- slice it into smaller hits
- reverse certain pieces
- fade in/out for smooth transitions
- layer with cymbal hits or risers
- a rolling break
- a sub bass line
- a mid bass stab
- a snare on 2 and 4 or a halftime feel depending on style
- if the vocal masks the snare, cut 2–5 kHz a little
- if it fights the bass, high-pass more aggressively
- if it disappears, add presence with EQ or saturation, not just volume
- filtered vocal fragments
- low-pass closed
- subtle delay
- dry drums or break intro
- more vocal slices
- filter opens gradually
- delay throws on phrase ends
- rising energy toward the drop
- chopped vocal hits on key drum accents
- short, aggressive edits
- reduced reverb
- extra saturation and grit
- reversed vocal cut
- one large delay throw
- filter automation for movement
- setup for next phrase or breakdown
- high-pass it heavily
- add Erosion or Redux
- tuck it quietly behind the main vocal
- automate volume for stutters
- automate filter for phrase movement
- automate pitch for quick character shifts
- “hot pants”
- “selecta”
- “move it”
- “pull up”
- clean and punchy
- darker, more distorted, and more washed out
- how to chop and warp a vocal for drum and bass
- how to build a usable stock-device vocal chain
- how to use EQ, saturation, filtering, grit, delay, and reverb together
- how to automate movement instead of leaving effects static
- how to resample vocal FX into editable material
- how to arrange vocal edits so they support the groove
- a step-by-step Ableton session template
- a rack chain with exact macro assignments
- or a ragga jungle vocal FX recipe list for Live 12.
This works especially well with:
---
3. Step-by-step walkthrough
Step 1: Choose the right vocal source
Start with a short vocal phrase that has energy and character.
Good source examples:
Best practice for DnB:
If your vocal is too clean, that’s fine — we’ll rough it up later.
---
Step 2: Warp and slice the vocal to grid
Drag the vocal into Arrangement View.
#### Warp settings
#### Slice it
You have two useful options:
Option A: Manual chopping in Arrangement View
Option B: Slice to New MIDI Track
For beginners, manual chopping in Arrangement View is easier to control. If you want more performance freedom, slice to MIDI later.
---
Step 3: Build the core vocal chain
Create a vocal audio track and add these stock devices in this order:
#### Suggested device chain
1. EQ Eight
2. Saturator
3. Auto Filter
4. Redux or Erosion
5. Delay
6. Hybrid Reverb
7. Utility
Let’s set this up properly.
---
Step 4: EQ the vocal for the mix
Add EQ Eight first.
#### Basic EQ settings
For DnB, vocals need to cut through aggressive drums and bass without fighting the sub.
So keep the vocal lean and mid-focused.
---
Step 5: Add saturation for attitude
Add Saturator after EQ Eight.
#### Starting settings
This helps the vocal sit in a dense mix and gives it that slightly cooked, system-music edge.
If you want more grit:
---
Step 6: Make the vocal move with Auto Filter
Add Auto Filter after Saturator.
#### Starting settings
Now automate the cutoff frequency so the vocal opens up on impact and closes down between phrases.
#### Easy arrangement idea
This is where the “texture modulate system” starts to come alive.
---
Step 7: Add grit with Redux or Erosion
For rough ragga chaos, use one of these:
#### Option A: Redux
#### Option B: Erosion
Redux is more obvious and lo-fi.
Erosion is excellent for adding a brittle, edgy top layer without destroying the vocal completely.
For beginner control, start with:
---
Step 8: Create space with delay throws
Add Delay after the grit stage.
#### Useful starting values
For DnB edits, the trick is often delay throws, not constant delay.
#### How to do delay throws
This gives you the classic “echo fly-off into the gap” feeling, which is huge in ragga-infused drops.
---
Step 9: Add reverb for depth, but keep it controlled
Add Hybrid Reverb after Delay.
#### Starting settings
For heavy DnB, keep the reverb short and filtered.
You want the vocal to feel like it exists in a room, not a cathedral.
A good trick:
---
Step 10: Add movement with modulation
Now we make it feel alive.
Use LFO style movement with stock devices and automation.
#### Easy modulation ideas
If you want extra movement, add Shifter:
You can also use Auto Pan for rhythmic motion:
---
Step 11: Make the edit rhythmic
Now arrange the vocal like a drum element.
In DnB, vocal chops often behave like:
#### Practical edit pattern
Try this across 4 bars:
You can also place vocal fragments:
This creates that classic ragga-jungle chatter.
---
Step 12: Resample the chain for maximum control
This is where the system becomes powerful.
#### Why resample?
Because once you print the vocal effects, you can:
#### How to resample in Ableton Live
1. Create a new audio track
2. Set its input to Resampling
3. Arm the track
4. Play your vocal chain through the section you want
5. Record the output
Now you have a printed version of your moving vocal texture.
#### After resampling:
This is a huge part of making edits feel like real production, not just processing.
---
Step 13: Layer with drums and bass context
To make the vocal sit like proper DnB, test it with:
#### Balance tips
Vocal edits should feel like part of the rhythm section, not floating on top randomly.
---
Step 14: Build an arrangement idea
Here’s a simple 16-bar DnB arrangement using this system:
#### Bars 1–4: Intro tension
#### Bars 5–8: Build
#### Bars 9–12: Drop
#### Bars 13–16: Variation
This keeps the vocal interesting without overusing it.
---
4. Common mistakes
1. Too much reverb
If the vocal turns into mush, reduce wet amount and shorten decay.
DnB needs clarity and speed.
2. Overprocessing the vocal
Too much distortion, bitcrushing, and pitch shifting at once can make the edit unusable.
Stack effects gradually.
3. Poor EQ balance
If the vocal is muddy, it will clash with the bass and breakbeats.
Use high-pass filtering and remove low-mid clutter.
4. Static effects
A vocal that never changes feels boring.
Automate filter, delay, and reverb for movement.
5. Wrong timing
If the vocal phrases are off-grid by accident, the groove can feel sloppy instead of intentional.
Snap edits carefully and audition them against the drums.
6. Too loud in the mix
Vocal edits in DnB are often strongest when they’re slightly under the drums, not above them.
Let them punctuate the rhythm.
---
5. Pro tips for darker/heavier DnB
Use band-pass filtering for menace
Try Auto Filter in band-pass mode on selected vocal bits.
This creates a narrow, ghostly tone that feels great in dark rollers.
Layer with atmospheric noise
Duplicate the vocal and:
This creates a haunted texture that fills the top end.
Use reverse phrases before snare hits
Reverse a chopped syllable and place it right before the snare or drop.
That pull-in motion is classic tension design.
Print delay tails
Resample your delay throws and reverse them for eerie transitions.
Combine with drum fills
Put a vocal chop on the same rhythm as a tom fill or snare roll.
That makes the edit feel locked into the groove.
Keep the sub clean
Never let vocal effects eat your low end.
High-pass aggressively if needed, especially in heavier neuro-ragga or dark step contexts.
Use Clip Envelopes
In Live 12, clip envelopes are great for simple automation inside the audio clip:
---
6. Mini practice exercise
Build a 4-bar ragga vocal edit system using one vocal phrase.
Your task
Pick a short phrase like:
Then do the following:
1. Chop it into 4 pieces
2. Apply EQ Eight + Saturator + Auto Filter
3. Automate the filter cutoff over 4 bars
4. Add Delay throws only on the last word
5. Resample the result
6. Reverse one chopped piece
7. Place the final edit over a rolling break at 174 BPM
Challenge version
Make one version:
Make a second version:
Compare them and decide which one works better in the drop.
---
7. Recap
You’ve now built a Hot Pants vocal texture modulate system for DnB in Ableton Live 12 🎧
What you learned
Core takeaway
In DnB, vocal edits work best when they behave like percussion, texture, and energy shifts all at once.
Keep them tight, rhythmic, filtered, and expressive.
If you want, I can also turn this into:

