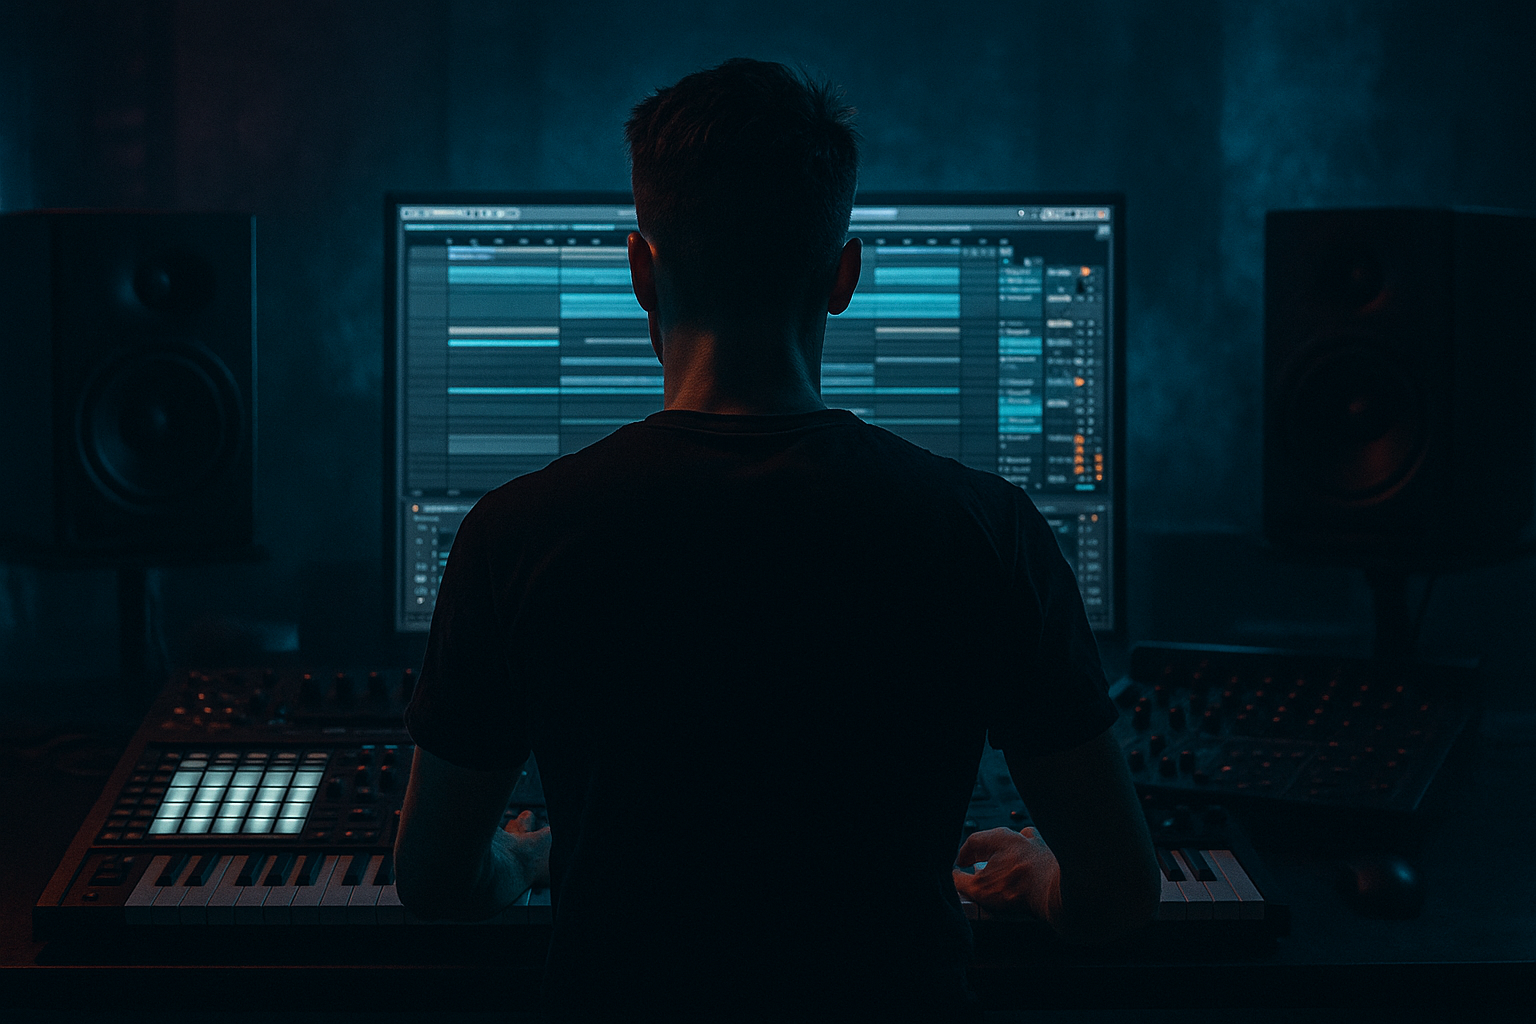
Main tutorial
Humanize a Pad for Oldskool Rave Pressure in Ableton Live 12
1. Lesson overview
In this lesson, you’ll learn how to make a pad feel alive, unstable, and emotionally charged without losing the tightness needed for drum and bass, jungle, and oldskool rave. We’re not talking about random slop or lazy timing — we’re talking about controlled humanization: tiny variations in timing, velocity, stereo width, filter movement, and envelope shape that make a pad feel like it’s being performed by a real player in a rave room at 2 a.m. 🔥
This approach works especially well for:
- Rave stabs and haunted chord pads
- Atmospheric pads behind rolling drums
- Dark cinematic textures in halftime or jungle sections
- Breakdown layers that need tension without sounding static
- MIDI clip editing
- Velocity lane
- Groove Pool
- Random / Velocity MIDI effects
- Auto Filter
- Chorus-Ensemble
- Reverb
- Echo
- Utility
- Envelopes in clips and automation
- Slight timing offsets for variation
- Controlled velocity differences across notes
- Subtle filter movement for expression
- Stereo movement that feels wide but not washed out
- A gritty, oldskool vibe that supports breaks and bass pressure
- 1993–1997 rave atmosphere
- Dark pad stabs hovering over a rolling Amen or breakbeat groove
- A pad that feels less like a synth preset and more like a performance
- Enough movement to keep tension rising into drops and breakdowns
- A simple saw/square pad
- A sampled chord stab
- A hazy analog-style synth pad
- A re-sampled vocal pad or choir texture if you want it to feel more haunted
- Wavetable for clean analog-style pads
- Analog for oldschool warmth
- Collision if you want a metallic, eerie layer
- Sampler/Simpler if you’re using a chord stab sample
- Drift if you want unstable vintage motion
- Osc 1: Saw
- Osc 2: Square or Saw detuned slightly
- Filter: Low-pass, around 3–8 kHz
- Envelope: Moderate attack, medium release
- Unison: Light to moderate, not too wide yet
- Warm mids
- Some harmonic edge
- Not too much sub content
- Enough sustain to fill space between drums
- Minor i–VI–VII
- i–VII–VI
- Minor suspended chords
- One-chord vamp with tension notes
- Am
- F
- G
- Em
- Am(add9)
- Gsus2
- Fmaj7(no3)
- E7sus4
- Left hand: root + fifth
- Right hand: 3rd, 7th, 9th, or suspended notes
- Some chords: full length
- Others: slightly shortened
- Let one or two notes overlap into the next chord for tension
- One chord slightly early
- Another slightly late
- Open the MIDI clip
- Use Nudge or manual drag
- Zoom in to the 1/32 or sample level if needed
- Keep the main structural hits aligned, but make inner voices slightly different
- Main chord hit: medium-high velocity
- Repeated notes: slightly lower velocity
- Higher chord tones: a touch softer
- Accent the top note on some changes
- Chord 1: 92
- Chord 2: 78
- Chord 3: 86
- Chord 4: 74
- Filter cutoff
- Pulse width
- Wavetable position
- Amp envelope amount
- Drive: low or off
- Out Hi: around 100–110
- Out Low: around 60–75
- Compand: subtle
- Random: a tiny amount if needed
- Chance: only if you want occasional variation
- Choices: keep it minimal if note variation is pitch-based
- If using it on an effect rack or mapped macro, use it sparingly
- Manual velocity variation
- Slight timing offsets
- Micro automation
- An MPC-style swing
- A subtle shuffle groove
- A break-derived groove if you want jungle feel
- Start with 10–25% timing
- 0–10% velocity
- Keep quantize gentle
- Slight late feel can work well
- Don’t over-swing the pad or it will sound drunk instead of urgent
- Drums can stay tighter
- Pad can lay back a fraction
- This creates push/pull energy, which is classic DnB tension
- High-pass around 120–250 Hz
- Cut muddy low mids around 250–500 Hz if needed
- Slight dip if there’s nasal buildup around 800 Hz–1.5 kHz
- Mode: Low-pass 24 dB
- Frequency: Start around 2–6 kHz
- Resonance: Low to moderate
- Drive: Slight if you want grit
- Open slightly before fills
- Close a touch when the bass drops hard
- Use subtle movement during breakdowns
- Push open into a transition
- Pull back when the kick and bass return
- Mode: Ensemble
- Amount: Low to medium
- Rate: Slow
- Width: Wide enough to support stereo, not so wide that it gets phasey
- Saturator: soft clip, gentle drive
- Drum Buss: very light drive and crunch, if you want more aggression
- Drive: 1–4 dB
- Soft Clip: On
- Output: level match
- Pre-delay: 15–35 ms
- Decay: 2–5 s
- Size: medium to large
- Low cut: around 200–400 Hz
- High cut: around 7–10 kHz
- Width: 80–120%
- If the pad is too wide, reduce width and add movement elsewhere
- Check mono compatibility regularly
- Filter cutoff
- Reverb send
- Chorus amount
- Width
- Instrument macro
- Delay feedback if using Echo
- Open filter on the last beat before a drop
- Increase reverb in breakdowns
- Pull width narrower during dense drum sections
- Push width wider in atmospheric sections
- Slightly increase oscillator detune during build-ups
- Full pad
- Wider stereo
- More reverb
- Filter open
- Slight timing looseness
- Reduce reverb
- Tighten timing
- Narrow width a bit
- Keep pad chopped or sparse
- Let drums and bass dominate
- Use a pad stab or short swell
- Automate filter open
- Add delay throw on the last note
- You can commit to the movement
- You can edit the waveform directly
- You can slice and re-trigger for more human phrasing
- You can reverse or pitch-shift sections for jungle flavor
- 9ths
- 11ths
- sus2/sus4
- minor 2nds in restrained doses
- Auto Filter
- A gentle high-shelf dip in EQ Eight
- Saturation for harmonic density
- Pink noise pad
- Tape hiss texture
- Vinyl ambiance
- A low-volume choir or string sample
- Ping-pong or stereo delay
- Low feedback
- Filtered repeats
- Fast attack
- Moderate release
- Just a few dB of gain reduction
- Filter cutoff
- Detune
- Reverb send
- Width
- Noise amount
- Slight timing offsets on 1–2 notes
- Velocity variation across chord changes
- Shorter note lengths on repeated chords
- Filter cutoff over 4 bars
- Reverb send at the end of bar 4
- Width narrower on the last chord before the drop
- Version A: fully quantized, static
- Version B: humanized, automated, filtered
- Which one feels more alive?
- Which one supports the break better?
- Which one has more “pressure”?
- A brighter rave chord
- A darker minor pad
- A chopped stab version
- Start with a strong pad sound
- Write simple, effective DnB chords
- Add slight timing offsets
- Vary velocity and note length
- Use Groove Pool carefully
- Shape movement with Auto Filter, Chorus-Ensemble, Saturator, and Reverb
- Automate the pad so it reacts to the arrangement
- Keep it wide, but mono-safe
- Use resampling if you want extra grit and realism
- a one-page cheat sheet
- a video-style Ableton workflow
- or a device rack preset recipe for dark jungle pads
In Ableton Live 12, you’ll use stock tools like:
The goal: make your pad feel like it’s breathing with the tune, not sitting on top of it like wallpaper.
---
2. What you will build
You’ll create a humanized rave pad layer for a DnB track that has:
Final sound goal
Think:
Best source material
You can use:
If you’re working in DnB, keep the pad emotionally rich but rhythmically restrained. It should support the drum energy, not fight it.
---
3. Step-by-step walkthrough
Step 1: Start with the right pad sound
Open your instrument and choose a pad that has character but not too much movement already.
Good stock options in Ableton Live 12:
#### Suggested starting sound
If using Wavetable:
For jungle and oldskool rave pressure, aim for:
---
Step 2: Write a simple chord progression
Keep the progression fairly simple. DnB pads work best when the harmony is clear and loopable.
Examples:
Example in A minor:
Or for darker pressure:
#### Practical rule
Do not overcrowd the chord voicings. Leave room for the bass and break.
Try voicings that sit in the midrange:
This gives the pad a rave-like emotional body without muddying the low end.
---
Step 3: Program the MIDI with intentional imperfections
Now draw the chords into a MIDI clip.
#### Start with a straight loop
Make the chords land cleanly on the grid first. Then humanize them intentionally.
##### Add variation in note lengths
Instead of every chord being the same length:
This creates natural phrasing and avoids the “loop button” effect.
##### Offset note starts slightly
Shift a few chord hits by 5–15 ms:
Do not randomize everything. You want a feeling of a human player leaning into the beat.
#### In Ableton Live 12:
---
Step 4: Humanize velocity for expression
Even pads benefit from velocity variation, especially if the instrument responds to it.
#### If velocity affects amplitude or filter:
Create a dynamic contour:
Example pattern:
This gives the pad a breathing, performed feel.
#### If your synth doesn’t respond much to velocity
Map velocity to:
In Wavetable or Drift, velocity-to-filter movement can make chords feel more alive without obvious volume jumps.
---
Step 5: Use the MIDI Random and Velocity devices
Ableton’s MIDI effects are very useful here, but keep them subtle.
#### Add a MIDI effect chain before the instrument:
1. Velocity
2. Random
3. Optional: Scale if you want to constrain notes
##### Velocity device settings
Use it to compress or shape note dynamics:
##### Random device settings
Use very small amounts:
For pad humanization, the better approach is often:
Random is a spice, not the main ingredient 😄
---
Step 6: Add groove without making it messy
This is where the DnB feel becomes more musical.
#### Use Groove Pool
Drag in a groove from:
Apply it lightly:
For oldskool rave pressure:
#### Best practice
Use groove on the pad differently from the drums:
---
Step 7: Shape the pad with an expressive device chain
Now we make the sound breathe.
Suggested stock Ableton device chain
1. EQ Eight
Clean up the pad first:
This helps the pad sit behind the break and bass.
---
2. Auto Filter
This is the main movement tool.
Suggested settings:
#### Automate the cutoff
Draw slow rises and falls across 4 or 8 bars:
For rave pressure, automate the filter like a performer would:
---
3. Chorus-Ensemble
Add width and movement, but keep it controlled.
Suggested approach:
This is great for “humanizing” because tiny modulation changes prevent the pad from feeling static.
---
4. Saturator or Drum Buss
For oldskool grit:
Suggested Saturator settings:
This helps the pad feel like it belongs in a lo-fi rave system without destroying clarity.
---
5. Reverb
Use a reverb that gives space but doesn’t wash the drums out.
Suggested settings:
For DnB, sometimes shorter reverbs work better because the arrangement is so busy.
---
6. Utility
Use Utility to manage stereo width and mono compatibility.
A pad that disappears in mono will not survive in a club system. Big warning here ⚠️
---
Step 8: Add automation for life and phrasing
This is the real humanization layer.
Automate these parameters:
#### Good automation ideas
The result should feel like the pad is reacting to the track.
---
Step 9: Make it move with call-and-response arrangement
Don’t leave the pad running constantly at full strength.
In DnB, arrangement matters a lot. Use the pad in sections:
#### Breakdown
#### Drop
#### Fill / transition
This creates the oldskool “pressure” feeling — tension and release are doing the heavy lifting.
---
Step 10: Consider resampling for extra realism
If you want the pad to feel even more organic, resample it.
#### Why resample?
#### Practical workflow
1. Print the pad to audio
2. Chop out the best moments
3. Nudge slices slightly off-grid
4. Reverse some tails
5. Reintroduce them as texture layers
This is especially good if you want that haunted rave tape feel.
---
4. Common mistakes
1. Over-humanizing everything
If every note is late, soft, wide, and wobbly, the pad becomes sloppy instead of expressive.
Fix: Keep the main chord anchors stable. Humanize the details, not the whole structure.
---
2. Too much low end
Pads with unnecessary low-mid buildup will fight your sub and kick.
Fix: High-pass the pad and cut muddy frequencies with EQ Eight.
---
3. Excessive stereo width
Huge widening can sound great in headphones and terrible on a club system.
Fix: Use Utility to check mono and keep width under control.
---
4. Randomization without intent
Random values can make the part feel accidental.
Fix: Make intentional choices about which notes get emphasis and which notes get pushed back.
---
5. Too much reverb
Big wash sounds cool until the drop arrives and your mix turns into soup.
Fix: Automate reverb. Use more in breakdowns, less in drops.
---
6. No rhythmic relationship to the drums
A pad that ignores the break pattern won’t feel like part of the tune.
Fix: Align pad phrasing with key drum moments, especially kick/snare accents and fills.
---
5. Pro tips for darker/heavier DnB
Tip 1: Use tension tones
For dark jungle pressure, add:
These create that eerie, oldskool suspense without sounding jazzy in the wrong way.
---
Tip 2: Filter the highs like a vinyl system
A slightly rolled-off top end can make the pad feel more authentic and less modern-clean.
Use:
---
Tip 3: Layer a noisy texture underneath
Add a second layer:
Then humanize that layer differently from the main pad. The contrast makes the whole thing feel more like a real performance.
---
Tip 4: Use delay throws on selected notes
Instead of echoing the whole pad, automate or send only a few notes to Echo.
Suggested delay style:
This is very effective in jungle and oldskool transitions.
---
Tip 5: Duck the pad lightly with sidechain
Use Compressor or Glue Compressor sidechained to the kick or drum bus.
Keep it subtle:
This preserves pressure while letting the drums breathe.
---
Tip 6: Make the pad feel “played” with macro movement
If you’re using an Instrument Rack, map:
Then automate a single macro across the arrangement. That creates cohesive movement without over-editing.
---
6. Mini practice exercise
Exercise: Build a 4-bar humanized rave pad
Do this in a new Ableton Live 12 set.
#### Step 1
Create a pad sound using Wavetable or Drift.
#### Step 2
Write a 4-bar chord loop in a minor key.
#### Step 3
Humanize it using:
#### Step 4
Add this chain:
1. EQ Eight
2. Auto Filter
3. Chorus-Ensemble
4. Saturator
5. Reverb
6. Utility
#### Step 5
Automate:
#### Step 6
Bounce the pad to audio and compare:
Ask yourself:
Repeat the exercise with:
---
7. Recap
To humanize a pad for oldskool rave pressure in Ableton Live 12, focus on intentional imperfection:
The best DnB pads don’t just fill space — they push emotion, tension, and motion against the drums. That’s what gives oldskool rave pressure its power ⚡
If you want, I can also turn this into:

