Main tutorial
Lesson Overview
In this lesson, you’ll learn how to give a jungle or DnB kick more human weight and crunchy sampler character in Ableton Live 12, without making your low end messy. This is a super practical technique for basslines and drum-bass interaction: instead of a kick that feels like a flat click-and-thump, you’ll shape one that feels like it was pulled from an old sampler, slightly pushed by hand, and full of textured attitude.
This matters in Drum & Bass because the kick often has to do two jobs at once:
1. Anchor the groove so the drop feels physical
2. Leave room for the sub and bassline so the track still hits cleanly
In jungle, rollers, darker halftime, and neuro-influenced DnB, a kick with a little crunch and human movement can make the whole rhythm section feel alive. The trick is not just “distortion.” It’s about combining:
- a solid kick source
- sampler-style texture
- tiny timing variation
- controlled saturation
- careful low-end shaping
- a tight, weighty jungle kick
- with a slight crunchy sampler edge
- a more human, less grid-perfect feel
- enough punch to cut through a dense DnB mix
- and enough low-end discipline to work with a sub bass or reese
- a roller with a dark bassline answering the kick
- a jungle drop where kicks and breaks share energy
- a neuro-dub or darker halftime section where the kick needs character but not clutter
- a call-and-response pattern between kick and bass stab
- Making the kick too long
- Distorting the whole kick instead of only the texture layer
- Too much swing on the kick
- Letting the kick compete with the sub
- Over-boosting the click
- Using a crunchy layer that is too loud
- Ignoring arrangement
- Make the crunch layer slightly band-limited
- Automate the crunchy layer into the drop
- Use very small transient shaping
- Try a call-and-response with the bass
- Keep the kick mono, but let the surrounding texture move
- Use subtle sample variation
- Reference old-school jungle energy
- Leave headroom
- Build the kick from two layers: clean body and crunchy sampler texture
- Use small timing shifts and subtle velocity changes to humanize the groove
- Keep the crunch layer midrange-focused with EQ and saturation
- Protect the sub by keeping the kick tight, mono, and low-end disciplined
- Use arrangement automation to make the kick feel more alive across the drop
- Always check the kick against the bassline, because in DnB the groove lives in their interaction
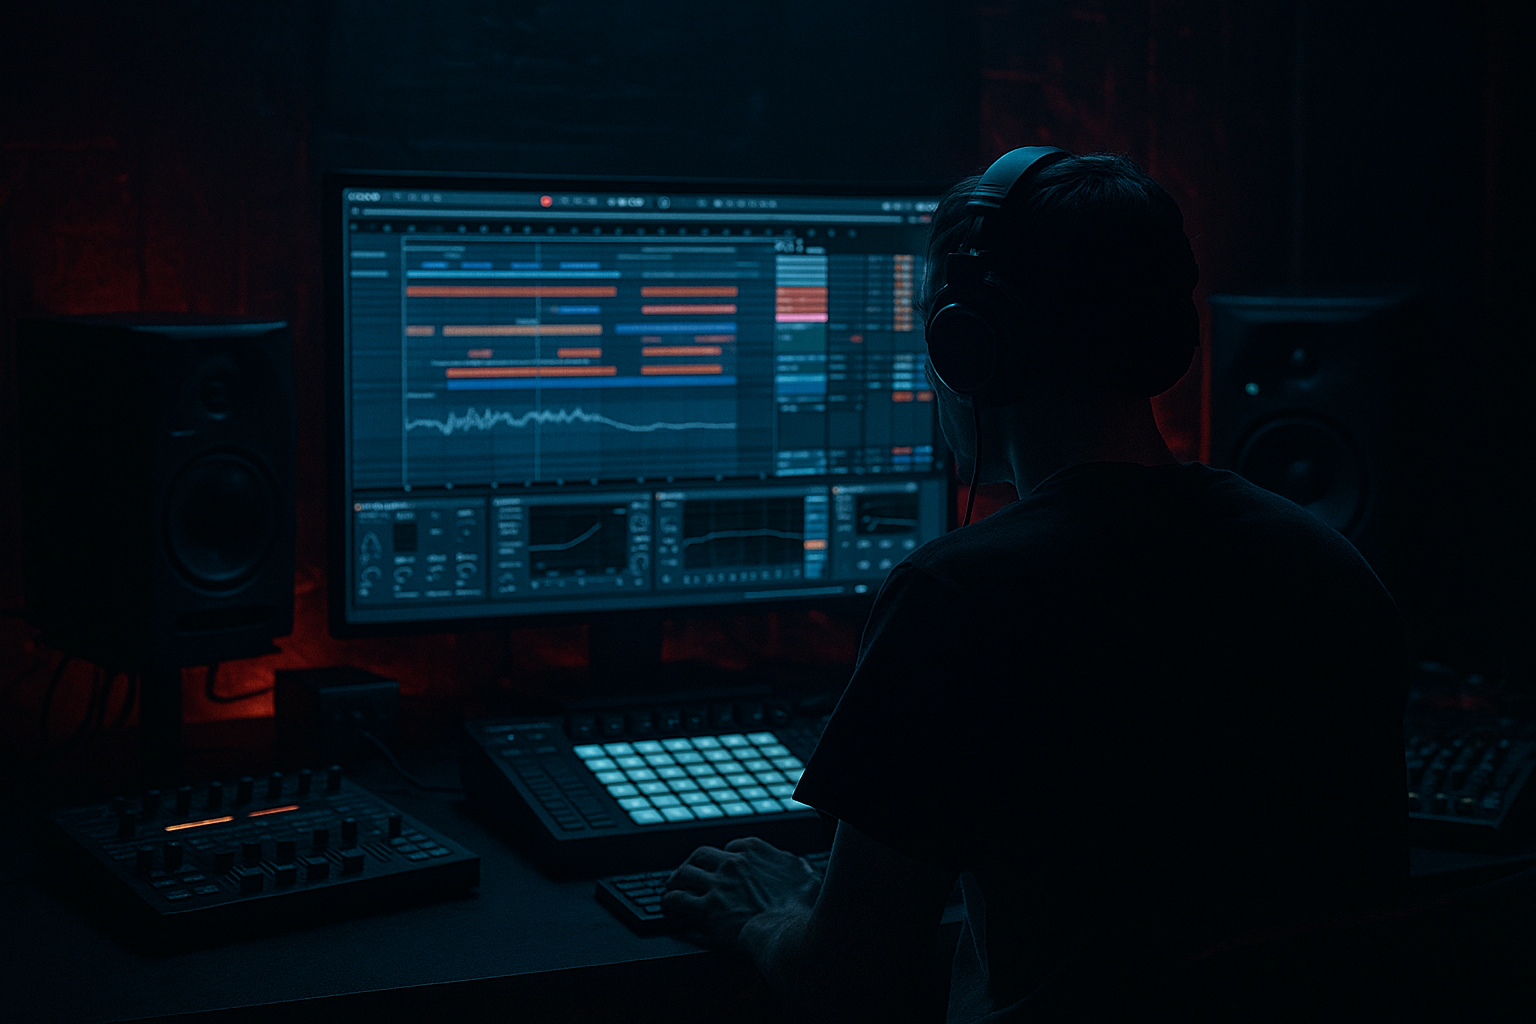
We’ll do this using Ableton Live stock devices only, especially Drum Rack, Simpler, Saturator, EQ Eight, Drum Buss, Compressor, and Utility. The result should feel like a kick that has been sampled, pushed, and aged, while still sitting properly with your bassline and sub.
What You Will Build
By the end of this lesson, you’ll have a kick layer that sounds like:
Musically, this is ideal for:
We’ll make the kick feel more “played” by using small timing changes and layered texture, then keep it mix-safe by trimming the sub area and controlling the crunchy part separately.
Step-by-Step Walkthrough
1. Start with a clean kick and place it in a Drum Rack
Open a new MIDI track and load Drum Rack. Drop a solid DnB kick sample onto one pad, or use a clean kick from your library that already has a firm transient and a short tail.
If you don’t have a perfect DnB kick, choose one with:
- a clear attack
- a short low-end tail
- no huge room reverb
- no long boomy decay
Why this matters: in DnB, especially at 170–174 BPM, kicks need to be tight so the bassline can breathe. A kick with too much tail can blur the groove and fight the sub.
In the Clip View, draw a simple 1-bar kick pattern first. Keep it basic:
- kick on beat 1
- maybe an extra kick before beat 3 for a jungle feel
- leave space for the bassline to answer
For now, think of the kick as the main low-mid punch, not the whole low-end.
2. Split the kick into body and crunch using Simpler chains
Duplicate the kick pad inside Drum Rack so you have two versions:
- one for body
- one for crunch
On the first chain, keep the kick mostly clean. On the second chain, load the same sample into Simpler and turn on One-Shot mode.
For the crunchy chain, try these settings:
- Start: very slightly later if the sample has extra silence
- Volume: lower than the main kick by about -6 to -12 dB
- Filter: optional low-pass around 6–10 kHz if it gets too fizzy
The idea is not to replace the main kick. It’s to add that old-school sampler edge underneath or on top.
Why this works in DnB: classic jungle and early hardcore energy often came from layered, resampled, slightly imperfect drum hits. That “sampled” impression helps the kick feel like it belongs in a break-driven track, not just a clean pop/house drum pattern.
3. Add human timing with subtle groove and note nudging
DnB drums can be robotic on purpose, but the kick often feels better with tiny human offset, especially if you want jungle or roller energy.
Try one of these beginner-friendly approaches:
- Option A: Groove Pool
- Drag a light groove onto the kick MIDI clip
- Use a swing groove very subtly
- Keep Timing around 10–25%
- Keep Velocity around 5–15%
- Option B: Manual nudging
- Move selected kick notes a tiny bit early or late
- Keep movement very small, like 5–15 ms
- Don’t wreck the grid; just soften the machine feel
If your pattern includes a kick before a bass response, try nudging that kick slightly earlier so the bass feels like it slams in behind it.
Important: don’t over-swing the kick if your bassline is already syncopated. In DnB, too much swing on the kick can make the low end feel lazy.
4. Shape the crunchy sampler layer with EQ Eight
Now isolate the character layer so it adds texture without muddying the mix.
Put EQ Eight after the crunchy Simpler chain. Use it like this:
- high-pass around 90–140 Hz
- gentle dip around 250–400 Hz if it sounds boxy
- optional small boost around 1.5–4 kHz if you want more attack
Keep the body kick clean underneath, and let the crunch layer live in the midrange. This separation is a big deal in DnB because the sub and kick body must stay disciplined.
If your kick starts sounding harsh, reduce the high boost first before cutting the low end too aggressively. You want texture, not a painful click.
5. Add controlled saturation with Saturator or Drum Buss
This is where the kick starts sounding like a proper sampler-styled DnB element.
On the crunch chain, add Saturator or Drum Buss:
- Saturator: use Analog Clip if available
- Drive: try 2–6 dB
- Output: compensate so the level doesn’t jump too much
Or with Drum Buss:
- Drive: 5–20%
- Crunch: start low, around 5–15%
- Boom: usually keep low or off for this lesson
- Transients: slightly up if needed
The goal is to create a kick that feels like it has been driven through a sampler or preamp, not destroyed.
A great beginner workflow is:
- keep the body clean
- distort only the texture layer
- blend it in slowly until you miss it when muted
That’s the sweet spot.
6. Tighten the low end and preserve sub space
In Drum & Bass, the kick and sub bass have to share the bottom octave carefully. If your kick has too much low-end tail, it will smear the bassline.
On the main kick chain, use EQ Eight:
- gentle cut below 25–35 Hz to remove rumble
- if needed, small cut around 180–300 Hz to reduce mud
- avoid over-cutting the punch zone; every kick is different
Add Utility on the kick group and check Mono if the kick has any stereo spread from the sample. Kicks should almost always be mono in DnB.
If your bassline is a sub-heavy note pattern or reese, leave a small pocket for it by:
- shortening the kick tail
- reducing low-end distortion on the kick
- placing bass notes just after the kick transient when possible
This low-end discipline is why the technique works in DnB: the kick can feel huge without stealing the sub’s job.
7. Use a light velocity pattern for human feel
Even if the kick pattern is simple, velocity can make it feel more alive.
In your MIDI clip:
- keep main downbeats strong
- lower ghosted or off-beat kicks slightly
- try velocity differences of about 10–25 points
For example:
- main kick: full or near-full velocity
- supporting kick before the bass answer: slightly lower
- quick double kick: second kick a bit softer
If you’re using a sampled kick in Simpler, velocity won’t always change tone unless you map it that way, but it still helps the performance feel more human.
For extra realism, automate or map Filter Frequency or Saturator Drive very slightly on different sections. A repeated kick that gets a tiny bit dirtier in the second 8 bars can feel more like a real performance loop.
8. Lock the kick to the bassline rhythmically
Now bring in your bassline or sub line and test the interaction.
In a beginner DnB track, a good bassline pattern might:
- leave space on beat 1
- answer on the “and” after 1
- hit after the kick on 2 or 3
- use short notes for call-and-response
Play the kick and bass together and listen for three things:
- Does the kick still punch through?
- Does the bass feel delayed or crowded?
- Is the crunch layer helping the kick read on small speakers?
If the bass and kick are fighting, fix the arrangement before mixing harder. Often the best solution is simply moving one bass note or shortening the kick tail.
This is a very DnB way of thinking: the groove is created by interaction, not just by loud sounds.
9. Group the kick layers and shape the bus
Select the kick body and crunch layers, then group them into a Kick Bus.
On the group, try:
- EQ Eight: tiny low-mid cleanup if needed
- Drum Buss: very subtle Drive for glue
- Compressor: light glue only if the layers feel disconnected
Safe starting points:
- Compressor ratio: 2:1
- Attack: 10–30 ms
- Release: Auto or around 100–200 ms
- Gain reduction: only a few dB at most
The bus should make the layers feel like one kick, not squash them.
This is also a good place to automate small changes in a drop:
- slightly more crunch in the second 8 bars
- slightly less saturation in the breakdown
- a tiny transient boost for the drop impact
10. Place the kick in an arrangement that supports tension and release
In a DnB arrangement, the kick often acts differently across sections.
Example context:
- Intro: filtered or lower-energy kick layers, maybe only body
- First drop: full kick body + subtle crunch
- Second 8 bars: add a little more crunch or stronger ghost hits
- Switch-up: remove a kick for one bar to make the return hit harder
A great beginner arrangement move is to automate the crunch chain volume:
- bars 1–8: lower crunch
- bars 9–16: slightly higher crunch
- switch-up bar: mute crunch briefly, then slam back in
This helps the kick feel dynamic without needing a new sample every 4 bars. In DnB, small changes keep the loop from sounding flat.
Common Mistakes
- Fix: shorten the sample tail or use EQ to remove muddy low sustain
- Fix: split body and crunch so the low end stays clean
- Fix: keep groove subtle; DnB still needs a firm forward drive
- Fix: cut unnecessary rumble, check mono, and leave space for bass notes
- Fix: if the kick sounds sharp or cheap, back off the 2–5 kHz area before adding more gain
- Fix: mute it, lower it by several dB, and bring it back until it’s felt more than heard
- Fix: don’t keep the same kick energy for the whole track; build movement with automation and drop phrasing
Pro Tips for Darker / Heavier DnB
- High-pass it around 100–150 Hz and low-pass it if needed. This keeps the kick body solid and gives the texture a more sampler-like midrange bite.
- Bring the crunch up during the first bar of the drop, then settle it back a touch. That makes the opening feel more explosive.
- In Drum Buss, a little transient boost can help the kick punch through a dark reese or distorted bassline.
- Let the kick hit, then have the bass answer with a short stab or note. This is classic in rollers and darker jungle and gives the kick more meaning.
- The kick itself should stay centered. If you want width, put movement in your pads, atmospheres, or bass FX instead.
- Duplicate the kick and swap the crunch sample on one or two bars. Even tiny changes in the texture chain can make a loop feel alive.
- Listen for how sampled drums in jungle feel slightly imperfect, slightly gritty, and very rhythmic. You’re not copying low fidelity; you’re borrowing the attitude.
- If the kick is too loud before the bass even enters, the mix will get brittle fast. In DnB, clean gain staging is part of the heaviness.
Mini Practice Exercise
Spend 10–20 minutes making a 4-bar kick loop with humanized crunch:
1. Load a clean kick into Drum Rack.
2. Duplicate it into a second Simpler chain for crunch.
3. High-pass the crunch layer at around 100–140 Hz.
4. Add Saturator with about 3–5 dB drive on the crunch chain.
5. Draw a simple kick pattern with at least one extra kick before a bass response.
6. Nudge one kick slightly early or late by a tiny amount.
7. Add a bassline using just 2–3 notes, leaving gaps between kick hits.
8. Listen in mono with Utility and check if the kick still feels strong.
9. Automate the crunch chain volume so bar 4 is a little harder than bar 1.
10. Bounce or resample 4 bars and listen back like a DJ preview loop.
Goal: make the kick feel more alive without making the low end muddy.

