Main tutorial
```markdown
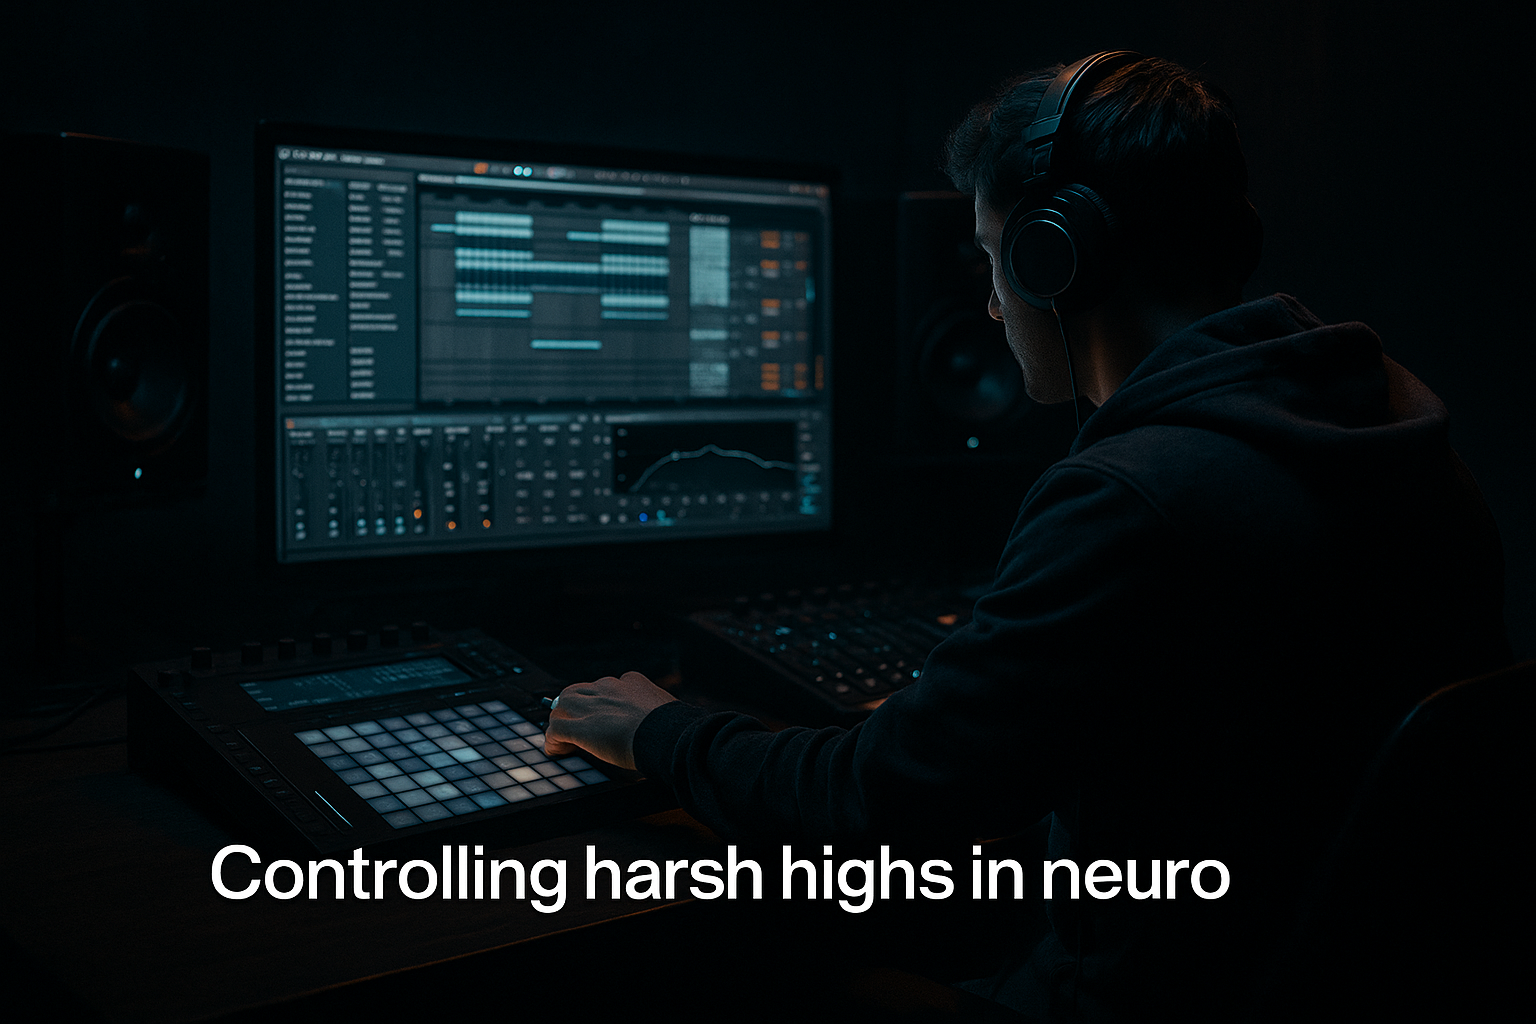
Impact in Ableton Live 12: Ghost It With Breakbeat Surgery 🥁🩺
Skill level: Intermediate
Category: Arrangement (DnB / Jungle / Rolling bass music)
---
1) Lesson overview
“Impact” in drum & bass isn’t only about louder drums—it’s about contrast, anticipation, and controlled chaos. In this lesson you’ll learn a fast, repeatable arrangement technique I call ghosting:
- you hint at a breakbeat (ghost) before a drop,
- then you surgically remove / reintroduce elements so the full break hits harder,
- and you shape energy using micro-edits, fills, and negative space.
- A main drum buss: kick + snare + break layers
- A ghost break that teases the groove in the last 4–8 bars of the build
- Breakbeat surgery: slicing, muting, reversing, re-triggering, and filtering
- A tight impact moment (1 bar before drop + first 2 bars of drop)
- A clean workflow using:
- Use mostly snare ghost taps and little hat ticks
- Avoid full snare backbeats every time (that’s the “impact budget”)
- Bar 1: 1e&a hats, a few offbeat snare ghosts at low velocity
- Bar 2: add a tiny roll (two 1/32 notes) leading into beat 4
- Hats: 35–70
- Ghost snares: 20–50
- Any “real” snare hint: 60–80 (still not full)
- Mute the ghost break entirely (hard stop)
- Or automate Utility gain down to silence in the last 1/8 note
- Take one tiny slice (like a hat or ghost snare)
- Repeat it at 1/16 → 1/32 for the last beat
- Auto Filter
- Delay (simple)
- Utility
- EQ Eight: HP at 120–180 Hz (depending on your snare)
- Roar (stock Live 12):
- Reverb (short, dark room)
- Bass filtered or absent
- Ghost break fades in (low volume, high-passed)
- Small stutters last 2 bars
- Automation: filter opening + slight rise in stereo width
- Pull energy back:
- Full kick + snare + main break
- Bass fully present
- Minimal fills (let the groove hit)
- Add 1–2 surgical edits:
- Ghost break too loud: if it feels like the drop already happened, you’ve killed contrast. Keep it teasing.
- Too much low-end in the ghost layer: it muddies the build and steals weight from the drop.
- Over-editing the last bar: if everything is stuttering, nothing feels special. Use one hero trick.
- No silence before impact: a tiny hole (1/8–1/2 bar) often hits harder than more FX.
- Warp issues: sloppy warp markers = edits that flam against kick/snare.
- Make the ghost break “nervous,” not bright:
- Midrange grit without harshness:
- Mono your impact (then widen after):
- Bass-drop handshake:
- Ghost with percussion, not just the break:
- Ghosting = teasing groove early at lower intensity 👻
- Surgery = controlled edits (slice/mute/reverse/stutter) ✂️
- Impact = contrast + silence + punch chains 💥
- In Live 12, stock tools like EQ Eight, Auto Filter, Roar, Glue, Drum Buss, Utility get you pro results fast.
All inside Ableton Live 12 using mainly stock devices.
---
2) What you will build
A 16–32 bar drop transition system for DnB/Jungle that includes:
- Drum Rack / Simpler (Slice)
- EQ Eight
- Auto Filter
- Saturator / Roar
- Compressor / Glue Compressor
- Utility
- Reverb / Delay
- Drum Buss
---
3) Step-by-step walkthrough
Step 0 — Session setup (fast but important)
1. Tempo: 172–176 BPM (classic DnB pocket).
2. Create groups:
- `DRUMS (Group)`
- `KICK`
- `SNARE`
- `BREAK MAIN`
- `BREAK GHOST`
- `HATS/TOPS`
- `BASS (Group)`
- `FX (Group)`
Workflow tip: Color your ghost track a lighter shade so you always know it’s the “teaser” layer.
---
Step 1 — Choose a break and prep it for surgery 🔪
1. Drag a break (Amen-style, Think, or any crunchy loop) onto BREAK MAIN.
2. Right-click the clip:
- Warp: ON
- Warp mode: Beats
- Preserve: 1/16 (good for punchy transient breaks)
3. Consolidate it cleanly to 1 or 2 bars (Cmd/Ctrl+J), so edits stay predictable.
Why this matters: You want tight transient timing so your edits feel intentional, not sloppy.
---
Step 2 — Create the “Ghost Break” layer 👻
1. Duplicate BREAK MAIN to BREAK GHOST.
2. On BREAK GHOST, do three things:
- Lower volume: start around -12 dB relative to the main break.
- High-pass with EQ Eight:
- HP at 250–400 Hz, 24 dB/oct (remove low clutter)
- Soften transients slightly:
- Add Drum Buss
- Drive: 2–5
- Transients: -5 to -15 (tames the “full hit” feeling)
Goal: The ghost break suggests groove without “spending” the full impact.
---
Step 3 — Slice the ghost break into playable pieces (Live 12-friendly)
You’ve got two great options:
#### Option A: Slice to Drum Rack (classic + fast)
1. Right-click the ghost clip → Slice to New MIDI Track
2. Slicing preset: Built-in → Slice to Drum Rack
3. Slice by: 1/16 (or Transients if the break is cleanly detected)
Now you can program ghost hits with MIDI, like a drummer doing little preview strokes.
#### Option B: Keep it audio, do “surgery lanes” with clip edits
Stay in audio and do micro-mutes, reverses, and fades directly on the clip. Great when you want the original swing preserved.
For this lesson, do Option A because it’s reliable for arrangement impact.
---
Step 4 — Program the ghost rhythm in the pre-drop (last 8 bars)
In the 8 bars before drop, write a ghost pattern that implies the drop groove.
Practical pattern idea (2 bars looped):
Example MIDI (conceptually):
Velocity is everything:
Ableton tip: In the MIDI editor, use Fold to see only used notes, and Random (velocity chance) subtly if you want natural variation.
---
Step 5 — “Breakbeat surgery” for impact: remove, then reveal ✂️➡️💥
This is the core move.
#### A) Create a “hole” before the drop (negative space)
In the final 1/2 bar before the drop:
Why: Silence is impact glue. The drop feels louder without actually being louder.
#### B) Add a pre-drop stutter that doesn’t steal the main snare
On the last 1 bar before drop:
Device chain on BREAK GHOST (Drum Rack):
- HP mode, 300 Hz, Resonance 0.8–1.2
- Automate cutoff rising slightly into the drop
- Time: 1/16
- Feedback: 10–18%
- Dry/Wet: 8–15%
- Automate Width: narrow to 0–40% pre-drop (more focused)
- Snap back to 100–140% at the drop for “widening impact”
---
Step 6 — Drop: reintroduce the full break with a punchy chain 🧨
At the drop, the main break should feel like it “arrives,” not just continues.
On BREAK MAIN, use a clean punch chain:
1. EQ Eight
- HP at 30–40 Hz (24 dB/oct)
- Small cut around 250–350 Hz if boxy (2–3 dB)
- Optional: tiny shelf up at 8–10 kHz (+1–2 dB) if dull
2. Saturator
- Drive: 2–6 dB
- Soft Clip: ON
3. Glue Compressor
- Attack: 3 ms
- Release: Auto
- Ratio: 2:1
- Threshold: aim for 1–3 dB gain reduction
4. Drum Buss
- Drive: 2–5
- Boom: 0–10 (use carefully; often off if you have a big kick)
- Transients: +5 to +15 (this is where the drop “pops”)
Arrangement trick:
For the first 2 bars of the drop, keep the groove slightly simpler (less fills). Let the listener lock in, then start adding edits from bar 3 onward.
---
Step 7 — Make the snare feel like a weapon (but controlled) 🎯
Impact often lives in the snare + space relationship.
On SNARE track:
- Use a gentle drive (try Tube or Warm style)
- Mix around 10–30%
- Decay: 0.4–0.9s
- Pre-delay: 10–25 ms
- Low cut in reverb: 300–600 Hz
- High cut in reverb: 6–10 kHz
Pre-drop trick: automate reverb up in the last bar, then snap it down at the drop so the snare hits dry and huge.
---
Step 8 — Arrangement blueprint (16 bars that slap)
Here’s a reliable DnB structure using ghosting:
Bars 1–8 (Build / pre-drop):
Bar 9 (Impact setup):
- Remove ghost break in last 1/2 bar
- Remove hats
- Keep a single riser / noise lift
Bar 10 (Drop bar 1):
Bars 11–16:
- a 1/16 mute on the break every 4 bars
- a tiny reverse snare into bar 16 for momentum
---
4) Common mistakes
---
5) Pro tips for darker/heavier DnB 🖤
Use Auto Filter LP around 6–10 kHz, then open it slightly. Dark tension feels menacing.
Use Roar on the break buss with a subtle drive and a low-pass after it. Heavy, not fizzy.
In the final beat before drop, automate Utility Width → 0%, then return to 100–140% at drop.
Sidechain your bass to the kick/snare (Compressor) and keep the first drop bar extra clean. Weight comes from clarity.
Add tiny rim/foley ticks (very low) to imply speed. Think “jungle shadows.”
---
6) Mini practice exercise (15–20 minutes) ⏱️
1. Pick one classic break and set tempo to 174 BPM.
2. Build:
- 8 bars build with ghost break (HP 300 Hz, -12 dB)
- 1/2 bar silence before drop
- 8 bars drop with full break
3. Add exactly two surgical edits:
- One pre-drop stutter (last beat)
- One drop edit (a 1/16 mute or micro-fill every 4 bars)
4. Bounce/export a 16-bar loop and listen on low volume:
If the drop still feels bigger, you nailed the contrast.
---
7) Recap
If you want, tell me the style you’re aiming for (liquid roller, neuro, jungle throwback, halftime techy) and I’ll suggest a specific ghost pattern + device chain that fits.
```

