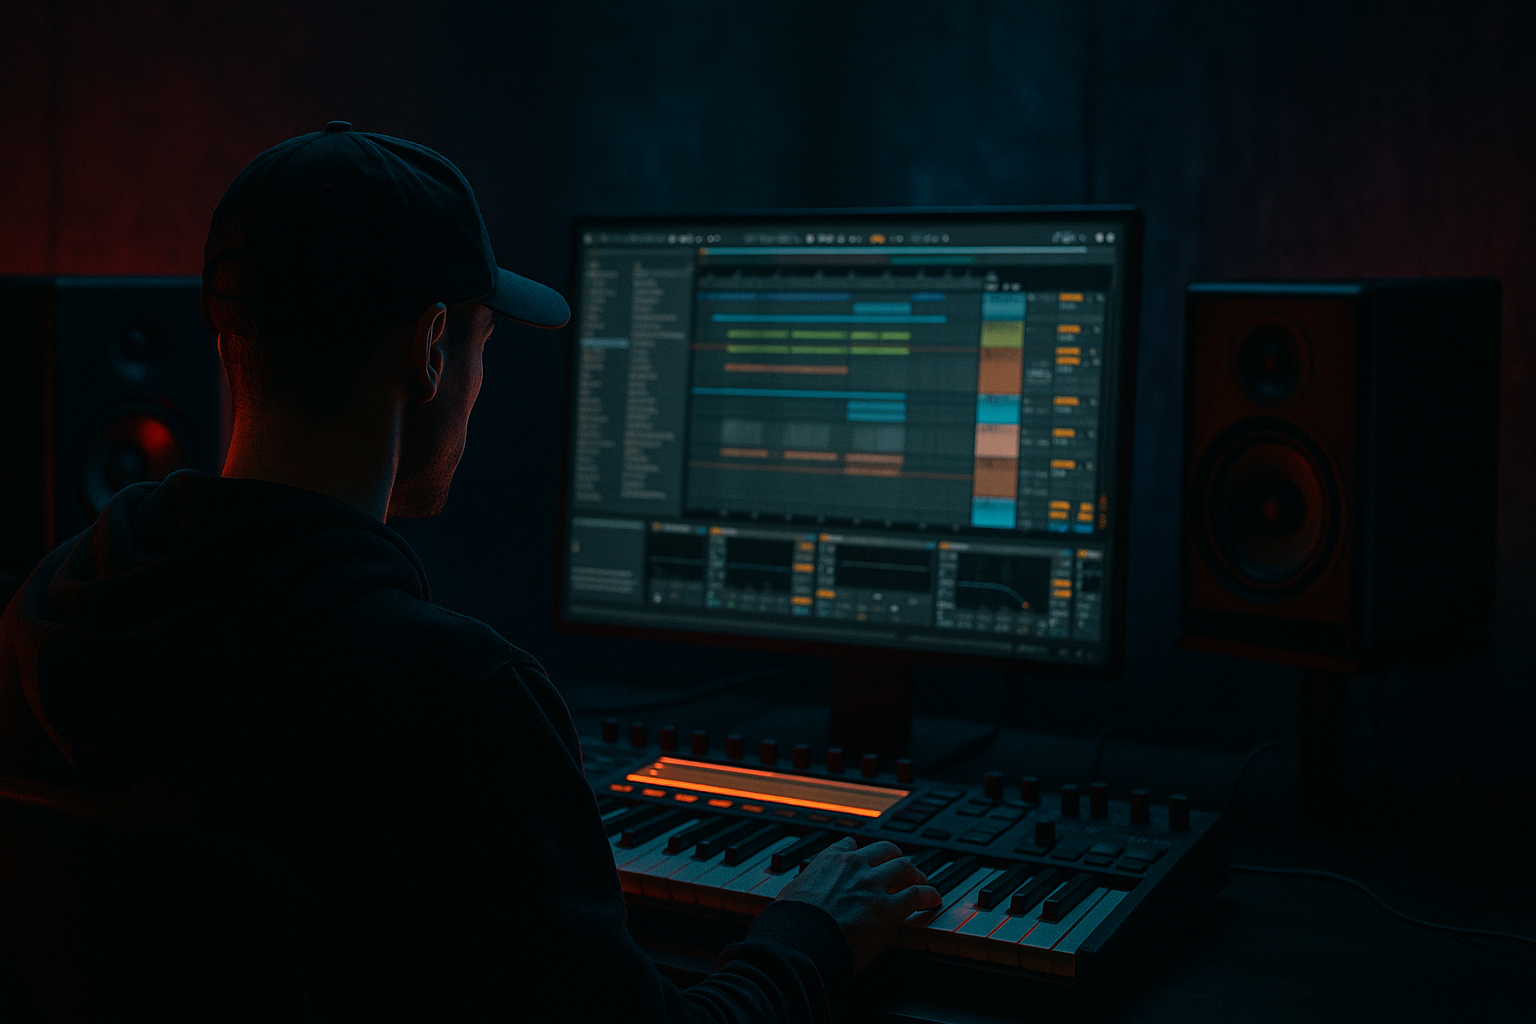
DNB COLLEGE

Drum & Bass Ableton Live 12 Tutorials

LESSON DETAIL

Jacked Breaks Ableton Live 12 FX chain deep dive for heavyweight sub impact for jungle oldskool DnB vibes (Intermediate)

An AI-generated intermediate Ableton lesson focused on Jacked Breaks Ableton Live 12 FX chain deep dive for heavyweight sub impact for jungle oldskool DnB vibes in the FX area of drum and bass production.

Back to lessons
Jacked Breaks Ableton Live 12 FX chain deep dive for heavyweight sub impact for jungle oldskool DnB vibes (Intermediate) cover image

Narrated lesson audio

The voice track includes the tutorial plus extra teacher commentary.

Open audio file

Main tutorial

Jacked Breaks Ableton Live 12 FX Chain Deep Dive for Heavyweight Sub Impact

Jungle / oldskool DnB / rolling bass music tutorial 🥁🔥

1. Lesson overview

In this lesson, you’ll build a heavy jackin’ break-bass FX chain in Ableton Live 12 that gives you:

  • fatter sub weight
  • harder transient punch
  • grittier oldskool jungle attitude
  • more “move” in the break without losing low-end control
  • a chain you can apply to break loops, bass chops, fills, and intro drops
  • This is not just about making things louder. It’s about creating the classic DnB pressure:

    tight drums, controlled low end, sharp midrange aggression, and enough harmonic distortion to make the whole thing feel alive.

    We’ll use stock Ableton devices and focus on practical routing and settings you can actually dial in. The goal is a chain that works for:

  • jacked-up break loops
  • Amen-style cuts
  • sub hits under chopped percussion
  • oldskool jungle drop energy
  • dark rolling DnB sections
  • ---

    2. What you will build

    You will build a parallel-style FX chain on a break or drum-bass buss with this structure:

    Core chain

    1. EQ Eight — clean and shape

    2. Drum Buss — weight, drive, transient punch

    3. Saturator — extra harmonics and density

    4. Compressor or Glue Compressor — control peaks

    5. Roar — optional aggressive midrange dirt

    6. Utility — mono low end / width control

    7. Limiter — catch accidental peaks

    Optional parallel layer

  • Duplicate the track or use Audio Effect Rack with two chains:
  • - Dry punch chain

    - Dirty parallel chain with heavier distortion and filtering

    What it should sound like

  • The break should hit harder without turning to mush.
  • The sub should feel anchored and physical.
  • The top loop energy should remain crisp and “wired.”
  • The whole thing should feel ready for a jungle drop or rewind moment.
  • ---

    3. Step-by-step walkthrough

    Step 1: Choose the right source material

    Start with a break that already has character.

    Good candidates:

  • Amen break variations
  • Think break-style loops
  • Raw funk breaks
  • Drummer recordings with room tone
  • Chopped jungle loops with some natural crunch
  • What to listen for

    You want:

  • solid kick/snare presence
  • enough transient detail for processing
  • not too much low rumble or room boom
  • some midrange bite already there
  • If the loop is too clean, it may sound sterile. If it is too crushed already, the chain may collapse fast.

    ---

    Step 2: Clean the low end first with EQ Eight

    Drop EQ Eight first in the chain.

    Start with:

  • High-pass filter around 25–35 Hz
  • - Use a gentle slope if possible

    - You are removing inaudible rumble, not gutting the kick

  • If the break has muddy low mids:
  • - dip 180–350 Hz by 1–3 dB

  • If the snare is cloudy:
  • - scan 400–800 Hz and reduce a little if needed

    Practical tip

    Use the Spectrum display in EQ Eight to see if there’s unnecessary sub-rumble.

    In jungle and DnB, a messy low end makes the whole mix feel slow.

    ---

    Step 3: Add Drum Buss for weight and smack

    Now insert Drum Buss.

    This is one of the most useful stock devices for DnB drums because it gives you:

  • weight
  • transient impact
  • distortion
  • sub enhancement
  • Suggested starting settings

  • Drive: 5–15%
  • Crunch: 5–20% depending on aggression
  • Damp: adjust if the top becomes too harsh
  • Boom: very carefully — start at 0–10%
  • Freq: set Boom frequency around 50–70 Hz if you want sub emphasis
  • Transient: +5 to +20 for more snap
  • How to use it in DnB

  • Increase Transient for more break cut-through
  • Add Drive until the loop feels thicker
  • Use Boom only if the kick body needs extra low-end weight
  • Keep checking the kick/sub balance against your bassline
  • Important

    If your break already has plenty of kick energy, too much Boom can make the groove lazy.

    For oldskool jungle, you want impact, not bloated low end.

    ---

    Step 4: Add Saturator for harmonic density

    Insert Saturator after Drum Buss.

    This stage is where you give the break more audible body on smaller speakers and make the bass feel more aggressive.

    Suggested settings

  • Drive: +2 to +8 dB
  • Soft Clip: ON
  • Curve Type: Analog Clip or something slightly warm
  • Output: trim to match level
  • Why this matters

    Saturation adds harmonics that help the break cut through in a mix with:

  • Reese basses
  • subs
  • rewinds
  • FX hits
  • ragga vocal snippets
  • DnB-specific tip

    If the break disappears when the bass drops, it often needs midrange harmonics, not just more volume. Saturation solves that.

    ---

    Step 5: Control peaks with Compressor or Glue Compressor

    Now place Glue Compressor or Compressor.

    For oldskool jungle, Glue Compressor often feels great because it adds a little punch and cohesion.

    Glue Compressor starting point

  • Attack: 10 ms
  • Release: Auto or 0.3–0.6 s
  • Ratio: 2:1 or 4:1
  • Threshold: aim for 2–4 dB gain reduction on hits
  • Soft Clip: ON if needed
  • What to listen for

  • The snare should stay punchy
  • The break should feel glued, not flattened
  • The groove should move with the compressor, not fight it
  • If using Compressor instead

    Try:

  • Attack: 2–10 ms
  • Release: 50–150 ms
  • Ratio: 2:1 to 4:1
  • Sidechain: optional if you want the bass to duck under kick/snare in a bus context
  • ---

    Step 6: Add Roar for darker, nastier edge

    If you want heavier, more modern aggression while still keeping that jungle edge, add Roar.

    This is where you can turn the chain from “fat break” into menacing weapon 😈

    Suggested approach

    Use Roar gently at first:

  • choose a drive mode that adds grit without obliterating transients
  • use a band focus around the midrange
  • avoid destroying the low end unless this is a parallel dirt layer
  • Practical settings idea

  • Drive: moderate
  • Tone / Filter: emphasize mids and upper mids
  • Mix: 10–40% depending on taste
  • Output: level-match carefully
  • Best use

    Roar is excellent on:

  • break buses
  • chopped snare fills
  • reese layers
  • jungle “reverb hit” returns
  • intro tension processing
  • If the whole thing becomes fizzy, back off and use it in parallel.

    ---

    Step 7: Lock the low end with Utility

    Insert Utility after the saturation stages.

    This is a major DnB move: keeping low-end energy focused.

    Settings to try

  • Bass Mono: use if available in your Live version/features
  • Otherwise:
  • - Width: reduce slightly if the low end feels too wide

    - Use EQ or M/S strategy elsewhere if needed

  • Gain: trim to maintain headroom
  • Practical rule

    Keep the sub mono.

    In jungle and DnB, wide sub = weak club translation.

    If this is a break-bass buss, you can narrow the lower frequencies while letting the top remain somewhat wide for excitement.

    ---

    Step 8: Catch peaks with Limiter

    Finish with Limiter.

    You don’t want your chain accidentally clipping when the break gets excited.

    Suggested settings

  • Ceiling: -0.8 dB to -1.0 dB
  • Gain: only if needed
  • Watch for more than 1–2 dB of constant limiting if you want to preserve punch
  • If the limiter is working too hard:

  • back off the drive stages
  • reduce compression
  • lower Drum Buss Boom
  • use parallel processing instead
  • ---

    Step 9: Build a parallel dirt version with Audio Effect Rack

    For stronger jungle energy, create an Audio Effect Rack and split the chain into two paths:

    Chain A: Clean punch

  • EQ Eight
  • Drum Buss
  • light compression
  • Chain B: Dirty parallel

  • EQ Eight with low cut around 120–200 Hz
  • Saturator
  • Roar
  • Compressor
  • maybe Redux for extra grime if desired
  • Then blend Chain B underneath Chain A.

    Why this works

    You preserve the core groove while adding a nasty, compressed layer that makes the break feel huge.

    Blend tip

    Start with the dirty chain very low, around -18 to -12 dB, then raise until you feel the break “wake up.”

    ---

    Step 10: Shape it for arrangement, not just sound design

    The best FX chain is only half the story. In DnB, arrangement matters a lot.

    Try these arrangement moves

  • Intro: filtered break with more reverb/delay on sends
  • Build: increase saturation or open the filter gradually
  • Drop: full chain active, sub locked in mono
  • Fill bars: automate Drum Buss Drive or Roar Mix up briefly
  • Breakdown: pull low end out, let texture and ghost notes speak
  • Automation ideas

  • EQ Eight low-cut automation for tension
  • Drum Buss Drive automation into a drop
  • Roar Mix automation for fill impact
  • Utility Width automation to open the top end in transitions
  • Limiter bypass or threshold shifts carefully for drop moments
  • ---

    Example Ableton chain presets to try

    A. Classic oldskool jungle punch

    1. EQ Eight

    2. Drum Buss

    3. Glue Compressor

    4. Saturator

    5. Utility

    6. Limiter

    Goal: warm, aggressive, tight, very mixable

    ---

    B. Dark warehouse pressure

    1. EQ Eight

    2. Saturator

    3. Roar

    4. Compressor

    5. Utility

    6. Limiter

    Goal: nasty mids, darker tone, serious density

    ---

    C. Parallel jack breaks monster

    Rack Chain 1:

  • EQ Eight
  • Drum Buss
  • Glue Compressor
  • Rack Chain 2:

  • EQ Eight HP at 150 Hz
  • Saturator
  • Roar
  • Compressor
  • Redux lightly if needed
  • Goal: huge break with controlled bass foundation

    ---

    4. Common mistakes

    1. Over-processing the low end

    If you distort the sub too much, the break loses punch and the kick gets blurry.

    Fix: keep sub mono and use parallel dirt or higher-frequency saturation instead.

    2. Too much Drum Buss Boom

    Boom is tempting, but in DnB it can quickly turn a tight break into a floppy mess.

    Fix: use subtle Boom or skip it if the sample already has enough bottom.

    3. Saturating everything equally

    If the whole loop gets equally distorted, you lose definition.

    Fix: shape with EQ before saturation or use parallel chains.

    4. Compressing until the groove dies

    Hard compression can kill the swing of a break.

    Fix: preserve transient attack and keep gain reduction modest.

    5. Ignoring arrangement

    A great chain in solo may fail in context if the bass, pads, and FX are not balanced.

    Fix: always test the chain with your bassline and drop section.

    6. Letting the limiter do all the work

    If the limiter is smashing constantly, you’ve already lost control upstream.

    Fix: rebalance the earlier stages first.

    ---

    5. Pro tips for darker/heavier DnB

    Tip 1: Use contrast, not just distortion

    Heavy DnB works because the clean parts hit against the dirty parts.

    Automate sections so the drop feels more violent.

    Tip 2: Resample your chain

    After you dial in the sound, resample the break and cut it into new slices.

    This is huge for jungle. You can then:

  • reverse hits
  • add stutters
  • create fills
  • re-chop the groove
  • Tip 3: Layer a sub hit under key break moments

    When the snare lands, trigger a short sub tail or deep 808-style hit underneath.

    Keep it short and controlled.

    Tip 4: Use band-specific dirt

    Put saturation or Roar on the midrange only using EQ splits or racks.

    That keeps the low end solid while the top gets nastier.

    Tip 5: Automate filter movement into drops

    A slow low-pass opening before the drop can make the break feel massive when it returns.

    Tip 6: Add ghost percussion for shuffle

    Oldskool jungle feels alive when the break has:

  • tiny hats
  • ghost snares
  • rim noise
  • shuffled percussion layers
  • The FX chain sounds better when the rhythm itself is interesting.

    Tip 7: Keep headroom in the drum bus

    Leave enough space for the bassline and master processing.

    Heavy DnB is loud, but it should still breathe.

    ---

    6. Mini practice exercise

    Exercise: Build a 16-bar jungle break impact chain

    #### Step A

    Choose a break loop and duplicate it.

    #### Step B

    On Track 1, build a clean core chain:

  • EQ Eight HP at 30 Hz
  • Drum Buss with mild Drive
  • Glue Compressor with 2 dB gain reduction
  • Utility for mono low end
  • #### Step C

    On Track 2, create a dirty parallel layer:

  • EQ Eight HP at 180 Hz
  • Saturator with +5 dB Drive
  • Roar with moderate Mix
  • Compressor with stronger reduction
  • #### Step D

    Arrange the two tracks:

  • Bars 1–4: only clean core
  • Bars 5–8: bring in dirty parallel quietly
  • Bars 9–12: automate the dirty layer louder
  • Bars 13–16: filter sweep and full-impact drop
  • #### Step E

    Compare the result in context with:

  • a sub bass
  • a Reese
  • a simple pad or atmos layer
  • Goal

    Make the break feel bigger without losing clarity or swing.

    ---

    7. Recap

    Here’s the core idea:

  • Start with a good break source.
  • Clean the rumble with EQ Eight.
  • Add weight and punch with Drum Buss.
  • Add harmonics with Saturator.
  • Control the dynamics with Glue Compressor or Compressor.
  • Add darker aggression with Roar if needed.
  • Keep the low end stable with Utility.
  • Catch peaks with Limiter.
  • Use parallel processing for bigger jungle energy.
  • Automate the chain for drop impact and arrangement movement.

If you do this right, your breaks will stop sounding like loops and start sounding like weaponized jungle percussion 🥁⚡

If you want, I can also turn this into:

1. a rack preset-style signal flow diagram, or

2. a second lesson focused on sub bass processing in Ableton Live 12 for jungle/DnB.

Ask GPT about this lesson

Chat with the lesson tutor, get follow-up help, or use quick actions.

Bigup 👽 Ask me anything about this lesson and I’ll answer in context.

Narration script

Show spoken script
Today we’re diving into a heavy Ableton Live 12 FX chain for jackin’ breaks, sub impact, and that proper jungle and oldskool DnB attitude.

This is an intermediate lesson, so we’re not just slapping on effects for loudness. We’re building pressure, punch, and controlled grime. The goal is to make the break feel bigger, harder, and more alive without losing the low end or turning the groove into mush.

Think of this as a chain for break loops, bass chops, fills, intro drops, and those filthy little transition moments where you want the whole tune to hit with more authority.

Before we start, one important mindset: gain-stage everything. In a chain like this, tiny level boosts add up fast. So every time you add a device, compare it to the bypassed signal at the same loudness. We want tone, not just volume.

Also, think in frequency lanes. The sub lane should stay stable, clean, and mostly mono. The body lane is where we can shape weight and punch. And the grit lane is where we bring in saturation, Roar, and parallel dirt. Keeping those lanes organized is what makes this style of processing feel powerful instead of messy.

Start by choosing the right break. You want something with character already baked in. Amen-style loops, Think-style breaks, raw funk breaks, drummer recordings with room tone, or chopped jungle loops with a little natural crunch all work really well.

Listen for a break that has solid kick and snare presence, enough transient detail to react to processing, and not too much low rumble or room boom. If the loop is too clean, it may feel sterile. If it’s already crushed to death, this chain can fall apart quickly.

The first device in the chain is EQ Eight. This is where we clean up the low end before we start pushing the break harder.

Put a gentle high-pass around 25 to 35 hertz. You’re not gutting the kick here. You’re just removing inaudible rumble that eats headroom and makes the mix feel slow. If the loop has muddy low mids, try dipping somewhere around 180 to 350 hertz by a couple of dB. And if the snare sounds cloudy, scan around 400 to 800 hertz and reduce a little if needed.

A good habit here is to watch the Spectrum display in EQ Eight. In jungle and DnB, messy low end can make the entire tune feel like it’s dragging. Cleaning this up first gives every later processor more room to work.

Next comes Drum Buss, which is one of the best stock devices in Ableton for this kind of job. It gives you weight, transient impact, distortion, and a bit of sub enhancement all in one place.

Start with Drive somewhere around 5 to 15 percent. Keep Crunch fairly modest at first, maybe 5 to 20 percent depending on how aggressive you want it. If the top end gets sharp, adjust Damp. Use Boom carefully, because it can get floppy fast. Start around 0 to 10 percent, and if you use it, set the Boom frequency somewhere around 50 to 70 hertz. Then bring in Transient, maybe plus 5 to plus 20, to help the break snap forward.

The key with Drum Buss in DnB is to use it for impact, not for bloated low end. If the break already has plenty of kick energy, too much Boom can make the groove lazy. We want that oldskool pressure, not a soggy bottom.

After Drum Buss, add Saturator. This is where we create harmonic density, which helps the break cut through on smaller speakers and keeps it audible once the bassline gets busy.

Try Drive somewhere around plus 2 to plus 8 dB, turn Soft Clip on, and use a warm curve like Analog Clip if that feels right. Then trim the output so the processed level stays matched. That output trim is important. Don’t let the saturation stage trick you into thinking louder automatically means better.

Why are we doing this? Because in a DnB mix, the break often has to fight against Reese basses, subs, rewinds, FX hits, and vocals. If it disappears when the bass drops, it usually needs more midrange harmonics, not just more volume. Saturation is what gives it that audible body.

Now we move to compression. Glue Compressor is a great choice here because it can add cohesion and punch without totally flattening the groove.

A nice starting point is an attack around 10 milliseconds, release on Auto or somewhere around 0.3 to 0.6 seconds, and a ratio of 2 to 1 or 4 to 1. Aim for around 2 to 4 dB of gain reduction on the hits. If needed, use Soft Clip. You want the snare to stay punchy, the break to feel glued, and the groove to keep moving.

If you use Compressor instead, try a faster attack, somewhere around 2 to 10 milliseconds, release around 50 to 150 milliseconds, and a ratio between 2 to 1 and 4 to 1. Sidechain can be useful if you’re building a drum bus that needs to duck around the kick or the bass in a larger arrangement.

Here’s a really important coach note: if the break starts sounding flat, reduce the compressor before you reduce the drive. A lot of the time, over-compression is what kills the energy, not saturation.

Now for the nasty part. If you want a darker, heavier edge, add Roar. This can turn a fat break into a proper weapon. But the move here is subtle at first. Don’t just blast the whole signal into oblivion.

Try focusing the drive and tone in the midrange or upper mids, and keep the mix somewhere around 10 to 40 percent depending on taste. If the whole thing turns fizzy, back it off or use Roar in parallel instead. Roar is amazing on break buses, chopped snare fills, reese layers, and intro tension returns. It can bring that modern aggression while still keeping the jungle spirit intact.

After the dirt stages, use Utility to lock the low end. This is a massive DnB move.

The main idea is simple: keep the sub mono. Wide sub can sound exciting on headphones, but it usually falls apart in the club. If your version of Utility has bass mono options, use them. If not, narrow the width a bit or manage the stereo image elsewhere. Also, trim the gain if needed so you preserve headroom.

This is where the frequency lane idea really matters. Let the low lane stay solid. Let the body lane be controlled. Let the grit lane do the exciting stuff on top. That separation is what makes the chain feel huge instead of blurry.

Finish with a Limiter. You don’t want accidental peaks sneaking through when the break gets excited.

Set the ceiling around minus 0.8 to minus 1.0 dB, and only add gain if you really need it. If the limiter is constantly working more than one or two dB, that’s usually a sign to back off the earlier stages. Lower the Drive, reduce compression, ease off the Boom, or switch to more parallel processing.

Speaking of parallel processing, this is where things get really fun.

For bigger jungle energy, build an Audio Effect Rack and split the chain into two paths. On the clean punch chain, keep things tight: EQ Eight, Drum Buss, and a little compression. On the dirty parallel chain, high-pass harder, maybe around 120 to 200 hertz, then add Saturator, Roar, and more compression. You can even use a little Redux if you want extra grime.

Then blend the dirty chain underneath the clean chain until the break wakes up. A good starting point is to keep the dirty layer very low, somewhere around minus 18 to minus 12 dB, and bring it up slowly. You’re not trying to hear it as a separate thing. You’re trying to feel the break become heavier and more alive.

This parallel approach is one of the best ways to get that big oldskool jungle attitude without losing the main groove. The clean layer preserves the rhythm. The dirty layer adds menace.

Now let’s talk arrangement, because the best FX chain in the world still needs to work in context.

In the intro, you might use a filtered break with a little more atmosphere and less low end. In the build, you can increase saturation or slowly open the filter. On the drop, bring the full chain in with the sub locked in mono. During fill bars, automate Drum Buss Drive or Roar Mix upward for extra impact. And in breakdown sections, pull the low end out and let the texture and ghost notes speak.

Automation is a huge part of this sound. Try automating EQ low-cut movement for tension, Drum Buss Drive into the drop, Roar Mix on fills, Utility width to open transitions, and careful limiter changes only when you need a moment of extra lift.

A few classic chain variations are worth trying.

For a classic oldskool jungle punch, use EQ Eight, Drum Buss, Glue Compressor, Saturator, Utility, and Limiter. That gives you a warm, aggressive, mixable result.

For darker warehouse pressure, try EQ Eight, Saturator, Roar, Compressor, Utility, and Limiter. That leans harder into nasty mids and density.

For a parallel jack breaks monster, build one clean rack chain with EQ Eight, Drum Buss, and Glue Compressor, then a second dirty chain with a hard high-pass, Saturator, Roar, Compressor, and maybe a little Redux. That one is all about huge impact with a controlled bass foundation.

A few common mistakes to avoid here.

First, don’t over-process the low end. If you distort the sub too much, the kick gets blurry and the whole break loses punch.

Second, don’t overdo Drum Buss Boom. It’s tempting, but in DnB it can make a tight break feel floppy.

Third, don’t saturate everything equally. If the whole loop gets hit the same way, you lose definition. Shape before saturation or use parallel paths.

Fourth, don’t compress until the groove dies. The swing of a break is part of the magic. Keep the attack alive.

Fifth, don’t ignore arrangement. Something can sound massive in solo and still fail in the tune if the bass and other elements aren’t balanced.

And finally, don’t let the limiter do all the work. If it’s smashing constantly, fix the chain upstream.

A few pro tips to push this even further.

Use contrast, not just distortion. Heavy DnB works because the clean sections make the dirty sections feel more violent. Resample your chain when you hit a sweet spot, then chop the audio into new slices. That gives you more creative control and speeds up decisions.

You can also layer a short sub hit under key break moments, especially on snare accents. Just keep it short and controlled. Another great move is band-specific dirt. Saturate the midrange only, leaving the low end stable.

If you want more movement, add tiny modulation, a slow Auto Filter wobble, or subtle phaser motion. Just enough to keep the loop alive, not so much that it loses its identity.

Here’s a good practice exercise.

Choose one break loop and duplicate it. On the first track, build a clean core with EQ Eight high-passed around 30 hertz, mild Drum Buss, light Glue Compressor, and Utility to keep the low end mono. On the second track, create a dirty parallel layer with a harder high-pass around 180 hertz, Saturator with around plus 5 dB drive, Roar with a moderate mix, and stronger compression.

Then arrange them over 16 bars. In bars 1 to 4, use only the clean core. In bars 5 to 8, bring in the dirty parallel quietly. In bars 9 to 12, automate the dirt louder. In bars 13 to 16, add a filter sweep and let it slam into the drop.

Test it with a sub bass, a Reese, and maybe a simple pad or atmosphere. The goal is to make the break feel bigger without losing clarity or swing.

So the core idea is this: start with a good break, clean the rumble, add weight with Drum Buss, add harmonics with Saturator, control dynamics with Glue Compressor or Compressor, add darker aggression with Roar if needed, keep the low end stable with Utility, catch peaks with Limiter, and use parallel processing when you want that bigger jungle energy.

Do that well, and your breaks stop sounding like loops and start sounding like weaponized jungle percussion. Straight pressure. Straight movement. Proper heavyweight sub impact.

mickeybeam

Go to drumbasscd.com for +100 drum and bass YouTube channels all in one place - tune in!

Generating PDF preview…