Main tutorial
Lesson Overview
Jacked breaks are one of the fastest ways to make a Drum & Bass track feel alive, urgent, and heavy. In jungle, rollers, and darker DnB, the break is not just “drums in the background” — it often becomes the engine that carries groove, energy, and attitude. But if your kick in the break is weak, the whole loop can feel small, thin, or too busy.
In this lesson, you’ll learn how to layer and arrange a kick into a jacked break in Ableton Live 12 so it hits with more weight while still keeping the break’s speed, swing, and character. The goal is not to replace the break — it’s to reinforce it. That is a classic DnB move: keep the excitement of chopped breaks, but add a focused kick that helps the groove land hard on club systems.
Why this matters in DnB:
- Jungle and roller drums often rely on break energy + solid kick punctuation.
- A stronger kick helps the drop feel more grounded without killing movement.
- Layering lets you keep the break’s natural texture while adding punch, low-end body, and a cleaner arrangement anchor.
- A jacked break loop with a stronger, more focused kick layered underneath
- A kick layer that adds body around 50–90 Hz, plus a bit of mid punch for translation
- A simple drum chain using Ableton stock devices like EQ Eight, Drum Buss, Saturator, and Utility
- A basic arrangement that makes the kick layer work in a jungle intro, drop, and switch-up
- A repeatable method for making breaks feel bigger without overprocessing them
- Layering a kick on every break hit
- Using a kick sample that is too long
- Boosting too much sub
- Forgetting mono control
- Overcompressing the break
- Making the kick louder instead of better
- Use a kick with a slightly darker tone for neuro, deep rollers, or darker jungle. Bright clicky kicks can feel too pop-oriented.
- Slight saturation beats heavy EQ when you want more perceived weight without mud.
- Layer with intention: one kick for body, one for click only if the first layer is not enough. Keep both low in the mix.
- Automate a low-pass filter on the break layer in intros to create tension before the drop, then open it fully when the full drums hit.
- Try subtle ghost percussion around the kick to make the break feel more human. This keeps the groove moving even when the kick is reinforced.
- Resample your drum group once it works. In Ableton, flattening or resampling the drum bus can give you a cleaner, more committed drum feel for heavier edits.
- Check the kick against the bassline in context, not solo. In DnB, the best kick is the one that survives the bass and still feels punchy.
- A jacked break gets heavier when you reinforce, not replace, the original kick.
- Keep the kick layer short, centered, and selective.
- Use EQ Eight, Saturator, Drum Buss, and Utility to add body, density, and mono stability.
- In DnB, arrangement matters: bring the kick layer in and out to create tension, release, and drop impact.
- The best result feels like one tight drum performance, not separate samples stacked on top of each other.
We’ll stay inside stock Ableton tools and keep the workflow beginner-friendly, but the result will feel like a real production method you can reuse in almost any DnB track.
What You Will Build
By the end, you’ll have:
Musically, imagine a 174 BPM jungle roller: the original break keeps the shuffle and ghost-note motion, while the added kick gives the downbeats more “thud” so the drop feels heavier and more intentional.
Step-by-Step Walkthrough
1. Start with a break that already has movement
In Ableton Live 12, create a new MIDI track and load Drum Rack or drop the break directly into an audio track if you already have a sampled break. For beginners, an audio track is simplest if you are working with a full break sample.
Pick a break with:
- obvious groove
- clear snare hits
- some room around the kick frequencies
- not too much sub already baked in
Good DnB candidates are classic jungle breaks, chopped amen-style loops, or a break with a snappy top and a light low end. If the break is too messy or too compressed, it’s harder to layer cleanly.
Set your project around 170–174 BPM for a classic jungle/DnB feel. If you’re working on a roller, 172 BPM is a very safe starting point.
2. Find the kick in the break and decide what it needs
Loop 1 or 2 bars and listen carefully. Your job is not to “fix everything” — just identify where the kick is weak.
Ask:
- Is the kick too quiet?
- Does it lose punch once the bass comes in?
- Is it masked by the break’s own low mids?
- Does it need more attack or more low body?
This is important because in DnB, a break can already have a kick feel, but it may not be strong enough to compete with a sub-heavy bassline. The layer should support the break, not fight it.
3. Create a dedicated kick layer
Add a new MIDI track and load a clean kick sample into a Simpler or a Drum Rack pad. Choose a kick with a short tail and a clear transient.
Good starting kick characteristics:
- short decay
- not too clicky
- solid low body
- little or no reverb
If you’re using Simpler, set it to Classic mode and make sure the sample starts right on the transient. If there’s extra silence before the kick, trim it so the hit feels immediate.
Try these starter choices:
- one kick tuned slightly lower for weight
- one kick with a stronger click for definition
For beginner-friendly layering, start with just one extra kick layer. You can always add another later if needed.
4. Place the kick only where it helps the break
Don’t copy the kick layer on every hit of the break. That often makes the groove stiff and fights the original rhythm. Instead, place the layer on the most important downbeats or the points where the break feels weak.
A good jungle approach is:
- layer the kick on bar 1 beat 1
- reinforce the main landing point before the snare
- add it only on key repeat moments in the phrase
Example arrangement context:
In a 2-bar roller loop, you might layer the kick on the first beat of each bar, but leave the second bar’s extra break movement alone so the groove still breathes. That contrast is what keeps it sounding like DnB and not a rigid house loop.
Use Ableton’s grid and zoom in tightly so the kick starts exactly with the break hit. If you need human feel, nudge the kick layer a tiny bit late by a few milliseconds, but keep it tight. In DnB, too much delay can make the low end feel lazy.
5. Shape the kick layer so it sits inside the break
Add EQ Eight on the kick layer first.
Start with these moves:
- low-pass or gently reduce unnecessary top end above 6–10 kHz if the click is too sharp
- boost or preserve body around 55–80 Hz if the kick needs more weight
- cut a little around 200–400 Hz if it sounds boxy
If the kick layer is clashing with the break’s low mids, a small cut in that muddy zone can help a lot. Keep it subtle, like -2 to -5 dB, not huge surgical moves.
Then add Saturator after EQ Eight if the kick feels too polite. Try:
- Drive: 1–4 dB
- Soft Clip: On
Saturation helps the kick translate on smaller speakers and gives it more density without needing huge volume. That’s especially useful in DnB where kick and sub both need to survive club playback and laptop listening.
6. Glue the layer with Drum Buss
Add Drum Buss to the kick layer or, if it makes sense, to a drum group bus containing the break and kick layer together.
Starter settings:
- Drive: 5–15%
- Crunch: low, around 0–10%
- Damp: use carefully if the top is too bright
- Boom: usually keep low or off for a kick layer unless you want extra sub resonance
For beginner use, the main goal is not crazy distortion — it’s a little extra impact and cohesion. If you push Boom too hard, the kick can become fluffy and blur into the bassline. In DnB, clarity in the low end matters more than sheer size.
Why this works in DnB: a kick layer with controlled saturation and drum glue helps the break read as one powerful rhythm section instead of separate samples fighting each other. That tightens the groove and makes the drop feel more intentional.
7. Control the low end with Utility and mono discipline
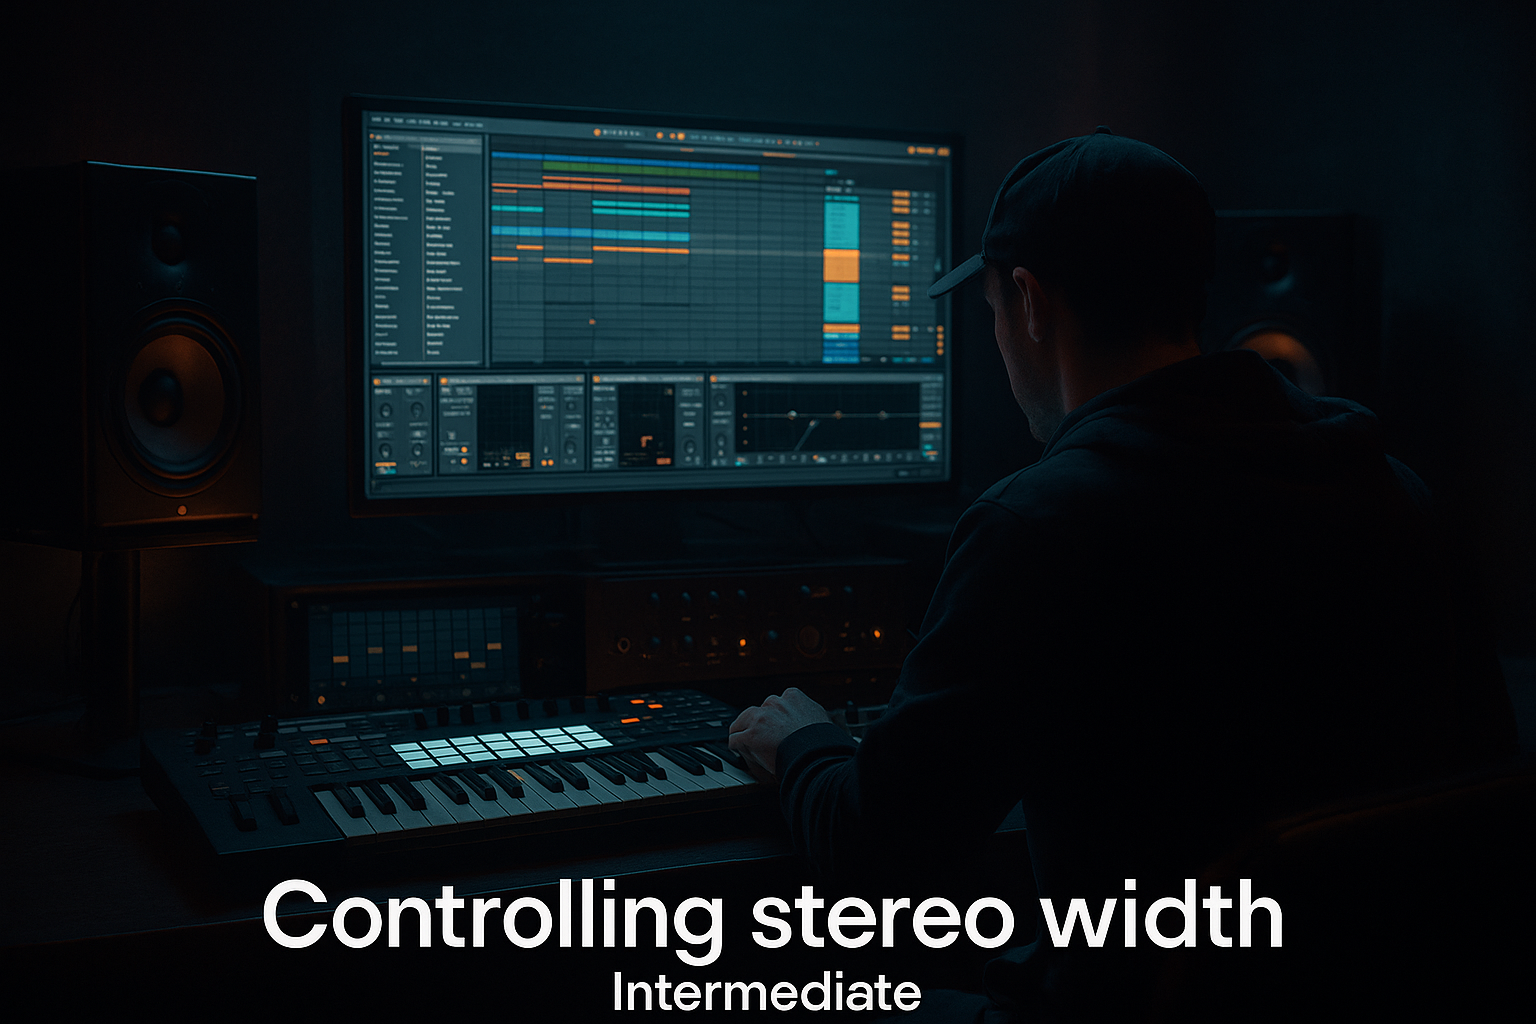
Add Utility on the kick layer and set Width to 0% if the kick is stereo or feels too wide. Kick weight should be centered. This keeps the sub area stable and avoids phase problems.
If you grouped the break and kick layer into a Drum Bus, add another Utility there and check the overall width carefully. You do not need to make the whole break mono — only the low end should be stable.
Practical rule:
- Kick layer: mono
- Break tops and snaps: can stay wider if the sample has stereo detail
- Bass: usually keep sub mono too
In DnB, mono low end is a big deal because the kick must coexist with a rolling sub or reese bass without disappearing in phase cancellation.
8. Balance the layer by ear, then automate around the arrangement
Lower the kick layer until it supports the break instead of dominating it. A good target is: you feel the kick more than you hear it as a separate sample.
Then set up simple automation in the arrangement:
- in the intro, keep the kick layer lighter or filtered
- in the first drop, bring it fully in
- in a switch-up, reduce the layer slightly so the break variation feels different
- in the second drop, increase the layer or add extra saturation for impact
You can automate:
- Utility gain
- EQ Eight filter frequency
- Saturator Drive
- Drum Buss Drive
This is a classic DnB arrangement move: tension and release are often created by changing drum density, not just adding more notes. A lighter intro gives the drop room to hit harder.
9. Add a simple drum group and check the full groove
Group your break and kick layer into a Drum Group. Inside the group, make sure the kick layer does not overpower the snare or hats.
Now listen in context with:
- your bassline
- a simple atmospheric loop
- any ride, hat, or ghost percussion
If the bassline is a big reese or a sustained sub, leave space by trimming a little kick low-mid if needed. If the kick disappears when the bass plays, try a small saturation increase or a 1–2 dB gain boost rather than huge EQ boosts.
Use the Arrangement View to place the groove in sections:
- 8-bar intro with lighter drums and filtered layers
- 16-bar drop with the full kick layer
- 2-bar or 4-bar switch-up where the kick layer drops out briefly for tension
- re-entry with the layered kick returning harder
This gives the listener a clear sense of phrasing, which is essential in DnB because the energy is fast and repetitive.
10. Save the method as a reusable drum rack or group
Once it works, save time later by preserving the setup. In Ableton, you can save the Drum Group or Drum Rack as a preset so your kick-layering starting point is always ready.
Name it something clear like:
- “Jacked Break Kick Layer”
- “Jungle Break Weight”
- “Roller Drum Reinforce”
Keep the chain simple:
- EQ Eight
- Saturator
- Drum Buss
- Utility
That way, when you start a new tune, you can load the same workflow and swap the kick sample without rebuilding the whole chain.
Common Mistakes
- Fix: only reinforce the important beats. Leave room for the break’s natural groove.
- Fix: choose a shorter kick or trim the tail. Long tails can blur into the bassline.
- Fix: gentle EQ and controlled saturation usually work better than huge low-end boosts.
- Fix: use Utility to keep the kick centered and check the low end in mono.
- Fix: preserve transient movement. DnB needs punch, but also swing and air.
- Fix: if it still feels weak, try transient clarity, placement, or saturation before just turning it up.
Pro Tips for Darker / Heavier DnB
Mini Practice Exercise
Spend 10–20 minutes making one 2-bar drum loop.
1. Load a break sample into an audio track or Simpler.
2. Set the project to 174 BPM.
3. Add a second track with one clean kick sample.
4. Layer the kick only on the strongest downbeats.
5. Add EQ Eight and make one small cut around 250–350 Hz if needed.
6. Add Saturator with 2–3 dB Drive.
7. Add Utility and set the kick layer to mono.
8. Loop the section and compare:
- break alone
- break + kick layer
- break + kick layer + bass
9. Make one automation move in the Arrangement View, such as reducing the kick layer in the last bar.
10. Bounce or freeze it and listen back once more.
Goal: make the break feel heavier without losing its jungle movement.

