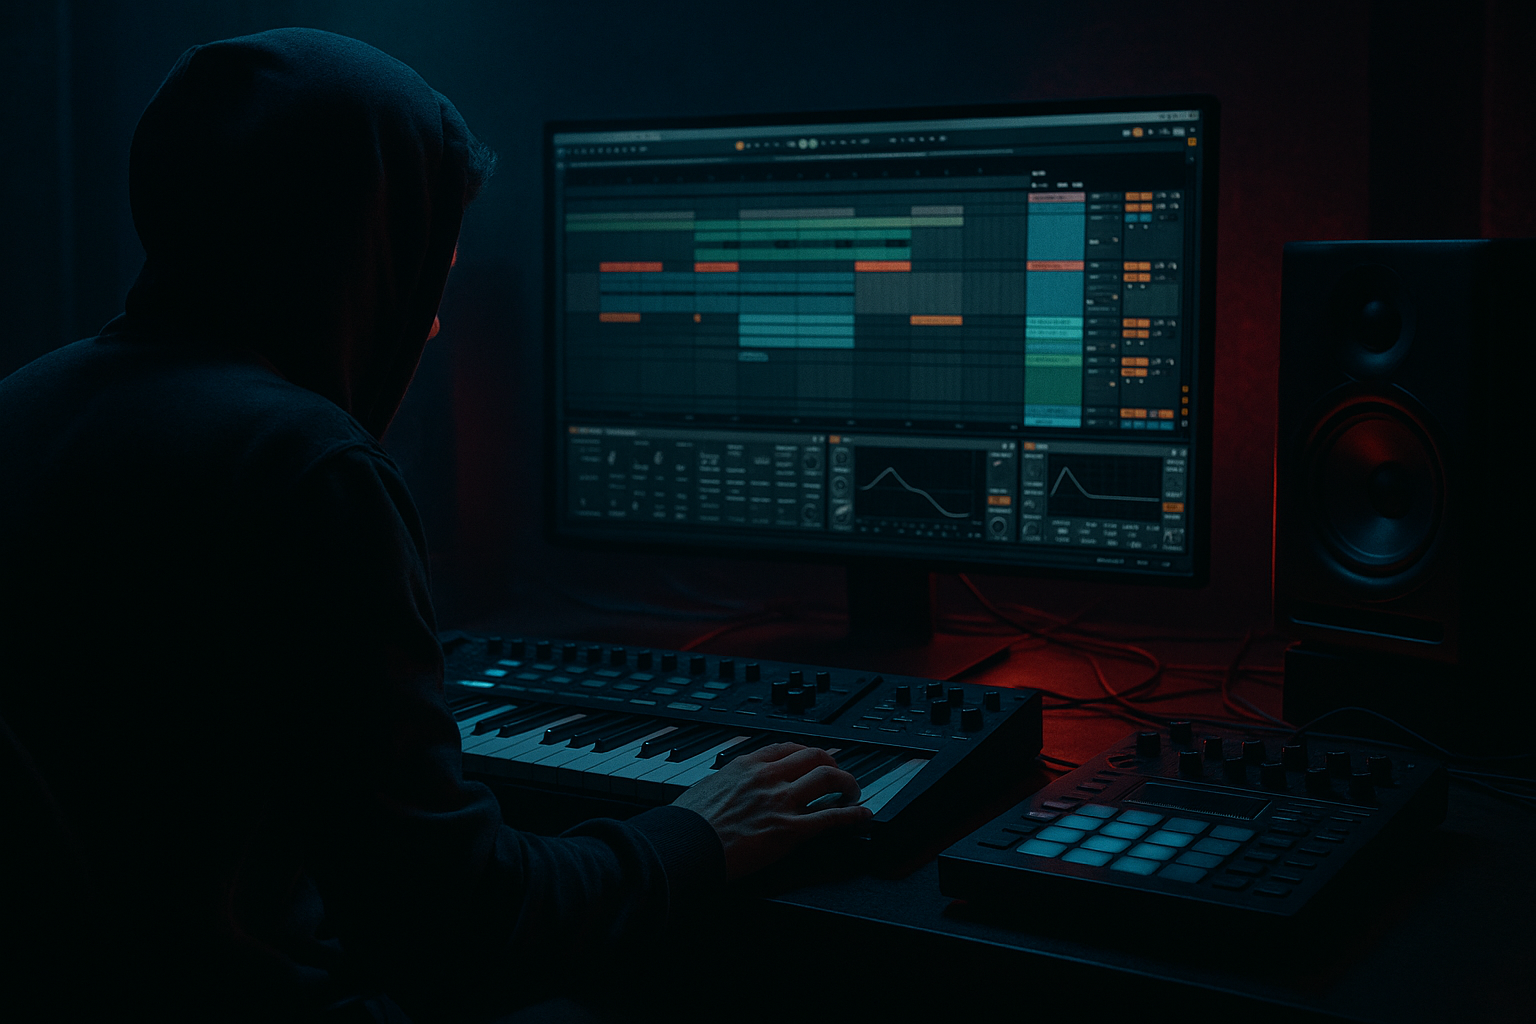
Main tutorial
Jacked Breaks Masterclass: Bassline Tighten in Ableton Live 12 for Jungle / Oldskool DnB Vibes 🥁🔥
1. Lesson overview
In this masterclass, we’re going to tighten a jackin’ jungle / oldskool DnB bassline in Ableton Live 12 so it locks to the breaks, hits with more confidence, and feels properly rolling, muscular, and dancefloor-ready.
When basslines in DnB feel “loose,” it’s usually because of one or more of these problems:
- the note lengths are too long and smear into the next hit
- the groove isn’t aligned with the drums
- the low end is too wide or inconsistent
- the transients are soft, so the bass doesn’t punch through
- the bass occupies too much space in the same frequency area as the break or kick
- MIDI editing
- Groove Pool
- Track delay / clip timing
- Ableton stock devices
- EQ, compression, saturation, and filtering
- Arrangement and automation tricks that make the bassline feel more “jacked” and energetic ⚡
- a tighter MIDI bassline
- a cleaner relationship with the breakbeat
- a more stable sub layer
- a punchier mid bass / reese texture
- a master bus-ready bass that doesn’t overload the mix
- Drums Group
- Bass Group
- Return tracks
- Master / bus tools
- Simpler for chopping breaks
- Slice to New MIDI Track for break programming
- Groove Pool for adding swing from an existing break
- Use a 1-bar or 2-bar loop
- Build around offbeat phrasing
- Leave gaps for the snare and key drum accents
- Use notes that answer the break instead of constantly filling every space
- Try short notes on the “ands” between kicks
- Use a repeating motif with small variations
- Keep sub notes mostly consistent in pitch if the groove is the main focus
- For a reese, use notes that “talk” rhythmically rather than too much melodic movement
- Sub notes: often shorter than you think, especially if there’s a kick or snare following
- Mid bass notes: can be a little longer, but still should not blur rhythmically
- Reese stabs: use more controlled note lengths to preserve punch
- If your bass is too legato, try shortening notes by 10–30 ms equivalent feel
- If the line feels robotic, don’t lengthen everything—add selective overlaps only where intentional
- If the break has a strong swing, let the bass suggest the same feel
- Don’t copy the groove so hard that the bass becomes late and flabby
- Keep the sub more disciplined than the mid layer
- sub = weight and foundation
- mid bass = character, aggression, and rhythm
- two MIDI tracks, or
- an Audio Effect Rack with two chains
- Sub layer: sine or filtered triangle
- Mid layer: saw/reese/wavetable with distortion and filtering
- Operator for clean sub
- Wavetable for reese/mid textures
- Analog for oldskool-style bass tones
- Drift for a more organic, slightly unstable low-end character
- Keep it mono
- Low-pass it hard if needed
- Avoid distortion unless very subtle
- Avoid wide stereo effects entirely
- High-pass around 80–150 Hz depending on sound
- Add movement with Auto Filter
- Add character with Saturator, Overdrive, or Amp
- Control peaks with Compressor or Glue Compressor
- The snare is usually the anchor
- The kick often supports momentum
- The bass should leave room for both
- Track Delay in the mixer for fine timing
- Clip Start markers
- Grid adjustments if your bass phrasing needs micro-editing
- Sidechain gently for transparency
- Too much sidechain = weak low end
- Use more aggressive sidechain if it helps the break cut through
- Or automate volume ducking with Utility for precision
- Set Bass Mono or reduce width on the low end via mid/side processing elsewhere
- Keep sub frequencies centered
- Narrow the low end of the bass if it’s spreading too wide
- Sub: keep the strongest fundamental stable, usually somewhere around 40–90 Hz
- Cut unnecessary mud around 150–350 Hz
- Be careful around 700 Hz–2 kHz if the bass is fighting the snare or break texture
- Use 8-bar phrases with slight variations
- Drop the bass out for a bar before a fill or snare break
- Introduce a new bass rhythm after the first 8 or 16 bars
- Use a filter-open automation into a drop
- Remove sub for a moment, then bring it back for impact
- loud
- quiet
- on headphones
- on small speakers
- in mono
- Does the sub disappear in mono?
- Does the bass smear over the snare?
- Can you still feel the rhythm when listening quietly?
- Does the bass maintain energy without becoming boomy?
- Utility for mono checks
- Spectrum for visual low-end monitoring
- Reference tracks dragged into a separate channel for comparison
- Keep the sub stable
- Add movement in the mid layer only
- Try small note repeats for tension
- Saturator
- Overdrive
- Amp
- Pedal
- bass hits after a snare
- a short stab before a break fill
- a filtered pickup into the next phrase
- low-pass before the drop
- open gradually
- close again for breakdown tension
- Which version feels more danceable?
- Which one leaves more room for the break?
- Which one hits harder in the low end?
- Which one sounds more like oldskool jungle energy?
- start with a strong break
- simplify the bass rhythm
- shorten MIDI note lengths
- use Groove Pool lightly and musically
- split sub and mid layers for control
- sidechain with intention, not habit
- use EQ, saturation, and compression to shape punch
- keep the low end centered and mono
- arrange bass drops and mutes for impact
- a Ableton Live 12 device chain preset recipe
- a step-by-step project template
- or a bassline MIDI programming guide for jungle rhythms
This lesson shows you how to tighten the bassline using:
We’ll aim for that classic jungle/DnB vibe: snappy low-mid movement, controlled sub, and aggressive rhythmic interplay with the break.
---
2. What you will build
By the end, you’ll have a bassline chain and workflow that gives you:
You’ll build a simple setup like this:
Example track layout
- Kick
- Break
- Percs
- Sub bass
- Mid bass / reese
- Optional top layer for grit
- Short room or plate reverb
- Dub delay or echo throw
- Utility
- EQ Eight
- Glue Compressor or Compressor
- Saturator
---
3. Step-by-step walkthrough
Step 1: Start with the drums first
In DnB, the bassline should serve the break, not fight it.
Do this:
1. Load a breakbeat loop or sequence your own chopped break.
2. Place a kick pattern underneath if needed.
3. Loop 4–8 bars.
4. Get the drums feeling solid before writing or tightening the bass.
Why:
If the drums are unstable, you’ll keep “fixing” the bass to solve a drum issue. That wastes time.
Helpful Ableton tools:
---
Step 2: Write a simple bassline that supports the groove
For jungle / oldskool DnB, don’t overcomplicate the bass pattern at first.
Good starting approach:
Practical MIDI ideas:
Rule of thumb:
If the bassline feels busy before it feels tight, simplify first.
---
Step 3: Tighten note lengths in the MIDI editor
This is one of the biggest fixes.
What to do:
1. Open the MIDI clip.
2. Select all bass notes.
3. Shorten note lengths so they stop before the next drum hit or next bass hit.
4. Create tiny gaps between notes where the rhythm needs air.
For jungle / DnB:
Practical starting values:
Pro tip:
Use clip envelopes or note velocity to shape the accents instead of making notes longer. That keeps the line tight while still musical.
---
Step 4: Use Groove Pool intelligently
If your bassline feels too rigid compared to the break, use groove—not random humanization.
Workflow:
1. Drag a groove from the break into Groove Pool if needed.
2. Apply a subtle groove to the bass clip.
3. Start with 10–30% Amount, not 100%.
4. Adjust Timing and Random very lightly.
Best practice:
DnB note:
Oldskool/jungle grooves often have a slightly “dragged” feel, but the low end still needs to feel locked, not lazy.
---
Step 5: Separate sub and mid bass for control
A tight bassline in DnB is usually two jobs in one:
Split the sound:
Use either:
Suggested split:
Stock Ableton devices:
Sub layer settings:
Mid layer settings:
---
Step 6: Lock the bass to the kick and snare
This is where the bass starts feeling “tight” instead of just “edited.”
In jungle/DnB:
Practical method:
1. Solo drums and bass together.
2. Identify where the kick and snare hit most strongly.
3. Shorten or move bass notes that clash with these anchors.
4. If needed, shift the bass clip by a few milliseconds using clip start position or track delay.
Ableton tools:
Important:
Don’t over-shift the whole bassline. Tightening should be surgical.
---
Step 7: Use sidechain compression with intention
Sidechain isn’t just for “pumping.” In DnB, it can make the bass speak clearly against the drums.
Basic setup:
1. Add Compressor on the bass group or sub track.
2. Enable Sidechain from the kick or a ghost trigger.
3. Start with:
- Ratio: 2:1 to 4:1
- Attack: 1–10 ms
- Release: 40–120 ms
- Threshold: set for about 1–4 dB gain reduction to start
Better DnB approach:
Use a ghost kick or a dedicated trigger rather than sidechaining directly from a busy kick pattern, especially if the drum arrangement changes.
For sub layer:
For mid bass:
---
Step 8: Shape transients with saturation and compression
A bassline can feel tighter just by increasing perceived attack and harmonic density.
Stock chain suggestion for mid bass:
1. EQ Eight
- High-pass around 80–120 Hz
- Cut mud around 200–400 Hz if needed
2. Saturator
- Drive: 2–6 dB
- Soft Clip: ON if it helps control peaks
3. Compressor
- Attack: 10–30 ms
- Release: 50–150 ms
- Aim for controlled punch, not squashed lifelessness
4. Auto Filter
- Add movement or automate cutoff for phrase energy
Why this works:
Saturation makes the bass more audible on smaller speakers, and compression keeps the envelope consistent so it feels locked to the break.
---
Step 9: Tighten with Utility and stereo discipline
Oldskool bass should usually be solid in the center.
Use Utility:
Tip:
If your bass feels huge but weak, it may be too stereo in the low end. That causes phase issues and makes the bass feel loose.
---
Step 10: Carve space with EQ Eight
A tight bassline needs room in the mix.
Typical frequency cleanup:
Practical EQ move:
Use a narrow cut to remove a resonant ring that makes the bass feel “wobbly” or uneven.
Don’t overdo:
If you cut too much low-mid, the bass loses body and feels thin. Keep the character.
---
Step 11: Use arrangement to make the bass feel tighter
Sometimes “tightening” is really about where the bass plays.
Arrangement ideas for jungle / DnB:
Oldskool trick:
Let the bass breathe. A one-bar mute can make the return feel much harder than constant full-energy bass.
---
Step 12: Check on multiple playback levels
A tight bassline should work:
Test checklist:
Ableton tools:
---
4. Common mistakes
1. Making notes too long
Long bass notes are a classic reason DnB bass feels muddy and untidy.
2. Over-grooving the bass
If the bass is too swung, the pocket gets lazy and the track loses drive.
3. Using stereo effects on the sub
Wide sub = phase trouble, weak center, and poor club translation.
4. Compressing too hard
Too much compression kills the movement that makes jungle bounce.
5. Not separating sub and mid layers
Trying to make one sound do everything often results in a messy low end.
6. Ignoring the break
If the bass isn’t responding to the drum phrasing, it won’t feel “jacked.”
7. Fixing timing only with EQ
EQ won’t fix a bassline that is rhythmically clashing with the drums.
---
5. Pro tips for darker/heavier DnB
Tip 1: Use subtle pitch motion
A tiny pitch bend or note variation can add menace without making the line sloppy.
Tip 2: Add controlled grit
Use:
A little distortion can make a bassline feel more urgent and closer to classic rave/jungle energy.
Tip 3: Use call-and-response with the break
Let the bass answer the drums:
Tip 4: Sidechain the reverb return
If you use ambience on bass, duck the return so the groove stays tight.
Tip 5: Automate filter cutoff for phrase energy
A bassline can feel tighter when the arrangement has motion.
Tip 6: Keep your low-end track simple
For darker DnB, the power often comes from discipline, not complexity. One great groove can hit harder than five layers fighting each other.
---
6. Mini practice exercise
Goal:
Tighten a 2-bar DnB bass loop so it locks with a chopped break.
Exercise:
1. Build a 2-bar breakbeat loop at 170–174 BPM.
2. Write a simple bassline with 3–5 notes.
3. Duplicate the clip.
4. In version A, leave the notes long.
5. In version B, shorten the notes and create space around the snare.
6. Add Groove Pool to version B at 20% Amount.
7. Put Utility on the bass and make the low end mono.
8. Add Saturator to the mid bass only.
9. Sidechain the sub lightly with Compressor.
10. Compare A and B.
What to listen for:
Stretch challenge:
Automate a high-pass filter on the bass for the first 8 bars, then drop the full low end in on bar 9.
---
7. Recap
To tighten a jackin’ bassline in Ableton Live 12 for jungle / oldskool DnB:
The big idea is this: tight DnB bass is about rhythm, space, and control. If the bassline leaves room for the break while still pushing energy forward, you’ve got that classic rolling, jacked feel. 🥁🔥
If you want, I can also turn this into:

