DNB COLLEGE

AI Drum & Bass Ableton Tutorials

LESSON DETAIL

John Waddicker method: sequence a rolling percussion bed in Ableton Live 12 for underground drum and bass flow (Beginner · Drums · tutorial)

An AI-generated beginner Ableton lesson focused on John Waddicker method: sequence a rolling percussion bed in Ableton Live 12 for underground drum and bass flow in the Drums area of drum and bass production.

Free plan: 0 of 1 lesson views left today. Premium unlocks unlimited access.

John Waddicker method: sequence a rolling percussion bed in Ableton Live 12 for underground drum and bass flow (Beginner · Drums · tutorial) cover image

Narrated lesson audio

The voice track includes the tutorial plus extra teacher commentary.

Open audio file

Main tutorial

1. Lesson Overview

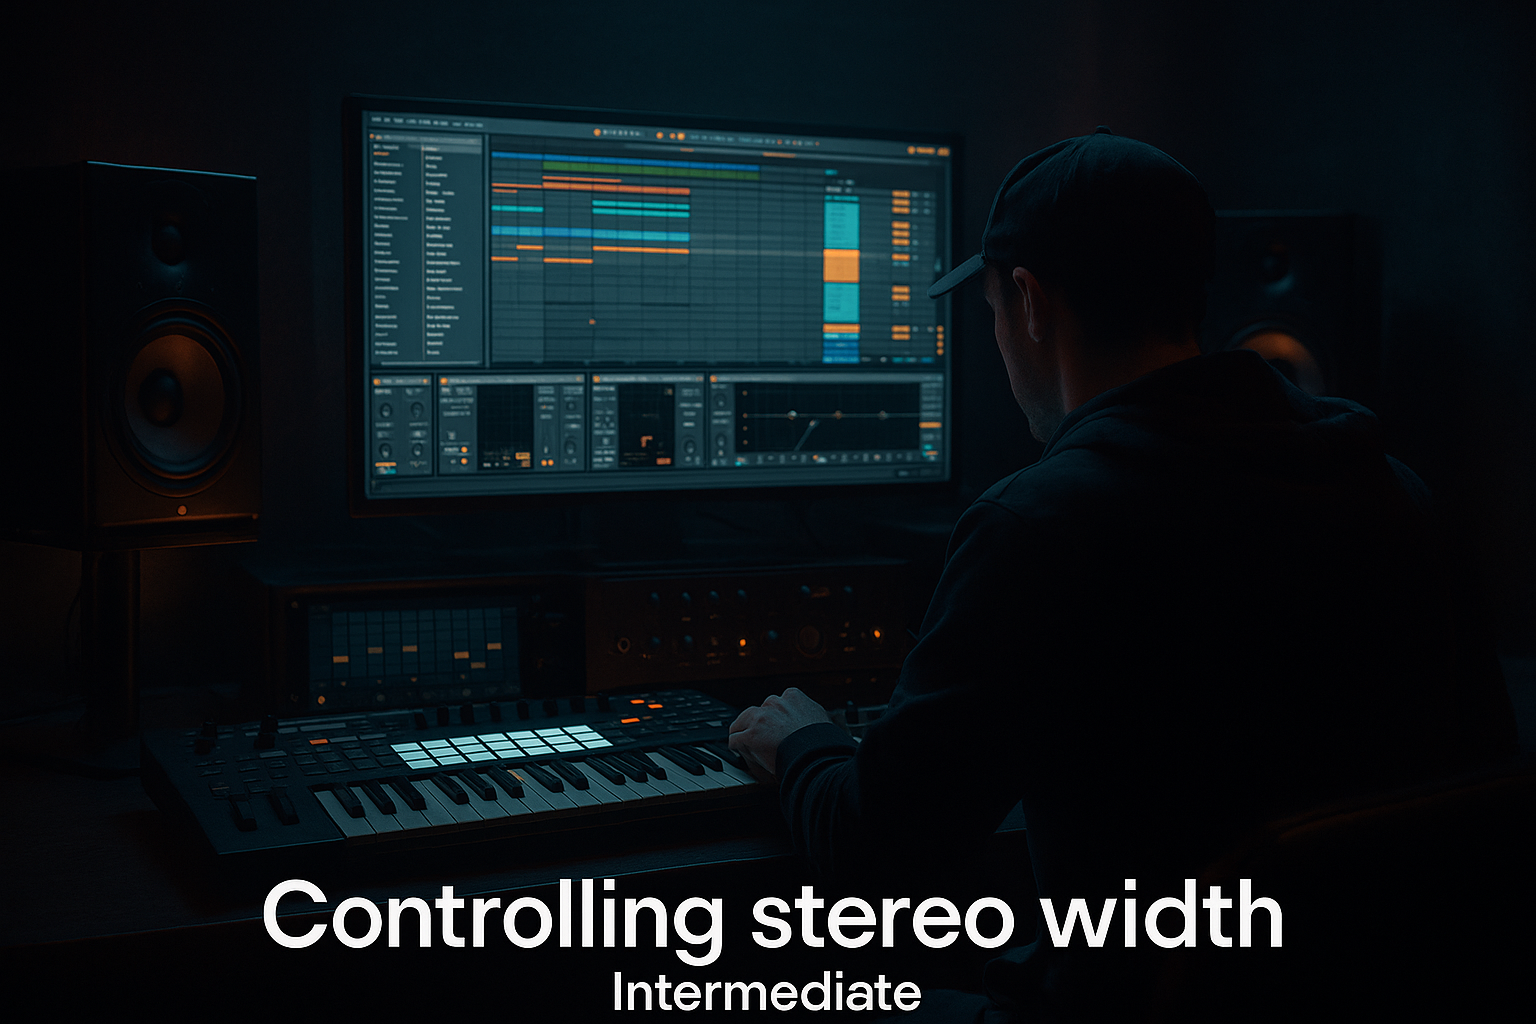
This beginner lesson teaches the John Waddicker method: sequence a rolling percussion bed in Ableton Live 12 for underground drum and bass flow. You'll learn a practical, repeatable workflow using Live 12 stock devices (Drum Rack, Simpler/Sampler, MIDI effects, Groove Pool, EQ Eight, Saturator, Compressor, Reverb/Delay) to build a tight, rolling percussion bed that sits under fast DnB drums and creates forward momentum without clashing the main breakbeats.

2. What You Will Build

A 4-bar rolling percussion bed at ~174 BPM consisting of:

  • a locked 16th/32nd hi-hat/shaker base,
  • layered ghost percussive accents (clicks, rim, tamb),
  • micro-timed rolls and fills that repeat musically,
  • a bus with subtle saturation, bus compression and reverb sends so it breathes in the mix.
  • This is designed to be dropped under an existing drum loop or used as the primary rhythmic flow for underground drum & bass.

    3. Step-by-Step Walkthrough

    Note: This walkthrough follows the John Waddicker method: sequence a rolling percussion bed in Ableton Live 12 for underground drum and bass flow and uses Live 12 stock tools only.

    Preparation

    1. Set project tempo to 174 BPM (typical for underground DnB). Create a new Live Set and a new MIDI track named "Percussion Bed".

    2. Load a Drum Rack on the Percussion Bed track. Populate pads with short percussive samples (shaker, closed hat, small tambourine, click, rim, soft conga slap). Use Simpler for each pad if you want basic ADSR control; otherwise drag single-shot one-shots into Drum Rack cells.

    Base grid and clip

    3. Create a 4-bar MIDI clip on Percussion Bed. Open the piano roll and set grid to 1/32 (View > Fixed Grid > 1/32). John Waddicker method emphasizes micro-timing, so smaller grid resolution gives you the ability to place rolling 32nds and 64ths later.

    Program the anchor pattern

    4. Program a simple 1/16th shaker/hat foundation: place hats on all 1/16th steps (every second 1/32). This is your anchor—keeps flow even when rolls happen.

    - Velocity: keep anchor velocities moderate (80–100) for presence, not dominance.

    Add the roll layer (two approaches)

    5A. Manual 32nd/64th rolls:

    - Create short 32nd note hits on a different pad (e.g., "short click") to form repeating triplets or straight 32nd rolls on offbeat subdivisions. Use 1/64 grid for tight rolls.

    - For classic Waddicker micro-roll feel, program groups of three 1/64 notes leading into or out of the bar (triplet-tinged feel).

    5B. MIDI-effect Arpeggiator method:

    - Duplicate the Drum Rack track (right-click > Duplicate). On the duplicate, make a single sustained MIDI note in the clip on the pad you want to roll.

    - Insert MIDI Effect: Arpeggiator (rate = 1/64 or 1/32, gate 40–60% for crispness, style = Up or Down depending on pitch arrangement). Turn Off Hold for rhythmic clips.

    - Use the Arpeggiator to generate fast repeating notes with no additional MIDI drawing. This is repeatable and easy to tweak.

    Humanize and dynamics (core of the method)

    6. Add a MIDI Velocity device before Drum Rack:

    - Use Velocity to map incoming clip velocities into a smaller range (e.g., 40–110) to avoid over-peaky hits.

    - Add Random (MIDI effect) after Velocity with Amount = small (5–15) and Chance ~20–30% for occasional micro-dynamics.

    7. Use Groove Pool:

    - Open Groove (bottom of Live), choose a subtle groove preset (e.g., MPC or Swing style) and drag it to the clip. Set Timing = 10–20% and Random = 5–10% to introduce human swing and jitter. This creates the "rolling" elastic timing hallmark of the method.

    - Commit or leave groove as clip property; you can apply to multiple percussion clips for cohesive micro-timing.

    Layering and spacing

    8. Layer ghost accents:

    - Add a second MIDI track with another Drum Rack cell (rim, soft snare ghost). Program sparse accents on off-beat 1/16th or late 1/32nd positions to complement the rolls.

    - Keep velocities lower (20–60) so they read as texture, not new backbeat hits.

    Group and bus processing (glue the bed)

    9. Group the percussion tracks (select > Ctrl/Cmd+G) and name group "Percussion Bed Bus".

    10. On the Group return (the group track), insert:

    - EQ Eight: high-pass below 120 Hz to avoid clash with kick/bass, slight dip at 250–400 Hz to reduce muddiness if needed.

    - Saturator: soft clip with Drive 1–3 dB, Dry/Wet ~20–30% to bring presence.

    - Glue Compressor: slow attack, medium release, ratio 2:1, threshold to gently pump ~1–3 dB gain reduction—this tames dynamics and glues layers.

    11. Create a return track for Reverb and another for Delay:

    - Reverb: use Convolution or Reverb device, short decay 0.6–1.2 s, low-damping, send pre-fx lightly (send ~6–10%).

    - Delay: Ping-Pong or Simple Delay set to 1/16 or dotted 1/16, low feedback; send very sparingly for spatial interest.

    Micro-timing nudges and automation

    12. To get Waddicker-style fluid rolls, slightly nudge selected roll notes earlier by -5 to -12 ms (select note > hold Option/Alt while using arrow keys for finer nudge) or apply clip-based Transpose/Timbre automation for subtle variation.

    13. Automate velocity or device parameters over 4 bars: raise Saturator or Reverb send slightly leading into a bar to make fills breathe.

    Fills and variation

    14. Build a two-bar variation pattern: keep bar 1 as base, bar 2 add heavier 32nd/64th rolls toward the end. Use clip duplication and modify last bar to create musical movement.

    Final balancing

    15. Solo the bed with your kick/snare loop and cut frequencies under the kick/bass with EQ Eight. Adjust group fader so the bed supports the drums but doesn’t steal transient attack.

    4. Common Mistakes

  • Overloading low end: putting percussive samples with sub-energy into the bed. Fix: high-pass at ~120 Hz on the bus or on offending samples.
  • Too much saturation/compression: heavy glue destroys transient detail. Fix: use subtle gain reduction (1–3 dB) and lower Dry/Wet on Saturator.
  • Rigid quantization: making all 32nds perfectly grid-locked loses flow. Fix: use Groove Pool or small random timing offsets.
  • Too many layers at once: clutters the midrange. Fix: mute some layers and A/B to find the sweet spot.
  • Using Arpeggiator without controlling gate: extremely long gate values make rolls feel muddy. Set Gate around 40–60% for crisp repeats.
  • 5. Pro Tips

  • Use one-shot samples with tight start envelopes for rolls to keep attack consistent. If using Simpler, shorten Decay/Release to avoid overlap.
  • Commit Arpeggiator tracks to MIDI or bounce to audio when you want to use Beat Repeat or complex audio FX—this locks a good take and frees CPU.
  • For micro-timing, the Groove Pool presets from the "Groove" folder labeled MPC/Live 100/Shuffle are great starting points—reduce Timing, add Random.
  • Use a transient shaper (stock Compressor with fast attack/release or the new transient device if available) on the bus to control bite without losing body.
  • Automate the Drum Rack cell’s Chain selector (Macro) to morph between different shaker samples for variation across sections.
  • 6. Mini Practice Exercise

    Create a 4-bar percussion bed in 25 minutes:

  • 0–5 min: Set tempo 174 BPM, load Drum Rack with 6 small percussion samples.
  • 5–10 min: Program 1/16 anchor hat on pads across 4 bars.
  • 10–15 min: Add 32nd/64th rolls manually on a separate pad for bars 2 and 4; duplicate clip to create variation.
  • 15–20 min: Add Velocity and Random MIDI effects; drop a groove into the clip (Timing 12–18%).
  • 20–25 min: Group to bus, add EQ Eight (HP ~120 Hz), Saturator (drive ~2 dB), Glue Compressor (1–3 dB reduction), and a short reverb send. Make sure bed sits under a drum loop.
  • 7. Recap

    You learned the John Waddicker method: sequence a rolling percussion bed in Ableton Live 12 for underground drum and bass flow by:

  • building a tight 1/16 anchor and adding micro 32nd/64th rolls (manual or Arpeggiator),
  • humanizing timing with Groove Pool and Random MIDI,
  • controlling dynamics with Velocity, Saturator, and Glue Compressor on a dedicated percussion bus,
  • using short reverb/delay sends to place the bed spatially without washing the low end.

Use this method to create continuous forward motion under breaks—start simple, iterate with micro-timing, and keep your low end clear for the kick and bass.

Ask GPT about this lesson

Chat with the lesson tutor, get follow-up help, or use quick actions.

Bigup 👽 Ask me anything about this lesson and I’ll answer in context.

Narration script

Show spoken script
Welcome. In this lesson you’ll learn the John Waddicker method for sequencing a rolling percussion bed in Ableton Live 12 — a practical, repeatable workflow using only Live stock devices. The goal is a tight, forward-driving percussion bed that sits under fast drum‑and‑bass breaks without stealing their punch.

Overview
I’ll walk you through building a four-bar percussion bed at about 174 BPM. We’ll use Drum Rack and Simpler or Sampler for the sounds, MIDI effects for rolls and humanization, the Groove Pool for micro‑timing, and stock audio devices — EQ Eight, Saturator, Glue Compressor, and short reverb and delay sends — to glue everything together. By the end you’ll have a rolling hat foundation, layered ghost accents, micro‑timed rolls and fills, plus bus processing so the bed breathes in the mix.

What you will build
Picture a 4‑bar loop that includes:
- a locked 16th/32nd hi‑hat or shaker anchor,
- layered ghost accents like clicks, rims and tambourines,
- micro‑timed 32nd and 64th rolls and triplet feels that resolve musically,
- a group bus with subtle saturation, light compression and short reverb/delay sends to place the bed without washing the low end.

This can sit under an existing drum loop or be the main rhythmic flow for underground DnB.

Step‑by‑step walkthrough
Preparation
Set your Live set to 174 BPM. Create a new MIDI track and name it Percussion Bed. Load a Drum Rack. Populate cells with short percussive one‑shots — shaker, closed hat, small tamb, click, rim, soft conga slap. Use Simpler in One‑Shot mode for ADSR control if needed, or drag short one‑shots directly into Drum Rack cells.

Base grid and clip
Create a four‑bar MIDI clip on the Percussion Bed. Open the piano roll and set the fixed grid to 1/32. The Waddicker method depends on micro‑timing, so working at small grid resolutions gives you the control you need for 32nds and 64ths later.

Program the anchor pattern
Program a steady 1/16th shaker or closed hat on the anchor — place hits on every 1/16th step, which is every second 1/32. Keep these anchor velocities moderate, around 80 to 100. The anchor’s job is to provide consistent motion without dominating transients.

Add the roll layer — two approaches
Approach A: Manual 32nd/64th rolls.
Choose a separate pad, like a short click, and program fast 32nd or 64th hits. Use a 1/64 grid for tight rolls. For that classic Waddicker micro‑roll feel, try groups of three 1/64 notes — little triplet‑tinged flurries that lead into or out of a bar.

Approach B: MIDI Arpeggiator.
Duplicate the Drum Rack track. On the duplicate, draw a single sustained MIDI note for the pad you want to roll. Insert the Arpeggiator MIDI effect and set Rate to 1/64 or 1/32, Gate around 40–60% for crispness, and Style to Up or Down. This generates fast repeating notes without manual drawing and is easy to tweak.

Humanize and dynamics — the core
Before Drum Rack add a Velocity MIDI device and map incoming velocities into a sensible output range — for example 40 to 110 — so hits aren’t peaky. After Velocity add a small Random MIDI effect with Amount between 5 and 15 and Chance around 20–30% for occasional micro‑dynamic variation.

Open the Groove Pool and drag a subtle groove preset — MPC or subtle swing works well — into your clip. Set Timing to about 10–20% and Random to 5–10%. This introduces gentle timing shifts and jitter, creating that elastic, rolling motion. You can apply the same groove to multiple percussion clips for cohesive micro‑timing.

Layering and spacing
Create a second MIDI track for ghost accents — rim shots, soft snare ghosts, or tambs. Program sparse hits on late 1/16th or late 1/32nd positions, and keep their velocities low, around 20 to 60, so they read as texture rather than a new backbeat.

Group and bus processing
Select the percussion tracks and group them into a Percussion Bed Bus. On the group track insert:
- EQ Eight: high‑pass around 120 Hz to protect the kick and bass. If needed, apply a slight dip between 250 and 400 Hz to remove muddiness.
- Saturator: use soft clipping, drive of about 1–3 dB and a Dry/Wet around 20–30% to add presence without harshness.
- Glue Compressor: slow attack, medium release, ratio around 2:1. Set threshold for gentle gain reduction of about 1–3 dB to glue layers together without crushing transients.

Set up two return tracks for Reverb and Delay. Reverb should be short, 0.6 to 1.2 seconds, low damping; send lightly — around 6–10%. Delay can be Simple or Ping‑Pong set to 1/16 or dotted 1/16 with low feedback and very light send for spatial interest.

Micro‑timing nudges and automation
To get that fluid Waddicker vibe, slightly nudge selected roll notes earlier by roughly 5 to 12 milliseconds. Use Option/Alt + arrow keys in the clip view for fine nudges. Automate small changes across four bars — for example, raise the Saturator drive or Reverb send leading into a bar so fills breathe.

Fills and variation
Create two‑bar or four‑bar variations. Keep bar one as the base and make bar two add heavier 32nd or 64th rolls toward the end. Duplicate clips and tweak the last bar to create musical movement that repeats logically.

Final balancing
Solo the percussion bed with your kick and bass loop to check interaction. Use EQ Eight to carve out frequencies that clash with kick or bass. Set the group fader so the bed supports the drums, adding motion rather than stealing transient attack.

Common mistakes and fixes
- Overloaded low end: if percussive samples contain sub energy, high‑pass at around 120 Hz on the bus or the offending samples.
- Too much saturation/compression: heavy settings crush transients. Aim for 1–3 dB of gain reduction and lower Dry/Wet on Saturator.
- Rigid quantization: perfectly grid‑locked 32nds lose flow. Use the Groove Pool or add small timing randomization.
- Too many layers: cluttered midrange. Mute layers and A/B to find the sweet spot; often fewer elements are better.
- Arpeggiator gate too long: set Gate to 40–60% for crispness or the rolls sound muddy.

Pro tips
- Use one‑shots with tight starts and short envelopes for rolls. Trim tails in Simpler if necessary.
- Commit Arpeggiator parts to MIDI or bounce to audio when you want to use audio‑only effects like Beat Repeat or Frequency Shifter.
- Extract a groove from a good DnB loop into the Groove Pool or use MPC/Shuffle presets and reduce Timing and add Random.
- Use a transient shaper or fast compressor to control bite without losing body.
- Map Drum Rack chains into an Instrument Rack and automate a Macro to morph between different shaker samples for section variation.

Mini practice exercise — 25 minutes
- 0–5 minutes: Set tempo to 174, load Drum Rack with six small percussion samples.
- 5–10 minutes: Program a 1/16 anchor hat across four bars.
- 10–15 minutes: Add 32nd/64th rolls on a separate pad for bars 2 and 4; duplicate clip to make variation.
- 15–20 minutes: Add Velocity and Random MIDI effects, drop a groove into the clip (Timing around 12–18%).
- 20–25 minutes: Group the tracks, add EQ Eight (HP ~120 Hz), Saturator (about 2 dB), Glue Compressor (1–3 dB reduction), and a short reverb send. Check the bed under a drum loop.

Recap
You built a rolling percussion bed by establishing a 1/16 anchor, adding micro 32nd and 64th rolls either manually or with an Arpeggiator, humanizing timing with the Groove Pool and Random MIDI, and controlling dynamics with Velocity, Saturator, and Glue Compression on a dedicated bus. Short reverb and delay sends place the bed in space without washing the low end. The guiding idea: create forward motion and glue while keeping the low end clear for kick and bass.

Extra coach notes — mindset and workflow
Think of the percussion bed as motion and glue, not a second drum kit. Work in stages: design sounds, craft the anchor, add rolls and fills, humanize, bus process, then arrange. Choose samples with clear attack and minimal low end. Trim or shorten tails in Simpler to avoid overlap.

Sequencing nuance
Vary anchor velocities slightly across the loop. Mix straight 32nds with groups of three 1/64 triplets for elastic groove. Fine nudge values between -4 and -12 ms can push things forward; +4 to +12 ms makes them lazy. When using Arpeggiator, change Rate between clips for instant variation.

Layering and frequency slotting
Allocate frequency slots: anchors around 2–8 kHz, ghost percussion around 500 Hz–2 kHz, clicks and sizzle above 3 kHz. High‑pass everything under 120 Hz. If layers fight, use a narrow EQ cut in one layer rather than broad cuts across many layers.

Bus processing and spatial placement
Use M/S EQ to tame sides if the bed is too wide. Soft saturation with low Dry/Wet adds color. Aim for small Glue Compressor gain reduction and use sidechain ducking keyed to the kick if the bed masks the main drum. Put a high‑pass on the reverb return at around 800–1,200 Hz to avoid low wash.

Creative MIDI and rack tricks
Map multiple shaker samples to chains and automate the Chain Selector Macro for timbral changes. Commit interesting Arp takes to audio when you want destructive audio FX. Use Follow Actions for live alternation between base and fill clips.

Arrangement and CPU workflow
Create a few 4‑bar building blocks — Base, Fill A, Fill B, Sparse — and arrange them across the track. When you’re happy with a take, consolidate, freeze or bounce to audio to save CPU and to enable audio FX. Keep a dry MIDI backup in case you want to change notes later.

Troubleshooting quick fixes
- Percussion thin: boost 3–6 kHz or add a parallel saturated send.
- Percussion invisible: check phase and mono content; raise attack or anchor velocities slightly.
- Rolls muddy: shorten decay or reduce Arp Gate; low‑pass the roll layer if needed.
- Mix too busy: mute layers one at a time; usually three elements are more than enough.

Practice checkpoints
Listen for forward push without stealing break punch. Make sure rolls resolve into downbeats or accents. Check on different systems; mono the low end and balance to translate to small speakers.

Quick variation ideas
Chain two Arpeggiators for layered density and gate variation. Slightly detune a ghost accent by a few cents each bar. Use filtered reverb sends only on rolls to make fills feel larger without washing anchors.

Final note
Keep iterations small. Tweak one parameter at a time — nudge, Groove amount, Saturator Dry/Wet — and compare A/B versions. The percussion bed should serve the track by adding motion and glue. If it starts shouting, pull it back.

That’s the John Waddicker method for rolling percussion in Ableton Live 12. Now open Live, pick six compact percussive samples, and build a 4‑bar bed using this workflow.

Mickeybeam

Go to drumbasscd.com for +100 drum and bass YouTube channels all in one place - tune in!

Premium Unlimted Access £14.99

Any 1 Tutorial FREE Everyday
Tutorial Explain
Generating PDF preview…