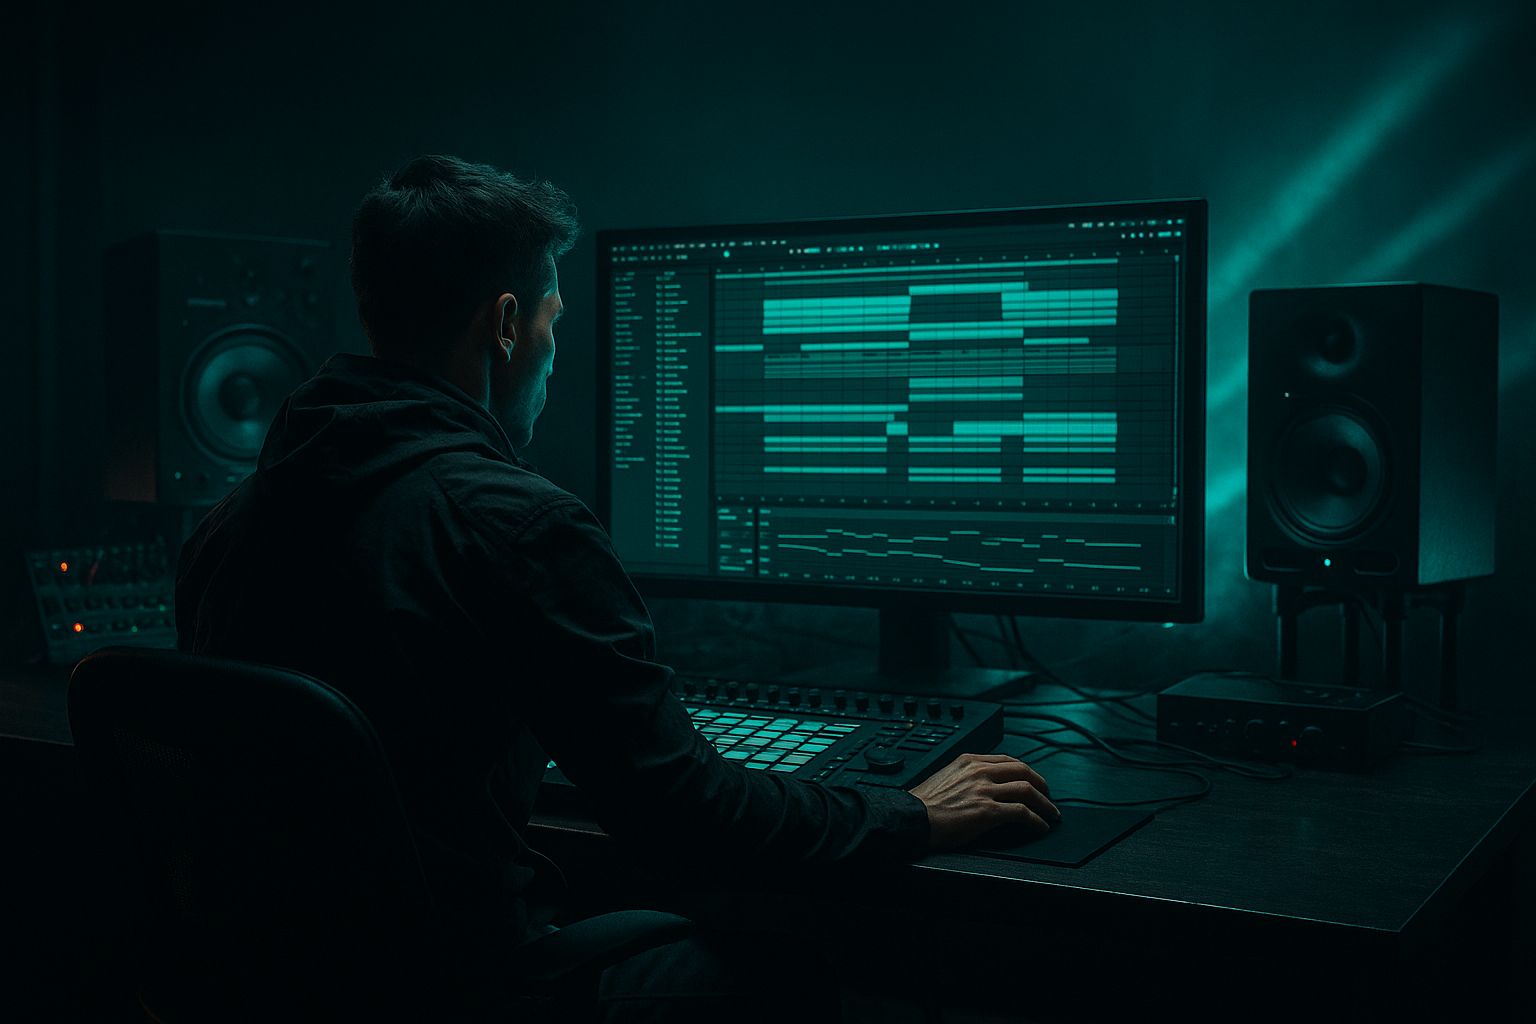
Main tutorial
Jungle Warfare: Ableton Live 12 Sampler Rack Deep Dive Without Losing Headroom 🥁⚡
1. Lesson overview
In this lesson, we’re building a drum and bass / jungle sampler rack workflow in Ableton Live 12 that lets you:
- slice and layer breakbeats
- control samples with Macro automation
- keep your mix clean and loud without clipping
- preserve headroom while still hitting hard
- create movement for drop, fill, and breakdown sections
- classic Amen / Think / Funky Drummer style jungle chops
- modern rolling DnB drum programming
- dark halftime and technical neuro-influenced drum layers
- Break A: main chopped break sample
- Break B: layer or alternate break texture
- Kick layer: punch or sub-kick reinforcement
- Snare layer: extra snap or crack
- Ghost percussion: hats, shuffles, rimshots
- Macro controls for:
- Simpler for sample playback
- Drum Rack for pad-based triggering
- Audio Effects Rack / Instrument Rack for macro mapping
- EQ Eight
- Saturator
- Drum Buss
- Auto Filter
- Utility
- Compressor or Glue Compressor
- Reverb / Hybrid Reverb
- optional Shaper or Envelope Follower for motion
- 170–174 BPM for classic jungle / rolling DnB
- 160–170 BPM for darker halftime-influenced work
- put Utility on the master if you want a quick gain trim
- leave master peaking around -6 dB to -3 dB
- don’t “fix it later” with a limiter while writing
- drag your break sample into Simpler
- set Simpler to Classic mode for natural loop playback
- if you want chop control, try Slice mode
- for individual drum hits, use One-Shot mode
- Warp: on, if the break needs tempo alignment
- Warp mode: Complex Pro for full breaks if needed, but often Beats sounds more punchy for drums
- Transient Loop Mode: if available, use something that preserves attacks
- Gain: trim so the channel peaks around -12 to -8 dB before processing
- Slice to New MIDI Track
- Amen edits
- fill programming
- ghost notes
- call-and-response patterns
- kick
- snare
- hat
- ride
- ghost percussion
- reversed texture
- very controlled DnB groove design
- sound design layering
- consistent mix levels
- a chopped break on one pad group
- supporting one-shots on separate pads
- high-pass at 25–35 Hz if the break has rumble
- small cut around 250–450 Hz if the break sounds boxy
- gentle boost around 3–6 kHz if you need snare crack
- Drive: 5–20%
- Transient: +5 to +20
- Boom: very subtle, or off if your sub bass needs room
- Damp: adjust to control brightness
- use Soft Clip on
- Drive: 1–4 dB to start
- compensate with output gain so the level stays honest
- Ratio: 2:1 or 4:1
- Attack: 10–30 ms
- Release: Auto or 50–150 ms
- aim for 1–3 dB gain reduction
- use this as your final trim
- keep the channel controlled before it hits the mix bus
- Utility gain
- or Simpler volume
- EQ Eight high shelf
- Drum Buss Damp
- maybe a small cut/boost around 4–8 kHz
- Drum Buss Transient
- compressor threshold lightly
- EQ around 3–5 kHz
- Saturator Drive
- maybe a parallel distortion chain if you add one
- return send level to Reverb
- or a dry/wet on a reverb device
- Utility Width
- or a chorus/ensemble if used lightly
- Dry
- Smash
- lightly processed break
- preserves transients
- EQ Eight: high-pass around 120–180 Hz
- Compressor: fast attack, fast release, heavy GR
- Saturator or Overdrive
- optional Drum Buss
- adds perceived aggression
- prevents the main chain from being over-limited
- intensity
- brightness
- density
- space
- movement
- Macro 2: Break Tone
- Macro 3: Snap
- Macro 4: Dirt
- Macro 5: Space
- Auto Filter cutoff on percussion
- send levels to reverb/delay
- Simpler start position for glitch fills
- drum rack chain selector for break variation
- Intro: low tone, more space, less snap
- Build: increase dirt and snap, close the filter
- Drop: reduce space, increase transient, maintain headroom
- Second 8 bars: open tone slightly, add variation, automate break fills
- Breakdown: lower level, increase reverb, thin out low mids
- bars 1–8: establish groove
- bars 9–16: add variation
- bars 17–24: fill or tension
- bars 25–32: drop evolution
- automate slice triggering for different snare ghosts
- shift start position slightly for fills
- layer reverse hits before the snare
- automate a quick “skip” into a different slice on bar 8 or 16
- Main Loop
- Fill Loop
- automate a different slice map
- add a short reverb throw
- slightly increase saturation
- reduce low end with EQ Eight
- use Operator, Wavetable, or Analog
- keep sub mostly mono with Utility
- sidechain gently to the kick/snare if needed
- let the kick punch around 50–80 Hz
- let the sub own the lowest fundamental
- carve space in the break around the bass harmonics
- reduce the break’s low end with EQ
- use sidechain compression subtly
- use arrangement to thin the drums in sub-heavy moments
- A: clean break
- B: distorted break
- C: chopped fill
- D: halftime texture
- Scene 1: intro break
- Scene 2: drop break
- Scene 3: fill break
- Scene 4: breakdown texture
- filter
- transient
- saturation
- send levels
- chain selector
- a short snare with transient emphasis
- layered with a rim or clap
- a tiny room reverb
- slight saturation for bite
- 1/2 bar
- 1 bar
- 2 bars
- bass frequencies centered
- upper percussion can widen later
- mix bus peaking around -6 dB
- kick/snare strong but not exaggerated
- bass powerful, not oversized
- use Simpler and Drum Rack for flexible break control
- rely on macros and automation for movement
- keep headroom intact with gain staging
- use parallel processing for aggression
- automate tone, snap, dirt, and space rather than just volume
- leave room for the bassline and sub energy
This is not just “load a break and go.” We’re building a flexible rack-based system that works for:
The main idea:
control tone, density, and transient impact with macros instead of cranking volume.
That’s how you keep headroom while automating energy. 🔥
---
2. What you will build
By the end, you’ll have a Drum Rack / Instrument Rack hybrid with:
- Break level
- Snare tone
- High-pass amount
- Sample start movement
- Reverb send
- Saturation drive
- Filter sweep
- Width / stereo spread
We’ll also use:
---
3. Step-by-step walkthrough
Step 1: Start with a clean drum and bass template
Open a new Ableton Live 12 set and set your tempo to:
Create these tracks:
1. Drum Rack – Breaks
2. Drum Rack – One-shots
3. Bass
4. FX / Atmos
5. Return A: Reverb
6. Return B: Delay
Keep your master clean from the start:
That headroom is your friend.
---
Step 2: Load your main break into Simplers inside Drum Rack
Create a MIDI track and load a Drum Rack.
Now add a chain with Simpler:
#### Recommended settings for a break loop:
#### Good practice:
If the break is too hot, turn it down at the source in Simpler rather than lowering your whole channel later.
---
Step 3: Split the break into a playable rack
If you want deep control, use one of these approaches:
#### Option A: Slice the break
Right-click the break clip or sample and choose:
This gives you pads for each slice. Great for:
#### Option B: Build a custom rack
Manually place different samples on different pads:
This is better for:
For this lesson, use a hybrid:
That keeps the jungle energy while letting you automate with precision.
---
Step 4: Add a processing chain for headroom-safe punch
On the Breaks track, build this chain:
1. EQ Eight
2. Drum Buss
3. Saturator
4. Compressor or Glue Compressor
5. Utility
#### EQ Eight starting point:
Don’t over-EQ. Jungle drums want character, not surgery.
#### Drum Buss:
Drum Buss is excellent for giving breaks a bit of “finished” density without smashing them.
#### Saturator:
This is a big headroom saver: saturation adds perceived loudness without huge peaks.
#### Compressor / Glue Compressor:
Use gentle control only.
If you’re smashing 6–10 dB, you’re probably killing the break’s movement.
#### Utility:
---
Step 5: Build an automation-friendly Macro rack
Now wrap the chain in an Audio Effect Rack so we can map macros.
Click the device chain and choose Group into an Audio Effect Rack.
Map these parameters to macros:
#### Macro 1: Break Level
Map to:
Use this macro to automate intensity between sections without touching your mixer.
#### Macro 2: Break Tone
Map to:
This is your “open up the break in the drop” control.
#### Macro 3: Snap
Map to:
Use this for fills and transitions.
#### Macro 4: Dirt
Map to:
This is great for second half of a drop or pre-drop tension.
#### Macro 5: Space
Map to:
Keep it subtle in the drop, bigger in breakdowns.
#### Macro 6: Width
Map to:
Be careful: wide breaks can get messy fast in DnB. Use this more on hats and texture than on core snare/kick energy.
---
Step 6: Add a parallel “smash” lane for energy without losing headroom
Instead of over-compressing your main break, create a parallel chain.
Inside your rack, duplicate the chain and name it:
#### Dry chain:
#### Smash chain:
Blend this chain in quietly underneath the dry break.
This does two things:
That’s how you get weight without sacrificing punch. 💥
---
Step 7: Automate energy, not volume spikes
Now let’s talk automation, because this is an Automation lesson.
In DnB, automation should shape:
Not just volume.
#### Good automation targets:
#### Example arrangement automation:
A strong DnB arrangement often works in 8-bar and 16-bar phrases:
Automation should support that phrasing.
---
Step 8: Use Simpler start-point automation for jungle edits
This is where it gets spicy. 🧨
In Simpler, assign the Start parameter or use slice selection to move between hits.
For a jungle feel:
#### Practical move:
Duplicate your break chain and create:
In the fill loop:
This makes your fills sound deliberate instead of random.
---
Step 9: Add bass around the drums, not on top of them
A DnB sampler rack only works if the bass has room.
On your bass track:
#### Mixing guideline:
If your drums and bass are fighting, don’t just raise everything.
Instead:
This keeps your track loud and focused.
---
Step 10: Build variation with chain selector or rack scenes
In Live 12, rack workflows make it easy to control multiple variations.
You can create:
Map the Chain Selector to a macro for quick movement between scenes.
#### Example:
Automate the chain selector over 1 or 2 bars to transition between states.
This is super useful in jungle where rapid changes keep the listener locked in.
---
4. Common mistakes
1) Processing the break too hard
If you destroy the transient with too much compression or limiting, the break loses urgency.
Fix: use gentle compression and add saturation for loudness.
---
2) Letting samples clip before the mix even starts
Hot break samples are a common problem.
Fix: trim in Simpler or Utility first. Keep track peaks healthy.
---
3) Automating volume instead of tone and density
Riding volume all the time can make the mix unstable.
Fix: automate:
---
4) Too much low end in the break
Jungle breaks often contain muddy low-frequency energy.
Fix: use EQ Eight high-pass around 25–40 Hz and carve low mids carefully.
---
5) Making the rack too wide too soon
Stereo width can sound exciting but ruin punch and mono compatibility.
Fix: keep core kick/snare energy mostly centered. Use width for hats, atmosphere, and FX.
---
6) Overusing limiter on the master
If the master limiter is doing all the work, your arrangement and rack balance are probably off.
Fix: build mix balance inside the track, not on the master.
---
5. Pro tips for darker/heavier DnB
Tip 1: Use parallel aggression, not destructive main processing
Keep one clean chain and one dirty chain. Blend carefully.
Tip 2: Make the snare the emotional center
In dark DnB, the snare often defines the groove more than the kick.
Try:
Tip 3: Cut low mids on breaks to make room for bass
A small dip around 300–500 Hz can clear fog fast.
Tip 4: Use short automation ramps for tension
Automate filter cutoff or saturation over:
That creates controlled drama without huge mix shifts.
Tip 5: Add “micro fills” every 8 bars
A single snare flam, reversed hat, or slice skip can make a loop feel alive.
Tip 6: Use Utility to mono the low end
If your break has stereo bass fluff, keep it out of the way.
Tip 7: Keep headroom intentional
A dark DnB mix can feel huge even when it peaks lower than you think.
Aim for:
---
6. Mini practice exercise
Exercise: Build an 8-bar jungle drop with automation
#### Goal:
Create a loop that evolves every 2 bars without clipping the master.
#### Steps:
1. Load one Amen-style break into Simpler
2. Add kick and snare one-shots in a Drum Rack
3. Build the processing chain:
- EQ Eight
- Drum Buss
- Saturator
- Utility
4. Map 4 macros:
- Break Level
- Snap
- Dirt
- Space
5. Write an 8-bar MIDI pattern:
- bars 1–2: basic groove
- bars 3–4: add ghost hits
- bars 5–6: open tone slightly
- bars 7–8: add fill and reverb throw
6. Automate:
- Macro 2 up by a small amount in bars 5–8
- Macro 4 up in the final bar only
- Macro 5 up briefly on the fill
7. Check your peak level:
- keep the break channel controlled
- don’t let the master exceed about -3 dB to -6 dB peak during writing
#### Challenge:
Do the whole thing without touching the master limiter.
If it works there, it will translate better when you finish the track.
---
7. Recap
A strong jungle/DnB sampler rack in Ableton Live 12 should:
Key takeaway:
In drum and bass, power comes from control.
If you can automate your break rack musically while keeping the mix clean, your track will hit harder, sound more professional, and leave room for the bass to breathe. 🥁⚡
If you want, I can also turn this into:
1. a Rack preset blueprint with exact Macro mappings, or
2. a bar-by-bar automation example for a 174 BPM jungle drop.

