Main tutorial
Lesson Overview
The Jungle Warfare framework: drum bus flip is a powerful way to make a drum section in Drum & Bass feel like it has a hidden second personality. In a Ragga Elements context, that usually means your drums start with a recognizable, skanking jungle energy — then the drum bus “flips” into a heavier, more syncopated, or more aggressive variation that keeps the same identity but changes the impact. Think of it as a controlled drum mutation inside the drop: the groove stays rooted in DnB, but the attitude shifts hard.
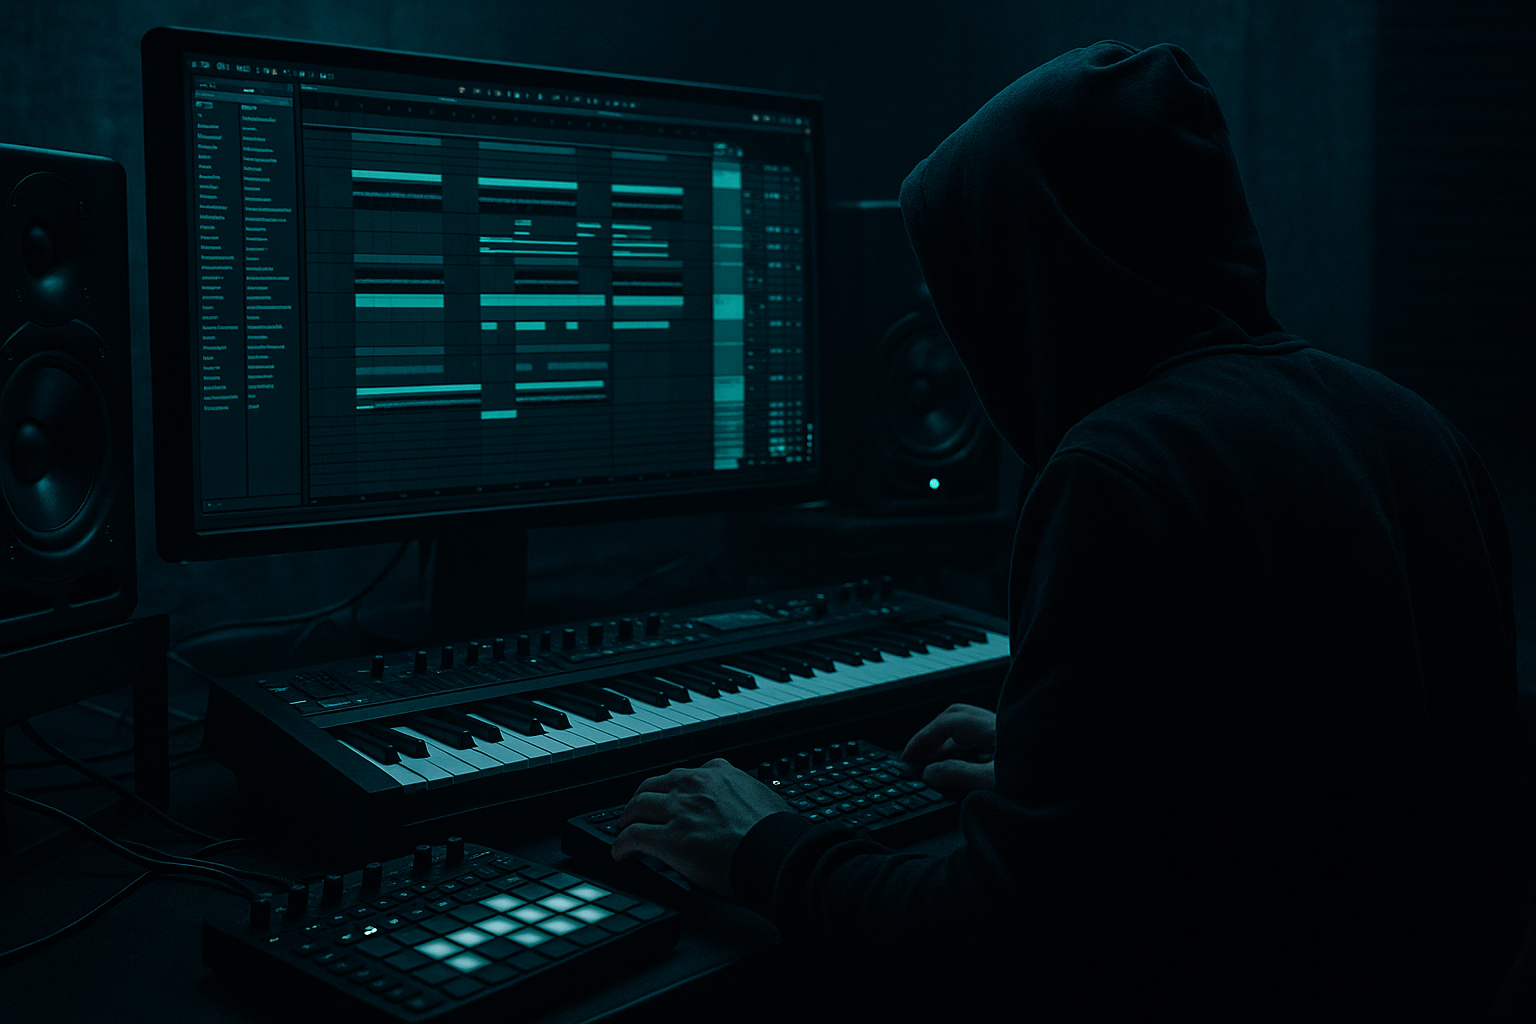
In Ableton Live 12, this technique is especially effective because you can build the whole move with stock tools: Drum Rack, Audio Effects Rack, Glue Compressor, Saturator, Auto Filter, Beat Repeat, Echo, Drum Buss, Utility, and automation lanes. The goal is not just to “add a fill.” It’s to create a drum bus transition that feels intentional, mix-ready, and performance-like — the kind of switch that makes a DJ or listener instantly hear the drop evolve.
This matters in DnB because drum programming is often the main driver of energy. If your loop stays static for too long, the tune loses urgency. A bus flip gives you:
- variation without fully rewriting the beat
- tension before a bass phrase change
- a way to highlight ragga vocal chops or horn stabs
- a cleaner route into second drops, breakdown exits, and 16-bar switch-ups
- run cleanly under a sub-heavy bassline
- flip into a more aggressive variation on bar 8 or 16
- support ragga vocal chops, sirens, or dubwise atmospheres
- work in an intro, drop, or second-drop changeup
- bars 1–8: stripped jungle groove with a loose break and space for a ragga vocal
- bar 9: the bus flips into a tighter, crunchier version with extra ghost snares and a filtered snare roll
- bar 13: the drums widen slightly and the bass answers with a reese phrase
- bar 17: the full kit returns, but with the flip’s grit still printed in the bus tone
- Making the flip too dramatic
- Overloading the low end
- Using too much Beat Repeat
- No phrase logic
- Forgetting the vocal or ragga response
- Pushing saturation until the snare dies
- Print the flip to audio
- Use filtered room tone under the flip
- Automate snare presence, not just volume
- Try a pre-flip “vacuum”
- Keep the center solid
- Use call-and-response with bass
- If it’s too clean, dirty the return
- keep a solid main drum bus
- create a separate flip bus with controlled grit and motion
- automate the transition on phrase boundaries
- leave space for ragga call-and-response elements
- protect the sub and keep the center focused
Why this works in DnB: the genre thrives on micro-variation. A strong drum bus flip preserves the core loop identity while changing the groove density, harmonic texture, and transient shape just enough to feel like the track is moving forward. That’s exactly what keeps jungle, rollers, neuro-leaning, and darker bass music from sounding looped-out.
---
What You Will Build
You will build a 2-part drum bus system in Ableton Live 12:
1. A main drum bus for your core jungle loop: break, kick, snare, hats, and percussion.
2. A flip version of the same bus that introduces more bite, movement, and ragga-flavoured tension using:
- filtered break edits
- ghost-note density
- saturated transient shaping
- short FX bursts
- controlled stereo narrowing/widening
- automation-based switch-ups
By the end, you’ll have a drum section that can:
Musically, this could sound like:
---
Step-by-Step Walkthrough
1. Build your core drum loop first, then route it to a dedicated drum bus
In Ableton Live 12, start with a simple 8-bar drum pattern that is already strong on its own. Use:
- one chopped break in Simpler or directly on an audio track
- a layered snare or rimshot on 2 and 4
- light hat programming with swing
- optional conga/shaker/ragga percussion for movement
Route all drum elements to one Group Track called `DRUM BUS`. This is where the flip will happen. Keep individual drum tracks available so you can still edit the source elements, but treat the group as the performance layer.
Suggested starting levels:
- kick peaking around -10 to -8 dB on the channel meter
- snare slightly hotter than the kick
- break loop sitting under the direct drum hits, not dominating them
For the ragga angle, leave room for a call-and-response feel. If you have a vocal chop or toasting phrase, make sure the drums have a gap where it can breathe.
2. Shape the main bus with subtle glue, not destruction
On the `DRUM BUS`, start with a clean, controlled chain:
- Utility: set width to 100% initially, then keep an eye on mono compatibility later
- Glue Compressor: ratio 2:1, attack 3 ms, release Auto or 0.3 sec, aiming for 1–2 dB of gain reduction
- Saturator: Soft Clip on, Drive around +2 to +4 dB
- EQ Eight: high-pass only if needed, usually around 25–30 Hz if your kick/sub relationship is messy
This is not the flip yet — this is the stable “home state” of your drums. The point is to create a bus that already feels cohesive before the transition.
Why this works in DnB: jungle drums need transient cohesion and low-end discipline. A subtle bus chain glues the break edits and one-shot hits together so when you introduce the flip, it feels like a deliberate variation rather than a random effect stack.
3. Create a duplicate “flip” bus and prepare it as a parallel layer
Duplicate the `DRUM BUS` group and rename the copy `DRUM BUS FLIP`. You now have two states of the same drum arrangement:
- the original stable groove
- the flipped, intensified version
On the flip bus, make it darker, dirtier, and more animated. Try this starting chain:
- EQ Eight: low-cut around 120–180 Hz if kick and sub are already carrying the bottom, or leave more low-end if the flip is meant to feel like a full drum takeover
- Drum Buss: Drive 10–25%, Crunch 5–15%, Boom very subtle or off
- Saturator: Drive +4 to +8 dB with Soft Clip on
- Auto Filter: band-pass or low-pass automation target for the transition
- Utility: width down to 70–85% for a denser center image during the flip
If the flip needs to feel more ragga/jungle, add Beat Repeat after the drum bus chain for short bursts only. Keep it surgical:
- Interval 1/2 or 1 bar
- Grid 1/16 or 1/8
- Chance 10–25%
- Mix low, around 10–25%
- Variation moderate
The goal is a temporary mutation, not a full-time stutter effect.
4. Program the flip as a bar-based automation move
The drum bus flip should happen at a musically meaningful point: usually bar 8, 16, or 24. In DnB, these are natural places for a phrase pivot or fill.
Use automation on the `DRUM BUS FLIP` track so it gradually replaces the main bus. You can:
- automate volume crossfade between the two buses
- automate Auto Filter cutoff sweeping down, then snapping open
- automate Saturator Drive up by 2–4 dB during the flip
- automate Drum Buss Crunch slightly higher for the final 1–2 beats
- automate Utility width narrower on the downbeat, then wider after the hit
A practical move:
- bars 7.3 to 8.1: bring in the flip bus slowly
- on the bar 8 downbeat: let the flip hit with maximum weight
- bars 8.2 to 8.4: carve space with a short filter dip or echo tail
- bar 9: return partially to the main bus or keep a hybrid
This creates a proper drop-design moment, not just a looping fill.
5. Add ragga-style response elements to the flip
Ragga Elements are more than vocal samples — they’re about attitude and conversation. In the flip section, place one or two short vocal chops, dub sirens, or skank-style stab moments that answer the drums.
In Ableton Live 12:
- put the vocal chop in Simpler or on an audio track with Warp enabled
- use Auto Pan lightly for motion if the source is static
- use Echo with short feedback, 1/8 or dotted 1/8 timing, and low dry/wet
- use Reverb with a short decay to create a “room shout” effect without washing the drums
Arrange these so they hit:
- right before the snare fill
- after the drum bus flip downbeat
- in the space between kick and snare
Example arrangement idea:
- bar 8: “Yeah!” or “Run di riddim” style chop hits on the pickup
- bar 8 beat 3: snare fill with a small vocal tail
- bar 9: a siren rises under the bass re-entry
This keeps the flip rooted in jungle culture rather than sounding like a generic EDM transition.
6. Use break edits and ghost notes to make the flip feel handmade
On the flip bus source material, add small edits to the break:
- slice a 1-bar break into 1/2 or 1/4 fragments
- move one ghost note earlier by a 16th
- mute a kick for one beat to create breathing space
- add a tiny snare drag into the main backbeat
In Ableton, the fastest workflow is often:
- consolidate the break into a new clip
- duplicate the clip
- edit the duplicate into a flip version
- layer it under or over the main groove for only 1–2 bars
Keep the edits musical, not flashy. You want the listener to feel the drummer “turning the kit over,” not hear a random glitch montage.
Two useful parameter ranges:
- transient-heavy break layer: keep EQ high shelf around +2 to +4 dB at 7–10 kHz if it needs extra crack
- looser flip break: low-pass between 8–12 kHz for a darker, more underground shade
7. Control the low end so the flip never fights the bassline
In DnB, the flip should intensify the drums without trashing the sub. If your bassline is a reese, wobble, or sub-heavy ragga bass, the drum bus flip needs to stay disciplined.
Practical low-end rules:
- if the bass occupies 35–90 Hz strongly, keep the flip bus from overloading that band
- use EQ Eight to tame muddy low-mids around 180–350 Hz if the flip gets boxy
- check the whole bus in Mono with Utility during the loudest flip moment
- if needed, sidechain the flip bus lightly to the kick using Compressor or Glue Compressor so the kick still punches through
Good starting settings:
- sidechain compression: 1–3 dB gain reduction on drum peaks
- Utility width on flip bus: 75–90% for focused center impact
- EQ cut if muddy: -2 to -5 dB around 250 Hz with a medium Q
Why this works in DnB: the genre relies on a clean relationship between kick/snare impact and sub weight. If the drum flip owns the low end too aggressively, the bass loses authority and the drop becomes less physical.
8. Finish the transition with an arrangement reset
A drum bus flip works best when it leads somewhere. After the flip bar, either:
- pull the drums back to the main groove
- open the arrangement into a bass answer phrase
- strip the drums down to kick + hat for 1 bar before the full return
A strong DnB arrangement move is:
- 8 bars of main groove
- 1 bar flip/fill
- 7 bars of groove variation
- another flip at the next phrase point
This gives you DJ-friendly phrasing and keeps the tune mixable. If you’re building a roller or darker jungle track, the flip can also act as a “pressure release” before the next bass statement.
A useful finishing touch is to automate Echo or Reverb only on the very last snare of the flip, then hard-cut it. That tail gives the transition personality without muddying the next section.
---
Common Mistakes
- Fix: keep the same drum identity. Change tone, density, or space — not everything at once.
- Fix: if the kick and sub are getting blurry, high-pass the flip bus slightly or narrow the stereo image.
- Fix: use it as a momentary accent, not a permanent texture. A little goes a long way in DnB.
- Fix: place the flip on a bar boundary that makes musical sense, usually every 8 or 16 bars.
- Fix: leave spaces for chops, shouts, or dub sirens. Ragga energy is about conversation with the riddim.
- Fix: use Soft Clip or gentle Drive, then compare bypassed vs enabled. Keep the transient punch.
---
Pro Tips for Darker / Heavier DnB
- Once the bus sounds good, resample it. Then chop the audio and reverse tiny sections for extra jungle tension.
- A low-volume atmosphere or vinyl noise filtered around 1–4 kHz can make the flip feel more grimy and alive.
- Instead of turning the whole bus up, automate a small EQ boost around 2–4 kHz on the flip for extra crack.
- Pull bass down for half a beat before the flip hit. That little empty space makes the return hit harder.
- For darker DnB, let the sub and snare stay mono-centered while only hats, reverbs, and texture widen.
- After the drum flip, answer it with a short reese phrase or a single sub movement rather than constant bass noise.
- Route the flip through a second Saturator or Drum Buss layer with a touch of Crunch to make it feel more underground.
---
Mini Practice Exercise
Spend 10–20 minutes building one drum bus flip for an 8-bar jungle loop.
1. Create a basic break-driven DnB loop at 170–174 BPM.
2. Group the drums and add a simple Glue Compressor + Saturator chain.
3. Duplicate the group and create a flip version with more saturation, slight filtering, and tighter width.
4. Put a vocal chop, siren, or ragga-style shout on the pickup into bar 8.
5. Automate the flip bus to take over only for bar 8.
6. Add one ghost-note edit or one short Beat Repeat burst.
7. Mute the bass for half a beat before the flip, then bring it back after.
8. Bounce the result and listen once in mono.
Goal: make the flip feel like part of the track’s language, not a random fill.
---
Recap
The Jungle Warfare drum bus flip is about changing the drum energy without losing the groove identity. In Ableton Live 12, you can build it cleanly with stock devices and simple routing:
If it sounds like the drums are “turning into another version of themselves” while the bass stays powerful, you’ve nailed it.

