Main tutorial
Lesson Overview
A jungle rewind moment is one of the most exciting edits you can drop into a Drum & Bass track. It’s that classic “hold up, back it up” energy: the groove stops, the break snaps back, and the listener gets pulled into the next section with instant tension. In a DnB arrangement, this works brilliantly as a transition tool between a 16-bar groove and a new drop, or as a cheeky switch-up before a halftime-style answer phrase.
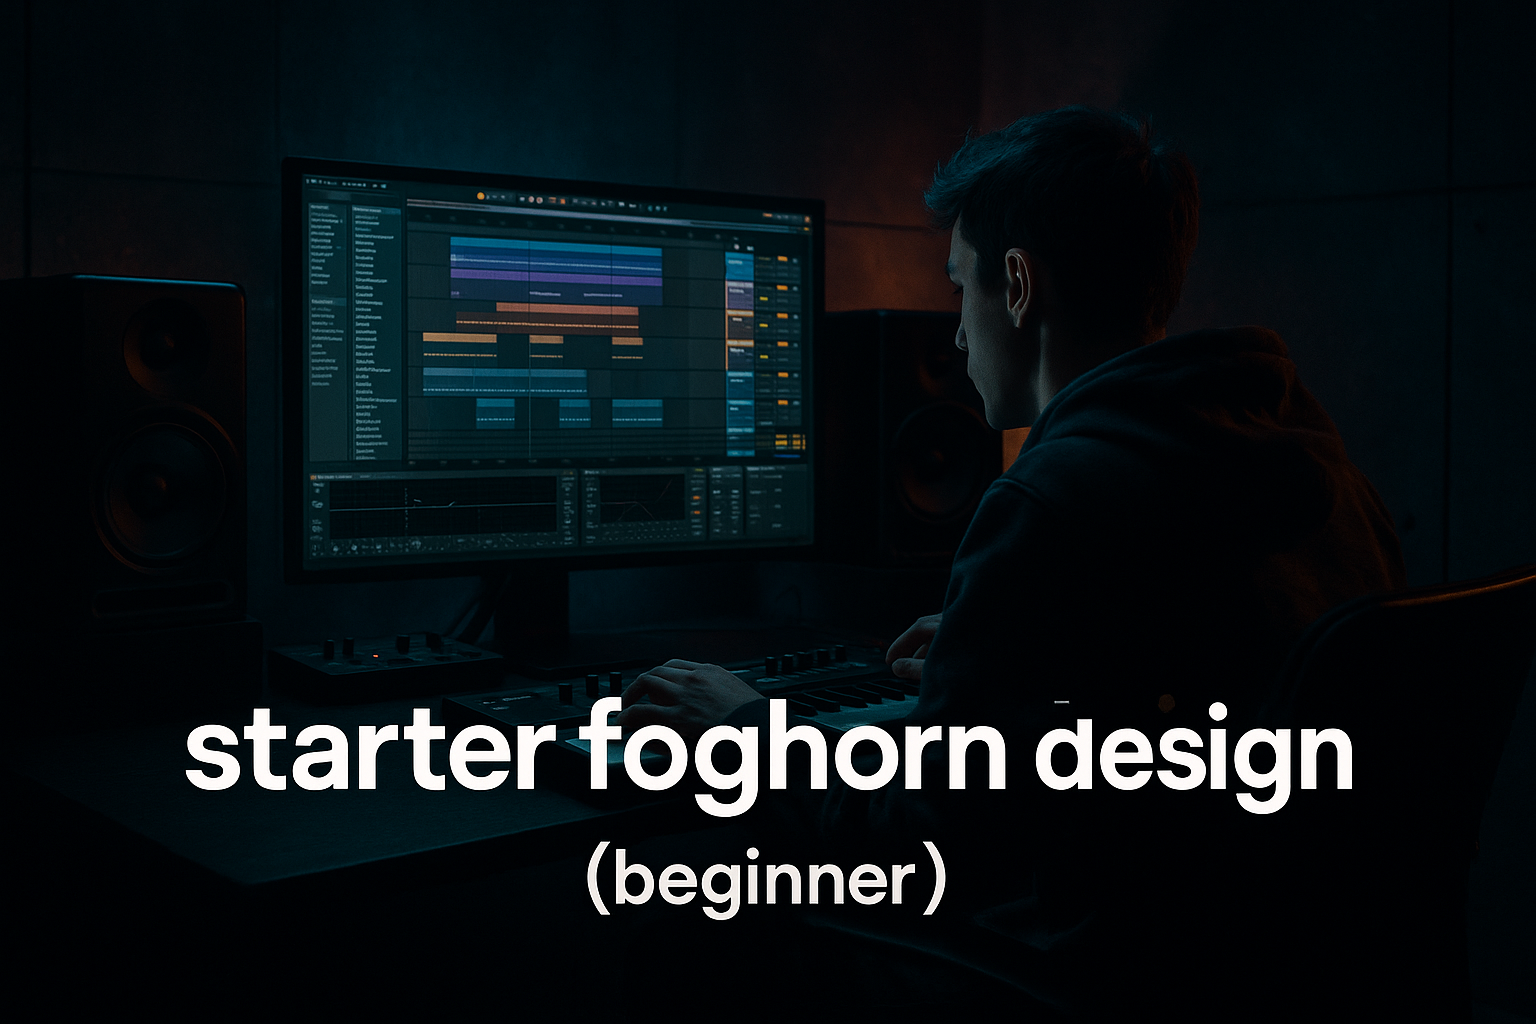
In this lesson, you’ll build a jungle rewind edit in Ableton Live 12 using stock tools only. We’ll take a breakbeat phrase, flip it, slice it, and arrange it so it sounds intentional, musical, and heavy rather than random. This is a core Edits skill because it teaches you how to manipulate energy without needing a full new idea every 8 bars.
Why it matters: in jungle, rollers, darker DnB, and neuro-influenced tunes, arrangement is often just as important as sound design. A rewind moment gives you tension, identity, and a “DJ can work with this” vibe. It also helps you think like a producer who understands phrasing, not just loops.
What You Will Build
You’ll make a short rewind-style edit that does three things:
- pulls the current drum groove backward for a classic jungle “rewind” feeling
- adds a quick filtered bass response so the drop hits harder after the turn
- creates a clean arrangement moment that works in a 16-bar DnB section
- a reversed break fill leading into a stop
- a short tape-style “backspin” or sucked-back FX moment using stock Ableton devices
- a flipped break hit or two to emphasize the rewind
- a simple bass pickup or sub stab to make the return feel bigger
- an arranged 2–4 bar edit that can sit before a drop, after a breakdown, or in a DJ-friendly transition
- Making the rewind too long
- Reversing the whole drum loop
- Using too much reverb
- Letting the bass clash with the rewind FX
- Forgetting the phrase structure
- Overloading the master with FX
- Losing the kick/snare identity
- Use a filtered reese return after the rewind
- Keep the sub mono and simple
- Add short, distorted atmospheres
- Use Drum Buss on the break group, not the master
- Automate a tiny bit of pitch or filter movement on the reverse slice
- Pair the rewind with a call-and-response bass phrase
- Make the edit DJ-friendly
By the end, you’ll have:
Musically, this could sit in a track that opens with a 16-bar intro, moves into a rolling first drop, then throws in a rewind at bar 17 to reset the listener before the second phrase. That’s classic jungle warfare energy: aggressive, teasing, and functional for the dancefloor.
Step-by-Step Walkthrough
1. Set up a clean 16-bar loop to edit
Open Ableton Live 12 and load a simple DnB project at 170–174 BPM. If your track is already running faster or slower, that’s fine — the technique still works, but this lesson is most at home around 172 BPM.
Create a loop region of 16 bars on the Arrangement View. Put your main breakbeat on one audio track and your bass on another track. If you already have a full loop, great. If not, use a basic jungle break or any drum loop with a clear snare on 2 and 4.
Keep the first version simple:
- drums: breakbeat loop, one or two percussion layers
- bass: one long note or simple rolling phrase
- FX: optional noise riser or impact
Why this works in DnB: the rewind moment is strongest when the listener already understands the groove. You need a stable reference before you flip it.
2. Pick the exact bar where the rewind happens
Rewinds usually land at the end of a phrase, not randomly in the middle. For beginner-friendly arranging, place the rewind at bar 8 or bar 16. Those are natural points where listeners expect a change.
In Ableton’s Arrangement View:
- zoom in to the last beat of the chosen bar
- create a 1-bar or 2-bar space for the edit
- decide whether the rewind is a full stop or just a quick turnaround
A strong beginner structure is:
- bars 1–8: rolling groove
- bar 9: small variation
- bars 10–15: build intensity
- bar 16: rewind edit
- bars 17–24: return with a stronger drop or variation
Keep it simple. A rewind sounds more powerful when the arrangement is clear.
3. Slice the break into editable pieces
Duplicate your drum loop to a new audio track so you can edit without destroying the original. Right-click the audio clip and choose Slice to New MIDI Track if you want easier note-based editing, or stay in audio if you prefer simple clip editing.
For beginner workflow, audio clip editing is enough:
- split the clip on the snare hit before the rewind
- split again on the kick or hat immediately after
- reverse the small tail section to create the “pulling backward” feel
If you use Slice to New MIDI Track:
- set slicing by transient
- choose a sensible setting like 1/8 or transient-based slicing
- trigger the slices on a Drum Rack pad layout for more control
The key is not to reverse everything. Usually, the most effective rewind is a combination of:
- one reversed snare tail
- one reversed drum fragment
- one stop or gap right before the drop
That combination feels like a jungle edit instead of a glitch accident.
4. Build the rewind sound with stock Ableton devices
On the drum edit track, add an Auto Filter. Set it to Low-Pass mode and automate the cutoff so the sound narrows before the rewind moment. A good starting range is:
- cutoff moving from around 12 kHz down to 400–800 Hz over 1 beat
- resonance around 10–25% for extra bite
Then add Reverb very lightly on the reversed tail:
- decay: 0.8–1.8 s
- dry/wet: 8–18%
- pre-delay: low, around 5–20 ms
If you want extra movement, add Echo with a short time:
- sync: 1/8 or 1/4
- feedback: 15–30%
- dry/wet: 5–15%
- filter on, with the low end trimmed
For the classic “rewind” gesture, automate the track volume down quickly on the last beat before the stop. A clean fade or fast dip creates the illusion of the audio being pulled backward.
Beginner rule: don’t overstack FX. One filter move, one echo move, and one reverse slice is enough to sell the moment.
5. Add a sub or bass response after the turn
The rewind should lead into a return, not just be a gimmick. Put a short bass hit or sub pickup right after the edit. This gives the drop back its weight.
Use a simple bass track with either:
- Operator for a clean sine sub
- Wavetable for a basic reese-style bass
- Analog if you want a warmer, more old-school tone
For a beginner-friendly sub response:
- use Operator with a sine wave
- keep it mono
- short note length, around 1/8 to 1/4 beat
- low-pass everything above the fundamentals
If you want a darker bass answer:
- use Wavetable with a saw-based unison patch
- add Saturator after the synth
- keep the low end centered and the stereo width controlled
Good starting settings:
- Saturator Drive: 2–6 dB
- Soft Clip: on
- EQ Eight low-pass on the bass layer if the top end gets too noisy
In arrangement terms, let the rewind breathe for a tiny moment, then bring the bass back in with a punch. That contrast is what makes the edit feel like a proper transition.
6. Shape the drums so the edit still grooves
A rewind can kill momentum if the drums come back too flat. Use Drum Buss on your drum group to glue the breaks and keep the punch.
Try this on your drum bus:
- Drive: 5–15%
- Crunch: subtle, around 5–20%
- Boom: low or off for jungle, unless you want extra sub thump
- Transients: slightly up if the break needs more snap
If the break feels messy, use EQ Eight before Drum Buss:
- high-pass around 25–35 Hz to clean inaudible rumble
- small cut around 200–400 Hz if it sounds boxy
- gentle dip around 2–5 kHz if the hats are too sharp
For a classic edit, let one drum hit be slightly late or slightly early compared with the grid. That tiny human feel helps the rewind land like a DJ performance instead of a perfect loop.
7. Automate the transition so it feels intentional
The difference between a random reverse sound and a proper jungle rewind is automation. The edit should feel like a phrase has been “turned.”
In Arrangement View, automate:
- Auto Filter cutoff on drums
- bass volume or filter cutoff
- reverb send
- return of the main drum group
- master-free FX only if they are subtle and temporary
A useful beginner automation shape:
- 1 beat before the rewind: filter closes on the drum loop
- last half-beat: volume dips slightly
- rewind moment: reversed slice hits
- next beat: bass returns with full low-end weight
You can also automate a Utility device on the bass track:
- reduce Gain by 2–4 dB before the stop
- return to 0 dB on the drop back in
- keep Bass Mono on if the patch is getting wide
This creates a simple but powerful tension/release arc.
8. Flip the arrangement so the rewind becomes a hook
Now that the edit works technically, make it part of the song. In DnB, edits often become hooks when they are repeated with small changes.
Try one of these arrangements:
- 8 bars groove + rewind + 8 bars groove with extra hats
- 16 bars build + rewind + heavier drop return
- 4 bars fill + rewind + half-time bass answer + full-time restart
Add variation the second time the rewind appears:
- reverse a different snare slice
- mute the kick for one beat
- swap the bass note
- add a short FX impact or vinyl-style stop
- let the reverb tail be slightly longer
This is very DnB because repetition with controlled variation is a major part of dancefloor energy. You want the listener to recognize the moment, but still feel the impact each time it returns.
9. Clean up the mix so the rewind stays punchy
Check your rewind in context with the full mix. The biggest beginner mistake is making the FX louder than the groove.
Use these checks:
- solo the rewind section and make sure the reversed audio is audible
- then play the full mix and make sure it doesn’t mask the kick or sub
- keep the low end of FX under control with EQ Eight
- make sure the bass and kick are not both huge at the exact same moment
If the rewind sounds muddy:
- cut lows on the FX return around 120–200 Hz
- reduce reverb wet amount
- shorten the echoed tail
- lower the bass pickup by 1–3 dB
If the rewind sounds weak:
- boost the transient on the drum bus slightly
- add a little more saturation to the reversed slice
- make the stop more sudden
Always compare with the original groove. The edit should feel like a sharp transition, not a new song.
Common Mistakes
Fix: keep it short. Most good rewind moments are 1 beat to 2 bars max.
Fix: reverse only a slice or tail so the groove remains recognizable.
Fix: lower wet amount and shorten decay. You want atmosphere, not wash.
Fix: pull the bass down briefly or filter it during the transition.
Fix: place the rewind at the end of 8 or 16 bars so it feels musically correct.
Fix: keep most processing on individual tracks or buses, and leave the master clean.
Fix: make sure the core break still punches through after the edit.
Pro Tips for Darker / Heavier DnB
Add a Wavetable or Operator bass with light Saturator and a narrow Auto Filter sweep. A 100–250 Hz emphasis can feel huge if the sub is controlled.
Use Utility to keep the low end centered. In darker DnB, wide subs often sound messy fast.
A tiny noise burst through Saturator or Overdrive can make the rewind feel more underground. Keep it subtle and high-passed.
That keeps the drums aggressive without flattening the whole mix.
Even a small filter glide can make the rewind feel more “tape” and less static.
Example: rewind, then a short bass stab, then the full roller groove. That gives the listener a clear narrative.
Leave room before and after the rewind so a selector can mix in or out. This is especially useful for rollers and darker jungle-inspired tunes.
Mini Practice Exercise
Spend 10–20 minutes building one rewind moment from scratch:
1. Load a 172 BPM project.
2. Drop in a simple breakbeat loop and a basic bassline.
3. Choose bar 8 or 16 as your rewind point.
4. Split the drum clip and reverse a 1/4-bar or 1/2-bar tail.
5. Add Auto Filter to the rewind slice and automate a quick cutoff drop.
6. Add a tiny Reverb or Echo tail.
7. Program one short bass note right after the rewind.
8. Listen in context and adjust only three things: timing, volume, and filter.
Goal: make the rewind feel like part of the track, not like an isolated sound effect.
If you finish early, duplicate the section and make a second version with a different reversed snare or a slightly harder bass return.
Recap
A strong jungle rewind moment is short, musical, and phrase-aware. Build it at the end of a clear 8- or 16-bar section, use a reversed drum slice plus simple filter and reverb automation, and bring the bass back in with purpose. Keep the low end controlled, the drums punchy, and the edit tight.
In DnB, the rewind works because it creates tension, resets energy, and makes the drop feel bigger. Once you can do this cleanly in Ableton Live 12, you’ve got a powerful arrangement tool you can reuse in rollers, jungle, neuro, and darker bass music tracks.

