Main tutorial
Lesson Overview
The Jungle Warfare kick weight blend method is a simple but powerful way to make your kick hit hard in Drum & Bass without fighting the bassline or overcooking the low end. In a DnB track, the kick is usually doing one of three jobs: anchoring the groove in the intro, punching through the drop, or helping drive a switch-up. If your kick is too skinny, the whole tune can feel lightweight. If it is too heavy, it can swallow the sub and make the drop feel muddy.
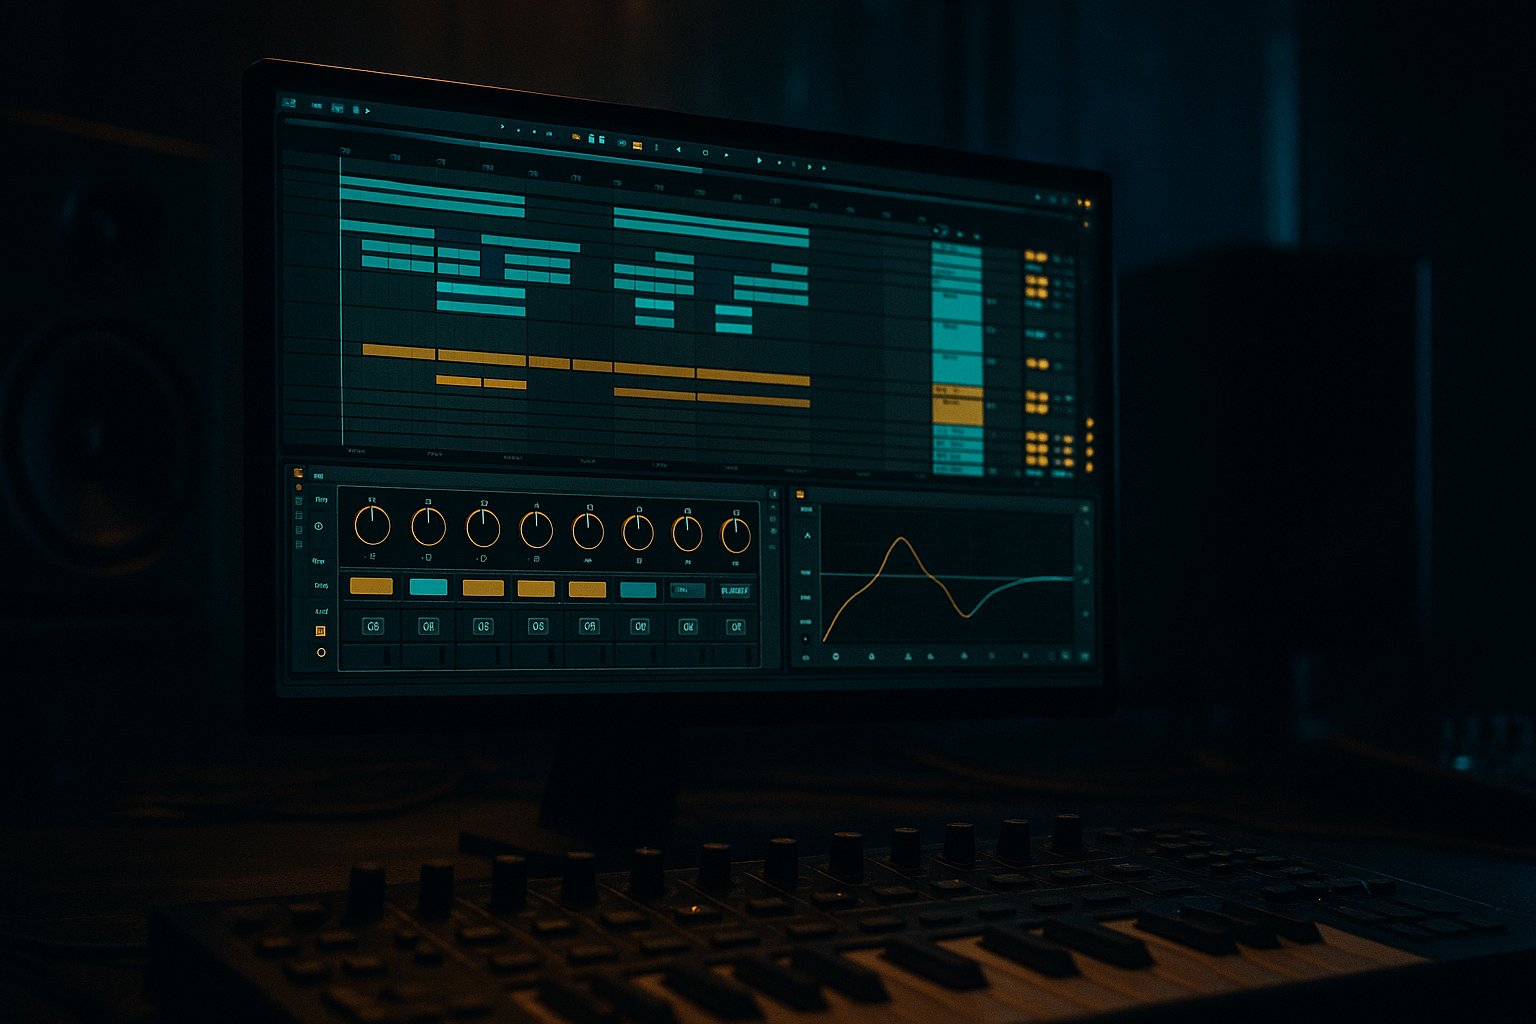
This lesson shows you how to build a weight blend using only stock Ableton Live 12 devices. The idea is to combine the best parts of two kick layers or two kick versions:
- one layer for attack and click
- one layer for body and weight
- a short, punchy top layer for definition
- a deeper, fuller bottom layer for weight
- a simple blend control so you can adjust the kick for different sections of the track
- a clean low-end that leaves room for the bass and sub
- a workflow you can reuse in any jungle, roller, or darker DnB project
- Making both layers too loud
- Letting the weight layer carry too much click
- Using too much Drum Buss Drive
- Ignoring phase or mono issues
- Over-sidechaining the bass
- Forgetting the arrangement
- Soloing too long
- Tighten the top layer, darken the weight layer
- Use gentle saturation instead of huge low-end boosts
- Try micro-automation on the blend before fills
- Pair the kick with ghost notes in the break
- Let the kick and sub “share” space by phrase
- Use subtle clip-style control with Saturator
- Keep the low end simple in the intro
- use one layer for punch and one for weight
- shape each layer with EQ Eight, Saturator, and Drum Buss
- keep the kick centered and mono
- blend with Macros for fast workflow
- automate the blend across arrangement sections
- always test the kick with the bass and break, not just in solo
Then you blend them so the kick feels strong, controlled, and ready for DnB arrangement contexts like rollers, jungle, darker halftime sections, and neuro-influenced drops. 🥁
This matters because in Drum & Bass, the kick often has less space than in other genres. The bassline is busy, the break is moving, and the mix has to stay fast and clean. A good kick weight blend lets you keep the low end solid while still cutting through a dense arrangement.
---
What You Will Build
You will build a two-layer Ableton Kick Rack that gives you:
By the end, you’ll have a kick that works in a 16-bar drop, a DJ-friendly intro, or a call-and-response switch-up where the kick needs to feel strong but not dominate the mix.
---
Step-by-Step Walkthrough
1. Choose a kick that already has a strong shape
Start with two stock kick sounds from Ableton’s browser or from your own project library. For this method, pick:
- Kick A: attack-focused
- short decay
- clear transient
- less low-end tail
- Kick B: weight-focused
- fuller low end
- slightly longer body
- smoother top end
In DnB, this is important because you often want the kick to punch above a busy breakbeat without making the mix cloudy. If you only use one kick, you may end up compromising either the click or the weight. The blend method solves that by giving each job to a separate layer.
Beginner tip: if you only have one kick sample, duplicate it and process the copy differently. That still works as a basic weight blend.
2. Load both kicks into a Drum Rack for easy control
Create a new MIDI track and load a Drum Rack. Put Kick A on one pad and Kick B on another pad, then trigger both from the same MIDI note.
Practical setup:
- Put both kicks on the same MIDI note, such as C1
- Rename the pads:
- `Kick Top`
- `Kick Weight`
- Color-code them so you don’t get lost later
Why this works in DnB: speed matters. Drum & Bass sessions move fast, and a clean workflow means you can make decisions before the drop loses energy. A Drum Rack makes it easy to swap layers, automate blend changes, and keep your kick processing organized.
3. Shape the top layer for punch, not weight
Open the chain for Kick Top and keep it tight. The job here is to help the kick read on smaller speakers and through dense break patterns.
Use these stock devices if needed:
- EQ Eight
- Saturator
- Drum Buss
Good starter settings:
- EQ Eight: high-pass around 90–140 Hz
- Saturator: Drive 1–4 dB, Soft Clip on
- Drum Buss: Drive low, around 5–15%, Transients slightly up if needed
Don’t overdo the top layer. In jungle and rollers, a kick with too much click can fight the snare and break. Keep it focused, sharp, and short. If the kick feels too long, reduce the sample’s decay if available, or add a short Utility gain reduction and a tighter EQ Eight cut.
4. Shape the weight layer for body and low-end impact
Now work on Kick Weight. This layer should carry the mass of the kick, but still stay controlled. The aim is not “more bass forever,” it’s “useful bass.”
Use:
- EQ Eight
- Saturator
- Drum Buss
- optional Utility
Suggested starting points:
- EQ Eight: low-pass around 2–6 kHz if the top is too bright
- Saturator: Drive 2–6 dB, Soft Clip on
- Drum Buss: Boom very lightly, around 10–20%, tune by ear
- Utility: reduce gain if this layer is too loud after processing
If the weight layer has too much click, carve a little around 2–5 kHz with EQ Eight. If it feels weak, don’t just turn it up; try a small Saturator drive increase or a gentle Boost in the low-mid area around 80–120 Hz if the source supports it.
Beginner reminder: you are not trying to make both layers sound amazing alone. You are designing them to work together.
5. Blend the two layers with Macro controls
This is the core of the method.
Put both kick chains into a Group or keep them in the same Drum Rack and map their volumes to Macros. In Ableton Live 12, use Macro controls to create a fast blend knob.
Suggested macro setup:
- Macro 1: Top Layer Volume
- Macro 2: Weight Layer Volume
- Macro 3: Tone
- Macro 4: Drive
Starting blend idea:
- Top Layer: set around -6 to -12 dB
- Weight Layer: set around -3 to -9 dB
- Adjust until the kick feels like one sound, not two sounds stacked on each other
A simple workflow choice:
- in verse or intro sections, keep the top layer slightly more present for clarity
- in the main drop, bring up the weight layer for more impact
- in a switch-up, automate the blend so the kick opens up more before the bass returns
This is especially useful in darker DnB where the drop needs to feel like it is pushing forward without sounding overly bright.
6. Control the low end with Utility and mono discipline
Drum & Bass low end must stay disciplined. Put Utility on the kick group or kick bus and use it for checking width and gain staging.
Recommended checks:
- set Bass Mono or simply keep the kick chains mono
- if using any stereo widening by accident, turn it off
- keep the kick centered
Good practice:
- keep the kick bus peaking with headroom, not clipping the master
- aim for the kick to feel strong without forcing the limiter
Why this works in DnB: the sub and kick need to coexist cleanly. If the kick is stereo or phasey, the low end can disappear on club systems and sound hollow on headphones. Mono discipline keeps the punch consistent.
7. Make space for the bassline with light sidechain or arrangement timing
In jungle warfare style layering, the kick should feel like it is sitting in the pocket of the groove, not boxing with the bass. Use Compressor on the bass or sub group for sidechain ducking from the kick.
Beginner-friendly starting point:
- Ratio: 2:1 to 4:1
- Attack: 1–10 ms
- Release: 50–120 ms
- Adjust threshold until the bass ducks just enough for the kick to breathe
If you prefer a lighter workflow, you can also create space by arranging the bass notes so they leave a small gap on the kick hit. That is often cleaner in rollers and jungle than trying to sidechain everything heavily.
Arrangement example:
- kick lands on the downbeat
- bass comes in just after the kick transient
- breakbeat fills the mid-space
- bass responds with a short answer phrase on the next bar
This call-and-response structure is very DnB-friendly because it keeps the energy moving without making the low end overcrowded.
8. Use subtle bus shaping on the kick group
Once the blend feels right, add gentle bus processing to glue it together.
Stock device options:
- Drum Buss
- Glue Compressor
- EQ Eight
Safe starter settings:
- Glue Compressor: very light compression, around 1–2 dB gain reduction
- Drum Buss: minimal Drive, Saturation only if needed
- EQ Eight: small cut if there is boxiness around 200–400 Hz
Do not smash the kick bus. In DnB, punch often dies when the bus is overcompressed. The goal is to make the two layers feel like one kick, not to flatten the transient.
9. Automate the blend for arrangement energy
This is where the workflow becomes more musical. Once your blend is set, automate it for different sections.
Easy automation ideas:
- In the intro, keep the kick tighter and lighter so the bassline introduction has space
- In the drop, raise the weight layer by a small amount, around 1–3 dB
- In a breakdown, reduce the top layer so the kick feels darker and less aggressive
- In a switch-up, briefly increase saturation or weight for one or two bars before pulling it back
Musical context example:
- Bars 1–8: sparse intro with filtered drums
- Bars 9–16: first drop, kick weight blend increases
- Bars 17–24: bass variation comes in, kick top is slightly reduced
- Bars 25–32: arrangement opens up again with a heavier kick emphasis
This gives the track a sense of motion, which is crucial in jungle and DnB. Static drum weight often feels flat after just a few bars.
10. A/B against the bass and break before you call it done
Soloing the kick is helpful, but never finish there. Test it against:
- the bassline
- the breakbeat
- the full drum bus
- the drop section
Listen for these signs:
- does the kick still hit when the break is busy?
- does the sub vanish on kick hits?
- is the kick too bright compared to the rest of the drums?
- is the weight layer making the mix feel slow?
Do a quick reference check using a track you know in the same lane: a darker roller, a jungle rework, or a neuro-leaning DnB tune. You are not matching the sound exactly, just checking the balance of low-end impact and transient clarity.
---
Common Mistakes
- Fix: lower each layer and rebuild the blend. The kick should feel bigger, not just louder.
- Fix: use EQ Eight to trim the upper mids and let the top layer do the attack job.
- Fix: back it off. In DnB, distorted low end can quickly turn into mud if the sub is already busy.
- Fix: keep kick layers centered and check in mono with Utility.
- Fix: reduce compressor depth or improve note spacing. Too much pumping can kill the groove.
- Fix: automate the blend so the kick changes with the energy of the track instead of staying static.
- Fix: always test the kick with the bass and break. In DnB, the real decision is how it works in the full pocket.
---
Pro Tips for Darker / Heavier DnB
- A slightly darker kick often sits better in jungle, techstep, and rollers than a super-bright modern kick.
- Saturator can create perceived weight without destroying headroom. A small drive increase often sounds bigger than a massive EQ boost.
- Raise the weight layer slightly before a snare roll or transition, then pull it back into the drop. That creates tension without needing big FX.
- If the break has little pickup hits or ghost snares, keep the kick controlled so the rhythm breathes.
- In darker DnB, the kick doesn’t need to hit at full force on every bar. Sometimes the weight works best when the bassline answers it, not competes with it.
- Soft Clip can help keep the kick dense and consistent when the drop gets busy.
- DJ-friendly intros often work better when the kick is clear but not over-processed. Save the heavier blend for the first impact point.
---
Mini Practice Exercise
Set aside 10–20 minutes and do this:
1. Open a blank Ableton Live set.
2. Load two kick samples into a Drum Rack:
- one punchy
- one low and full
3. Process each with only stock devices:
- EQ Eight
- Saturator
- optional Drum Buss
4. Build a simple 8-bar MIDI clip with kick hits on the downbeats and a few extra DnB-style placements.
5. Blend the two layers so they feel like one kick.
6. Add a bassline or sub note pattern underneath.
7. Switch between:
- kick-heavy
- balanced
- weight-heavy
8. Decide which blend works best for:
- intro
- drop
- switch-up
9. Save the Drum Rack as a preset called something like DnB Kick Weight Blend.
Goal: by the end, you should be able to hear the difference between “loud kick” and “useful kick.”
---
Recap
The Jungle Warfare kick weight blend method is about combining attack and body with stock Ableton tools so your kick works in a real DnB mix.
Key takeaways:
If you get this right, your kick will stop sounding like a sample and start functioning like a proper Drum & Bass weapon.

