Main tutorial
```markdown
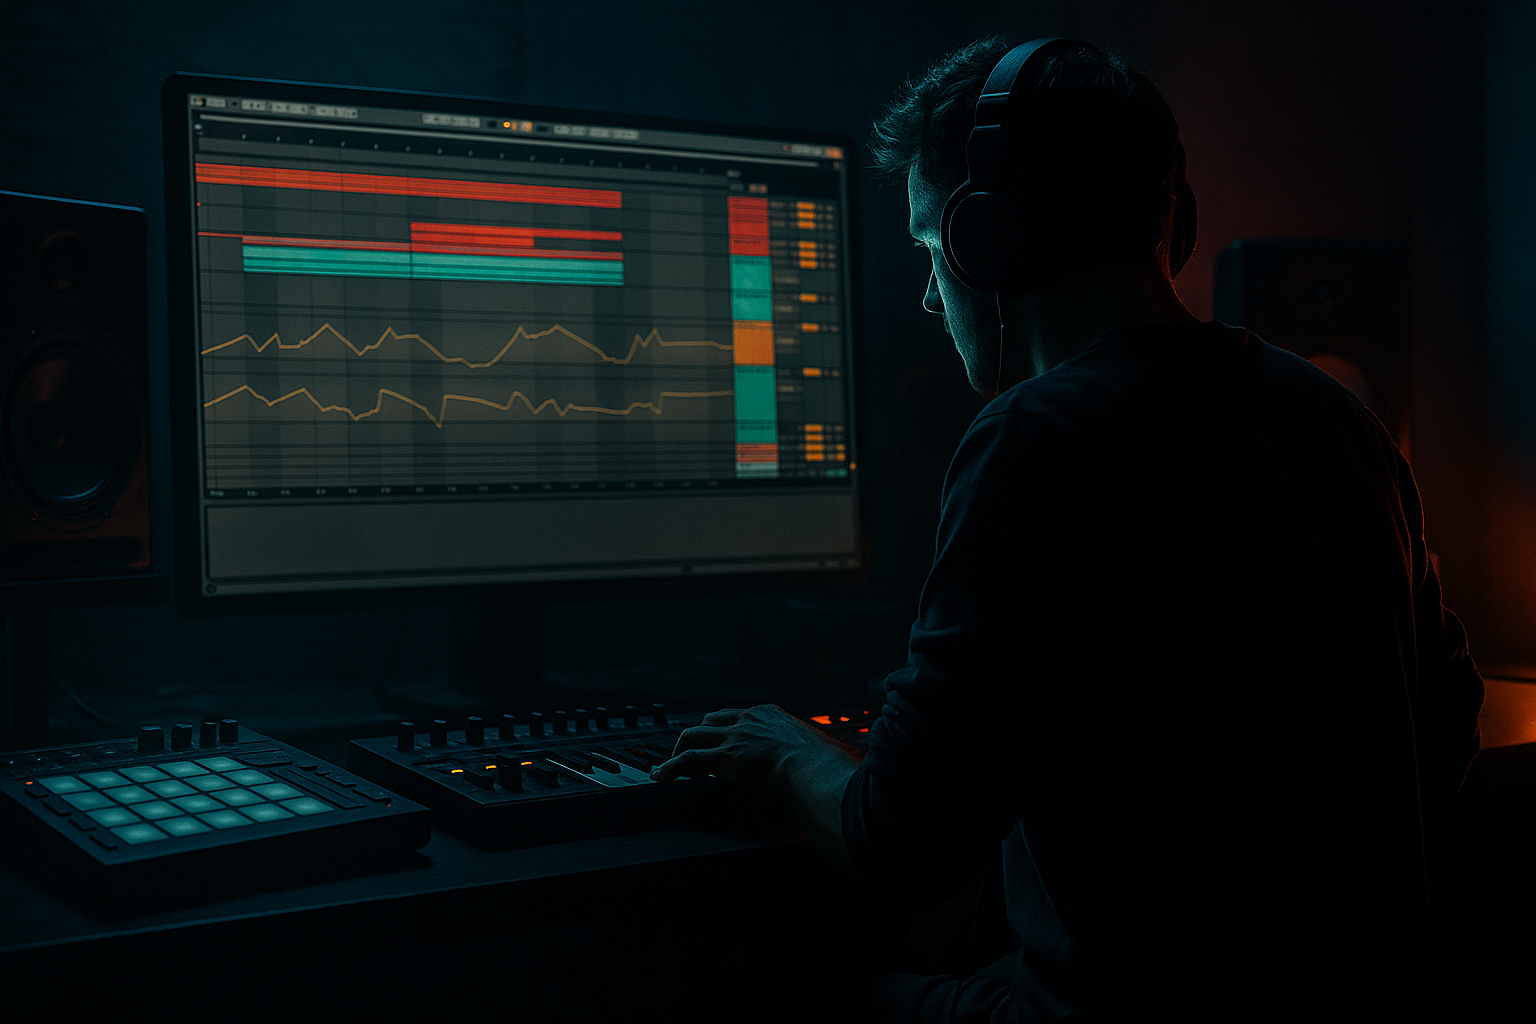
Keeping Bass Mono with Animated Mids (DnB in Ableton Live) 🎛️🖤
1. Lesson overview
In drum & bass, the low-end is the engine. If your sub is wide, phasey, or inconsistent, your whole tune loses punch on club systems and collapses in mono.
In this lesson you’ll learn a clean, reliable Ableton Live workflow to keep everything below ~120 Hz mono while still getting movement, width, and character in the mids (the part you actually want to feel animated).
We’ll do it with stock Ableton devices and DnB-friendly sound choices (rolling Reese-ish mids + clean sub).
---
2. What you will build
A two-layer bass system:
- SUB layer (mono, stable):
- MID layer (animated + optionally wide):
- hits consistently on big systems ✅
- still has that rolling, alive DnB character ✅
- translates well to earbuds, phones, and mono playback ✅
- Set a high-pass filter at ~120 Hz
- Slope: 24 dB/oct (steeper is safer)
- Mode: Analog Clip (safe) or Soft Sine (smooth)
- Drive: 3–8 dB
- Output: trim so it doesn’t get louder just because it’s distorted
- Use Roar for heavier tone shaping
- Keep the distortion mostly midrange, not sub (you already HP’d the mid layer)
- Frequency: 700–1500 Hz
- Drive: 10–25%
- Tone: adjust to avoid fizz
- Tiny dip if needed where bass fights the snare/body (often 180–250 Hz)
- Keep it minimal—big cuts can hollow your bass.
- Attack: 10–30 ms (let transients breathe)
- Release: Auto or 100–200 ms
- Ratio: 2:1
- Aim for 1–3 dB gain reduction on peaks
- Do NOT force the whole bus mono (you’ll kill your mid width)
- Instead: ensure SUB track width is 0% and MID track is high-passed
- Intro (16 bars): drums + atmosphere + tease the MID layer (filtered)
- Drop (32 bars): SUB + MID full, with variations every 8 bars
- Variation tricks:
- Saturate mids, keep sub clean: dirty mid + clean sub = heavy and controlled.
- Add controlled “growl bands”:
- Use subtle pitch movement on MID only:
- Resample for aggression:
- Sidechain the sub to kick lightly:
- Keep your SUB track mono (Utility Width 0%) and clean.
- High-pass the MID track (~120 Hz, 24 dB/oct) so it never fights the sub.
- Add animation to mids using Auto Filter LFO, saturation, and controlled width.
- Use M/S EQ to remove low frequencies from the Side channel for safe stereo.
- Arrange with small variations every 8 bars to keep that rolling DnB momentum.
- Pure sine/triangle-ish sub
- No stereo information
- Tight dynamics that “locks” to the kick
- Distortion, filtering, subtle chorus/width
- Movement via LFO/filter automation
- Stereo only above the sub range
You’ll end up with a bass that:
---
3. Step-by-step walkthrough
Step 0 — Set the DnB context (tempo + groove)
1. Set tempo to 172–176 BPM.
2. Drop in a basic DnB drum loop (kick on 1, snare on 2 & 4) so you can hear how the bass interacts.
Why: Bass decisions are meaningless without drums in DnB—your kick + snare define what “tight” means.
---
Step 1 — Create two bass tracks (Sub + Mid)
1. Create two MIDI tracks:
- `BASS - SUB (Mono)`
- `BASS - MID (Movement)`
2. Group them: select both → Cmd/Ctrl + G → name the group `BASS BUS`.
Workflow win: You’ll mix the layers separately, then glue them together on the bus.
---
Step 2 — Build a clean mono sub (Operator)
On `BASS - SUB (Mono)`:
1. Load Operator.
2. Choose a simple waveform:
- Osc A: Sine (best for clean sub)
3. Amp Envelope:
- Attack: 0–5 ms
- Decay: short or off
- Sustain: -inf? (depends on your notes)
For rolling bass, you usually want sustained notes with controlled release.
- Release: 80–140 ms (avoid clicks; keep it tight)
4. Add EQ Eight after Operator:
- Enable High Cut? Not needed.
- Better: add a low-pass around 150–200 Hz with a gentle slope if you want pure sub.
- If your sub feels boxy, dip 200–300 Hz slightly (often not needed if it’s a sine).
5. Force mono:
- Add Utility
- Set Width = 0%
(This guarantees the sub is mono even if something later introduces stereo.)
✅ At this point: you should have a stable mono sub you can trust.
---
Step 3 — Build animated mids (Wavetable or Operator)
On `BASS - MID (Movement)`:
#### Option A (easy, modern): Wavetable
1. Load Wavetable.
2. Pick a gritty bass-friendly wavetable:
- Try something like “Basic Shapes” (then add distortion), or any more complex wavetable.
3. Turn on Unison lightly:
- Unison: 2–4 voices
- Amount: 10–25%
- Keep it subtle—this is mids, not trance supersaw 😄
#### Option B (classic, controlled): Operator
1. Use Osc A Saw (or two oscillators slightly detuned)
2. Add a filter (LP) and drive with saturation later
---
Step 4 — Remove sub from the MID layer (critical!)
On `BASS - MID (Movement)`, add EQ Eight first in the chain:
🎯 Goal: the mid layer must not compete with the sub layer’s mono low end.
---
Step 5 — Add movement (Auto Filter + LFO)
Still on the MID layer:
1. Add Auto Filter
- Filter type: Low-pass
- Drive: 2–8 dB (taste)
- Resonance: 10–25% (don’t whistle)
2. Modulate cutoff:
- Click LFO in Auto Filter (if using Live’s Auto Filter with LFO)
- Rate: 1/8 or 1/4 (classic rolling motion)
- Amount: start around 10–25%
- Phase: try 0° (sync with groove), then experiment
DnB tip: 1/8 feels like constant “engine”; 1/4 feels more spacious and stepping.
---
Step 6 — Add harmonics + attitude (Saturator / Roar / Overdrive)
Add Saturator after Auto Filter:
If you have Ableton Roar (Live 12 Suite):
Optional: add Overdrive before Saturator for extra bite:
---
Step 7 — Make the mids wide (but keep lows mono)
Now we widen the mid layer safely:
1. Add Utility after distortion:
- Width: 120–160% (start at 130%)
2. Add EQ Eight after Utility:
- Use M/S mode (click the little “Mode” and choose M/S)
- On the Side channel:
- Add a high-pass around 150–250 Hz
- Slope: 12–24 dB/oct
- Optional: boost sides gently around 1–3 kHz if you want more presence (small boost, like 1–2 dB)
🎯 Result: you get width and motion in the audible mids while the low end stays centered.
---
Step 8 — Glue the layers (BASS BUS processing)
On the `BASS BUS` group, add:
#### A) EQ Eight (cleanup)
#### B) Glue Compressor (light control)
#### C) Utility (final mono safety for sub region)
Ableton Utility doesn’t have a built-in “mono below X Hz” switch, so do this instead:
That is your “mono below 120 Hz” system.
---
Step 9 — Arrange it like real rolling DnB
A simple but effective DnB arrangement idea:
- Automate Auto Filter cutoff depth slightly every 8 bars
- Add a short 1/16 “pickup” note into bar transitions
- Mute MID for half a bar before a snare fill → then slam it back in 🔥
Pattern tip: Rolling bass often alternates between a long note and shorter “answer” notes—keep it simple and groove-focused.
---
4. Common mistakes
1. Widening the sub
If anything below ~120 Hz is wide, your bass will smear and vanish in mono.
2. MID layer still contains sub
If you don’t high-pass the mid layer, you’ll get phase conflicts and inconsistent low end.
3. Too much unison/chorus
Makes the mids sound impressive solo, but messy in a full DnB mix.
4. Distorting without level matching
You think it sounds “better” but it’s just louder. Always trim output.
5. Over-compressing the bass bus
DnB bass needs control, but it also needs movement. Flattening it kills the roll.
---
5. Pro tips for darker/heavier DnB 🕶️
Use Multiband Dynamics gently on the MID layer to stabilize harsh peaks (don’t slam it).
Tiny pitch envelope or occasional pitch drops on mids can sound brutal without wrecking the sub note’s stability.
Freeze/Flatten the MID layer after you like the motion, then chop/rearrange for nasty edits.
Use Compressor with sidechain from Kick:
- Ratio 2:1–4:1, Attack 1–10 ms, Release 60–120 ms
Keep it subtle—just enough to stop kick/sub fights.
---
6. Mini practice exercise (10–15 minutes) 🧪
1. Create SUB and MID layers as above.
2. Write a 2-bar rolling bassline (simple notes).
3. On the MID layer:
- Auto Filter LFO rate = 1/8
- Automate LFO amount from 10% → 25% over 8 bars
4. Check mono:
- Add Utility on Master temporarily
- Map a button to Width = 0% (or use Mono if you have a mono switch)
- Flip between normal and mono:
- If bass disappears: your MID has too much low end or phasey widening
5. Fix it by:
- Raising the MID high-pass to 140 Hz
- Reducing unison/width
---
7. Recap ✅
If you want, tell me what style you’re aiming for (liquid roller, jump-up, neuro, jungle) and I’ll suggest a matching MID movement chain and a bassline MIDI pattern.
```

