Main tutorial
Keeping Long Drum & Bass Arrangements Engaging (Ableton Live) 🎧🔥
Teacher tone: energetic, clear, professional. This lesson is aimed at intermediate producers who already make solid 8–16-bar DnB loops and want to keep 5–8 minute arrangements compelling and dynamic without resorting to endless new ideas.
---
1. Lesson overview
Long DnB arrangements can feel repetitive if elements remain static. The goal here is to turn a loop into a living journey — using variation, contrast, automation, resampling, and arrangement-level tricks inside Ableton Live — while keeping the groove and energy of jungle/rolling bass music.
What you’ll learn:
- How to design section-level variation schedules
- Practical device chains (drums, breaks, bass, FX) using stock Ableton devices
- Workflow patterns (session → arrangement, resampling, clip variants)
- Concrete automation and arrangement moves that keep listeners engaged
- Specific settings and examples targeted at darker/heavier DnB styles
- Solid drum/break foundation with layered percussion and dynamic fills
- Rolling bass that morphs between sub and mid/growl layers
- Atmosphere and transitions (reverbs, grainy textures, filtered risers)
- Two impactful drops and at least two creative breakdowns/bridges
- Set BPM to 174. Create basic track layout: 1) Drums (group), 2) Breaks (group), 3) Bass (group), 4) Synths/Pad (group), 5) FX/Resample, 6) Returns (Reverb, Delay, Distortion).
- Create three return tracks: A = Reverb (Hybrid Reverb or Reverb), B = Delay (Echo or Simple Delay), C = Distortion/Crunch (Saturator + EQ).
- Set global Utility on master for quick mono check and gain staging.
- 0:00–0:45 Intro: pads, minimal percussion, filtered bass hint
- 0:45–1:30 Build: introduce break pattern, percussion, riser automation
- 1:30–2:00 Sub-drop lead-in: open top end, drum fill into drop
- 2:00–3:00 Drop 1: full drums, main bass, vocals/stab motifs
- 3:00–3:45 Breakdown: strip drums, pads, FX, half-time variations
- 3:45–4:30 Build 2: glitch fills, automation rises to tension
- 4:30–5:30 Drop 2: heavier version (more distortion, new percussion)
- 5:30–6:00 Outro: deconstruct and finish
- Keep low-end consistent: high-pass non-bass elements at 80–200 Hz. Use Spectrum and EQ Eight to monitor mud.
- Create an arrangement automation lane for “Energy” macro (grouped macros from Drum Bus, Bass Drive, and Distortion return). Automate it in Arrangement to raise overall impact for drops.
- Use track groups to collapse and automate group-level parameters (e.g., Drum Group > Saturator Drive macro).
- Overloading sections with new elements instead of transforming existing ones. (Add variation to what’s already there.)
- Not using sends: overusing reverb on channel inserts washes low end.
- Forgetting low-end management: leaving several elements with sub content causes mud.
- Automating everything constantly → messy sound and loss of focus. Pick 3-4 parameters per section to automate.
- Relying only on “more” — louder or more elements — rather than contrast (silence, filtering, spacing).
- Static bass: if the bass pattern is unchanged for minutes, the track will flatten. Map one macro to change its tone every drop.
- Parallel distortion: Send bass to a return track with heavy Saturator + Redux + EQ. Blend in for grit without destroying subs.
- Layer a clean sine sub under a mangled mid growl. Keep the sub mono with Utility Width 0.
- Use Spectral or Grain devices for eerie textures:
- Tune distortion: Distort mids (200–2000 Hz) more than sub. Use Mid/Side EQ Eight to boost side frequencies for width while keeping center tight.
- Use low, slow LFOs (via Max for Live LFO or Wavetable LFOs) on filter cutoff or wavetable position for evolving growls. Rate ~0.02–0.2 Hz (very slow) to create long shifts.
- Beat Repeat for jungle vibe: use short delays, set interval to 1/32 or 1/64, grid off for humanized feel. Automate chance for unpredictability.
- Use frequency shifting (Frequency Shifter) subtly on one percussive element to create metallic, dissonant textures that feel heavy.
- Saturator settings: use Soft Clip for warmth and Analog Clip or Hard Curve for aggression. Try Drive 4–8 as a starting point for mid layers.
- Break long arrangements into 8–16 bar variation blocks; change something major each block and micro-elements every 2–4 bars.
- Use stock Ableton devices: Drum Rack, Simpler/Sampler, Operator/Wavetable, EQ Eight, Drum Buss, Glue Compressor, Saturator, Beat Repeat, Auto Filter, Grain Delay, Echo, Hybrid Reverb, Multiband Dynamics.
- Build bass as two layers (mono sub + distorted mid), control energy with macros, sends, and sidechain.
- Keep interest with resampling, clip automation, strategic silence, and returns for parallel processing.
- For darker/heavier DnB: embrace parallel distortion, spectral/granular textures, slow LFO morphing, and carefully tuned mid-range aggression.
---
2. What you will build
A 5–7 minute DnB arrangement skeleton that evolves every 8–16 bars. It contains:
You’ll finish with a reusable template and technique set you can apply to any DnB track.
---
3. Step-by-step walkthrough
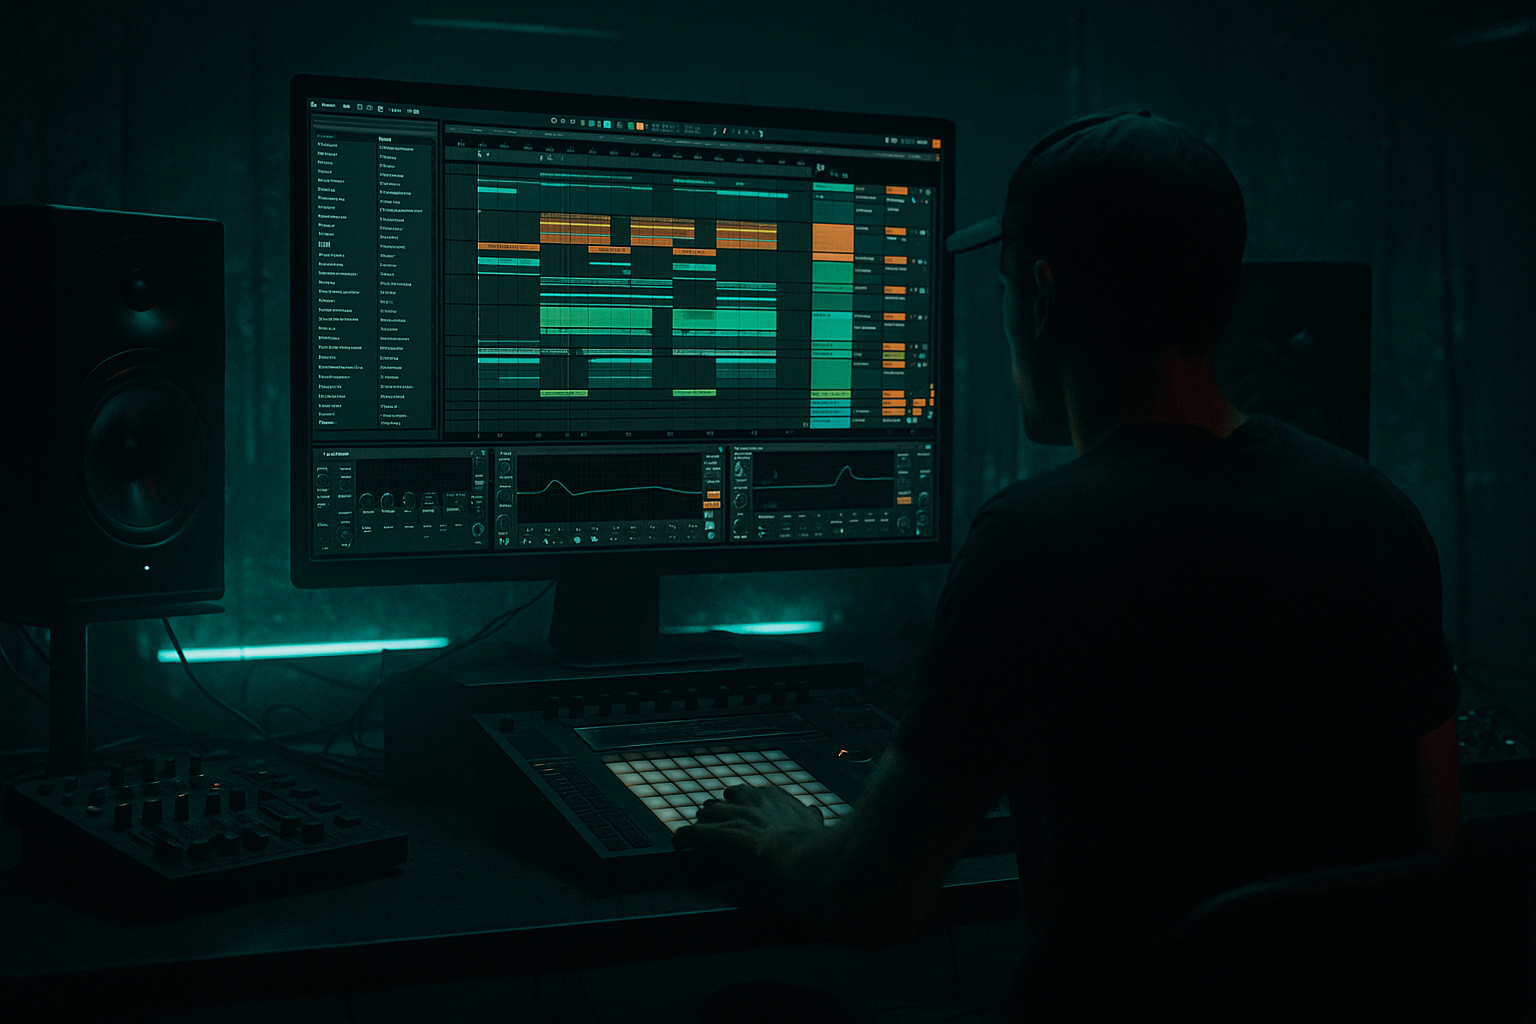
Assume tempo 174 BPM. Use Arrangement view for the final piece; use Session view for ideas and follow-actions if you like.
A. PROJECT SETUP (quick)
B. DRUMS — FOUNDATION & VARIANTS
1. Drum Rack chain:
- Build your core: kick, snare, hat, shaker, a rolling percussion loop + one chopped amen/break slice in a Simpler or Sampler.
- Group into "Drum Bus". On Drum Bus add:
- EQ Eight: High-pass non-kick at 40–60 Hz; slightly boost 2–6 kHz for snap (+1.5 dB).
- Drum Buss: Drive 2–4, Boom at 2–3 o’clock for weight, Transients knob to taste to keep bite.
- Glue Compressor: Ratio 2:1, Attack 10–30 ms, Release ~0.1–0.3 s, Gain make-up +2 dB. Slight 1–2 dB of compression glues drums.
- Saturator (after Glue): Drive 2–6, choose Soft Sine or Analog Clip to taste.
2. Create 3-4 pattern variants:
- Variant A: Full loop (main drop)
- Variant B: Half-time hat pattern and filtered snare (break section)
- Variant C: Break + chopped fills (use Beat Repeat and transient edits)
- Variant D: Sparse drums (kick+sub only)
- Save each variant as a clip (Consolidate with Cmd/Ctrl+J). Label clearly.
3. Break processing (for rolling breaks):
- Place the break audio in its own track. Warp mode = Beats. Preserve transients, set grain size low.
- Chain: EQ Eight (cut 40–80 Hz from break to avoid low clash) → Saturator (drive 2–5, Soft Clip) → Foldback Distortion (use a return for heavier distortion).
- Use Beat Repeat on the Break track for glitch fills: Interval 1/16, Grid off, Offset 0, Chance 30–60%, Gate 1/32 to 1/16. Automate Interval/Chance for fills.
C. BASS — SUB + MID GROWL LAYERS
1. Two-layer approach:
- Sub layer (Operator or Wavetable): Pure sine or sine+triangle, Mono, low-pass 200–400 Hz cutoff on a Utility (Width 0–20%). Chain:
Operator -> EQ Eight (shelf high cut ~250–400 Hz) -> Compressor (fast) / Utility (narrow width).
- Mid growl layer (Wavetable or Analog or Sampler with processed sample): Use Wavetable with aggressive FM/wavetable morphing. Chain:
Wavetable -> Auto Filter (filter type Multimode, Resonance 0.2–0.5) -> Saturator (Drive 3–8) -> EQ Eight (boost 200–800 Hz for bite) -> Multiband Dynamics or Glue Compressor.
2. Sidechain and dynamics:
- Use Compressor (sidechain set to kick) on the mid layer for ducking. Settings: Ratio 3–6:1, Attack 1–10 ms, Release 80–200 ms, Threshold to taste. This keeps mids punching around the kicks.
- Use Multiband Dynamics to tame or accent low end: compress mids/hf differently than sub.
3. Movement:
- Map filter cutoff, LFO rate (Wavetable), distortion amount, and drive to macros in an Instrument Rack. Automate macro values per section to morph sound.
D. ARRANGEMENT STRUCTURE & TIMING (pattern)
Divide long arrangement into 8-bar blocks and plan specific change points every 8 or 16 bars. Template timeline (approx for a 6:00 track):
Note: change a major element at least every 8 bars and a micro-variation every 2–4 bars (e.g., hi-hat pattern, snare roll, delay throw).
E. TRANSITIONS & INTEREST TECHNIQUES
1. Filter sweeps & automation:
- Use Auto Filter on group tracks. Automate cutoff, resonance and filter type. Use Envelope amount to make staccato filter plucks for transitions.
- For big risers, automate a send to Reverb with pre-delay increasing; automate send to Delay for widening throws.
2. Resampling trick (creative variation):
- Select a 8–16 bar section, set resampling route to a dedicated audio track, record it (including effects and automation). Trim, chop, reverse slices, pitch-shift, and use as new fill or texture.
- Use Clip envelopes (Transpose or Sample Start) for micro-variation in the resampled clip.
3. Fills and tension:
- Use Beat Repeat on a send for drum loops only in transition bars. Automate Gate, Interval and Chance.
- Create one-shot drum fills in a Drum Rack using Simpler with reversed cymbals, pitch-shifted snare, and automate volume and pan.
4. Use silence and negative space:
- Occasionally drop the drums entirely for 1–2 bars with reverb tails and synth stabs. A well-placed silence creates anticipation and makes drops land harder.
5. Use clip automation (not only track automation):
- On audio clips, automate Transpose, Grain Delay parameters or Looper on/off as clip envelopes to create evolving loop variants while keeping arrangement tidy.
F. MASTER & MIX ARRANGEMENT PRACTICE
---
4. Common mistakes
---
5. Pro tips for darker / heavier DnB 🖤
- Return C chain example: EQ Eight (HP 30 Hz) -> Saturator (Hard Curve, Drive 6–10) -> Redux (Bit Reduction 6–12) -> EQ Eight (cut sub) -> return fader ~ -6 dB then automate.
- Grain Delay: Grain Size 10–40 ms, Spray ~10, Pitch up/down a few semitones for ghostly tails timed to bars.
- Spectral Resonator / Spectral Time (Live 11): use for metallic, resonant textures on snare or synth stabs.
---
6. Mini practice exercise (30–60 minutes) ✅
Goal: produce a 3–4 minute skeleton arrangement that evolves.
Steps:
1. Prepare core loop (0–8 bars): main drum loop, a rolling bass stab (2 layers), and 1 pad/stab.
2. Create 3 drum variants: full, half-time, sparse. Consolidate each clip.
3. Make 2 bass macros:
- Macro 1: Filter Cutoff (mapped to Auto Filter on mid growl)
- Macro 2: Distortion Blend (mapped to return send)
4. Arrange timeline:
- 0:00–0:30 Intro: pad + half-time drums + filtered bass (Macro 1 down).
- 0:30–1:00 Build: introduce full drums, automate Macro 1 up slightly.
- 1:00–2:00 Drop: full drums, Macro 2 +6 dB (distortion send up), add break fill every 8 bars using Beat Repeat.
- 2:00–2:30 Breakdown: mute drums for 2 bars, bring in resampled texture for 4 bars, then reintroduce drums.
5. Use one resample: record 8 bars, chop and put the chopped slices into a Drum Rack to make a short fill (1–2 bars) for the second drop.
6. Export a rough mix and listen for sections that feel flat. Add one automated parameter (e.g., reverb send on snare) to that section.
Result: a concise, evolving DnB structure with clear transitions and textures.
---
7. Recap
You’ve now got a practical toolkit to turn static loops into rolling, evolving DnB arrangements. Get into Ableton, pick one section, and apply one technique at a time — evolve the track, don’t just pile on elements. Let me know if you want a downloadable template with the device chains and macros set up. 🎚️🔥

