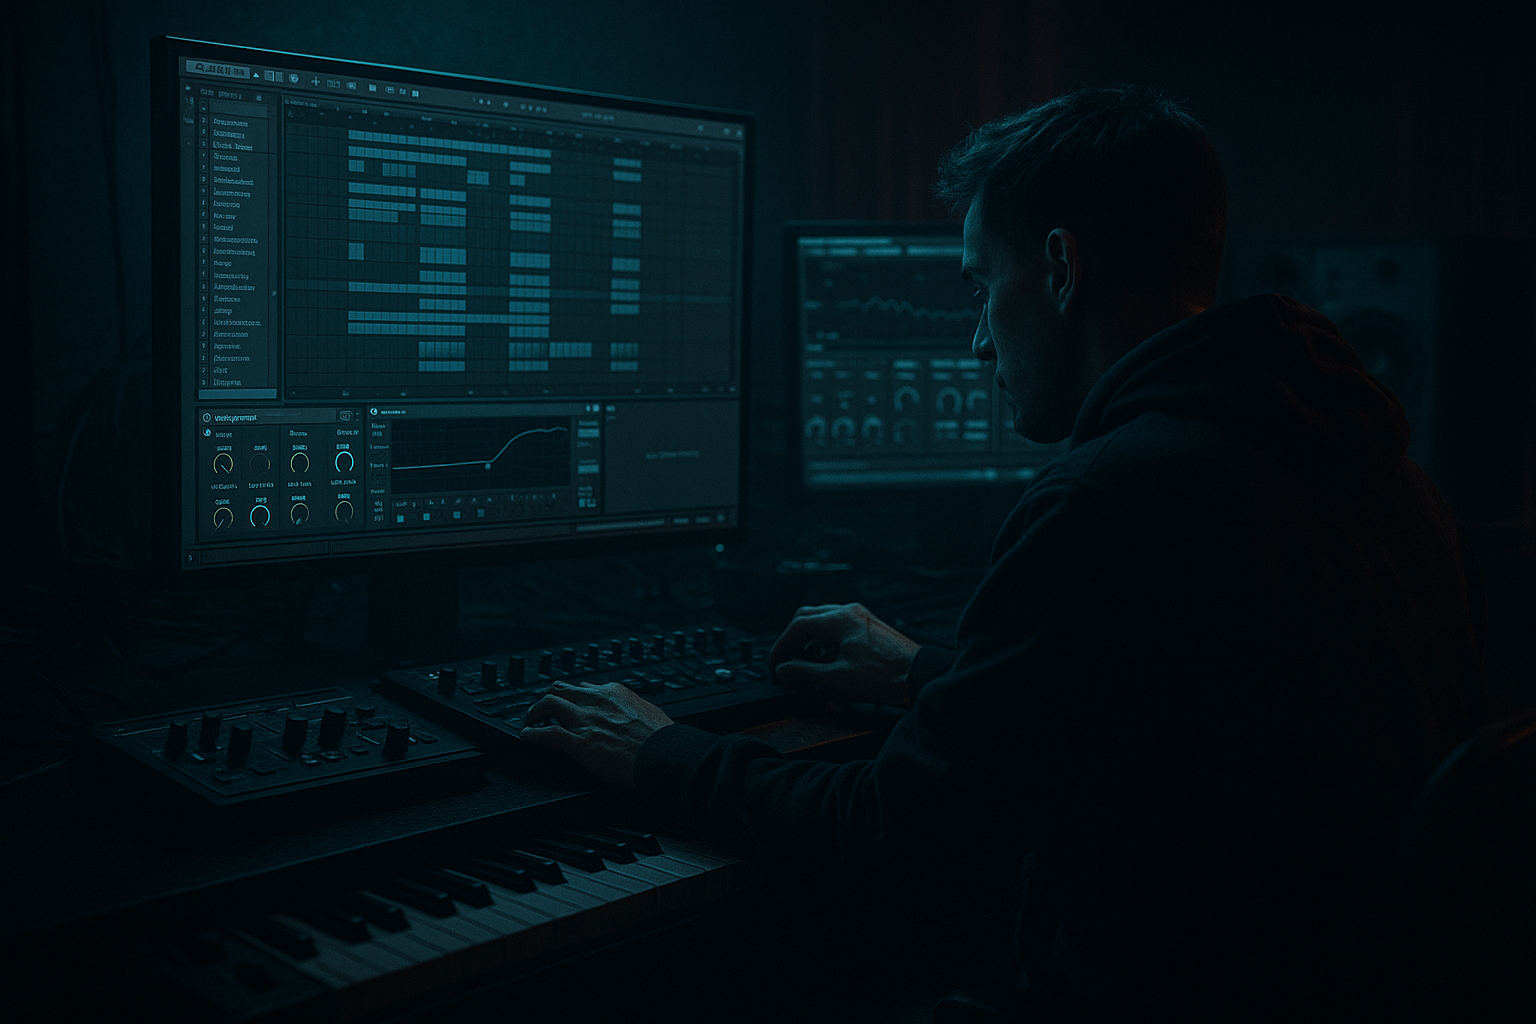
Main tutorial
Lesson Overview
In this lesson, you’ll build a break roll with jungle swing in Ableton Live 12 that feels natural in a Drum & Bass track, not stiff or over-edited. The goal is to take a classic breakbeat feel and turn it into a rollable, forward-moving drum phrase that can sit in an intro, build, switch-up, or even support the main drop. This is a core DnB skill because so much of the genre’s energy comes from the relationship between edited break drums, swing, and momentum.
A break roll is more than just “fast drums.” In DnB, it’s usually a pattern of chopped break fragments, ghost notes, and repeated hits that creates lift and urgency. The “jungle swing” part is what keeps it human and nasty: the groove feels like it’s pushing and dragging at the same time, with micro-timing that makes the rhythm bounce instead of marching.
Why this matters:
- It helps you create authentic jungle / rollers / darker DnB drum energy
- It gives your track movement before a drop
- It makes fills and transitions feel less mechanical
- It teaches you how to use Ableton’s stock tools for drum editing, groove, and sound shaping 🎛️
- A one-bar and two-bar break roll
- A swingy jungle-style groove with ghost notes and shuffled timing
- A tight drum sound with filtered tops, controlled mids, and punchy transients
- A version that can work as:
- Basic Ableton automation for tension and release
- A drum loop that feels usable in rollers, jungle-influenced DnB, or darker bass music
- Making the roll too busy
- Over-quantizing everything
- Letting the low end get messy
- Using too much distortion
- Ignoring velocity
- Making the break too bright
- Layer a short, low-passed noise hit under the snare
- Add subtle tape-style saturation
- Use call-and-response between the roll and bass
- Darken the intro, open the drop
- Resample your best 1-bar roll
- Keep stereo width under control
- Use short fills sparingly
- darker
- more swung
- more aggressive
- A break roll in DnB is a controlled burst of chopped break energy, not just fast drums.
- Jungle swing comes from groove, micro-timing, and velocity variation.
- Ableton’s best stock tools for this are Slice to New MIDI Track, Groove Pool, EQ Eight, Drum Buss, Saturator, Glue Compressor, Auto Filter, and Utility.
- Keep the roll tight, readable, and bass-aware.
- Use the roll to create tension, motion, and drop impact in a real DnB arrangement.
You’ll use mostly stock Ableton devices and simple editing tools, so this is beginner-friendly but still sounds like something you’d actually use in a real DnB project.
What You Will Build
By the end of this lesson, you’ll have:
- a build-up into a drop
- a switch-up before a bass return
- a 8-bar rolling intro element
Musically, think of it like this: your kick and snare still hint at the original break, but the roll creates a ramp of energy leading into a phrase change. In a track around 172 BPM, this can sit right before the drop at bar 15, or as a one-bar pickup into a new 8-bar section.
Step-by-Step Walkthrough
1. Start with a clean DnB project and set the tempo
- Open Ableton Live 12 and set the project tempo to 170–174 BPM. A solid starting point is 172 BPM.
- Create a new Audio or Drum Group track for drums.
- Drag in a classic break sample, ideally something with a strong snare and natural hat movement. A chopped amen-style break, think break, or similar jungle break works well.
- If the break is too long, crop it to a clean 1-bar section first.
Why this works in DnB: this tempo range is the heart of drum and bass. At 172 BPM, small timing changes feel energetic and musical, especially when you add swing to break fragments.
2. Warp the break correctly before you edit it
- Double-click the break sample to open it in the Clip View.
- Turn Warp on if it isn’t already.
- Use Complex or Complex Pro if the break needs to be stretched cleanly, but if it’s a drum loop with good transient clarity, you can also try Beats.
- For Beats mode, set Preserve to around 1/16 or 1/8 depending on how the transients feel.
- Keep the loop tight and make sure the downbeat lands correctly on bar 1.
Beginner tip: if the loop feels messy after warping, don’t over-fix it. A little roughness is good for jungle character, but the first beat must stay locked.
3. Slice the break into playable pieces
- Right-click the break clip and choose Slice to New MIDI Track.
- Slice by:
- Transients for a more natural break edit
- or 1/8 notes if you want a simpler beginner-friendly grid
- Choose Drum Rack as the target device.
- Now you can trigger individual break hits as MIDI notes.
This is where the “roll” becomes controllable. Instead of one long audio loop, you’re now working with pieces: kick fragments, snare tails, hat hits, and little fills.
4. Build a simple roll pattern using repeated fragments
- Create a 1-bar MIDI clip on the sliced break track.
- Place the main kick and snare fragments first. Keep the original break identity intact.
- Then add repeated short notes between the main hits:
- Put two or three fast ghost notes before the snare
- Repeat a hat or snare fragment on 1/16 or 1/32 values for a short burst
- Don’t fill every space. Leave some gaps so the roll breathes.
- Aim for a pattern like:
- kick fragment on beat 1
- light hat ghosts around the off-beats
- snare hit on beat 2 and/or 4
- a short 1/16 or 1/32 roll leading into the snare
A good beginner rule: if it starts sounding like a typewriter, it’s too busy. Jungle swing needs space between the chaos.
5. Add jungle swing with groove, not random timing
- Open the Groove Pool and try a groove that adds shuffle, or use one of Ableton’s swing/groove options.
- Apply a groove amount of around 55%–65% to start.
- If the roll feels too late, reduce it to 35%–45%.
- Use the Quantize command carefully. A small amount of quantizing plus groove is usually better than fully rigid placement.
- You can also manually shift some ghost notes slightly late by a few milliseconds to create that dragging jungle feel.
Why this works in DnB: swing makes the rhythm feel like it’s leaning forward without being grid-locked. Jungle and early DnB often feel alive because the hi-hats, ghost notes, and snare pickups don’t sit exactly on the grid.
6. Shape the drum sound with stock Ableton devices
Add these devices in this order on the drum/break track or Drum Rack pad:
- EQ Eight
- High-pass non-kick break elements around 120–180 Hz
- Cut any harsh ring around 3–6 kHz if needed
- Drum Buss
- Drive: 5–15%
- Crunch: light amount only, around 5–20%
- Boom: keep subtle or off for now
- Saturator
- Soft Clip on
- Drive around 2–6 dB for extra density
- Glue Compressor if the break feels too loose
- Ratio: 2:1
- Attack: 10–30 ms
- Release: Auto or around 0.1–0.3 s
- Keep gain reduction gentle
If you’re using separate slices in Drum Rack, you can process snare fragments differently from hats. For example:
- Snare slice: a little more saturation
- Hat slice: high-pass and slightly less low-mid content
- Kick slice: leave more punch and less distortion
7. Create ghost-note movement and velocity variation
- Open the MIDI clip and lower the velocity of the ghost notes.
- Keep main snare hits stronger and let the in-between hits sit much lower.
- A useful starting range:
- Main snare: 100–127 velocity
- Ghost notes: 20–60 velocity
- If the groove feels flat, vary the velocities a little instead of copying the same value.
This is a huge part of the “jungle” feeling. The roll shouldn’t sound like identical machine-gun hits; it should feel like a drummer pushing into the bar.
8. Add a second layer for top-end energy
- Duplicate the break track or create a second drum track with:
- hats
- shakers
- chopped ride hits
- Keep this layer lighter and more filtered than the main break.
- Use Auto Filter to high-pass it around 300–600 Hz.
- Add a tiny bit of Reverb or Echo if you want space, but keep it short and subtle.
- Pan small hat pieces slightly left and right if needed, but keep the core snare and kick elements centered.
This layer helps the roll feel bigger without turning the whole drum bus into mush. The main break stays punchy; the top layer adds motion and shine.
9. Use automation to turn the roll into a proper transition
- Automate Auto Filter cutoff on the break layer:
- start around 200–400 Hz if you want it darker
- open it up toward 8–12 kHz before the drop
- Automate Drum Buss Drive slightly upward in the last 1–2 bars of the build
- Add a short reverb send on the final snare or fill hit
- If you’re arranging, mute the main kick for half a bar before the drop so the roll feels like it’s lifting into impact
Arrangement example: in an 8-bar pre-drop section, bars 1–4 can be sparse break fragments, bars 5–6 can introduce the roll, bars 7–8 can open the filter and add denser ghost notes, then the drop lands on a strong kick-snare-bass combo.
10. Check the groove in context with bass
- Add a basic sub or reese bass placeholder so you can hear how the drums interact with low end.
- Keep the sub centered and simple.
- Use Utility on the bass track to make sure the low end is mono.
- If the drum roll masks the bass, reduce the roll’s low mids with EQ Eight around 200–400 Hz.
- If the snare disappears, try cutting some competing bass harmonics around the snare zone.
Always check the roll with bass playing. In DnB, drums and bass are a single rhythm section. A great roll is only great if it doesn’t fight the low-end engine.
Common Mistakes
- Fix: remove a few 1/16 notes and leave more space between ghost hits. Jungle swing needs breathing room.
- Fix: keep some natural timing. Use groove and slight manual shifts instead of forcing every note perfectly onto the grid.
- Fix: high-pass non-kick break layers and keep sub frequencies out of hat and snare layers.
- Fix: reduce Drive on Drum Buss or Saturator. Dark DnB can be gritty, but not smeared.
- Fix: make ghost notes quieter. Without velocity variation, the roll loses its live, broken-up feel.
- Fix: tame harsh highs with EQ Eight or lower the top-layer volume. A darker roll often feels heavier and more professional.
Pro Tips for Darker / Heavier DnB
- Use a simple noise or filtered hat sample, then tuck it under the snare for weight.
- Try Saturator with Soft Clip on and modest drive. This can make break fragments feel denser without obvious distortion.
- Let the drum roll answer the bass phrase. For example, a bass stab can hit on beat 1, and the roll answers on the off-beats.
- Keep the roll filtered and narrow in the build, then let the full-spectrum drums hit at the drop. This contrast makes the drop feel bigger.
- Once it sounds good, record it to audio and reuse it as a transition element later in the track. This is great for consistency and faster arrangement.
- Center kick and snare energy. If you widen the hats too much, the groove can lose impact. Use width only on higher percussion layers.
- A one-beat roll or half-bar flurry before a drop is usually more effective than constantly packing the grid.
Mini Practice Exercise
Spend 10–20 minutes building one clean roll:
1. Pick a jungle break at 172 BPM.
2. Slice it to a Drum Rack.
3. Make a 1-bar MIDI clip with:
- one main kick fragment
- one main snare fragment
- 4–8 ghost hits total
4. Apply a groove at around 50%.
5. Add EQ Eight and Drum Buss.
6. Automate a simple filter opening over the last 2 bars.
7. Loop it with a basic sub bass and listen for balance.
Goal: by the end, you should have one loop that feels like a usable pre-drop roll or switch-up.
If you have extra time, create a second version that is:
Then compare which one feels more like a real DnB transition.
Recap
If you nail the balance between raw break character and clean swing control, your drums will instantly sound more authentic in jungle, rollers, and darker drum and bass.

