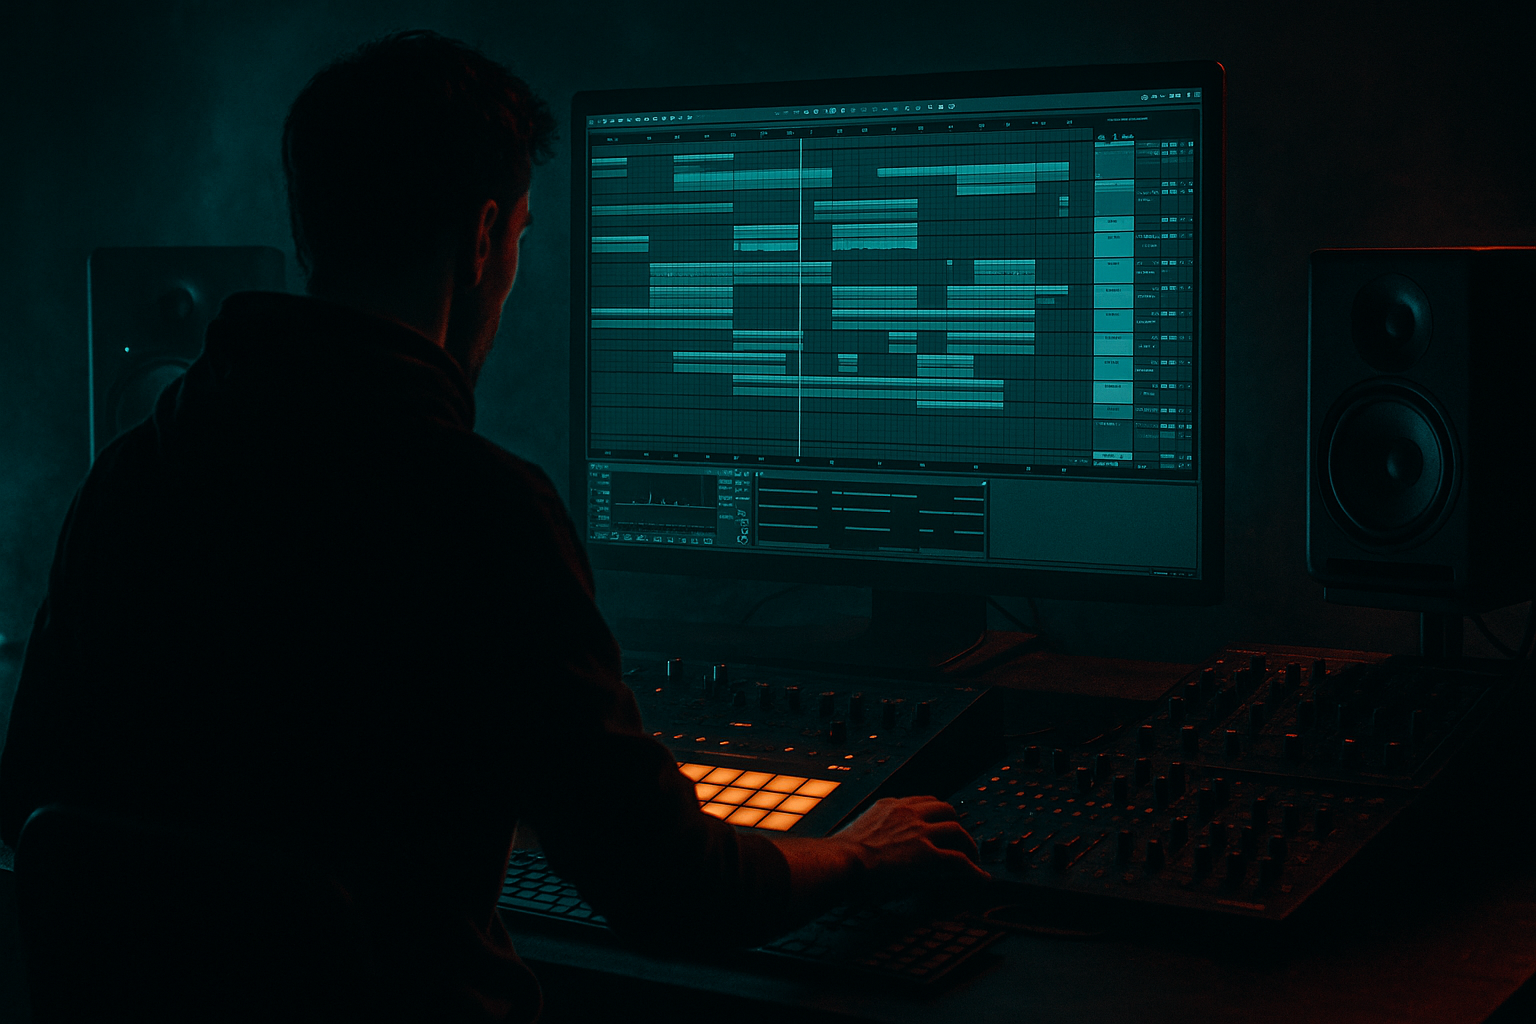
Main tutorial
Lesson Overview
In this lesson, you’ll learn how to layer an amen variation and shape it into a DJ-friendly jungle / oldskool DnB structure inside Ableton Live 12, using resampling as the main creative tool. The goal is not just to make a “cool drum edit” — it’s to build a loop that feels like it belongs in a real DnB tune: strong enough for the drop, clean enough for mixing, and arranged in a way that a DJ could actually ride in and out of it.
This technique matters because classic jungle and oldskool DnB rely on more than a good break. The energy comes from:
- a recognizable amen core
- layered variations that keep the rhythm evolving
- tight bass and drum separation
- clear 16-bar phrasing
- intro / outro sections that are mix-friendly
- a clean intro
- a stronger main drop
- a subtle switch-up / fill
- a mixable outro
- Amen A: the main break with punch and swing
- Amen B: a variation with different ghost notes, a chopped snare pickup, or reversed tail
- Resampled print: a new audio clip with your edits baked in
- DJ-friendly structure: 4/8/16-bar phrasing that makes sense for mixing and energy changes
- sub on root notes
- a light reese or bass stab answering the drum hits
- room for the kick/snare to cut through
- oldskool jungle throwbacks
- darker rollers
- stripped-back breakstep ideas
- halftime-to-fast-paced DnB transitions
- Layering two full breaks at equal volume
- Over-editing before the groove is stable
- Too much low end in both drum layers
- Forgetting phrase structure
- Resampling too early with no plan
- Using heavy reverb on the main break
- Print a slightly overdriven version of the break using Saturator or Roar before resampling. A small amount of grit can make oldskool drums feel much more present.
- Filter the variation layer darker than the main break. A low-pass around 8–12 kHz can keep the top end from getting brittle while preserving movement.
- Use tiny gaps for impact. Removing even one 1/16 note before a snare can make the next hit feel much harder.
- Keep the sub simple and dry. In darker DnB, clarity beats complexity. A clean mono sub under a busy amen is often heavier than a flashy bassline.
- Use reverse snippets sparingly. One reverse snare or reversed cymbal into a drop can sound huge if the rest of the section stays controlled.
- Try a second resample pass after making a fill. Many classic jungle edits feel alive because the producer printed the performance, then chopped it again.
- Automate subtle filter movement on the drum bus during intros and breakdowns to create tension without losing the core rhythm.
- one break should lead, the other should support
- resampling helps you commit to a stronger sound and faster workflow
- 4-bar and 8-bar changes keep the arrangement feeling like real DnB
- the bass should support the drums, not fight them
- mono clarity and low-end discipline are essential
- small edits often sound more professional than big ones
In Ableton Live, resampling lets you turn a raw break edit into a new audio performance. That means you can print your own fills, reverses, ghost hits, and glitchy drum movement, then arrange them like a proper record instead of looping the same break forever.
If you’re a beginner, this is a great place to start because the workflow is simple:
1. make a strong 1-bar amen loop,
2. layer a variation on top,
3. resample the result,
4. arrange it into a DJ-ready structure.
That’s the backbone of a lot of oldskool-flavoured jungle, rollers, and darker breakbeat DnB. 🥁
What You Will Build
By the end of this lesson, you’ll have a short loop that sounds like a layered amen break with a second variation underneath, then a resampled audio version you can arrange into a 16-bar drop section with:
Musically, the result should feel like:
You’ll also create a simple bass relationship:
This is the kind of foundation you can use for:
Step-by-Step Walkthrough
1. Set up a clean project and reference the right vibe
Start a new Ableton Live 12 set and set the tempo to 170–174 BPM for classic jungle / oldskool DnB energy. If you want slightly more modern rollers feel, 172 BPM is a safe starting point.
Create these tracks:
- Drums A for your main amen
- Drums B for the variation layer
- Bass for sub / reese
- FX for transitions and atmosphere
- optional Resample Print audio track for printed edits
Load a reference track if you have one, but keep it low in the mix. The point is to check:
- how busy the break is
- where the snare sits
- how sparse the intro/outro feels
- how often the arrangement changes
For beginner workflow, use 8-bar loops while building the drop, then expand to 16 bars once the core groove feels good.
2. Build a basic amen loop with one main break
Drop an amen sample into Drums A. If you’re working with a raw break, use Warp and try Complex Pro or Beats mode depending on the source.
Useful starter settings:
- Warp On
- Beats mode if the break is very rhythmic and you want punch
- Transient loop mode for a snappier chop feel
- adjust Transients to keep snare hits sharp
Keep it simple:
- loop 1 bar
- make sure the snare lands strongly on the backbeat
- trim the clip so the groove feels tight, not floppy
If the break is muddy, add an EQ Eight:
- high-pass around 30–40 Hz
- cut a little around 250–400 Hz if it feels boxy
- leave the snare brightness alone for now
Why this works in DnB: the amen gives you instant historical character, and in jungle the break itself is part of the hook. If the base loop feels right, every layer you add after it will sound more intentional.
3. Create a variation layer on a second track
Duplicate the amen to Drums B and create a variation instead of copying the loop exactly. This is where the groove starts sounding “produced” rather than repeated.
Try one of these beginner-friendly variation moves:
- remove one ghost note
- shift a tiny snare slice earlier
- add a reverse hit before the snare
- mute one kick tail so the groove breathes
- chop the last 1/8 note into a fill
Keep the variation subtle at first. The goal is not to rewrite the break — it’s to make the listener feel movement.
Good tools in Ableton Live 12:
- Simpler if you want to slice the break and trigger parts
- Slice to New MIDI Track if you want a quick chopped version
- Clip envelopes if you want to automate volume or filter movement per loop
If you’re using Simpler:
- set it to Slice
- slice by transients
- play with 1/8 or 1/16 note patterns
- keep the main snare strong and let the smaller hits support it
4. Shape the two layers so they complement each other
Now balance Drums A and Drums B so they work as one groove, not two competing breaks.
On Drums A:
- keep the full body of the amen
- preserve the main snare and kick impact
- use Utility to keep the low end centered if needed
On Drums B:
- high-pass more aggressively, around 120–180 Hz
- reduce volume by 6–12 dB compared to the main break
- emphasize texture, ghost notes, and top-end motion
Add Saturator lightly to one or both:
- Drive: 1–4 dB
- Soft Clip: On
- keep it subtle unless you want a more crushed jungle tone
If the two breaks clash, try one of these fixes:
- nudge the variation a few milliseconds later
- reduce the transient of one snare hit
- remove duplicated low-frequency hits from the layer
- pan only the higher percussion lightly, not the kick/snare
The key idea is call-and-response:
- one layer carries the punch
- the other layer adds detail and tension
5. Resample the layered break into a new audio performance
This is the core resampling move. Create a new audio track called Resample Print and set its input to Resampling in the track input menu, or route the drum bus to it if you prefer a cleaner stem print.
Then:
- arm the Resample Print track
- play your loop for 4–8 bars
- record the output into audio
Now you have a printed version of your layered break. This is powerful because it lets you:
- commit to a sound
- edit audio more quickly
- make reverse hits, stutters, and fills
- add new FX without overloading the original tracks
After printing, consolidate the best 1- or 2-bar parts:
- keep the strongest groove
- cut out weak sections
- duplicate the best bar to build structure
Add Warp markers only if needed. If the resampled audio already sits well, leave it alone. Beginners often over-edit after printing.
A good printed break often has a little natural glue from the resampling process. That glue is part of the sound.
6. Turn the resampled break into a DJ-friendly 16-bar structure
Now arrange the loop like a real DnB section. Use 16 bars as your main structure, because it gives enough time for DJs to mix and for the listener to feel progression.
A simple structure:
- Bars 1–4: stripped intro of the break + filtered bass
- Bars 5–8: full drum layer enters
- Bars 9–12: add a fill or variation
- Bars 13–16: reduce one element for a smoother loop-back or transition
Make the arrangement DJ-friendly by thinking in phrases:
- every 4 bars should change slightly
- every 8 bars should have a noticeable shift
- every 16 bars should feel like a full statement
For an oldskool vibe, try:
- intro with only hats, top break, and filtered sub
- drop with full amen impact
- switch-up at bar 9 with a reverse snare or chopped fill
- outro that removes the bass first, then the extra break layer
This is where resampling shines: once printed, you can split the audio and make tiny edits fast.
7. Add a simple bassline that supports the breaks
Keep the bassline straightforward. For beginner jungle / DnB, a solid sub and a little mid movement are enough.
Create a Bass track with:
- Operator for a pure sub sine
- or Wavetable if you want a basic reese-ish layer
- or a sampled bass stab in Simpler
For the sub:
- keep it mono
- use notes that follow the root or a simple two-note movement
- avoid overlapping long bass notes with the loudest snare hits if the mix gets crowded
For a simple reese layer:
- in Wavetable, use a basic detuned saw setup
- low-pass around 200–500 Hz depending on how gritty you want it
- add Auto Filter with subtle movement
- use Saturator or Roar lightly if you want more edge
Bass rhythm idea:
- short note after the snare
- one sustained note before the fill
- a small gap during the drum switch-up
This call-and-response makes the drums feel bigger. In DnB, bass does not need to play constantly to feel heavy.
8. Use automation to make the variation feel alive
Add movement with simple automation instead of more and more samples.
Good beginner automation targets:
- Auto Filter cutoff on the variation layer
- Reverb send on the last snare of a phrase
- Utility gain for a quick drop in and out
- Filter frequency on the bass for tension before the drop
Try these practical ranges:
- filter cutoff sweep from 1.5 kHz down to 300 Hz for a dark intro
- reverb send on fill hits around 10–25%
- bass volume dip of 1–3 dB on a transition so drums can breathe
A useful DnB arrangement trick:
- automate a low-pass filter closing slightly over the last 2 bars before the full drop
- then open it suddenly on the first hit of the main section
That contrast gives your amen variation a proper “lift” into the groove.
9. Finish the loop with mix control and drum bus glue
Route your drum tracks to a Drum Bus group. On the bus, use simple processing to make the layered amen feel like one record.
Start with:
- Glue Compressor
- ratio around 2:1
- attack around 10 ms
- release on Auto or 0.3 s
- only 1–2 dB of gain reduction
- EQ Eight
- small cut if the snare gets harsh around 3–6 kHz
- tiny dip if the low-mids feel crowded around 250–400 Hz
- optional Drum Buss
- drive lightly
- keep boom low
- use punch carefully
Then do a mono check with Utility on the master or drum bus:
- keep sub and kick centered
- make sure the break still feels strong in mono
- if the variation disappears in mono, it’s probably too dependent on stereo effects
This is especially important in darker DnB and jungle, where heavy atmospheres can mask the break if you’re not careful.
Common Mistakes
Fix: make one the main break and one the texture layer. High-pass the layer more aggressively.
Fix: get a 1-bar loop working before adding fills, reverses, or FX.
Fix: keep the sub region clear. Let the kick/sub carry the weight, not the break layer.
Fix: arrange in 4-bar and 8-bar blocks so the loop feels DJ-friendly.
Fix: first decide what you want printed — groove, texture, or transition — then record it.
Fix: put ambience on sends or very short tails, not on the core hit pattern.
Pro Tips for Darker / Heavier DnB
Mini Practice Exercise
Spend 10–20 minutes making a mini jungle loop:
1. Find one amen break and loop 1 bar at 172 BPM.
2. Duplicate it to a second track and make 3 tiny edits:
- remove one ghost note
- add one reverse hit
- mute one kick or snare tail
3. High-pass the variation layer at 120–180 Hz.
4. Resample both layers onto a new audio track for 4 bars.
5. Arrange the printed audio into:
- 2 bars intro
- 4 bars full groove
- 2 bars fill / switch
- 2 bars outro
6. Add a simple mono sub using Operator with just 1–2 notes.
7. Listen once in mono and once in stereo. Fix any low-end mess.
If you finish early, make a second version with a darker intro by automating an Auto Filter on the break layer.
Recap
The core idea is simple: layer a main amen with a subtle variation, resample the result, and arrange it in DJ-friendly phrases.
Remember these key points:
If you can make one clean layered amen loop and turn it into a 16-bar structure, you’ve already built a real foundation for jungle and oldskool DnB production in Ableton Live 12.

