Main tutorial
Lesson Overview
In this lesson, you’ll learn how to build one jungle amen variation in Ableton Live 12 and then turn it into a playable, flexible DJ tool using Macro controls. The goal is not to make a full drum solo — it’s to create a compact loop that can shift energy on command during an intro, breakdown, build, or drop.
This matters a lot in Drum & Bass because jungle and DnB tracks often need fast arrangement movement without constantly writing brand-new parts. A well-built amen variation can act like a “performance module”: one button can add fill energy, thin the loop for a mix-in, open the highs for tension, or slam it back down into a heavy drop. That’s especially useful in DJ-friendly intros/outros, 8-bar switch-ups, and roller sections where you want variation without losing the groove.
We’ll keep everything inside Ableton Live stock devices and focus on a beginner-friendly workflow:
- layer a jungle break with supporting drum hits
- shape the layers with Instrument Rack / Drum Rack Macros
- use macros creatively for filtering, saturation, decay, and stereo control
- map a few controls so the loop can move like a real DnB performance tool 🎛️
- dry and dusty
- tight and punchy
- wide and atmospheric
- busy and chopped
- DJ intro-friendly and drop-ready
- a subby kick layer
- a snappy snare layer
- a top-break layer for hats and ride detail
- optional ghost percussion for movement
- Macro 1: Break Brightness
- Macro 2: Break Grit
- Macro 3: Break Tightness
- Macro 4: Stereo Width
- Macro 5: Fill Energy
- Macro 6: Reverb/Space
- a tight, filtered DJ intro with the amen tucked back
- to a full jungle drop with chopped detail and more aggression
- to a roller-style groove with controlled top-end and less clutter
- Making the amen too busy
- Over-widening the low end
- Driving saturation too hard
- Not leaving headroom
- Mapping too many things to one macro
- Forgetting arrangement context
- Letting the stereo image get messy
- Use Saturator in soft clipping style by keeping Drive moderate and adjusting Output to maintain level. This adds grit without destroying transients.
- Put Utility on the drum bus and automate Width from 90–100% in intros to 110–120% in hype sections, but keep bass mono.
- Use Drum Buss very lightly to add smack. Even a small amount of Drive can make the amen feel more physical.
- Add a tiny bit of Auto Filter movement on the top layer for tension. Slow cutoff changes can make a loop feel alive without obvious effects.
- For darker rollers, keep the amen slightly filtered and let the bassline carry the aggression. That leaves room for sub pressure and makes the drums feel heavier.
- If you want a more neuro-leaning edge, automate a macro that increases grit only on the busiest fills. This keeps the main groove clean and the transitions dirty.
- Try a call-and-response approach: let the amen answer the bassline with a fill at the end of every 4 or 8 bars.
- If your loop starts sounding too “happy,” reduce top-end brightness and add a touch more midrange crunch instead of more reverb.
- Start with a clean amen and supporting drum layers.
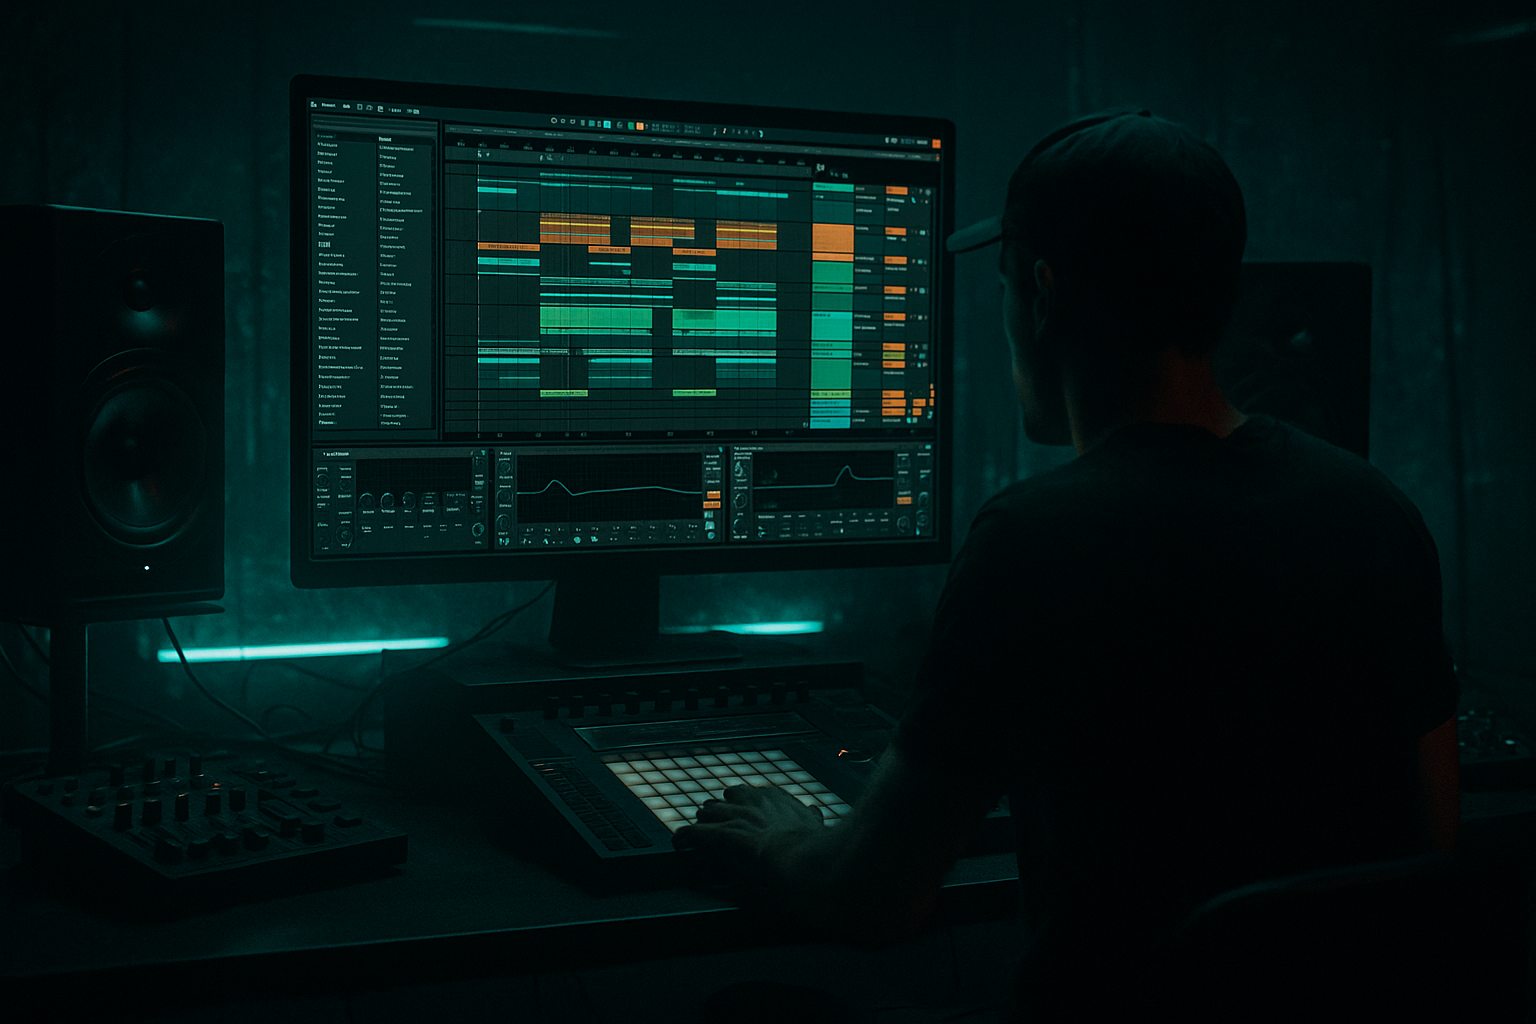
- Use Ableton stock devices like Drum Rack, Simpler, EQ Eight, Saturator, Drum Buss, Auto Filter, Utility, and Audio Effect Rack.
- Map a few Macros to useful drum movements: brightness, grit, tightness, width, and fill energy.
- Make small 4-bar variations instead of trying to reinvent the whole break.
- Keep it DJ-friendly by creating intro and outro versions with less clutter and more mix space.
- In DnB, the best drum tools are not just loops — they’re performance-ready systems that can move with the arrangement.
By the end, you’ll have a loop that can move between:
What You Will Build
You will build a 4-bar jungle amen loop based on an amen break, supported by:
Then you’ll wrap the whole thing in a device chain where Macros control the variation:
Musically, the result should feel like a loop that can go from:
This is perfect for a darker DnB track where the drums need to evolve over 16 or 32 bars without changing the core identity.
Step-by-Step Walkthrough
1. Start with a clean drum group and load your amen
Create a new MIDI track and drop in a Drum Rack. Put your main amen break on one pad using Simpler in Classic or Slice mode.
Beginner-friendly method:
- Drag an amen sample onto a MIDI track
- Right-click and choose Slice to New MIDI Track
- Use Transient slicing with 1/16 or 1/8 resolution if the break is messy
- Rename the group AMEN MAIN
If you already have a clean amen loop, you can also place it in Simpler and use the clip directly. Keep it simple: one main break first, no extra sound design yet.
Why this works in DnB: jungle is built on rhythmic identity. The amen gives you instant genre language, and Ableton’s slicing lets you turn that identity into a playable pattern instead of a static loop.
2. Add supporting drum layers underneath the break
Now create three supporting layers inside the same Drum Rack or separate tracks:
- a kick layer for low-end punch
- a snare layer for body and crack
- a top percussion layer for hats, ticks, and ride texture
Suggested stock devices:
- Drum Rack
- Simpler
- EQ Eight
- Drum Buss
- Saturator
Practical starting points:
- Kick layer: short sample, trim decay, low-pass if needed
- Snare layer: choose a clean snare with a strong mid crack around 180–250 Hz and 2–5 kHz
- Top layer: use a hat or shaker loop, high-passed aggressively around 300–600 Hz
Keep the layers simple and do not overstack. The goal is support, not competition. Your amen should still feel like the star of the loop.
3. Shape the drum balance with basic EQ and gain staging
Before building macros, make the loop mixable.
On the amen layer, add:
- EQ Eight
- gentle low cut if the break has too much sub rumble, around 30–50 Hz
- small dip if the break feels boxy, often around 250–500 Hz
- slight high shelf if the break is too dull, but keep it subtle
On the kick layer:
- use EQ Eight to carve a little space if the amen’s low end is already busy
- keep kick levels controlled so the sub does not overload
On the snare layer:
- let the snare cut, but avoid harsh peaks
- if needed, use Drum Buss with Drive around 5–15% and Boom very lightly, or skip Boom if the low end is already dense
Keep your group peaking with headroom. A beginner-safe target is to keep the drum group below clipping and leave space for the bass later. DnB depends on clean low-end separation, so don’t chase loudness yet.
4. Create a Drum Rack or Audio Effect Rack and map your core Macros
This is the main lesson: use macros creatively to make the amen variation performable.
If your drums are already in a group, select the group and press Cmd/Ctrl + G to create an Audio Effect Rack. If you’re using a Drum Rack, you can still map macros on the rack or on a group with grouped processing.
Map these controls:
- Macro 1: Brightness → EQ Eight high shelf or low-pass cutoff
- Macro 2: Grit → Saturator Drive
- Macro 3: Tightness → Simpler Envelope or track decay
- Macro 4: Width → Utility Width
- Macro 5: Fill Energy → Reverb Dry/Wet or delay send
- Macro 6: Drum Buss Punch → Drum Buss Drive / Transients
Suggested beginner ranges:
- Brightness: map so the macro moves between a darker setting and a brighter setting, roughly 8 kHz low shelf to open top-end
- Grit: Saturator Drive from 0 to 4–6 dB
- Width: Utility Width from 0% to 120% for variation, but keep the low end mono
- Fill Energy: Reverb Dry/Wet from 0 to 15–20%
- Punch: Drum Buss Drive from 0 to 20–30% max, depending on the sample
Keep the controls musical. A macro should do one meaningful thing, not 10 tiny things.
5. Use Macro modulation to create the actual amen variation
Now we turn one loop into several usable versions.
In Ableton Live 12, open the Macro Mapping view and assign the macros to parameters that change the groove in useful ways. For example:
- Brightness Macro
- controls an EQ Eight high shelf on the amen and top layer
- darker position for intro
- brighter position for drop or fill
- Tightness Macro
- controls a Simpler sample end envelope or a track Auto Filter resonance/cutoff
- tighter = shorter, punchier hits
- looser = more break tail and swing
- Grit Macro
- controls Saturator Drive
- low for clean roller intro
- higher for grime and urgency
- Width Macro
- controls Utility Width
- narrow for mix-in sections
- wider for impact sections
- keep the kick and sub layers centered if possible
- Fill Energy Macro
- controls a send to Reverb or Delay
- use this only on selected hits, or on the top layer, so the whole drum image doesn’t wash out
A good beginner strategy is to map each macro to only one or two devices. That keeps the rack manageable and makes the lesson easier to replay later.
6. Program a 4-bar MIDI pattern with small jungle-style changes
Open a MIDI clip and write a simple pattern that repeats but evolves slightly across 4 bars. This is where the “variation” happens.
Example musical context:
- Bar 1: core amen groove, clean and strong
- Bar 2: add a ghost kick or ghost snare at the end of the bar
- Bar 3: open the hats or brighten the top layer
- Bar 4: add a fill hit, reverse-style movement, or a small snare roll leading back into the loop
Beginner-friendly arrangement idea:
- keep bars 1–2 more stable
- make bars 3–4 feel like a question that resolves into the drop
- use one or two extra hits only; don’t overcrowd the break
If you’re using sliced amen notes, duplicate the clip and make a second version:
- Version A = tight and intro-friendly
- Version B = more active and brighter
- Version C = fill version with added snare or chopped top notes
Then use clips like DJ tools: trigger one version for mix-in, another for drop, another for transition. That’s very useful in live-style arrangement and makes your loop feel intentional.
7. Automate the Macros across the arrangement
This is where the loop becomes an arrangement tool instead of just a loop.
In Arrangement View, automate:
- Brightness up over 4 or 8 bars before the drop
- Grit increase during build tension
- Width narrower in intros and wider when the drop lands
- Reverb/Space spike only on the last hit before the drop
- Punch increase on the first bar of the drop to make it feel bigger
Useful arrangement example:
- Bars 1–8: DJ intro, low brightness, low width, minimal grit
- Bars 9–16: tension build, add brightness and a little grit
- Bars 17–24: full drop, more punch and top-end
- Bars 25–32: variation, thin one layer, then reintroduce fill energy
The best DnB arrangements use contrast. If every bar is intense, the drop has no lift. If your macros can shift the energy smoothly, your drums will feel “produced” instead of looped.
8. Make it DJ-friendly with intro and outro versions
Since the category is DJ Tools, make sure this works for mixing.
Create two clip versions:
- Intro version: reduced sub activity, narrower width, less saturation
- Main version: full amen variation with macro movement
- Optional Outro version: strip back the tops, keep the groove, leave space for an incoming mix
Practical DJ-friendly choices:
- use low-pass filtering on the intro version
- remove the busiest fill hits early in the track
- keep the first 8 or 16 bars less explosive so a DJ can blend basslines cleanly
This is especially strong in jungle and rollers because DJs need a mix-in point with rhythmic identity but not too much conflict in the low end. A clean intro also leaves space for rewinds, doubles, and transition mixes.
Common Mistakes
- Fix: remove extra hits and let the macro movement do the work.
- Fix: keep kick and sub elements centered; use width only on higher-frequency percussion.
- Fix: if the break loses punch or turns crunchy in a bad way, reduce Saturator Drive and compare with bypass.
- Fix: lower drum group gain before adding bass. DnB mixes need space for heavy sub.
- Fix: keep each macro clear and musical. One macro = one main job.
- Fix: test your loop in 8-bar sections. A great drum loop that never changes can still feel flat in a real track.
- Fix: mono-check the low end with Utility and keep the deepest elements centered.
Pro Tips for Darker / Heavier DnB
Why this works in DnB: darker Drum & Bass depends on controlled aggression. You want the listener to feel movement, pressure, and detail, but the mix still has to slam. Macro-based variation gives you that motion without rebuilding the drums every time.
Mini Practice Exercise
Spend 10–20 minutes making one playable amen variation rack.
1. Load an amen into Simpler or Slice to New MIDI Track.
2. Add one kick, one snare, and one top percussion layer.
3. Put the drum group into an Audio Effect Rack.
4. Map these four macros:
- Brightness
- Grit
- Tightness
- Width
5. Write a 4-bar MIDI pattern with one small change each bar.
6. Automate the macros so:
- bar 1 = dark and tight
- bar 2 = slightly brighter
- bar 3 = more grit
- bar 4 = a mini fill with more space
7. Duplicate the clip once and make a DJ intro version by lowering brightness and width.
8. Listen in context with a simple sub bass or just a low drone.
Goal: by the end, you should be able to switch between intro, main, and fill states using only a few macro moves.

