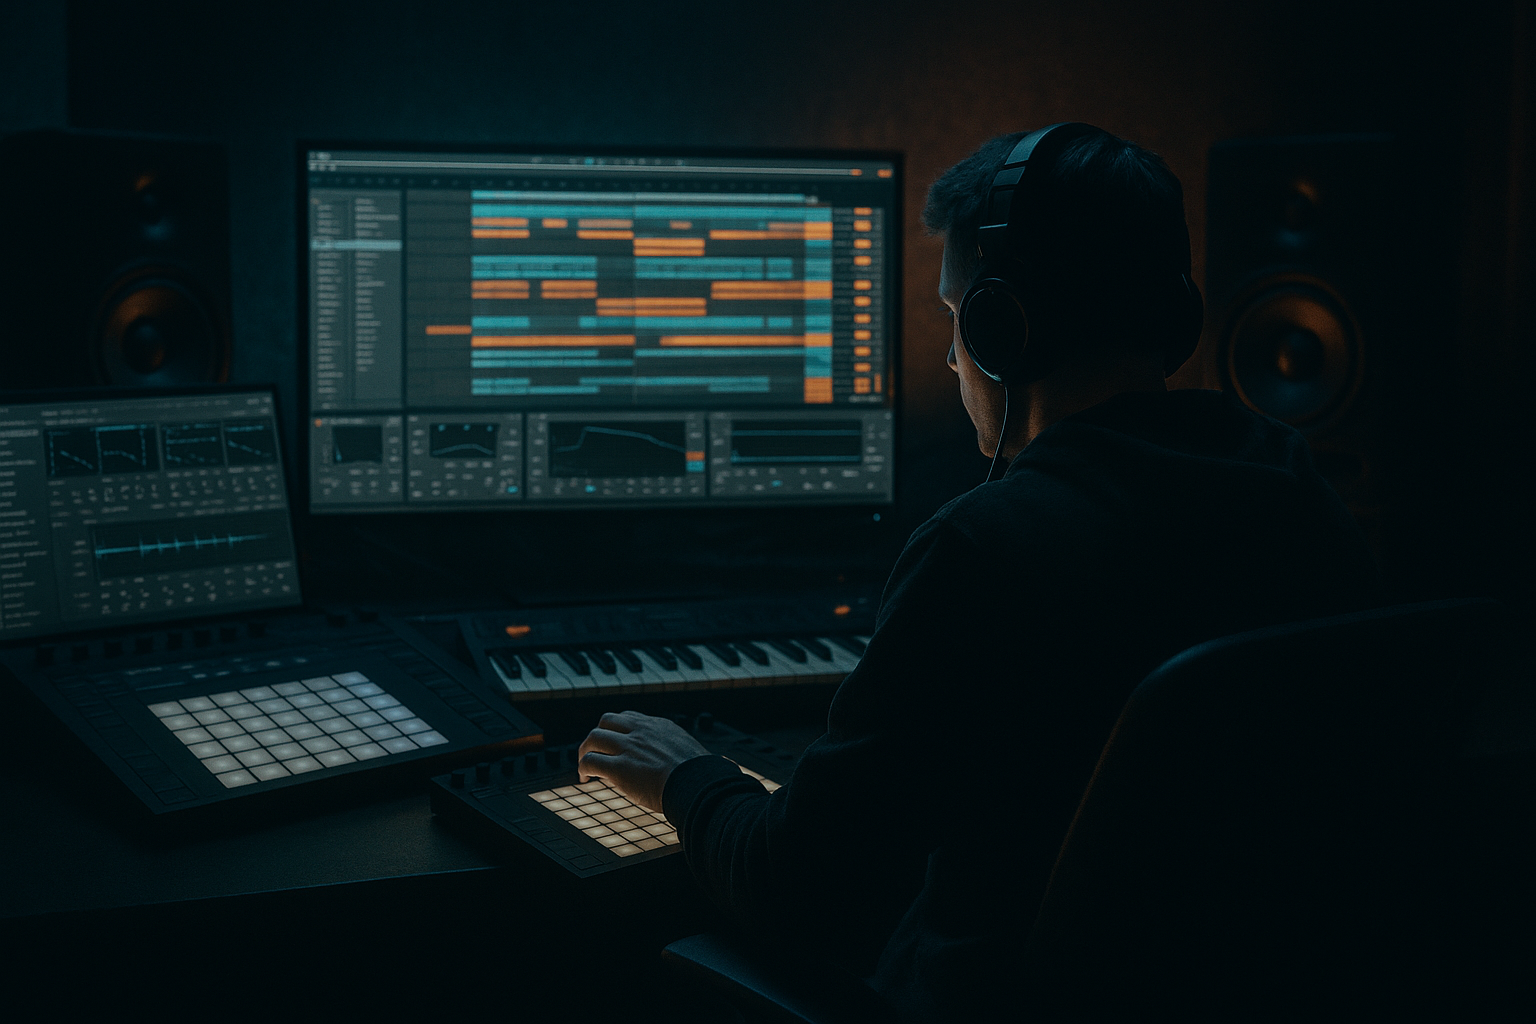
Main tutorial
```markdown
Layering Found Sounds in Drum & Bass (Ableton Live Session View) 🎛️🔊
Skill level: Advanced
Category: Sampling
Focus: Building layered, playable found-sound instruments and loops using Session View for rapid auditioning, resampling, and performance-style arranging.
---
1. Lesson overview
In drum & bass, found sounds aren’t a “gimmick”—they’re a fast lane to unique transients, character layers, gritty percussion, and eerie atmospheres that instantly separate your tune from sample-pack clones.
This lesson shows you a Session View-first workflow to:
- Audition and layer multiple found sounds like an instrument
- Control phase, timing, envelopes, and tonal masking
- Resample and print tight layered hits and loops
- Turn chaotic recordings into rolling percussion beds, snares with personality, and dark textural tops
- Glue Compressor: Attack 3 ms, Release Auto, Ratio 2:1, soft clip On, aim ~1–2 dB GR.
- Saturator: Soft Clip On, Drive 1–4 dB (taste).
- EQ Eight: HP around 25–35 Hz (protect headroom).
- Use Simpler (One-Shot mode) on each chain.
- Drag your chosen found sample directly into Simpler.
- Mode: One-Shot
- Trigger: Trigger (not Gate) for consistent hits
- Fade In: 2–10 ms (removes clicks)
- Start: adjust to catch the transient precisely
- Pitch: keep Body near 0; pitch Crack up +2 to +7 semitones if needed
- Filter: enable LP/HP depending on role
- Zoom into the waveform (Simpler display).
- Move Start so the transient begins right at the trigger.
- If a layer feels “late,” use Track Delay (bottom right) or chain Delay in ms:
- Keep the fundamental clean; often low-mid carries the punch.
- Add EQ Eight:
- High-pass 300–800 Hz depending on material
- Sometimes low-pass around 8–12 kHz to stop harshness
- Body: slightly longer Decay (120–250 ms)
- Crack: very short Decay (30–80 ms)
- Foley: tailored (often 60–180 ms)
- Saturator: Drive 1–6 dB, Soft Clip On
- Optional Drum Buss on the whole pad:
- Length: 1 bar
- Launch Quantization: 1 Bar (global)
- In the clip, add subtle velocity variation on ghost notes (e.g., 25–60)
- EQ Eight
- Auto Filter
- Redux (sparingly)
- Utility
- Scene 1 uses Snare A
- Scene 3 uses Snare B
- Scene 4 uses Snare C
- Parallel destruction bus
- Pitch the foley to the key
- Transient separation
- Make tops “breathe” with sidechain
- Dark texture without hiss
- Session View is your layer lab: fast auditioning, clip variations, and performance capture.
- Use role-based layering (Body / Crack / Foley) and keep envelopes tight.
- Warp and slice found audio into playable grooves, then glue and resample.
- Build scenes like a rolling DnB DJ set: subtle variation, consistent energy, evolving textures.
Session View is perfect because it lets you swap layers in real time, record improvisations, and build a “layer matrix” that feels like performance.
---
2. What you will build
You’ll end up with a Session View set containing:
1. A layered snare rack (body + crack + foley texture)
2. A found-sound top loop layer that locks to the groove (think: shuffly jungle energy)
3. A resampling lane that prints variations quickly
4. A clip-based arrangement sketch you can dump into Arrangement View later
All designed around 174 BPM, rolling DnB/jungle aesthetics, and club-ready punch.
---
3. Step-by-step walkthrough
Step 0 — Project setup (for DnB speed & consistency)
1. Set tempo to 174 BPM.
2. In Preferences → Record/Warp/Launch:
- Auto-Warp Long Samples: Off (avoids weird stretching on long ambience/foley)
- Create Fades on Clip Edges: On
3. Create these tracks:
- Audio Track: “Found Pool”
- MIDI Track: “Layer Rack”
- Audio Track: “Resample Print”
- Group Bus: “Drum Layers BUS”
On “Drum Layers BUS”, drop:
---
Step 1 — Build your Session View “found sound palette”
You want speed: lots of options, instantly swappable.
1. Drag 15–30 found sound samples into “Found Pool” (Session View clips).
Good sources:
- Metal hits, glass taps, door latches, keys, spray cans
- Fabric rustles, paper tears, footsteps
- Room tone, traffic hiss, wind, HVAC hum
- Old VHS/cassette noise
2. For each clip, set:
- Warp: Off for one-shots (or very short foley)
- For loops/ambience: Warp On, mode Complex Pro (for tonal ambience) or Beats (for rhythmic noise)
- Set Clip Gain so they hit roughly similar loudness (avoid fooling your ears)
3. Color code clips:
- Red = transient candidates (hits)
- Blue = noise layers
- Purple = tonal/atmo beds
DnB mindset: you’re creating a “layer shop” that you’ll perform into your drum design.
---
Step 2 — Turn found hits into a playable Drum Rack (Layer Rack)
This is where the layering becomes controlled and repeatable.
1. On the MIDI track “Layer Rack”, drop a Drum Rack.
2. Create three key pads:
- C1 = Snare Layered
- C#1 = Top/Texture Hit
- D1 = Perc Hit
3. On C1, build a chain stack using Instrument Rack inside the pad:
- Drag an Instrument Rack onto the C1 pad.
- Create 3 chains inside it:
1. Body (classic snare core)
2. Crack (short bright transient)
3. Foley/Noise (found sound character)
How to load audio into each chain:
Recommended Simpler settings (starting points):
---
Step 3 — Tighten the layers like a pro (timing, phase, envelope)
Layering found sounds can get messy fast. Your job is to make it hit like one instrument.
#### A) Align transients
For each Simpler layer:
- Start with -5 ms to +5 ms adjustments.
#### B) Prevent low-end phase fights
On Body chain:
- High-pass around 90–140 Hz (DnB snares rarely need true sub)
- Gentle dip if boxy: ~250–450 Hz
On Foley/Noise chain:
#### C) Shape each role with envelopes
#### D) Control peaks and glue
On each chain (not on the whole rack yet):
- Drive 5–15%
- Crunch 0–10%
- Boom Off or very subtle (Boom can wreck snare clarity in DnB)
---
Step 4 — Use Session View to audition layers fast (the “matrix” method)
Now the fun: swapping layers like you’re DJing your own drum design.
1. Duplicate your “Layer Rack” track twice:
- “Layer Rack A”
- “Layer Rack B”
- “Layer Rack C”
2. In each rack, keep Body similar but change Crack/Foley sources:
- A = metal tick + paper snap
- B = glass click + zipper
- C = wood knock + cassette hiss
3. Create MIDI clips in Session View:
- Clip 1: classic DnB snare on 2 & 4
- Clip 2: jungle-style ghost notes
- Clip 3: halftime test (for contrast)
Clip settings (DnB tightness):
Now you can fire Clip 1 across A/B/C and instantly hear which layer stack works in a rolling context.
---
Step 5 — Build a found-sound top loop that rolls 🥁
Found textures make insane top loops when they’re rhythmically disciplined.
1. On a new Audio track “Found Tops”, drag in a noisy recording (keys, chain rattle, rain, vinyl).
2. Warp it:
- Warp: On
- Mode: Beats
- Preserve: 1/16 or 1/32
- Transients: 40–70 (adjust until it feels “spitty” but controlled)
3. Use Slice to New MIDI Track (right-click clip):
- Slice by: Transients or 1/16
- Create Drum Rack slices
4. In Session View, create a MIDI clip that plays slices with swing:
- Use Groove Pool:
- Try Swing 16-65 or a shuffled MPC groove
- Commit lightly (or keep it live for flexibility)
5. Processing chain for tops (stock devices):
- HP: 250–600 Hz
- Notch harshness: ~3–6 kHz if needed
- Band-pass with mild resonance for movement
- Map cutoff to a macro
- Bit reduction small; just to add edge
- Width 120–160% (tops can be wide; keep kick/snare mono)
Route “Found Tops” into Drum Layers BUS for glue.
---
Step 6 — Resample in Session View (print the magic)
Session View excels at capturing happy accidents.
1. Set “Resample Print” track input to Resampling.
2. Arm “Resample Print”.
3. In Session View, record:
- Launch different Layer Rack clips
- Mute/unmute chains
- Tweak filter cutoffs/resonance on tops
- Toggle Saturator drive for intensity
4. Once recorded, consolidate your best 1–2 bars:
- Right-click the recorded clip → Consolidate
- Then Crop Sample to keep it clean
Now you have printed, consistent audio loops that sound “designed,” not random.
---
Step 7 — Arrangement ideas (Session View → rolling tune structure)
Use scenes like a DnB DJ would:
Create scenes:
1. Intro (Atmos + tops filtered)
2. Build (add snare layers + ghost notes)
3. Drop (full drums + aggressive tops)
4. Switch (alternate snare layer rack B/C)
5. Break (resampled texture loop only)
6. Drop 2 (heavier processing, more distortion)
Pro move: In Scene Launch, vary just one element:
This keeps the groove familiar but evolves the character—very “rolling” and DJ-friendly.
---
4. Common mistakes
1. Layering without roles
- If two layers both try to be “the crack,” you get brittleness instead of punch.
2. Ignoring envelopes
- Found sounds often have weird tails. Shorten them or they’ll smear your groove.
3. Warping everything by default
- One-shots often sound worse warped. Use Warp strategically.
4. Too much stereo in the core hit
- Keep snare body fairly centered; let the tops and foley provide width.
5. Not gain staging
- If each chain is loud, your bus processing will clamp down and kill impact.
---
5. Pro tips for darker/heavier DnB 😈
- Send snare and tops to a return with:
- Saturator (Drive 6–12 dB, Soft Clip On)
- Overdrive (Tone control carefully)
- EQ Eight (HP ~200 Hz, boost 2–5 kHz if you want bite)
- Blend at 5–20%.
- If your tune is in F or G, try pitching tonal found layers so they don’t clash with the bass note.
- Put Drum Buss only on Crack chain (not the whole snare) for extra snap while preserving body.
- Use Compressor on tops, sidechain from kick/snare.
- Fast attack, medium release, just 1–3 dB GR to create movement.
- Use Auto Filter low-pass with envelope modulation.
- Then add Erosion (very low amount) for controlled grit instead of noisy harshness.
---
6. Mini practice exercise (15–25 minutes) ⏱️
Goal: Make 3 snare identities and 2 top loops, then resample a 16-bar “drop loop” in Session View.
1. Build Snare A/B/C (same Body, different Crack + Foley).
2. Make Top Loop 1 from a found noise recording (Slice + groove).
3. Make Top Loop 2 from a different source (metallic or organic).
4. Create two scenes:
- Scene “Drop A”: Snare A + Top 1
- Scene “Drop B”: Snare C + Top 2
5. Record yourself launching scenes into Resample Print for 16 bars.
6. Pick the best 4 bars, consolidate, and save it as:
- `DNB_FoundLayer_DropLoop_174bpm.wav`
---
7. Recap
If you want, tell me what kind of found sounds you have (metal, cloth, field recordings, etc.) and what subgenre you’re aiming at (roller, techstep, jungle, neuro), and I’ll suggest exact layer combos + a macro layout for your Drum Rack.
```

