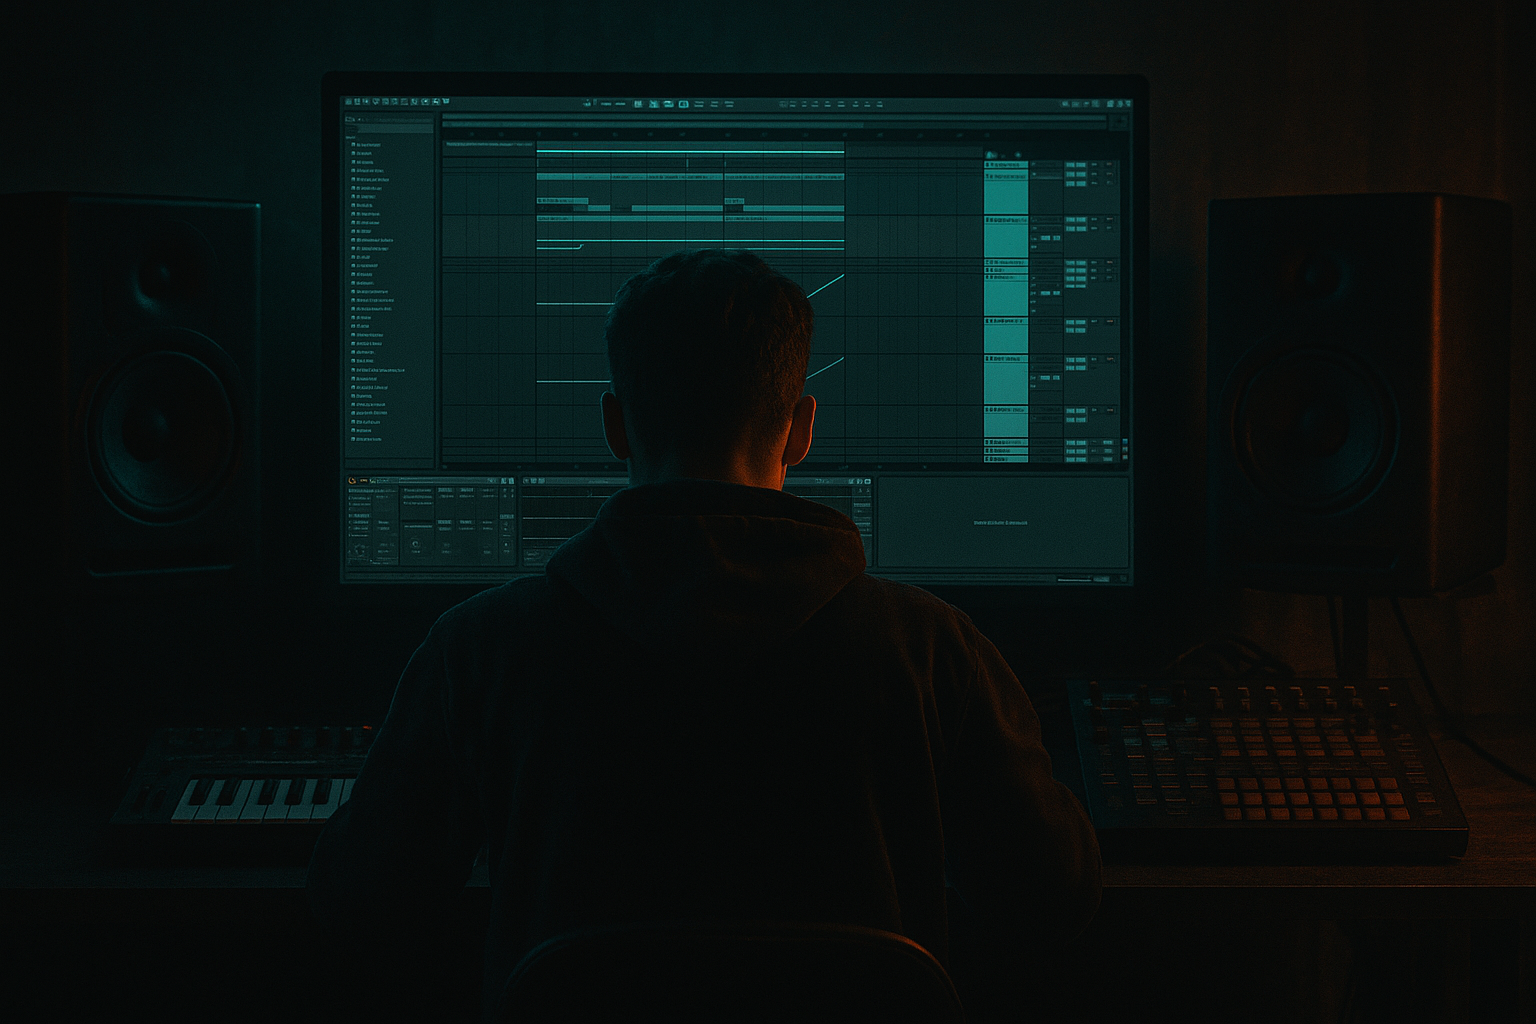
Main tutorial
```markdown
Live 12 Arrangement Markers Masterclass (DnB): Pirate-Radio Energy 📻⚡️
Skill level: Intermediate
Category: Arrangement (Ableton Live 12)
---
1. Lesson overview
Arrangement markers in Ableton Live 12 are more than labels—they’re your radio-DJ roadmap. In drum & bass, the best tracks feel like they’re being driven live: quick switches, reload energy, “one more time!” moments, and tight transitions that keep the dance locked.
In this lesson, you’ll use Arrangement Markers + Locator workflow to build a pirate-radio style DnB arrangement with:
- Fast navigation and “DJ” decision points
- Clean, repeatable structure
- Controlled energy rises/falls (without losing the roll)
- Call-and-response between drums, bass, and FX
- Intro (DJ-friendly) → Drop 1 → Mid switch → Drop 2 (heavier variation) → Outro
- Markers that function like broadcast segments
- “Reload” locator for instant hype
- Automated transitions using stock devices (Auto Filter, Utility, Reverb, Echo, Saturator, Redux, Grain Delay)
- A consistent energy curve so your tune feels “performed”
- Intro: 16–32 bars
- Build: 8–16 bars
- Drop: 32–64 bars
- Switch: often at bar 49 or bar 65 (after 16 or 32 bars of drop)
- 1 — “DJ Intro (Pads/Atmos + Tops)”
- 17 — “Tease Bass / Vox Stabs”
- 33 — “Build (Snare Rise)”
- 49 — “DROP 1 (Full Roll)”
- 81 — “SWITCH (Half-time / Jungle Chop)”
- 97 — “DROP 2 (Heavier + Variation)”
- 129 — “Outro (DJ Mix-out)”
- Drums group: RED
- Bass group: GREEN
- Music (pads/keys/vox): BLUE
- FX/Impacts/Risers: PURPLE
- Reference channel: GREY
- Kick muted or very filtered
- Use: tops, rides, atmos, vinyl noise, distant breaks
- Keep sub minimal (or none)
- On your Drum Group:
- On your Atmos track:
- EQ Eight: HP at 120 Hz, slight presence at 3–5 kHz
- Saturator: Soft Clip ON, Drive 3–6 dB
- Echo: 1/8 dotted or 1/4, Feedback 25–40%
- Reverb: short plate (Decay ~1.2–1.8s)
- Full drum kit (kick + snare + hats + ghost notes)
- Bass full-range (sub + mid)
- Hook element (stab, riff, vocal chop)
- Bars 49–56: core groove (don’t overload)
- Bars 57–64: add ride or shaker + tiny bass variation
- Bars 65–72: add perc loop or break layer
- Bars 73–80: pre-switch tension (filter, riser, fills)
- Drum Bus on Drum Group:
- Auto Filter on a break layer:
- Utility on hats:
- “Drop 1A (Minimal)”
- “Drop 1B (Add Ride)”
- “Drop 1C (Break Layer)”
- “Pre-Switch Fill”
- Half-time drums for 8 bars, or
- Jungle chop break takeover, or
- New bass call-and-response
- Cut the sub for 1 beat (space = impact)
- Bring in a break with transient bite
- Add a new bass phrase that answers the first drop
- EQ Eight: notch harsh 3–5k if needed
- Redux: 12-bit, Downsample subtle (try 1.5–3)
- Saturator: Analog Clip, Drive 2–5 dB
- Glue Compressor: 2:1, Attack 3 ms, Release Auto, GR 1–3 dB
- “Switch (Jungle takeover)”
- “Switch (Half-time pressure)”
- Add a new bass layer (or swap wavetable / operator patch)
- Change drum ghost pattern (swing + shuffle)
- Add a counter-melody stab every 4 bars
- Increase distortion/saturation slightly
- Keep drums rolling but gradually reduce elements:
- Bass low-pass slowly closing (Auto Filter)
- Reverb tails on stabs
- Remove kick last (or leave kick + hats for DJ utility)
- Sub discipline: keep sub mostly stable; let mids do the talking. Use Utility to mono the low end.
- Tension automation > more layers: automate Auto Filter, Saturator drive, and reverb send instead of stacking 10 new sounds.
- Use “negative space” before impact: 1/4-bar silence or a single-beat drum mute hits hard in clubs.
- Jungle spice layer: sneak in a low-level chopped break under your main drums in Drop 2 (high-passed, then saturate).
- Darker transitions: use Grain Delay on a stab/vox for 1 bar (very low mix) to create haunted movement.
- Master safety: don’t slam the master limiter during arrangement. Leave headroom; keep peaks controlled with Glue on groups.
- Arrangement markers are your DnB performance map—build your track like a pirate-radio set 📻
- Place markers at energy decisions, not just bar counts
- Use mini locators inside drops to manage density and momentum
- Create one strong reload/cut moment for maximum hype
- Drop 2 should feel like a dubplate switch, not copy/paste
---
2. What you will build
A 3–4 minute rolling DnB arrangement with:
---
3. Step-by-step walkthrough
Step 0 — Prep: set your grid like a pro
1. Set tempo to 174 BPM (classic DnB zone).
2. In Arrangement View:
- Turn on Metronome and set Count-In (1 bar is enough).
- Set grid to 1 Bar for placing markers; switch to 1/4 or 1/8 for detail edits.
DnB structure cheat:
---
Step 1 — Create your marker skeleton (the pirate-radio “segments”)
In Arrangement View, right-click the timeline (top ruler) and choose Add Locator (or use Live’s locator/marker command depending on your setup).
Place locators at these bar numbers (example for a 128-bar core + intro/outro):
✅ Why this works: you’re creating clear “broadcast blocks” like a pirate station: intro segment, teaser, big moment, switch, second big moment.
---
Step 2 — Color-code & name tracks for fast marker-based decisions 🎛️
DnB arrangement gets messy fast—make it easy to “perform” in your head:
Workflow tip: Put markers where something changes, not just every 16 bars. Changes = bass pattern, drum density, new hook, vocal stab, new hat layer.
---
Step 3 — Build a DJ-friendly intro using markers as “mix points”
Goal: An intro that lets DJs beatmatch and tease your vibe before the drop.
From bar 1–16:
Stock devices to set this up:
- Auto Filter (HP @ ~150–250 Hz) on intro drums so the low end doesn’t fight the incoming DJ mix.
- Reverb (Decay 3–6s) + Utility (Width 130–170% if mono-compatible).
Marker usage:
At Locator “DJ Intro”, keep elements stable. At Locator “Tease Bass” (bar 17), introduce a filtered bass motif or reese tail.
---
Step 4 — Create “pirate-radio” callouts with controlled interruptions (without killing the roll)
That pirate-radio vibe often comes from micro-dropouts, tape stops, and quick reloads—but in DnB, you can’t destroy momentum.
Add a “Broadcast Cut” moment 1 bar before the drop (e.g., bar 48):
1. Duplicate a locator at bar 48 called: “CUT / RELOAD”
2. On the Master (or a dedicated “FX BUS”), automate:
- Utility Gain: quick dip -6 to -inf for 1/8 to 1/4 note
- Reverb send (or Echo feedback) spike for the tail
3. Add a vocal stab (“RELOAD!” / “Wheel it!”) one beat before the drop.
Device chain for the vocal stab (stock only):
Marker usage: you now have a locator that you can jump to while arranging to test hype moments instantly.
---
Step 5 — Drop 1: lock the groove, then automate density over 32 bars
At bar 49 “DROP 1”, make sure these are hitting:
32-bar Drop 1 energy plan (super practical):
Stock device moves (automation suggestions):
- Drive +2 to +6 over the drop (subtle ramp)
- Crunch 0–10% depending on style
- Slowly open from 300 Hz down to 80–120 Hz across 8 bars
- Width from 100% → 140% during peak (check mono!)
Marker usage: place mini locators inside Drop 1:
This is how pros keep “radio energy” without guesswork.
---
Step 6 — The switch: flip the pattern like a DJ double-drop moment 🔥
At bar 81 “SWITCH”, do a clear idea change:
Practical switch recipe (8 bars):
Stock chain for gritty break switch:
Marker usage: label it like a broadcast moment:
You’re telling your future self exactly what to deliver.
---
Step 7 — Drop 2: heavier variation using marker-based “A/B” mindset
At bar 97 “DROP 2”, don’t just repeat Drop 1. Make it feel like the DJ just pulled a dubplate.
Reliable Drop 2 upgrades:
Stock devices for a heavier Drop 2 bass chain (example):
1. Wavetable (or Operator) bass
2. Saturator (Soft Clip ON, Drive 4–8 dB)
3. Amp (optional: Clean/Blues for mid bite)
4. EQ Eight (HP @ 25–30 Hz, control 200–400 mud)
5. Glue Compressor (light, 1–2 dB GR)
6. Utility (Bass Mono below 120 Hz if needed)
Marker workflow tip:
Duplicate your Drop 1 locators and rename them “Drop 2A/B/C” so you keep the same pacing but with new sound choices.
---
Step 8 — Outro: give DJs a clean exit (and keep pirate vibes)
At bar 129 “Outro”:
- remove hook
- simplify bass
- reduce sub
- leave tops and percussion for mixing out
Go-to outro automation:
Marker usage: Add a locator mid-outro: “Mix-Out Clean (No Sub)” so you remember the DJ-friendly point.
---
4. Common mistakes
1. Markers placed every 16 bars with no purpose
Mark where energy decisions happen (density, rhythm switch, bass phrase change).
2. Drop arrives with no contrast
If your intro/build has full low-end and full drums, the drop won’t feel like a drop.
3. Too many “reload cuts”
One strong cut beats five weak ones. Pirate energy = impactful moments, not constant gimmicks.
4. Switch doesn’t introduce a new idea
A switch should feel like a new plate got slapped on.
5. Ignoring DJ mix points
If you never create a clean 8–16 bar section with predictable drums, DJs will avoid the tune.
---
5. Pro tips for darker/heavier DnB 🖤
---
6. Mini practice exercise (15 minutes) ⏱️
1. Take an 8-bar drum loop + 8-bar bass loop you already have.
2. Duplicate them to create 64 bars of material.
3. Add these locators:
- 1 “Intro”
- 17 “Tease”
- 33 “Build”
- 49 “Drop”
4. Create only three changes:
- Bar 17: introduce filtered bass tease (Auto Filter)
- Bar 33: snare build (add roll or rising noise)
- Bar 48: 1-beat cut + vocal stab + reverb tail
5. Export a quick draft and listen like a DJ:
Does bar 49 feel like a real moment?
---
7. Recap
If you want, tell me your subgenre (roller, jump-up, techstep, jungle, neuro) and I’ll give you a marker template with exact bar counts and a recommended device/automation plan for that vibe.
```

