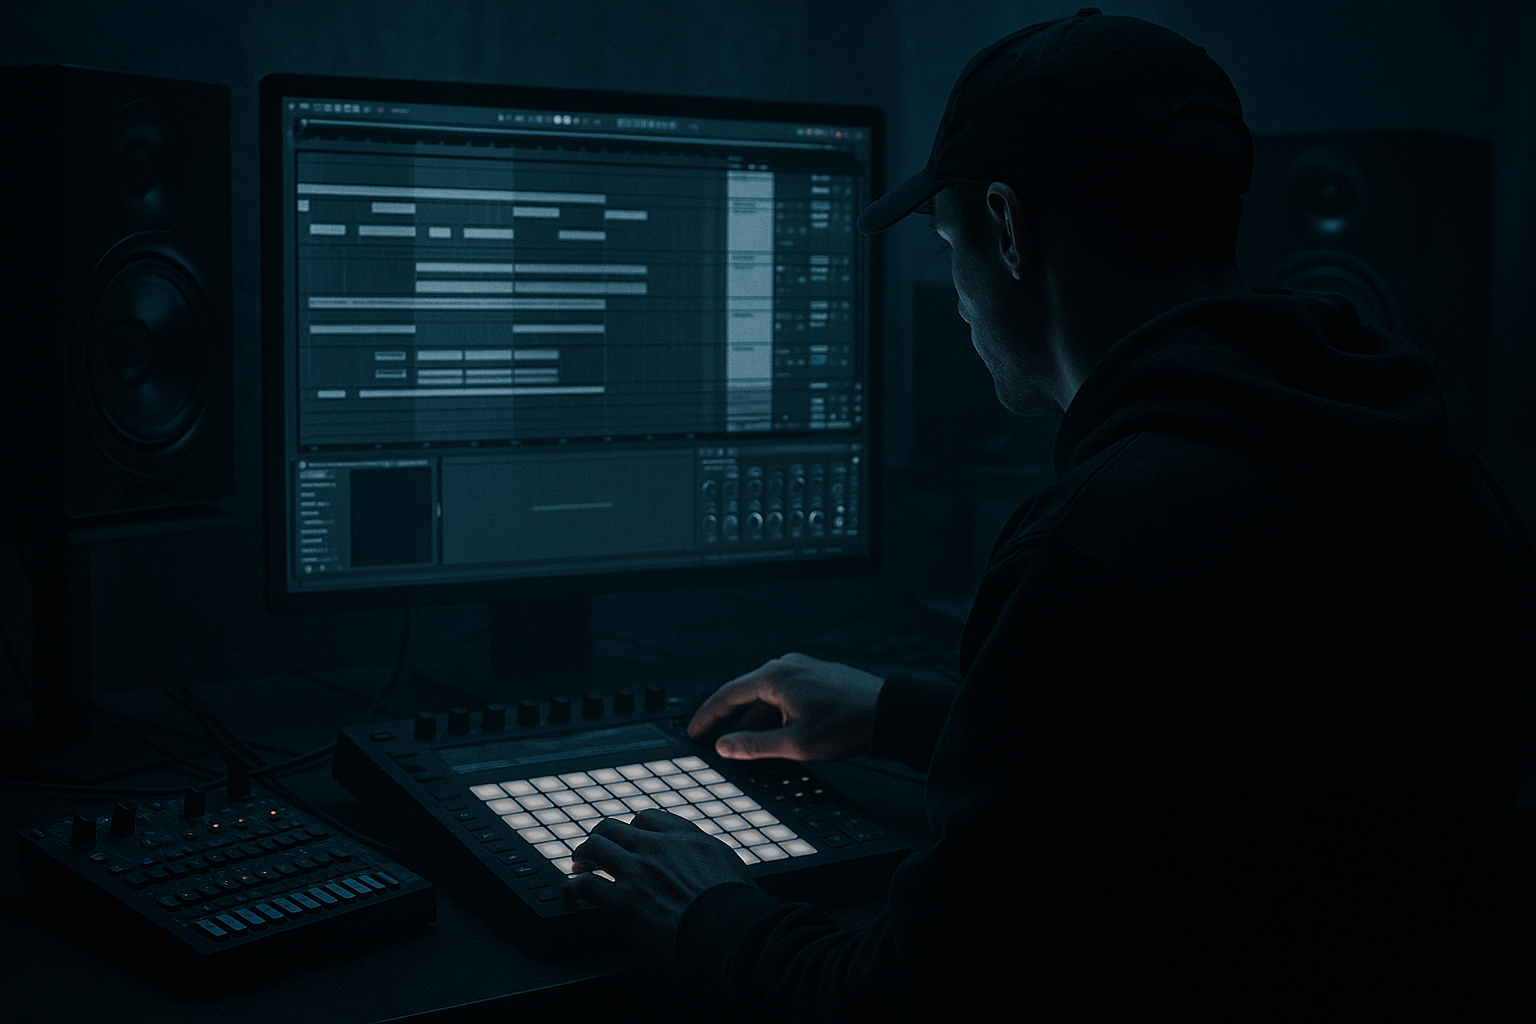
Main tutorial
Loose Percussion Around Rigid Sub Patterns (DnB in Ableton Live) 🥁🔊
1) Lesson overview
In rolling drum & bass, the sub often needs to be laser-stable—tight phase, consistent groove anchor, predictable weight. The percussion, however, can (and should) move with more “human” looseness: micro-timing shifts, velocity contours, swing, shuffled ghost notes, and controlled randomness.
This lesson shows you how to lock a rigid sub pattern while building loose, alive percussion around it—without the mix turning messy or the groove falling apart.
---
2) What you will build
You’ll build a 16-bar DnB loop (then expand to a simple arrangement) featuring:
- A tight sub bass (rigid timing, consistent envelope)
- A solid kick/snare backbone
- Loose percussion layers (hats, rides, shakers, ghost snares, foley)
- Controlled microtiming + groove pool + velocity shaping
- A workflow where sub stays dead-center and stable, while percussion “breathes” around it
- Keep it grid-tight: 1/8 or 1/4 note lengths, minimal overlap.
- Example idea (in A / G / F etc.):
- No groove, no random, no humanize on sub MIDI.
- Quantize to 1/16 at 100%.
- Snare on beat 2 and 4 (bar positions 1.2 and 1.4).
- Kick:
- Use a closed hat sample with a short tail.
- Place it on every offbeat (the “ands”): 1.1.3, 1.2.3, 1.3.3, 1.4.3…
- Quantize: 1/16, 100% (for now)
- Stronger hits leading into snare (pre-2 and pre-4)
- Lighter hits immediately after snare
- Grooving the sub: applying swing to bass makes the low-end feel late/unstable and can weaken impact.
- Too much random timing: if everything is loose, nothing is anchored. Keep one or two “grid truth” elements (snare + offbeat hat).
- Ignoring velocity: timing alone won’t create funk—velocity accents are half the groove.
- Over-layering highs: hats + rides + shakers + loops = harsh wash. Choose roles.
- Loose percussion fighting vocal/lead: keep tops controlled with EQ and bussing so your main hook has space.
- Late hats, early ghosts: A great dark roller feel is hats slightly late (+5 to +15 ms) while tiny ticks/ghosts are slightly early (-5 to -10 ms). Creates tension.
- Add “air grit” with Roar (if you have it):
- Use Redux subtly on ticks:
- Reverb discipline:
- Parallel transient snap:
- Keep sub timing rigid and consistent—quantized, stable envelope, clean low-end.
- Build groove with percussion looseness: groove pool swing + velocity shaping + microtiming nudges.
- Maintain clarity using buss processing (Drum Buss, Glue, EQ Eight) and frequency discipline.
- Arrange looseness as energy progression across 16 bars for real roller momentum.
Target vibe: rollers / jungle-influenced techy groove (think shuffled hats, ghost snares, metallic ticks) 🎛️
---
3) Step-by-step walkthrough
A) Session prep: set the “non-negotiables”
1. Tempo: 172–176 BPM (pick 174 BPM).
2. Global Groove: keep none for now—don’t add swing globally yet.
3. Create groups:
- DRUMS (Group)
- PERC (Group) (optional if you like hats/foley separate)
- BASS (Group)
Workflow principle: Sub timing is sacred. Everything else can be pushed/pulled around it.
---
B) Build the rigid sub anchor (phase-stable + consistent)
Track: `Sub (MIDI)`
1. Load Operator (stock).
2. Oscillator A: Sine.
3. Envelope (Amp):
- Attack: 0.00 ms
- Decay: ~250–450 ms (depends on note length)
- Sustain: -inf (or 0 with short notes)
- Release: 30–80 ms (avoid clicks)
4. Add Saturator (stock) after Operator:
- Mode: Soft Sine or Analog Clip
- Drive: 2–6 dB (keep it subtle; you want presence without fuzz)
- Output: trim to match level
5. Add EQ Eight:
- HP filter off (or very gentle at 20–25 Hz if needed)
- Optional small dip at 200–400 Hz if it gets boxy
MIDI pattern (example, 2 bars):
- Bar 1: A1 (1/2), A1 (1/4), A1 (1/4)
- Bar 2: A1 (1/4), G1 (1/4), A1 (1/2)
Important:
✅ Now you have a rigid “spine” that the ear can trust.
---
C) Core drums: kick/snare as the reference grid
Track: `Drum Rack - Core`
1. Create a Drum Rack and load:
- Kick (tight, short)
- Snare (crack + body)
- Optional clap layer (very subtle, highpassed)
Pattern (classic DnB):
- Start with kick on 1.1
- Add a second kick e.g. 1.3.3 (varies by style)
Timing rule:
Kick and snare should be mostly rigid. Tiny snare drags can work, but only after the percussion is designed.
---
D) Create “loose percussion” layers (the fun part) 😈
You’ll build percussion in three behavior categories:
1) Grid-tight: anchors (often closed hat on offbeats)
2) Grooved: swing-driven (shuffles, rides, hats)
3) Free: micro-shifted/randomized (ticks, foley, ghosts)
#### Layer 1: Offbeat hat (semi-stable anchor)
Track: `Hat - Offbeat`
This hat glues the roller. It’s “allowed” to be stable.
---
#### Layer 2: Shuffled hat/ride (groove pool + velocity)
Track: `Hat/Ride - Shuffle`
1. Add a ride or hat with more texture (think slightly noisy).
2. Program a 16th-note pattern with holes (don’t fill every step).
Example 1-bar idea (16ths):
Hits on: 1, 3, 4, 7, 9, 11, 12, 15 (leave space for snare)
3. Groove Pool (Ableton):
- Open Groove Pool.
- Try: Swing 16-65 (or any MPC-ish swing).
- Apply to this clip only:
- Timing: 20–40%
- Velocity: 10–25%
- Random: 0–10% (tiny)
- Commit? Don’t commit yet—keep it adjustable.
4. Velocity shaping:
In the MIDI clip, create a contour:
DnB feel tip: accent patterns that “lean” into the backbeat.
---
#### Layer 3: Ghost snare + percussion ticks (microtiming offsets)
Track: `Ghosts / Ticks`
1. Add a rim/ghost snare + a metallic tick (or foley click).
2. Place ghost notes around the main snare:
- Common: 1.2.4 (just before snare), 1.3.2, 1.4.4
3. Micro-shift these notes off the grid:
- Turn off snap (or set grid to 1/64)
- Nudge ghosts:
- Some -5 to -15 ms (early) for urgency
- Some +5 to +20 ms (late) for swagger
4. Keep velocities low:
- Ghost snare velocity: 10–40 (depending on sample)
Key: Don’t shift the main snare—shift the ghosts and ticks.
---
E) Make it “loose” without losing punch: MIDI + audio control
Loose percussion can smear transients if you’re not careful. Here’s how to keep it controlled.
#### Option 1: Use a dedicated “Perc Buss” with transient control
Group your loose layers into PERC (Group) and add:
1. Drum Buss (stock)
- Drive: 2–8%
- Crunch: 0–10% (taste)
- Transients: +5 to +20 (brings back attack)
- Boom: usually off for hats (can muddy)
2. Glue Compressor
- Attack: 3 ms
- Release: Auto
- Ratio: 2:1
- Aim: 1–2 dB GR just for cohesion
3. EQ Eight
- HP: 200–400 Hz (depends on material)
- Small dip if harsh: 7–10 kHz
This keeps the groove loose but the percussion still “speaks.”
---
F) Keep sub rigid while percussion dances: sidechain + frequency discipline
Sub track stays stable, but must remain clear.
1. On PERC group, add EQ Eight:
- High-pass aggressively: often 250–500 Hz
2. On BASS group, consider Sidechain compression from kick (and sometimes snare):
- Compressor (stock) on Sub:
- Sidechain: Kick
- Attack: 0.1–1 ms
- Release: 80–150 ms
- GR: 1–3 dB (subtle for rollers, more for dancefloor punch)
The “rigid sub” isn’t just timing—it’s also space management.
---
G) Arrangement: where loose percussion earns its keep
Take your 2-bar loop and expand to 16 bars:
Bars 1–4: core drums + sub + offbeat hat (minimal)
Bars 5–8: introduce shuffle layer (groove pool)
Bars 9–12: add ticks/ghosts + tiny fills (1 per 4 bars)
Bars 13–16: add a ride or extra top loop, then strip back at bar 16 for a drop/reset
DnB trick: Let the percussion loosen more in the later phrases to create forward motion without changing the sub line.
---
4) Common mistakes
---
5) Pro tips for darker/heavier DnB 🖤
On PERC buss: light saturation in multiband, keep lows untouched.
Bit reduction can make small percussion cut through dense basses. Mix low, HP first.
Put reverb on a Return track (Hybrid Reverb or Reverb). High-pass the return at 400–800 Hz and keep decay short (0.4–1.2s) for dark rooms.
Duplicate PERC buss → heavily transient-enhance (Drum Buss Transients +30) → blend at -15 to -25 dB. Adds bite without ruining groove.
---
6) Mini practice exercise (20 minutes) ⏱️
1. Create an 8-bar loop with rigid sub + kick/snare.
2. Add three percussion tracks:
- Offbeat hat (grid-tight)
- Shuffle hat (groove pool timing 30%)
- Ghost/tick layer (manual microtiming)
3. Rule: you may only move notes by ±20 ms.
4. Bounce a short resample of the PERC buss and compare:
- Version A: no microtiming (all quantized)
- Version B: loose percussion
5. A/B at low volume: Version B should feel like it “rolls” more even quietly.
---
7) Recap
If you want, tell me your sub rhythm (or upload a screenshot of your MIDI) and I’ll suggest specific percussion placements and timing offsets that match it.

