Main tutorial
Lesson Overview
In this lesson, you’re building a low-end pressure system for an oldskool/jungle-flavoured DnB roller: a subweight bass line that feels wide in energy, but stays disciplined in the mix. The goal is not just “make a bass sound heavy” — it’s to design a bass that pushes the drop forward, sits under break edits, and creates that classic rolling pressure you hear in darker jungle and liquid-leaning rollers with a gritty edge.
This matters because in Drum & Bass, the low end is often doing three jobs at once:
1. Holding the groove with weight and note movement
2. Leaving room for breaks and snares to punch through
3. Creating tension across arrangement sections so the drop feels bigger every 8 or 16 bars
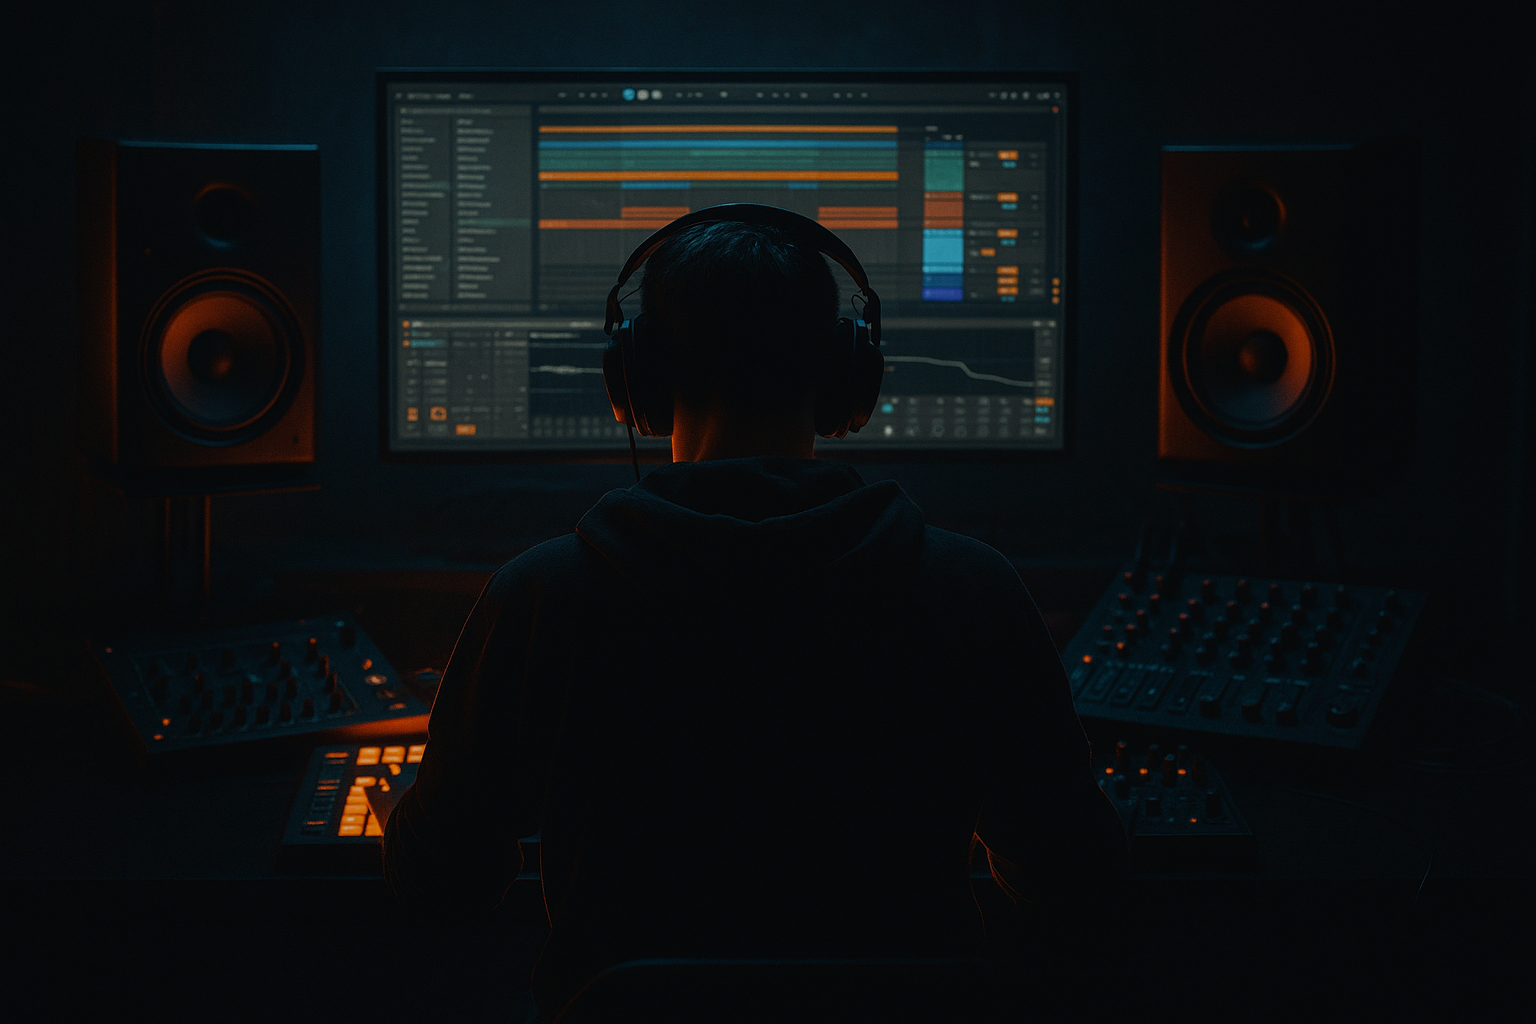
We’ll use Ableton Live 12 stock devices to build the sound, shape the groove, and arrange it in a way that feels authentic to DnB: DJ-friendly intro, tight drop, subtle variations, and switch-ups that keep it alive without becoming messy. Expect practical routing, automation, and FX moves throughout 🎚️
What You Will Build
By the end, you’ll have:
- A sub-heavy roller bass built from a clean sine foundation plus a dirtier mid layer
- A controlled reese-style movement that adds menace without swallowing the mix
- A break-driven arrangement where the bass interacts with edited jungle drums
- FX transitions using stock Ableton tools for fills, pressure ramps, and switch-ups
- A bass lane that works for a dark 172–174 BPM DnB roller with oldskool/jungle attitude
- 16-bar DJ intro
- 32-bar first drop
- subtle call-and-response between kick/snare/break edits and bass stabs
- a second 16 bars with extra distortion, automation, or octave tension
- clean outro for mixing
- Drums: one kick, one snare on 2 and 4, plus a chopped break layer
- Bass MIDI track: your main low-end instrument
- FX return tracks: one for reverb, one for delay, one for parallel grit if needed
- Bars 1–16: intro with filtered drums, atmos, and hint-of-bass automation
- Bars 17–48: main drop with full low-end pressure
- Bars 49–64: variation with a new bass rhythm or octave touch
- Bars 65–80: breakdown or tension section
- Bars 81–112: second drop with added grit and drum edits
- Final 16 bars: DJ-friendly exit
- Oscillator A: Sine
- Turn off or ignore extra oscillators at first
- Filter: keep it open or unused initially
- Amp envelope: short attack, medium-short release
- Attack: 0.0–5 ms
- Decay: 120–250 ms
- Sustain: -6 to 0 dB feel depending on note length
- Release: 40–120 ms
- mostly root notes
- occasional octave jump
- one or two passing notes every 4 or 8 bars
- leave spaces after snares so the groove can breathe
- 1 bar of 4/4
- Bass on beat 1
- another note on the “and” of 2
- a short hit on 3
- leave space for the snare on 2 and 4 to speak
- two detuned saws or a saw + square approach
- low-pass filter engaged
- subtle pitch or filter modulation
- Filter cutoff: 180–500 Hz
- Filter resonance: 10–20%
- Detune: small, around 5–15 cents
- Chorus-Ensemble: very subtle if used at all
- Unison: avoid huge stereo spread; keep it disciplined
- Drive: 2–6 dB
- Soft Clip: On
- Output reduced to maintain level
- High-pass the mid layer around 80–120 Hz so it doesn’t fight the sub
- Cut a bit of low-mid mud around 200–350 Hz if needed
- Tame harshness around 2.5–5 kHz if the saws get sharp
- Drum Buss: Drive 5–15%, Boom 0–20%, Damp adjusted by ear, Transients slightly positive or neutral
- Auto Filter: Low-pass with cutoff automation for intro/builds
- Utility: Width 0% on sub frequencies if needed, or use it to check mono discipline
- Macro 1: Sub level
- Macro 2: Mid grit
- Macro 3: Filter cutoff
- Macro 4: Drive amount
- Macro 5: Stereo width of the top layer only
- Macro 6: Release/decay feel
- In the intro, keep the filter partially closed so the bass arrives as a tease
- At the drop, open the cutoff and increase drive slightly
- In the second 16 bars, automate more grit rather than just more volume
- Ratio: 2:1 to 4:1
- Attack: 10–30 ms if you want some initial bass punch; faster if the kick is fighting
- Release: 60–140 ms timed to the groove
- Gain reduction: aim for 2–5 dB, not extreme pumping unless stylistically desired
- Bar 1: long bass note
- Bar 2: shorter response note
- Bar 3: a rest or filter dip
- Bar 4: a busier phrase or octave hit
- Add one ghost note
- Remove one note on the second loop
- Shift one bass hit earlier by a 16th
- Add an octave accent every 8 bars
- Freeze/flatten or resample the bass to audio
- Duplicate the audio clip
- On one copy, add Erosion, Saturator, or Overdrive
- Blend this texture layer quietly under the clean bass
- Erosion: mode around noise or sine texture, amount low to moderate
- Overdrive: Frequency tuned to upper harmonics, Drive used sparingly
- Saturator: soft clip on, drive just enough to hear edge on small speakers
- High-pass around 150–250 Hz
- Sometimes low-pass around 6–10 kHz if it gets fizzy
- Auto Filter sweeps on the bass or return
- Reverb on snare throws or short drum fills
- Echo for occasional tailing hits
- Reverse audio edits for riser-like movement
- Impact hits made from resampled bass stabs or drum hits
- In the 4 bars before the drop, automate a low-pass on the bass tease
- Use a snare fill plus short bass silence in the last half-bar before impact
- On every 16th or 32nd bar, add a one-bar variation: an octave note, a drum break stop, or a filter-open moment
- Keep the sub mono
- Avoid excessive energy below 30 Hz
- Watch for mud around 150–300 Hz
- Make sure the kick and bass are not fighting for the exact same moment unless that’s the aesthetic
- Check in mono regularly
- On the bass group, use Utility with Width at 0% for the sub region if needed
- Use EQ Eight to notch a resonant bass note if one pitch is jumping out
- Use Spectrum to spot if the bass is bloating on one note or if the kick is being swallowed
- Making the sub too wide
- Letting the mid bass cover the snare
- Using too much drive before the arrangement is working
- Repeating one bass loop for the whole drop
- Over-sidechaining until the track loses weight
- Ignoring low-end tuning
- Layer a quiet octave-up harmonic layer under certain bass notes only in the second drop for extra tension.
- Use Auto Filter resonance very lightly on the mid layer to create a haunting reese edge.
- Add a tiny amount of Saturator Soft Clip rather than just boosting level; it reads louder and denser on club systems.
- Automate filter cutoff in 8-bar phrases, not random sweeps, so the track feels intentional and mix-friendly.
- For a more sinister oldskool feel, let the bass answer the break fills, then cut out completely for one beat before the next hit.
- Use Drum Buss on the bass group sparingly for glue; too much Boom can smear the kick/sub relationship.
- If the bass feels too clean, resample it and reprocess the audio version with Erosion or Overdrive for a more “tape-smashed warehouse” character.
- Keep one version of the bass very clean and one version gritty, then automate which layer dominates by section.
- In darker rollers, less melody, more phrasing often wins — the rhythm of the bass is the hook.
- Build the bass in layers: clean sub first, mid movement second.
- Use Ableton stock devices like Operator, Analog, EQ Eight, Saturator, Drum Buss, Compressor, Utility, and Auto Filter.
- Write bass phrases that answer the drums and leave space for snare and break detail.
- Use subtle FX automation to create tension, section changes, and drop energy.
- Keep the sub mono, the mix disciplined, and the arrangement moving.
- In DnB, the best low end is not just heavy — it’s controlled pressure with rhythm and attitude.
Musically, think:
Step-by-Step Walkthrough
1) Set the project up for a roller, not a lead bass
Start with the arrangement context before sound design. Set the tempo to 174 BPM as a solid oldskool/jungle-DnB reference point. If you prefer a slightly heavier, half-step feel, 172 BPM also works well. Create a simple loop with:
Use the Arrangement View and build in sections, not just an 8-bar loop. For this style, the bass should feel like it’s being “introduced” rather than immediately maxed out.
Practical starting structure:
Why this works in DnB: the genre depends on phrasing and energy control. If the bass enters like a full-force block from bar 1, you lose the impact of the drop and the movement between break edits and bass hits.
2) Build the clean sub foundation first
On your bass track, start with Operator. Use a simple sine-based sub that gives you pure weight before adding character.
Suggested Operator setup:
Starting envelope ranges:
Write a MIDI bass pattern that supports the drums rather than stepping on them. For an oldskool roller, try:
A classic move is to place bass notes just before or just after the snare, not constantly under it. That creates push-pull. Use longer notes for pressure, but avoid every note being full-length. Let some notes “blip” shorter to preserve groove.
Concrete MIDI starting idea:
3) Add the mid layer for reese movement and grime
Duplicate the bass track or create a second instrument chain on an Audio Effect Rack. This layer provides the audible movement above the sub.
Use Analog or another Operator instance with:
A very usable DnB starting point:
If you’re after a darker jungle tone, keep this mid layer slightly nasal and restrained, not lush. Then process it with Saturator:
Follow with EQ Eight:
This split-layer approach is a classic DnB workflow because it lets the sub stay mono and clean while the mid layer supplies movement, character, and tension.
4) Use an FX Rack for movement, not just loudness
Now shape the bass as an FX-driven instrument. Group your bass layers into an Audio Effect Rack so you can control the tonal balance and motion from one place.
Add these stock devices in a practical chain:
1. EQ Eight
2. Saturator
3. Drum Buss
4. Auto Filter
5. Utility
Suggested settings:
Map key rack macros:
Automation idea:
This is where the FX category becomes musically important: your bass doesn’t just play notes, it evolves. That evolution is what makes a roller feel alive across 64 bars.
5) Sidechain the bass to the drums with intention
In DnB, sidechain is not only about making room for the kick — it’s also about preserving the snare’s snap and the break’s transient detail. Use Compressor on the bass group, sidechained from the kick. If your break is very busy, you can also use a gentle sidechain from the snare or simply carve space with arrangement.
Suggested Compressor starting settings:
For more precise control, use Volume Shaper-style thinking with automation of clip gain or a Compressor sidechain curve approach via careful threshold/release settings. The best roller basses often feel like they’re breathing with the breaks, not ducking in a flashy EDM way.
Why this works in DnB: the genre is dense. If the bass is always fully present, the drum edit loses clarity. Controlled ducking keeps the low end huge while allowing the snare and break accents to cut through.
6) Program the bass to answer the drums
Now shape the groove like a conversation. Oldskool jungle and rollers often use call-and-response between bass and drum phrasing.
Try this:
Use the piano roll to create variety over 4 or 8 bars. A common mistake is writing a static 1-bar loop and repeating it forever. Instead:
If your drums include a chopped break, let the bass leave small gaps around the busy snare rolls or ghost snares. That’s where the groove gets its bounce. The bass should feel like it’s leaning into the break, not covering it.
Musical context example:
Imagine a drop where the break is doing a chopped Amen-style fill every 4 bars. Use the bass to hold a long root note through bars 1–2, then answer with a short two-note stab at bar 3, leaving bar 4 open for the drum fill. That creates tension and makes the fill feel more dramatic.
7) Add texture with resampling and controlled distortion
For more underground character, resample your bass or bounce a few bars to audio. This lets you treat the bass like a sample and introduce more DnB-native texture.
Workflow:
Useful settings:
Keep the distorted layer filtered so it doesn’t cloud the sub:
This is a strong jungle/rollers move because it adds the feeling of a rougher source without wrecking the low-end foundation.
8) Arrange the FX so the bass feels like it’s traveling
Now add transitions and pressure shifts. Use stock Ableton FX to support arrangement, not distract from it.
Great options:
Try these arrangement moves:
For DJ-friendly structure, keep intro and outro drums clean enough for mixing. That means bass is typically absent or filtered in the intro, then returns with full force at the drop. The contrast is what makes the low-end pressure feel larger.
9) Check the mix like a DnB engineer
The bass can only feel huge if the low end is organized. Use Spectrum, EQ Eight, and Utility to check discipline.
Checklist:
Useful moves:
A strong roller often sounds “smaller” soloed than people expect. That’s normal. In DnB, the bass should feel enormous in the context of the drums, not as an isolated synth preset.
Common Mistakes
Fix: keep the sub mono with Utility or by separating layers properly.
Fix: thin the mid layer around 200–500 Hz and leave rhythmic gaps.
Fix: build the pattern clean first, then add dirt after the groove is solid.
Fix: change note lengths, drop a hit, or add an octave switch every 8 bars.
Fix: aim for subtle ducking, not obvious pumping, unless that’s the creative choice.
Fix: check that the root note actually fits the track key and that the sub isn’t clashing with the kick fundamental.
Pro Tips for Darker / Heavier DnB
Mini Practice Exercise
Spend 15 minutes building a 16-bar bass passage.
1. Set a project at 174 BPM.
2. Program a simple drum loop with kick, snare, and a chopped break.
3. Create a clean sub using Operator with a sine wave.
4. Add a mid layer with Analog or another Operator patch.
5. Write a bass pattern that uses:
- one long root note
- one short response note
- one rest
- one octave accent every 4 or 8 bars
6. Put EQ Eight, Saturator, and Compressor on the bass group.
7. Automate the filter cutoff across the 16 bars:
- bars 1–4: restrained
- bars 5–8: more open
- bars 9–12: slightly darker again
- bars 13–16: most intense
8. Bounce one bass phrase to audio and add subtle Erosion for texture.
9. Check the whole loop in mono and make one fix to the low end.
Goal: by the end, the loop should feel like a real DnB drop skeleton, not just a synth loop.

