Main tutorial
1. Lesson Overview
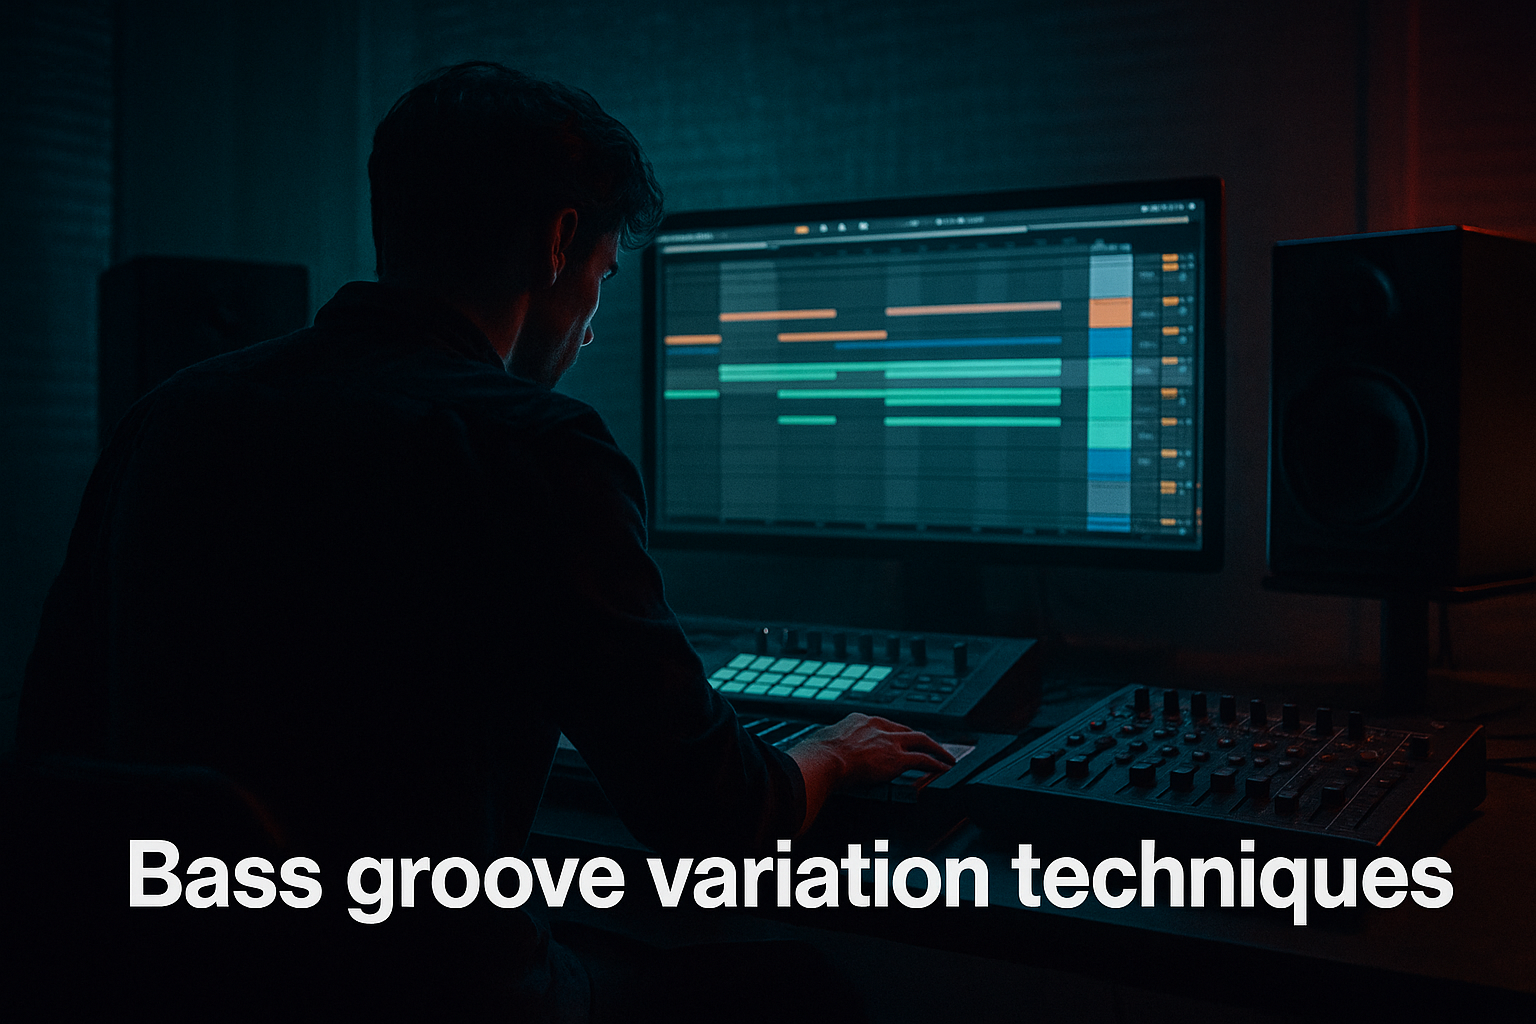
This intermediate Atmospheres lesson shows you how to create "Low-End Pressure Ableton Live 12 a ragga vocal layer blueprint for deep jungle atmosphere". You’ll turn a ragga vocal phrase into a multi-layered atmosphere that sits dark and weighty in the low end while keeping vocal character and intelligibility up top. Workflow uses Ableton Live 12 stock devices (Simpler/Sampler, Wavetable/Operator, Vocoder, EQ Eight, Saturator, Multiband Dynamics, Reverb/Delay, Utility, etc.) and practical routing/parallel techniques so the layer works in a Drum & Bass / Deep Jungle context.
2. What You Will Build
- A ragga vocal layer that has:
- Ableton Live 12 session routing that’s mix-ready with sidechain, multiband control, and send-return FX.
- Over-vocoding: too many vocoder bands or 100% vocoder wet with no dry vocal results in unreadable lyrics. Always keep a dry or parallel vocal.
- Low-end in stereo: widening below ~120 Hz causes phase issues and weak translation on club systems. Keep subs mono with Utility/EQ M/S.
- Masking with bassline/kick: failing to sidechain the low-pressure bus to the kick makes the mix muddy. Use subtle sidechain and carve space with EQ.
- Too much saturation on sub: overdriven sub becomes distorted and can clip. Use soft saturation and monitor on spectrum and in mono.
- Ignoring consonants: vocoded output often drops consonant clarity—remedy with a high-passed dry duplicate for sibilance/transients.
- Use MIDI notes on the Vox_Carrier synth to control pitch/movement of the vocoded output; octave shifts create dramatic pressure changes.
- Create an auxiliary “vowel hold” by sampling a sustained vowel from the vocal into Simpler, pitch it down and play long notes to create a pad that blends with the vocoder.
- For reggae/ragga flavor, intersperse small pitched delays (Echo set to dotted 1/16) with high feedback on percussion hits for that dubby bounce.
- Automate the Vocoder Bands down during breakdowns for a more smeared, haunting texture.
- Use Spectrum or EQ Eight's spectrum view to check where your low-pressure energy sits (aim energy concentration in 40–120 Hz but ensure 20–40 Hz sub stays controlled).
- If consonants still get lost, use a fast gate or transient shaper on the dry vocal to emphasize attack points and feed that into the high-mid channel only.
- Use a dry vocal for clarity and a vocoded modulator + low carrier synth to produce that low-mid “pressure”.
- Create a separate sub-layer from the vocal plus a clean synth sub; mono low-end and gentle saturation glue the low energy.
- Balance vocoder settings (bands, attack/release, dry/wet) to keep intelligibility while gaining body.
- Use EQ, multiband compression, and sidechain to prevent masking with kick and bass.
- Automate vocoder and carrier parameters for movement and keep FX sends conservative to preserve clarity.
- An intelligible, textured high-mid vocal presence (doubles, delays, small formant moves).
- A vocoder-driven low-mid/body that tracks a bass patch to create "pressure".
- A sub-layer derived from the vocal (pitched down) and reinforced with a synth sub to solidify 40–120 Hz energy.
- Stereo width and smearing for atmosphere while keeping mono low-end for club translation.
3. Step-by-Step Walkthrough
Note: this walkthrough uses stock devices and gives practical parameter directions. The phrase Low-End Pressure Ableton Live 12 a ragga vocal layer blueprint for deep jungle atmosphere will guide our arrangement and routing choices.
A. Prep the ragga vocal material
1. Import your ragga vocal sample(s) into an audio track (name it Ragga_Vox_RAW).
2. Warp the clip to grid in Complex Pro (maintains timbre). Trim to the tight phrase you want. Loop if you want a repeating atmospheric motif.
3. Duplicate the track twice: Ragga_Vox_DRY (keeps the intelligible top), Ragga_Vox_MOD (modulator for vocoder/sub processing).
B. Create the intelligible top layer (keep clarity)
1. On Ragga_Vox_DRY:
- Insert EQ Eight: high-pass at ~120 Hz (slope 24 dB/oct) to remove low mud. Slight boost 2–4 kHz +2–3 dB for presence.
- Insert Saturator (Soft Sine): Drive gently (2–4 dB), set Type to Soft Sine; use Output to match level. This adds harmonic grit.
- Add Reverb (Hybrid Reverb or Reverb): Small plate/room with short decay (0.8–1.5s), pre-delay 20–40 ms to keep vocal forward.
- Add Echo (set to ping-pong or tape-like mode) on a return if you want rhythmic dub echo; keep send low (10–20%) so it’s atmospheric, not distracting.
C. Set up the modulator and carrier for the vocoder (core of the Low-End Pressure)
1. Modulator:
- Use Ragga_Vox_MOD as the modulator. Clean up with EQ Eight: low-cut at 80–100 Hz (we’ll derive low-end separately), tame harsh resonances in 3–6 kHz if needed.
- Compress lightly with Compressor (Ratio 2:1–3:1, medium attack, medium release) to even out syllables so the vocoder gets consistent energy across bands.
2. Carrier (creating the low harmonic body)
- Create an Instrument Track named Vox_Carrier. Load Wavetable (or Operator if you prefer sample-accurate sine/triangle subs).
- Patch suggestion for Wavetable:
- Oscillator A: Saw / square blended, Oscillator B: another saw detuned slightly.
- Lower octave: set coarse tuning to -12 or -24 semitones for low harmonic content, or keep Osc A at -12 and Osc B at -24 for a rich sub/low-mid.
- Low-pass filter around 500–800 Hz with some resonance if you want more character; slow filter envelope (gently open on note start) for movement.
- Keep voices low (mono/legato) and set pitch range so the carrier is centered in the low-mid region (E1–C2 range) — the vocoder will impose the vocal’s articulation onto this low content.
3. Route for Vocoder:
- Put the Ableton Vocoder device on the Ragga_Vox_MOD track (the modulator track).
- In the Vocoder device, set Carrier to “External” (or choose "Sidechain/External" depending on UI). Open the device sidechain selector and choose Vox_Carrier (the synth track) as the sidechain input. This tells Vocoder to use your synth as the carrier and the ragga vocal as the modulator.
- Vocoder settings:
- Bands: start ~32–48 (more bands = clearer intelligibility; fewer = more smeared atmos).
- Attack/Release: medium-fast attack (~5–20 ms) and short release (~30–80 ms) to keep rhythmic articulation. Adjust to taste.
- Dry/Wet: start at 60–80% wet so you preserve some direct vocal when needed (we’ll also keep Ragga_Vox_DRY).
- Formant preserve: If Vocoder has a formant or preserve parameter, set it to keep higher frequencies clearer. (If not present, manage intelligibility via parallel dry vocal.)
- Monitor input levels so the vocoder is not clipping; bring down gain inside Vocoder if needed.
D. Shape intelligibility and blend
1. Parallel routing:
- Keep the Ragga_Vox_DRY track active (this preserves sibilance and consonants). Balance the level so the dry gives clarity while vocoder adds low-mid weight.
- On Vocoder output, run EQ Eight: low-cut at ~50 Hz (we’ll use separate sub), gentle dip around 2–4 kHz if masking occurs, boost 250–600 Hz to bring the low-mid vowel energy if needed.
2. Intelligibility techniques:
- Increase Vocoder Bands for clearer formants; reduce for smearing.
- Use a multiband chain: place Multiband Dynamics after the Vocoder and compress middle band (200–2000 Hz) slightly to bring out vowel energy, leaving highs relatively uncompressed.
- If consonants become blurred, duplicate Ragga_Vox_DRY, high-pass at 1.2–2 kHz, transient-shape with Compressor (fast attack, fast release) or use a transient shaper (if you have one) to bring consonants forward and blend.
E. Build the sub / low-pressure layer
1. Sub from vocal:
- Duplicate Ragga_Vox_MOD and name Vox_Sub_RAW. Insert Simpler (Classic) in Slice or Classic mode; drag the audio clip in, set loop region to a sustained vowel or low tonal portion, set Warp off or Sync off, turn Transpose to -12 to -24 semitones to create a deep, dark drone from the vocal timbre.
- After Simpler: Insert EQ Eight: low-pass around 250–400 Hz, steep high-cut above that. Use Resonance to emphasize the fundamental if present.
- Add Saturator (Warm Tube) lightly; then add Utility to mono below 120 Hz (set left/right to mono, use Eq to isolate below threshold first).
- Use Multiband Dynamics: compress the low band slightly to glue the sub.
2. Reinforce with synth sub:
- Create a simple Operator track with sine wave at the same root note used by the Carrier (or use Wavetable with a sine oscillator).
- Keep this sub very clean, route through EQ Eight high-cut at ~150–200 Hz, and Utility to mono below 120 Hz.
- Put a Glue Compressor with a slow attack and medium release to glue the sub to the rest.
3. Glueing low-end pressure:
- Group Vocoder output + Vox_Sub + Sub_Synth into a Bus (Low_Pressure_Bus). On the bus:
- Insert EQ Eight: gentle shelving boost centered ~80–120 Hz (+2–4 dB) to taste.
- Insert Saturator with Soft Clip: drive 1–3 dB to add harmonics so subs read on club systems.
- Insert Multiband Dynamics and compress low band slightly in tempo to the track, then sidechain compress the bus with the kick if needed (Compressor sidechain to Kick with 2:1–4:1, medium-fast attack, medium release) to preserve groove.
F. Spatial, motion and final blending
1. Stereo smearing:
- Keep Low_Pressure_Bus mono below ~120 Hz; on the bus use EQ Eight with Mid/Side mode to ensure mono low.
- For mid/side width: on Vocoder output add Chorus Ensemble (Analog Chorus) or Auto Pan on a light rate to add movement but keep depth subtle (less than 20% wet).
2. FX sends:
- Use a long Return Reverb (large hall) and send a small amount from the Vocoder/DRY tracks to create size. Use a high-pass on the reverb return at 400–600 Hz so reverb doesn’t add low mud.
- Use Grain Delay on a return to create slurred, dubby textures. Keep send amounts low so it’s atmospheric rather than dominant.
3. Final mix balancing:
- Balance Ragga_Vox_DRY (clarity), Vocoder (body), Vox_Sub/Sub_Synth (low pressure).
- Keep the vocal intelligible by letting the dry track sit ~-3 to -6 dB above Vocoder in the mids, while the Low_Pressure_Bus provides the sub energy under it.
4. Automation for movement:
- Automate Vocoder Bands or Dry/Wet across sections for transitions (tighter and clearer in verses, more smeared in drops).
- Automate Wavetable filter cutoff on Carrier for dynamic motion that keeps pressure evolving.
4. Common Mistakes
5. Pro Tips
6. Mini Practice Exercise
In a new Live set:
1. Drop a 2-bar ragga vocal phrase (looped).
2. Build the three-track system: Dry, Modulator-with-Vocoder, Sub.
3. Create a Wavetable carrier with Osc A at -12 semitones and a low-pass at 600 Hz.
4. Route Wavetable as external carrier into Vocoder on the modulator track; set Bands ~40 and Dry/Wet ~70%.
5. Create a Simpler sub by transposing the vocal -24 semitones and low-pass at 300 Hz.
6. Bus Vocoder + Simpler into a Low_Pressure_Bus, mono everything below 120 Hz and sidechain compress to a kick loop.
Goal: in under 20–30 minutes have an atmospheric loop that demonstrates clear top-end vocal and a heavy low-mid vocoder body.
7. Recap
You now have a practical blueprint: Low-End Pressure Ableton Live 12 a ragga vocal layer blueprint for deep jungle atmosphere. Key points:
Apply this blueprint to different ragga vocal samples and tweak carrier tuning and vocoder band counts to adapt the layer to various Drum & Bass and deep jungle contexts.

