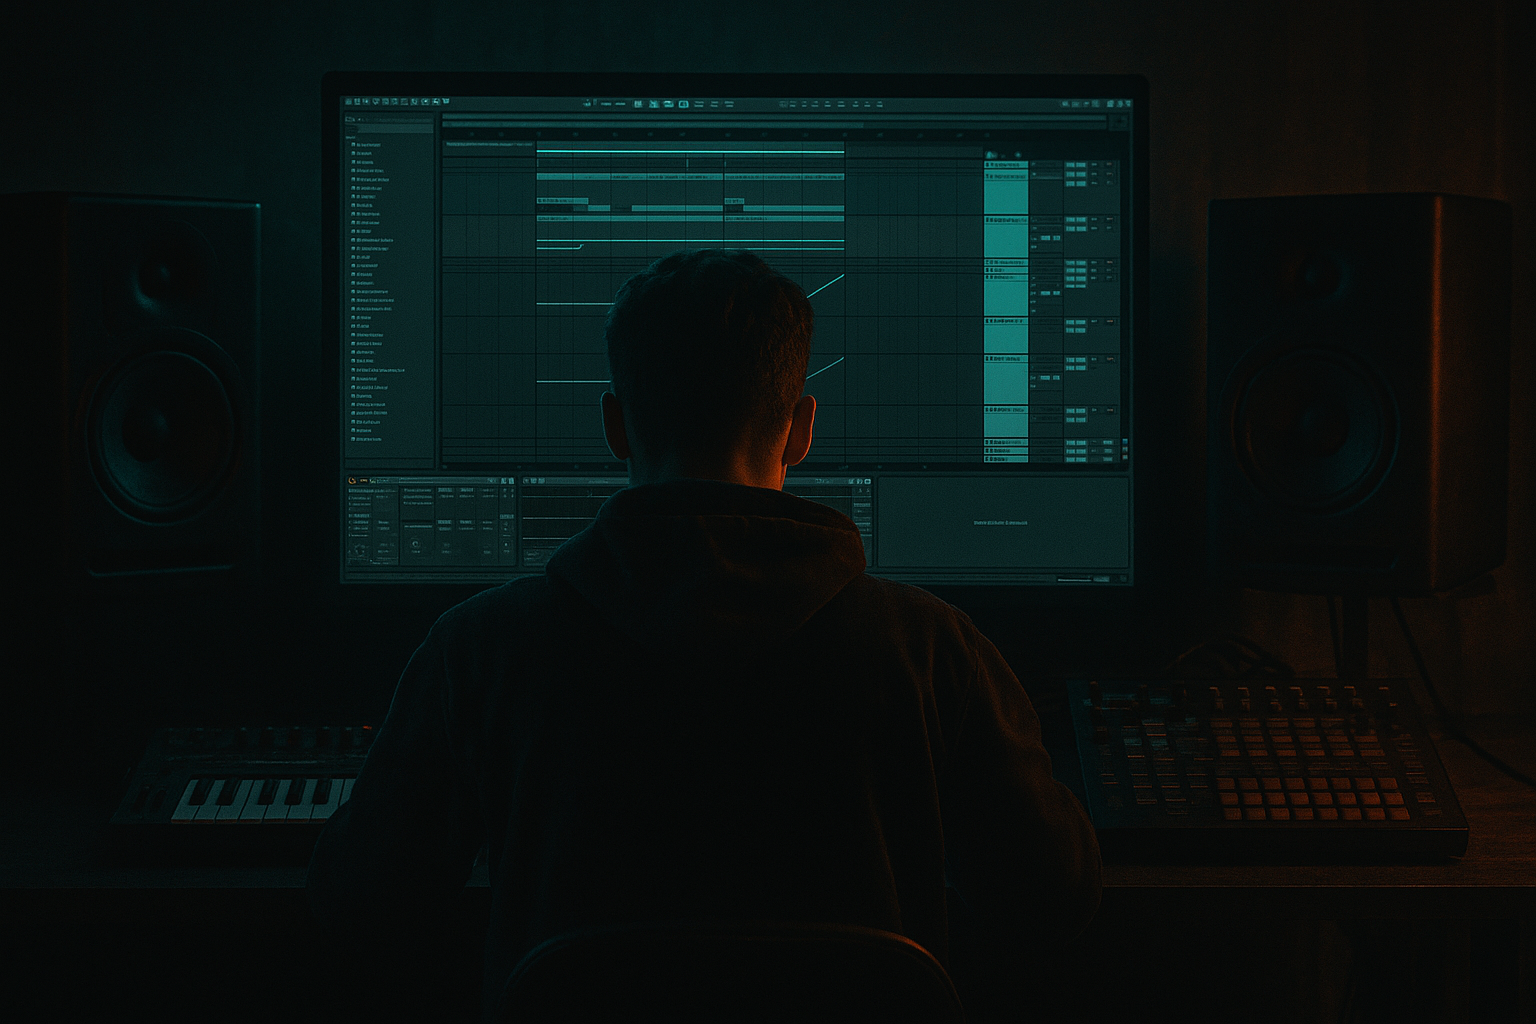
Main tutorial
Lesson Overview
In this lesson, you’re building a low-end pressure jungle air horn hit that works like a proper DnB arrangement tool — not just a one-off sample. In jungle, rollers, darker dancefloor, and neuro-influenced tracks, the air horn is often a call-and-response punctuation mark: it announces a switch, tightens tension before a drop, cuts through busy drums, and adds attitude without needing a full melodic hook.
The goal here is to take a raw air horn-style vocal/brass stab, shape it inside Ableton Live 12, and arrange it so it hits hard in a DnB context: layered with the right bass weight, controlled with automation, and placed musically across a phrase so it feels intentional. Because this is a Vocals lesson, we’ll treat the horn as a shout, chant, or vocal-like call — something that behaves like an aggressive hook in the arrangement.
Why this matters in DnB: when your drums are moving fast and your bass is busy, you need moments of instant identity. A well-arranged horn hit can do the work of a full transition, a hype vocal, and a tension release in just one bar. Done right, it becomes a signature moment in the track.
What You Will Build
By the end, you’ll have a compact but powerful air horn hit system in Ableton Live:
- A main horn hit that feels loud and aggressive without eating the sub
- A vocal-style layer or formant-enhanced layer for character
- A tight drum-and-bass arrangement where the horn lands on key phrase points
- An automation chain for filter, reverb, delay, and volume shaping
- A call-and-response pattern that fits jungle phrasing and works in a DJ mix
- A version that can be used as:
- Making the horn too low-heavy
- Letting reverb swallow the hit
- Ignoring the drum context
- Stacking too many layers in the same frequency range
- Using the horn as decoration instead of arrangement
- Not checking mono
- Use saturation in stages
- Automate filter movement with restraint
- Let the bass answer in a different register
- Use ghost vocal textures
- Create a “dry hit / wet hit” pair
- Keep the hook DJ-friendly
- Resample the best moment
- Treat the air horn like a vocal arrangement device, not just an effect.
- Keep the low end clean; let the horn live in the midrange impact zone.
- Use stock Ableton devices to shape tone, control dynamics, and automate tension.
- Place the horn in phrase-aware DnB positions so it supports the groove.
- Resample the strongest version and use it as a reusable hook element.
- In darker DnB, the real power comes from contrast: dry vs wet, horn vs bass, hit vs space.
- a pre-drop teaser
- a drop accent
- an 8-bar switch-up
- an outro hype phrase
Musically, think: hard 2-bar horn call, followed by one bar of drum fill, then a bass response that answers the horn with low-end movement.
Step-by-Step Walkthrough
1. Choose or record a horn source that can act like a vocal
Start with a sample that already has a strong midrange bite. In DnB, a horn hit needs to cut through fast drums, so avoid overly smooth material. Good sources include:
- a spoken shout or chant chopped to a short vowel-heavy hit
- a brassy stab with a rough edge
- a vocal sample pitched into a horn-like tone
- a jungle-style “air horn” sample with a clear transient
If you’re building from a vocal, use Simpler in Classic mode and trim to the strongest syllable or vowel. A sound like “yeah,” “oi,” “hey,” or a short shout can become very effective once processed.
Useful target: keep the source around 150 ms to 700 ms depending on the role. Shorter for drop punctuation, longer for pre-drop build tension.
2. Clean and shape the source before processing
Drop the sample into an audio track or Simpler, then tighten it:
- Use Warp if needed, but don’t over-stretch a punchy horn
- Trim silence tightly
- If the start is too soft, add a very small fade-in or use Clip Gain carefully
- If it feels too wide or messy, keep it centered first
In Simpler, try:
- Start: move until the transient is immediate
- Fade: very low or off unless the sample clicks
- Voices: 1 if you want a single stab
- Warp Mode: `Complex Pro` for vocal-like material, `Beats` for rhythmic chopped accents
Why this works in DnB: the more precise your source is, the easier it is to place it rhythmically against fast drums. DnB arrangement lives on micro-timing and impact, so sloppy source editing makes the whole section feel unfocused.
3. Build a horn chain with stock Ableton devices
Put these devices on the horn track in this order:
- EQ Eight
- Saturator
- Compressor or Glue Compressor
- Auto Filter
- Reverb
- Echo or Delay
Start with simple settings:
- EQ Eight: high-pass around 120–180 Hz to keep the horn out of sub territory
- Add a small boost around 1.5–3.5 kHz if it needs speak/cut
- If harsh, reduce a narrow band around 2.5–4.5 kHz
- Saturator: Drive around 2–6 dB, Soft Clip on if needed
- Compressor: ratio around 2:1 to 4:1, fast attack, medium release for control
- Auto Filter: low-pass for sweeps and tension
- Reverb: short to medium size, low mix
- Echo: short slap or tempo-locked throw
Keep the horn aggressive but not huge. In DnB, the horn should sit above the sub and between the snare and bass harmonics.
4. Make it feel like a vocal phrase, not a static stab
Since this is under the Vocals category, shape the horn like a line that talks to the drums. Use Clip Envelopes or automation on volume, filter, and send levels to create a phrase.
Try these movement ideas:
- Short horn hit on beat 1, then a quieter echo on the “and” of 2
- A rising filter open across 1 bar
- Reverb send swelling at the end of a phrase, then snapping dry on the next hit
- Slight volume dip on the first hit, then a stronger second hit for response
Example in a 2-bar jungle phrase:
- Bar 1 beat 1: horn hit
- Bar 1 beat 3: bass answers with a reese movement
- Bar 2 beat 1: horn repeats, filtered slightly brighter
- Bar 2 beat 4: a tiny vocal chop or delay tail leads into the drop
This call-and-response pattern is classic DnB language. It keeps the arrangement moving without overcrowding the groove.
5. Layer the horn with a low-end-aware companion, not more sub
Don’t stack extra low frequencies directly under the horn. Instead, create a supportive layer that adds size in the mids and upper lows without fighting the bassline.
Good stock-layer options:
- a second horn octave up or down using Transpose in Simpler
- a breathy vocal layer with high-pass filtering
- a short Reese-like texture rendered from Wavetable or Operator
- a noise burst shaped with Auto Filter and Saturator
Suggested layer treatment:
- High-pass the layer at 200–350 Hz
- Pan a subtle texture slightly left or right if the main horn stays center
- Use Utility to keep the main hit mono-compatible
- If layering with a bassy texture, keep its level very low and only let its mids speak
The aim is impact, not thickness for its own sake. In heavier DnB, clarity in the low end is more important than stacking extra weight everywhere.
6. Program the drum context so the horn lands with authority
The horn should be arranged against a proper DnB drum frame. Build a simple context in Session or Arrangement View:
- kick on the 1 and/or syncopated roller patterns
- snare on 2 and 4
- break edits around the horn hit
- ghost notes or hats filling the gaps
Then place the horn where it creates a phrase accent:
- the first beat of an 8-bar section
- the last half of bar 4 before a drop
- a post-snare gap where the horn can breathe
- after a break edit, so the horn feels like the “answer”
If the drums are busy, carve space:
- mute a hat for one hit
- reduce a snare ghost near the horn
- let the break briefly thin out before the horn lands
This is especially effective in jungle, where the break is already conversational. The horn becomes another voice in the rhythm, not a separate gimmick.
7. Shape the bass response so the horn feels huge
The horn won’t feel powerful unless the bass answers it properly. Build a bassline that reacts to the horn:
- a sub note that drops in after the horn
- a reese stab that opens slightly after the hit
- a bass fill that rises into the next drum accent
In Ableton, use:
- Operator for a clean sub
- Wavetable for a reese or growl layer
- Saturator to add harmonics without excess volume
- Utility to keep sub mono
Practical balance:
- Keep sub mostly below 100 Hz
- Let the horn own the midrange punch
- If the horn feels buried, reduce bass harmonics around 1–3 kHz
Why this works in DnB: fast bass patterns need a clear “who speaks when” relationship. The horn is the front-of-stage moment, while the bass is the physical response. That contrast makes both feel bigger.
8. Automate transitions like a DJ-friendly arrangement tool
A premium DnB horn hit isn’t just the sound — it’s how you move into and out of it. Use automation to create tension and release over 4, 8, or 16 bars.
Best automation targets:
- Auto Filter cutoff for opening tension
- Reverb send for wash before a drop
- Echo feedback for a throw or tail
- Track volume for mini drop-outs
- Saturator Drive for a more aggressive final hit
A useful arrangement trick:
- Bars 1–4: dry horn, tight drums
- Bars 5–6: filter opens gradually
- Bar 7: reverb and delay rise
- Bar 8: full hit, then a drum fill or bass stop
In a DJ-friendly intro/outro, leave room after the horn so a mix can breathe. Don’t overload every bar. The best jungle hooks often feel like they’re teasing the next thing rather than constantly shouting.
9. Print, resample, and refine the horn into a more unique weapon
Once the chain feels strong, resample it to audio. This gives you more control and helps you commit to the sound.
In Ableton:
- solo the horn chain
- record the processed output to a new audio track
- chop the best transient
- reverse a tail for transition use
- duplicate the hit and pitch one copy slightly up or down
After resampling, process again lightly if needed:
- EQ Eight to clean the low mids
- Glue Compressor for glue
- Utility to check mono
- a small Saturator bump if the resampled hit lost density
This is a huge workflow win in intermediate DnB production because it turns a “sound” into a reusable arrangement element. You can now place it as an accent, a call, a fill, or a teaser across the track.
10. Check mix translation in the exact spots that matter
A horn can sound huge solo and still fail in the full track. Test it in the real arrangement:
- full drums
- bassline active
- vocal chop or atmosphere layers
- sub playing
Do three quick checks:
- Mono check with Utility: does the horn still feel solid?
- Low-end check: is anything below 120–150 Hz cluttering the hit?
- Harshness check: is the 2–5 kHz zone stabbing too hard?
If it feels masked:
- raise the horn’s transient slightly with volume automation
- reduce competing bass harmonics
- shorten reverb
- narrow the stereo field of the bass, not the horn
If it feels too thin:
- add a little saturation
- layer a breath or shout
- use a second parallel track with very light compression and blend it in
Common Mistakes
- Fix: high-pass it more aggressively, usually somewhere around 120–180 Hz or higher if needed.
- Fix: shorten decay, lower send, and use reverb more as a transition tool than a constant layer.
- Fix: place the horn where there’s a gap, a fill, or a phrase change. If everything is full, nothing sounds special.
- Fix: let one element own the midrange punch and keep the rest filtered or quieter.
- Fix: treat it like a structural marker — intro cue, drop tag, switch-up, or response line.
- Fix: use Utility and keep the important impact centered, especially if the bass and kick are already busy.
Pro Tips for Darker / Heavier DnB
- Instead of one extreme Saturator setting, apply moderate drive on the horn track and a second light drive on the resampled audio. This often sounds tougher and cleaner.
- A slow opening low-pass or band-pass into the hit can add menace. Keep the range controlled so it doesn’t become a cheesy riser.
- If the horn is strong around 2–4 kHz, make the bass respond more in the 200–800 Hz movement zone or via sub drop, not by crowding the same band.
- A very quiet whisper, chant, or breath behind the horn can make it feel more underground and human, especially in darker rollers.
- One version of the horn should be tight and upfront, the other should be wider and more effect-heavy for switch-ups or breakdowns.
- Leave a few bars where the horn is absent or reduced. This makes the return feel harder and gives mixers room to work.
- A resampled horn hit often sounds more cohesive than a live stack. It also lets you make surgical arrangement moves without juggling too many active devices.
Mini Practice Exercise
Spend 10–20 minutes making a 4-bar horn phrase in Ableton Live 12:
1. Find or record one vocal-like horn source.
2. Build a simple chain with EQ Eight, Saturator, and Auto Filter.
3. Program a 4-bar DnB drum loop with snare on 2 and 4.
4. Place the horn on bar 1 beat 1 and bar 3 beat 1.
5. Automate the filter opening slightly over the 4 bars.
6. Add one echo throw on the last hit only.
7. Create a bass response after each horn hit using Operator or Wavetable.
8. Resample the result and compare the original vs. printed version.
9. Do a mono check and reduce any low-mid clutter.
10. Bounce or freeze the best version for later arrangement use.
Goal: make the horn feel like it belongs in a real jungle or roller arrangement, not just a test sound.

