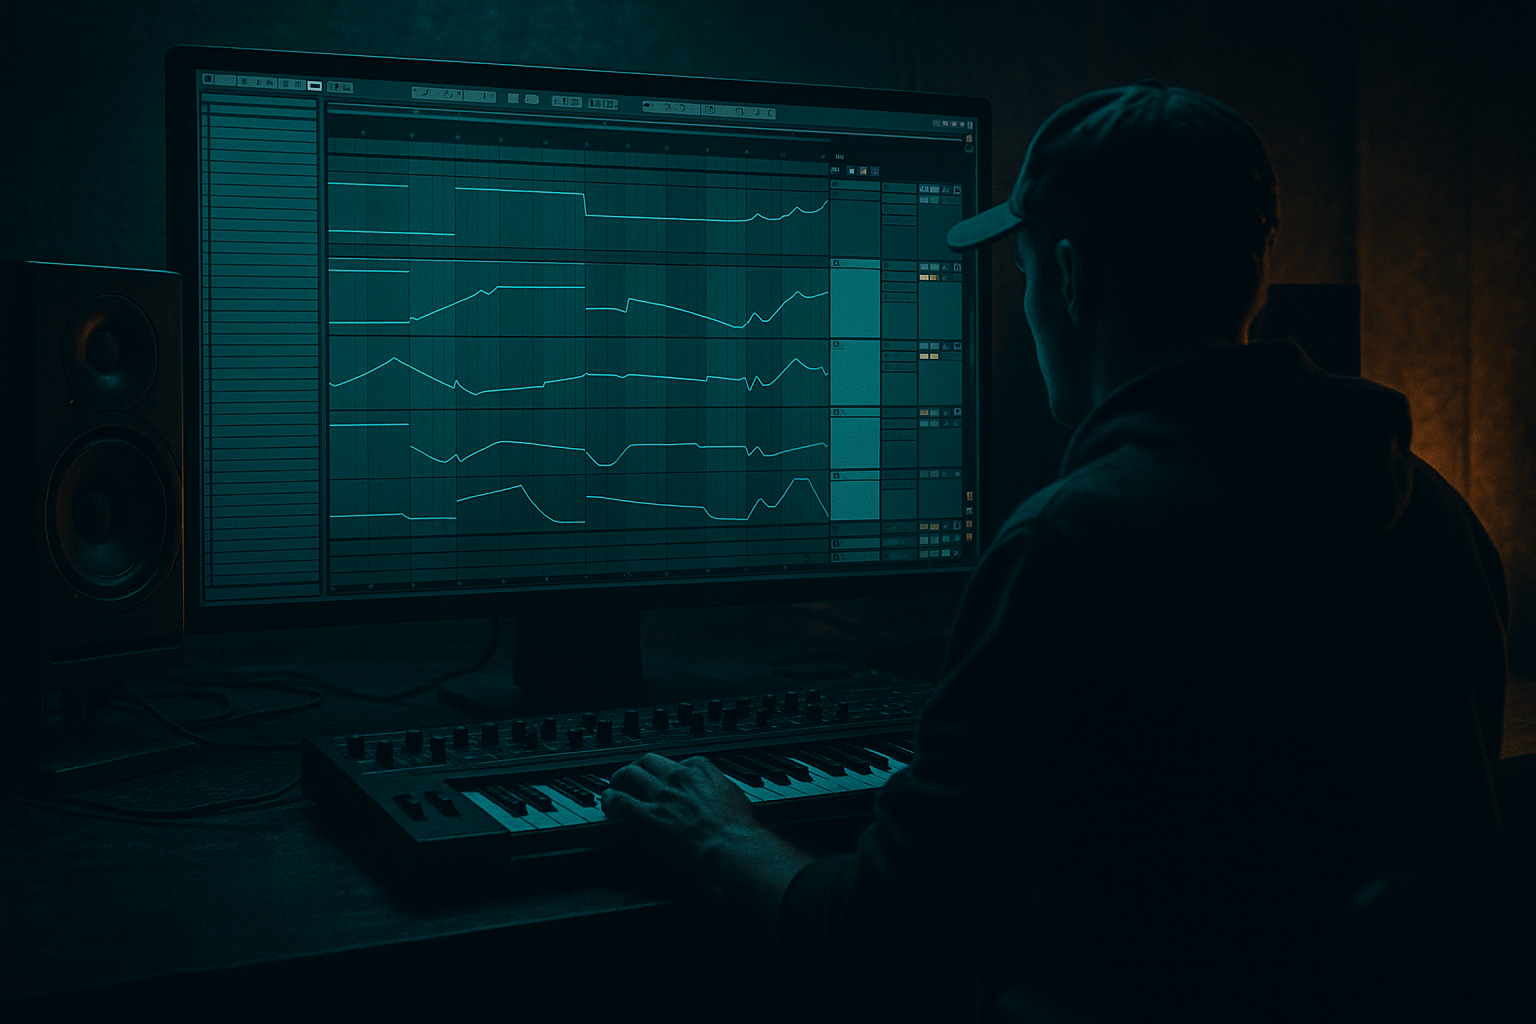
Main tutorial
```markdown
Low‑Mid Pressure Design From Scratch (170 BPM) — Ableton Live (Advanced) 🎛️🔥
1) Lesson overview
Low‑mid “pressure” in drum & bass is that chesty, forward push that makes a roller feel glued and heavy without needing ridiculous sub level. We’re aiming for weight between ~140–400 Hz while keeping the true sub (40–80 Hz) clean and consistent.
In this lesson you’ll design a two-layer bass system in Ableton Live:
- A clean sub that translates on any system
- A character layer that creates low‑mid pressure via saturation, controlled distortion, and mid/side management
- Bass Group
- A “Pressure Bus” inside the group for glue, transient control, and consistent energy
- A drop-ready 8–16 bar bass arrangement built for rolling DnB/jungle-inspired bass music
- Add Operator
- Oscillator A:
- Turn Off Osc B/C/D
- Global:
- Attack: 0.0–2.0 ms
- Decay: ~300 ms (depends on note length)
- Sustain: -inf if you’re using short notes OR 0 dB if sustained notes
- Release: 40–90 ms
- Add Utility
- Add Wavetable
- Osc 1: choose a rich but smooth wavetable
- Unison:
- Set Voices: Mono
- Glide: 30–60 ms (optional for slurs)
- Filter: LP24
- Cutoff: start around 250–500 Hz (we’ll refine later)
- Drive: 2–6
- Envelope amount: small, 5–15%
- Filter envelope:
- Drive: 6–12 dB
- Soft Clip: On
- Color: On, set around 1.5–3 kHz lightly
- Output: bring down to match
- Freq: 200–400 Hz
- Drive: 20–45%
- Tone: 30–50%
- Dynamics: 10–30%
- Then EQ Eight after to tame any harsh resonance.
- Mode: Overdrive or Distortion
- Drive: 15–35%
- Sub: keep low (you already HP’d), Tone to taste
- Great for dark rollers when kept band-limited.
- Attack: 10 ms
- Release: Auto (or 100 ms)
- Ratio: 4:1
- Threshold: aim for 2–5 dB reduction
- Soft Clip: On (tiny bit of extra density)
- Width: 0–30% (keep low‑mid mostly mono)
- Gain: set for proper balance vs SUB
- Add Compressor
- Sidechain: enable → choose Kick track as input
- Start settings:
- Every 4 bars, do a 1-beat bass mute or pitch drop for tension.
- Every 8 bars, add a fill: quick 1/16 stutter or a short reese stab.
- Macro 1: Filter Cutoff
- Macro 2: Saturation Drive
- Macro 3: Output Trim
- Macro 4: Sidechain Amount (threshold)
- Use “dark saturation,” not bright distortion:
- Parallel grit (Return track “CRUSH”)
- Mid/Side discipline
- Pitch movement for menace
- Jungle flavor
- Low‑mid pressure is designed, not luck: clean mono sub + harmonics layer.
- The PRESSURE layer should be high‑passed (~90–120 Hz) and band‑limited to stay muscular, not messy.
- Use Saturator/Overdrive/Pedal carefully, then Glue Compressor to keep density consistent.
- Keep low‑mids mostly mono, sidechain musically, and arrange with phrases + gaps like real DnB rollers.
…then you’ll arrange it like real DnB: call/response, fills, and drop dynamics at 170 BPM.
---
2) What you will build
By the end, you’ll have:
- SUB track: stable sine/triangle with tight dynamics
- PRESSURE track: harmonics + formant/growl options, tightly band-limited, mono-focused
---
3) Step‑by‑step walkthrough
Session setup (2 minutes)
1. Set tempo to 170 BPM.
2. Create these tracks:
- `SUB` (MIDI)
- `PRESSURE` (MIDI)
- Group them into `BASS GROUP`
3. Optional but recommended:
- Add a Return track called `CRUSH` for parallel grit later.
---
Step A — Build the SUB (clean + consistent) 🧱
Goal: Sub is boring on purpose: stable pitch, controlled amplitude, minimal harmonics.
#### 1) Instrument: Operator (best stock choice)
On `SUB` track:
- Wave: Sine
- Level: 0 dB
- Voices: 1 (mono)
- Glide/Portamento: Off (or very subtle later)
#### 2) Envelope (tight but not clicky)
In Operator > Amp Envelope:
#### 3) Sub control chain (simple, effective)
After Operator:
1. EQ Eight
- HP filter at 25–30 Hz (12 dB/Oct) to remove rumble
- Optional: tiny dip 200–300 Hz if sub is “honking” (shouldn’t happen with sine)
2. Saturator
- Drive: 1.5–4 dB
- Soft Clip: On
- Output: trim to match input
This helps translation without turning the sub into a mid bass.
3. Compressor (not always needed, but great for stability)
- Ratio: 2:1
- Attack: 20–30 ms
- Release: 80–120 ms
- Aim: 1–3 dB gain reduction on peaks
#### 4) Make the sub strictly mono
- Width: 0%
- Bass Mono (if available in your version): set to ~120 Hz (optional)
Checkpoint: Sub should read strong on a spectrum between 45–70 Hz (depending on key), with no weird movement.
---
Step B — Design the PRESSURE layer (the actual low‑mid push) 💪
Goal: Create controlled harmonics that sit above the sub and feel “heavy” around 150–350 Hz without masking kick/snare.
#### 1) Instrument: Wavetable (clean control + movement)
On `PRESSURE` track:
- Good starting points: Basic Shapes, Saw, or a gentle Complex table
- 2 voices, Amount 10–20% (keep it subtle; low-mid hates wide chaos)
#### 2) Filter for “pressure focus”
In Wavetable:
- Attack: 0–5 ms
- Decay: 150–250 ms
- Sustain: 0–20%
- Release: 60–120 ms
This gives a little “bark” at note onset—great for rollers.
#### 3) Band-limit the layer: remove sub and fizz
After Wavetable:
1. EQ Eight
- HP at 90–120 Hz (24 dB/Oct)
This is crucial so the PRESSURE layer never fights the SUB.
- LP at 1.5–4 kHz depending on how clean you want it
We’re designing low‑mid pressure, not a screaming reese (yet).
#### 4) Add harmonics in a controlled way (stock distortion chain)
Now add one of these chains (don’t stack everything immediately):
Option 1: Saturator (classic DnB weight)
Option 2: Overdrive (gnarlier bite)
Option 3: Pedal (dirty but controllable)
#### 5) Dynamics shaping: keep it “pressing” not “flapping”
Add Glue Compressor after distortion:
Now add Utility:
Checkpoint: Solo PRESSURE layer—should sound thick and gritty but not subby. Together with SUB, it should feel like a single powerful bass.
---
Step C — The “Pressure Bus” inside BASS GROUP (glue + consistency) 🧩
On `BASS GROUP`, add:
1. EQ Eight (clean-up)
- Tiny dip if needed at 200–250 Hz only if it’s boxy
- Small dip 300–450 Hz if it fights the snare body (common in DnB)
2. Drum Buss (yes, on bass) 😈
Use subtly:
- Drive: 5–15%
- Crunch: 0–10%
- Boom: 0–10%, Frequency ~50–70 Hz (very careful; sub already exists)
- Damp: to keep it dark
3. Limiter
- Just catching rogue peaks: 1–2 dB max reduction
This makes the bass “solid” in the drop.
---
Step D — Sidechain so the low‑mid stays loud without masking 🥁➡️🎚️
You’ll typically duck bass to kick (and sometimes to snare depending on your mix philosophy).
On BASS GROUP (or on SUB and PRESSURE separately if you want more control):
- Ratio: 3:1
- Attack: 2–10 ms
- Release: 60–120 ms (time it to the groove)
- Threshold: aim for 2–4 dB gain reduction on hits
Advanced move:
Duck the PRESSURE slightly more than the SUB. SUB stays consistent; pressure breathes with the drums.
---
Step E — Write a rolling 170 BPM bass pattern (DnB-real) 🏎️
In DnB rollers, bass pressure often comes from syncopated, repeated motifs with subtle variation.
1. Choose a key (example: F minor).
2. Create an 8-bar loop and start with a 2-bar motif.
3. Typical note lengths:
- Mix 1/8 and 1/16 notes
- Leave tiny gaps (silence creates perceived punch)
4. Try a pattern idea (describe, not locked):
- Bar 1: root note hits on 1, then offbeats (like 1e&, 2&, 3e, 4& style)
- Bar 2: variation with a quick 1/16 pickup before beat 3
5. Duplicate SUB MIDI to PRESSURE (start identical), then edit PRESSURE rhythm slightly to create push/pull.
Arrangement trick (super DnB):
---
Step F — Add movement without ruining the low‑mid (macro control) 🎚️
We want controlled evolution. Two reliable mod targets:
1. Filter cutoff automation (PRESSURE layer)
- Automate cutoff between 200–800 Hz
- Keep the layer band-limited with EQ so it doesn’t become harsh.
2. Saturator Drive automation
- Add 1–3 dB drive on “answer” phrases (bars 3–4, 7–8)
Ableton workflow tip:
Group devices on PRESSURE into an Audio Effect Rack, map:
Now you can perform the pressure like an instrument.
---
4) Common mistakes (and how to fix them) ⚠️
1. Pressure layer contains sub
- Fix: HP at 90–120 Hz on PRESSURE. Always.
2. Too much stereo in low‑mids
- Fix: Utility width 0–30%, avoid heavy unison.
3. Distortion before filtering
- If you distort full-band, you generate uncontrolled junk.
- Fix: Filter/EQ → Distort → EQ is usually cleaner.
4. Sidechain release not timed to 170
- Fix: set release so bass returns musically (often 60–120 ms). Use your ears against the groove.
5. Boxy 250–400 Hz masking snare
- Fix: small dip on bass group around 300–450 Hz, or carve dynamically with Multiband Dynamics (lightly).
---
5) Pro tips for darker/heavier DnB 🕷️
Low-pass the PRESSURE layer around 2–4 kHz and let the drums carry the brightness.
- On `CRUSH` return:
- Saturator (Drive 10–20 dB, Soft Clip on)
- EQ Eight: HP 150 Hz, LP 3 kHz
- Blend send at -20 to -10 dB
You get aggression without killing the core tone.
- Keep SUB mono always.
- If you want width, do it above 300–500 Hz only (Utility or EQ Eight M/S).
- Occasional -2 or -5 semitone drops at phrase ends (common in modern rollers).
- Short bass notes with space + fast drum programming = perceived speed and weight.
---
6) Mini practice exercise (20 minutes) 🧪
1. Build the SUB exactly as described.
2. Build the PRESSURE layer with Wavetable + EQ + Saturator + Glue Compressor.
3. Write a 2-bar motif at 170 BPM.
4. Duplicate to 8 bars and add:
- Bar 4: 1-beat mute
- Bar 8: 1/16 pickup fill
5. Mix target:
- SUB peaks consistent
- PRESSURE audible on small speakers
6. Export a 16-bar drop loop and listen on:
- headphones
- small speaker / phone
- car (if possible)
Take notes: Does it still feel heavy when sub is reduced? If not, add controlled harmonics (not more sub).
---
7) Recap ✅
If you want, tell me your target vibe (e.g., “dark minimal roller,” “foggy jungle weight,” “neuro-ish mid pressure”) and your track’s key, and I’ll suggest a specific 8-bar MIDI pattern + exact macro mappings.
```

