Main tutorial
1. Lesson Overview
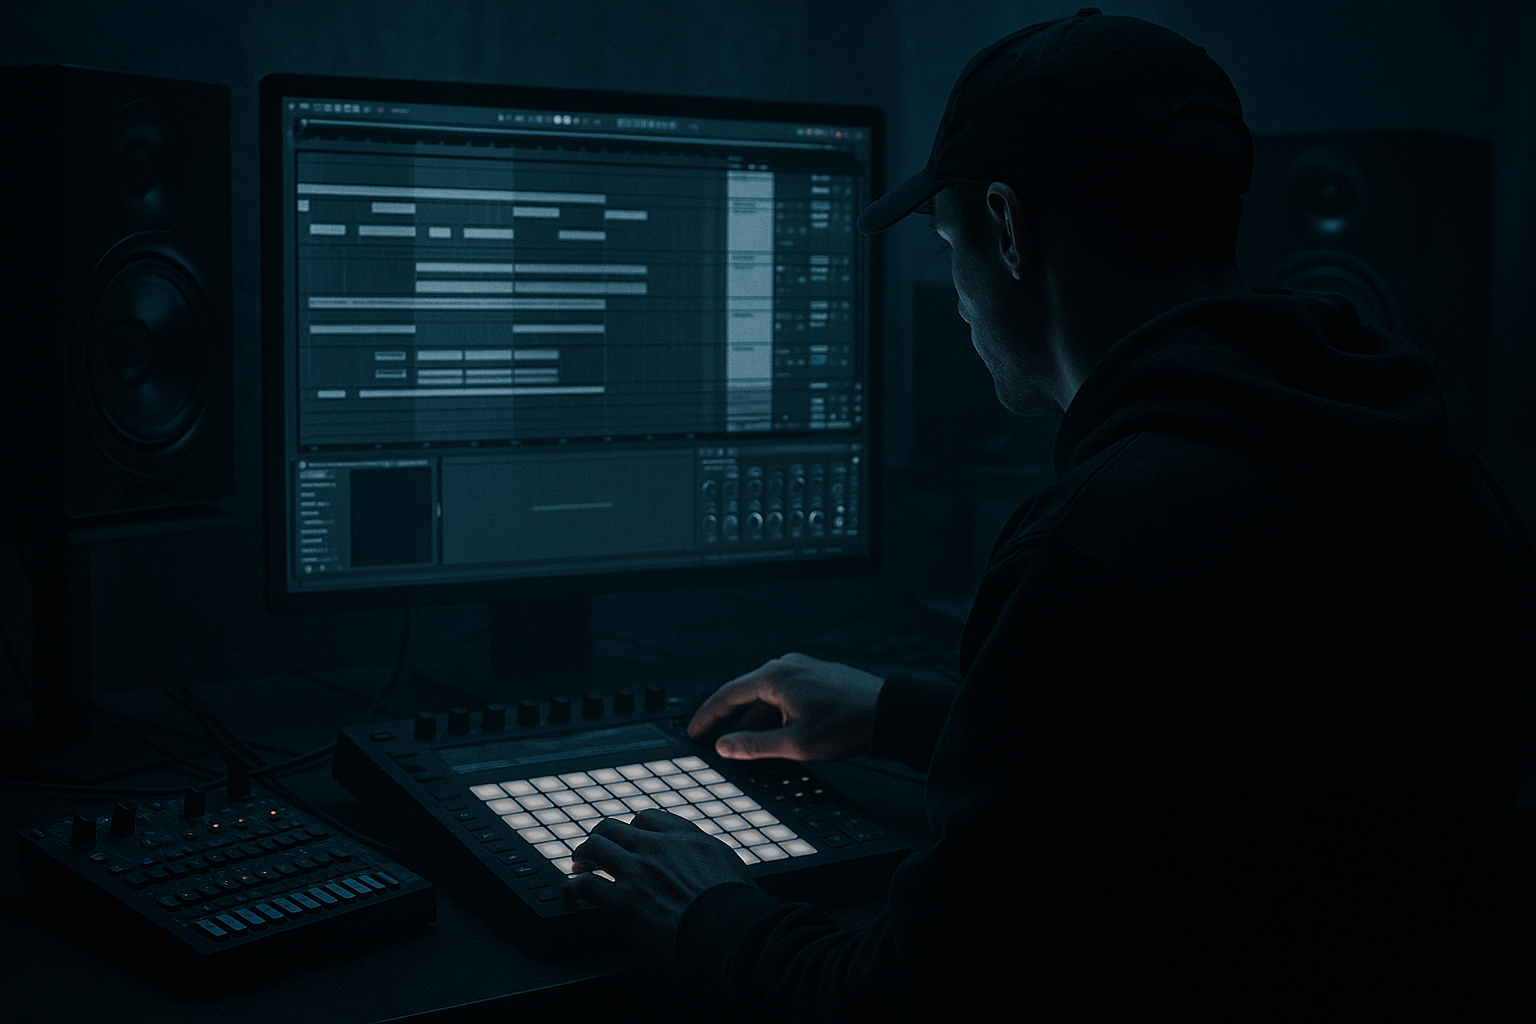
This lesson teaches you how to make a Loxy edit: modulate an air horn blast from scratch in Ableton Live 12 with DJ-friendly structure. We’ll design an air-horn-style blast (pitch sweep + noise), create modulation for motion (filter LFO, pitch envelope, gated/chopped variations), set up an Audio Effect Rack with performance macros for DJ use, and render DJ-ready clips/loops you can drop into sets. Everything uses Ableton Live 12 stock devices and practical, intermediate-level workflows.
2. What You Will Build
- A one-shot air horn blast synth patch (Operator-based) with:
- Modulation chain for rhythmic/tonal motion (Auto Filter LFO, Pitch Envelope, Beat Repeat)
- An Audio Effect Rack exposing DJ-friendly macros: Dry/Wet, LFO Depth/Rate, Stutter, Big/Reverb Send, Transpose
- Three ready-to-play DJ clips/scenes (Full Blast, Chopped Blast, Stuttered+Lowpass) at 172–176 BPM, exported as WAV with cue-ready tails
- Set Live’s BPM to 174 (typical Drum & Bass). You can adapt later.
- Use Session View to build DJ-friendly clips that you can trigger live.
- All devices used are Ableton Live 12 stock (Operator, Simpler/Sampler, Auto Filter, Beat Repeat, Saturator, EQ Eight, Compressor, Reverb, Utility, Glue Compressor).
- Overdoing saturation/compression: kills transients and makes the blast sit badly in DnB mixes. Keep headroom and do moderate saturation.
- Too-long tails for DJ one-shots: long reverb tails can clutter a mix; provide dry short variants.
- Not mapping macros: lack of quick control makes the sample unusable live.
- Using wrong Warp Mode for exported audio: using Complex when the sample is percussive and transient causes smearing. Use Beats for percussive, Tones for tonal content, or export dry and let DJ software time-stretch.
- Extreme LFO rates: very fast LFOs at high depth can turn a horn into noise. Keep LFO depth tame and rate musical (sync to 1/4, 1/8, 1/16).
- Ignoring phase and pre-delay when adding reverb: big reverb can push the blast off the beat. Use short pre-delay if you want the transient preserved.
- Two-layer approach: keep one pure sine/pulse operator layer for pitch body and a separate noise/hiss Simpler for air. This makes mixing and processing easier.
- Macro switching presets: Save Rack Macro maps as Rack presets (Right-click → Save) so you can recall LFO/Beat Repeat setups quickly.
- Use Utility > Width macro: narrowing width for DJ drops helps keep the sound mono-compatible, widen for festival hits.
- Key matching: Pitch-map a Transpose macro to semitone steps and label common keys (C, D, F#) so you can quickly match the horn to the playing track.
- Use Sidechain Compressor on the horn’s reverb return keyed to the kick/snare bus to keep the wash from masking drums when both are triggered.
- Create a “hot cue” short 250–400 ms sample for cutting in a mix and a long 8–16 bar version for build sections.
- Render stems at -6 dB headroom and include both a dry and a wet version. DJs appreciate both.
- Build the blast in Operator + noise layer
- Add a pitch envelope for the sweep and a short amp envelope for punch
- Use Auto Filter LFO, Beat Repeat, Saturator, and EQ for motion and grit
- Group into an Audio Effect Rack and map useful macros (Dry/Wet, LFO Depth/Rate, Stutter, Transpose, Reverb Send)
- Create multiple Session View clip variants (dry/wet, chopped, stuttered) and export with clear naming and headroom
- Keep DJ needs in mind: short one-shots for cutting, wet tails for mixes, macros for live control, and properly warped or non-warped WAVs depending on use.
- Short pitch sweep for the “blow” character
- Layered noise for the breath and body
- Filter and saturation for grit
3. Step-by-Step Walkthrough
Notes before starting:
A. Create the basic horn source (Operator)
1. Insert MIDI Track → Device: Operator.
2. Init patch:
- Osc A: Wave = Sine or Saw (start with Sine for sub-body). Level ~ -6 dB.
- Osc B: Turn on Noise Generator (in Operator’s Noise section) or, if you prefer, add a separate Simpler with white noise set to high-pass. Noise level low (~-12 dB) – this is breath texture.
3. Pitch envelope (this is crucial for an “air horn” sweep):
- In Operator, open the Pitch envelope (Pitch section).
- Set Decay ~100–250 ms, Attack 0 ms, Sustain at -18 to -24 dB (so the envelope falls to pitch down). Set Amount +24 to +36 semitones (experiment) so the pitch quickly drops to the target or reverse for a rising sweep. For a classic “blast” do a fast downward sweep: set Pitch Env amount positive and initial MIDI note higher (or use Envelope Amount negative depending on sign). Example: Amount = +24 semitones, Decay 180 ms → quick downward pitch slide.
- Sync the envelope to ms if you want exact 16th resolution; ~180 ms at 174 BPM -> close to a 1/16–1/8 feel.
4. Add a short amp envelope:
- Attack 0 ms, Decay 250–400 ms, Sustain -Infinity (one-shot) or low level if you want a sustained tail.
- This gives a punchy transient and controlled tail.
B. Layer and shape the timbre
1. If using separate Simpler for noise: load white noise sample, high-pass at ~500–800 Hz to remove mud, add a short amplitude envelope (as above).
2. Filter the combined signal:
- Add Auto Filter after Operator.
- Choose Lowpass (24 dB) or Bandpass if you want a more nasal horn. Cutoff ~2–3 kHz as starting point.
3. Add Saturator:
- Place Saturator after Auto Filter. Drive 2–4 dB, Shape = Analog Clip or Soft Clip to taste.
4. EQ Eight:
- Gentle boost around 200–400 Hz if you want weight; slight scoop around 600–1000 Hz to make space, then boost presence 3–6 kHz lightly for air.
C. Add modulation and motion
1. Auto Filter LFO:
- In Auto Filter open the LFO section. Sync to 1/8 or 1/16 depending on how rhythmic you want the modulation. Try Rate = 1/8, Amount minimal at first (10–20%).
- Set LFO shape to Triangle or Sine.
- Set LFO Phase to 0 so it opens on note start or set to 90-180 for different feel.
2. Map LFO Amount to a Rack Macro for live control:
- Group Operator + Auto Filter + Saturator + EQ into an Audio Effect Rack (right-click on the chain background → Group).
- Map Auto Filter’s LFO Amount to a Macro named “LFO Depth”.
- Map Auto Filter Rate to a Macro “LFO Rate” (so you can switch between 1/8, 1/16, 1/4 live by changing presets or use suggested mapped values).
3. Pitch motion macro:
- Add a Pitch MIDI device? Simpler route: Add a Transpose control via Operator’s Osc A Tune or use Live’s Pitch MIDI effect before Operator. Insert MIDI Effect Rack containing Pitch device mapped to Macro “Transpose”.
- Map coarse pitch +/- 12 semitones. This lets you shift the blast key to match the track live.
4. Stutter / gate:
- Place Beat Repeat after the Rack on the audio track (not inside the Rack). Set Grid = 1/16 or 1/32, Interval = 1/2–1 bar depending on the effect, and Gate small for choppy stutter. Map Beat Repeat’s Grid or Gate to Rack macro “Stutter” via MIDI or Macro map (drag the Beat Repeat device inside the Rack if you want to map directly).
- Alternatively, use Auto Pan with square wave to rhythmically gate amplitude (Rate mapped to Macro).
D. Create DJ-friendly variants and structure in Session View
1. Duplicate the track chain 3 times (right-click → Duplicate) and create three Clips/Scenes:
- Scene A — Full Blast (one-shot, punchy): MIDI clip 1 bar with the note triggering the full patch, reverb send low. Clip length 1 bar; set Clip Launch quantization to 1 bar or none for immediate.
- Scene B — Chopped Blast (looped): create an 8-bar clip where you trigger the same MIDI note every 1/2 bar; automate LFO Depth ramping and use Clip Modulation to change filter cutoff. Warping is not needed for MIDI.
- Scene C — Stuttered + Lowpass (DJ transition tool): use Beat Repeat heavily and set Auto Filter cutoff low (mapped to Macro “Lowpass Sweep”) with reverb send high for a big tail.
2. Make the Rack macros obvious:
- Macro 1: Dry/Wet (map Compressor Dry/Wet or use Utility gain and Send reverb)
- Macro 2: LFO Depth
- Macro 3: LFO Rate
- Macro 4: Stutter (Beat Repeat Grid/Gate)
- Macro 5: Transpose
- Macro 6: Big (Reverb Send)
3. Set up Clip Fades and Tails:
- For each clip, ensure there’s a controlled tail. If you want tail after the clip, keep the reverb on a return track rather than inline and set “Stop Clips When Deactivated” behavior via clip settings so the tail decays naturally.
4. Performance tips for DJ-friendliness:
- Make two versions of each clip: Dry (short) and Wet (long tail) for immediate cutting or smooth layering.
- Keep one clip that is pure dry one-shot (800–1,200 ms) to layer exactly on beat if you need immediate punch without wash.
E. Finalize dynamics and render DJ-ready WAVs
1. Add Glue Compressor on master chain of the horn track only (not overall master): low ratio 2:1, fast attack 10 ms, release 100 ms to glue the layers.
2. Add Utility for gain staging: set to center and leave headroom ~-6 dB when finalizing multiple versions.
3. Bounce/export:
- Record resampling into an audio track or freeze & flatten then consolidate. Export each variant as WAV 24-bit, sample rate matching session, with around 0.5–1.5 s of silence tail if you want for cueing.
- Name files clearly: e.g., “LoxyEdit_AirHorn_Full_174bpm_dry.wav”, “LoxyEdit_AirHorn_Stutter_174bpm_wet.wav”.
4. Warp/export considerations for DJ:
- If you want clips tempo-locked, warp mode = Beats if heavily transient or Tones for pitched content; set Seg. BPM = session BPM (174) and save the clip as warped set for Serato/Traktor ready loops.
4. Common Mistakes
5. Pro Tips
6. Mini Practice Exercise
Goal: Build a usable DJ clip in 15–20 minutes.
1. Set Ableton BPM to 174.
2. Create an Operator patch with a short pitch envelope (Decay ~180 ms, Amount +24 semitones) and a short amp envelope.
3. Add Simpler with white noise high-passed at 600 Hz; set short envelope and mix under Operator at -12 dB.
4. Add Auto Filter after both, set LFO to 1/8, map LFO Amount to a Rack Macro “LFO Depth”.
5. Add Beat Repeat and map Grid to Macro “Stutter” (or drag Beat Repeat inside the Rack).
6. Make three 1-bar clips in Session View:
- Clip 1: One-shot (dry)
- Clip 2: One-shot + LFO Depth 60%
- Clip 3: One-shot + Stutter = heavy
7. Record a one-bar master pass into an audio track, consolidate, export as WAV named “Practice_AirHorn_174_LoxyEdit.wav”.
Try triggering these three clips live and swapping macros to hear how the sound changes.
7. Recap
You now have a complete workflow for a Loxy edit: modulate an air horn blast from scratch in Ableton Live 12 with DJ-friendly structure. Summary checklist:
Go build and perform: start by creating the dry one-shot and add one macro at a time so you always have a usable clip during live performance.

