Main tutorial
Macro Automation for Break Crunch (DnB in Ableton Live) 🥁🔥
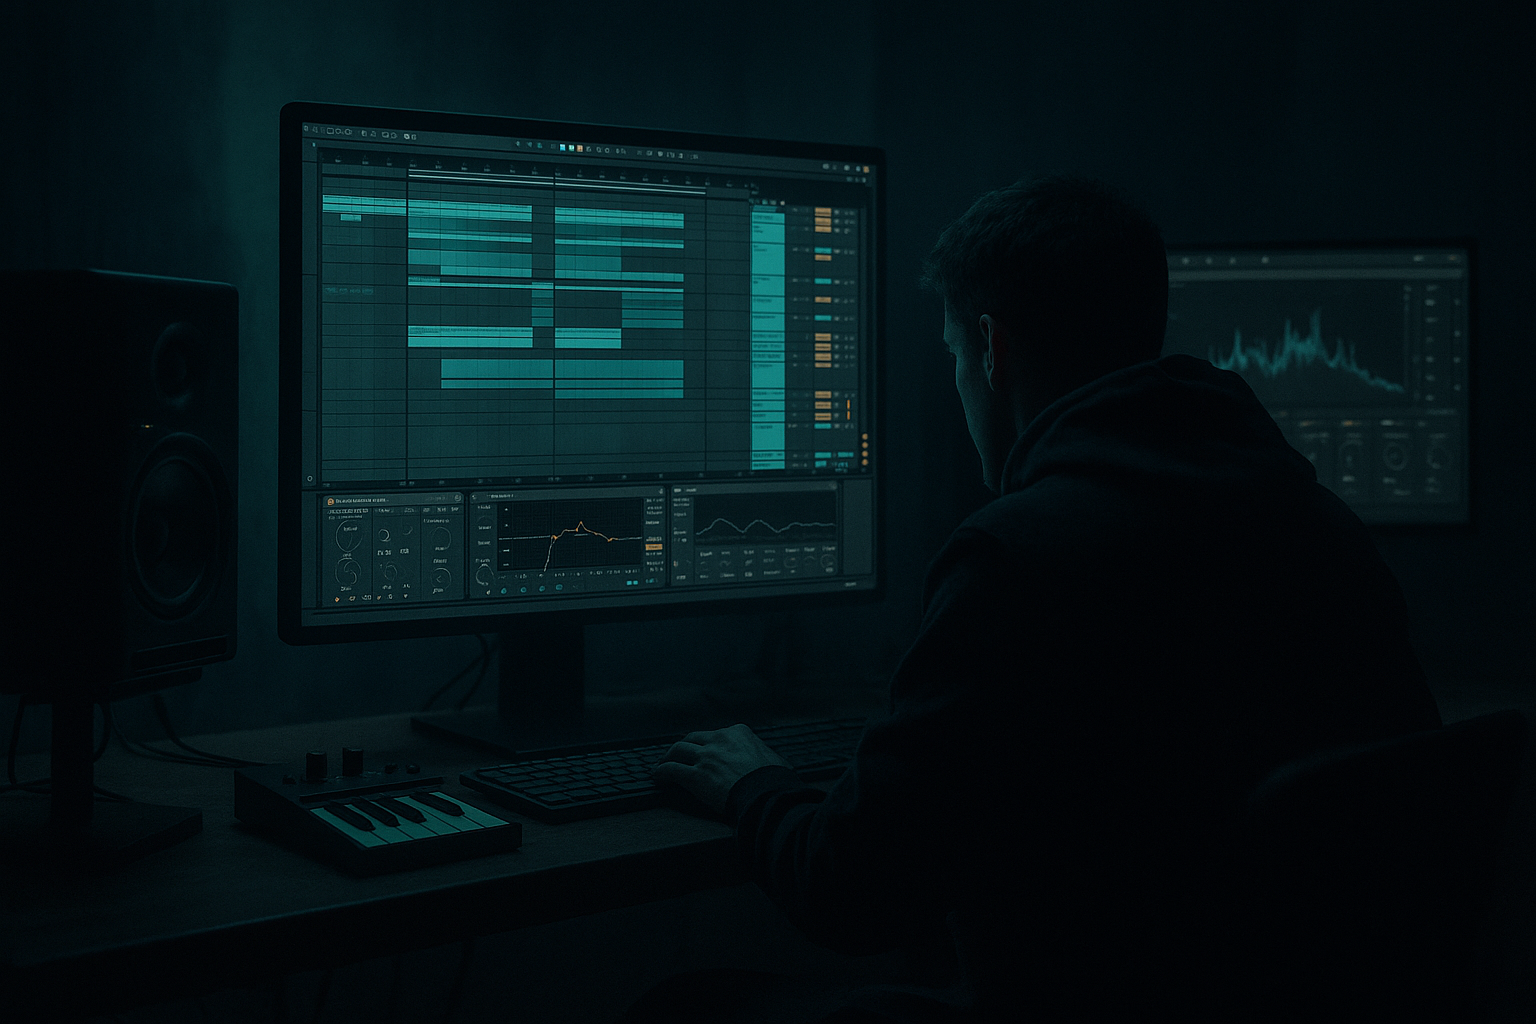
1) Lesson overview
In drum & bass, “break crunch” is that controlled chaos: crisp transients, gritty midrange, and a sense of pressure that evolves through the phrase. In this lesson you’ll learn how to build a Break Crunch Macro Rack in Ableton Live and automate it so your breaks breathe and snarl through intros, drops, fills, and switch-ups—without manually tweaking five devices every time.
You’ll do this with Audio Effect Rack Macros, stock Ableton devices, and arrangement automation (plus performance-friendly mapping if you want to record it in).
---
2) What you will build
A reusable “Break Crunch” Audio Effect Rack for your break track, featuring:
- Macro 1: Crunch — drives saturation + transient emphasis
- Macro 2: Bite (Presence) — adds upper-mid aggression without harshness
- Macro 3: Smash (Parallel Comp) — blends New York compression
- Macro 4: Dirt (Redux/bit crush) — controlled lo-fi edge for fills
- Macro 5: Air Trim — tames fizz when you push it
- Macro 6: Width/Mono Focus — tightens low mids and keeps the break centered
- Macro 7: Filter Sweep — phrase movement (intro → drop)
- Macro 8: Output/Clip Safety — level compensation
- Glue Compressor
- Saturator after Glue (optional but tasty)
- `DRY`: 0 dB
- `SMASH`: start at -inf and blend up later via Macro (this is key)
- Downsample: 2–10 (DnB sweet spot)
- Bit Reduction: 6–12 (careful—gets harsh fast)
- Dry/Wet: we’ll macro this (or use a chain for parallel dirt)
- Dynamic-ish manual approach:
- Ceiling: -0.8 dB
- Use it as a safety net, not as a loudness crutch.
- Saturator Drive: e.g. 2 → 8 dB
- Drum Buss Drive: 0 → 10%
- Drum Buss Crunch: 0 → 30%
- (Optional) Slight EQ Eight mid boost around 1.5–3 kHz: 0 → +2 dB
- EQ Eight bell at 3.5–5 kHz gain: 0 → +3 dB
- (Optional) Auto Filter HP very gentle: off → ~120 Hz (only if you want leaner breaks in builds)
- `SMASH` chain volume: -inf → -8 dB (or to taste)
- Redux Dry/Wet: 0 → 25% (keep it subtle for main groove)
- Redux Downsample: 2 → 8 (optional mapping)
- Post EQ Eight high shelf at 10–12 kHz gain: 0 → -4 dB
- Optional low-pass frequency: 20k → 14k
- Utility Width: 100% → 70%
- Utility Bass Mono: turn ON (if your break has low stereo mess)
- Mode: Low-pass
- Slope: 24 dB
- Resonance: 0.5–1.2
- Frequency: 18k → 800 Hz (range depends on taste)
- Rack Output (or Utility Gain at end): 0 → -6 dB
- Macro 7 (Filter Sweep): slowly open from ~1 kHz → 16–18 kHz
- Macro 1 (Crunch): keep low (10–25%)
- Macro 3 (Smash): low (0–15%)
- Macro 6 (Mono Focus): slightly tighter (80–90% width) to keep it clean
- Add subtle rises:
- Every 8 bars, add a micro-stab:
- Crunch: 55–70%
- Smash: 20–35%
- Dirt: 0–10% (mostly off)
- Air Trim: adjust so hats don’t sandpaper your ears
- On the “answer” phrase, push:
- Keep Crunch stable so the groove stays glued.
- Dirt: spike to 20–30% for 1 beat or half-bar
- Filter: quick dip to 2–4 kHz then snap back at drop hit
- Optional: automate Output down 0.5–1 dB if you’re adding lots of Dirt
- Over-crunching the whole drop: If everything is maxed, nothing feels special. Reserve Dirt spikes for fills.
- No level matching: Crunch adds loudness—use Macro 8 to A/B fairly.
- Harshness masking the snare crack: Too much 3–8 kHz boost + saturation can smear the snare. Use Air Trim and consider a small dip around 4–6 kHz.
- Flattening transients with too much Smash: Parallel comp is great, but if the dry chain stops leading, your groove loses bounce.
- Ignoring mono compatibility: Wide crunchy breaks can disappear in clubs. Keep Macro 6 ready.
- Saturate into tone-shaping, not the other way around: Filter/EQ before Saturator changes how it distorts (more intentional grit).
- Use subtle resonance automation on Auto Filter for tension:
- Make the break “fight” the reese, then win:
- Micro-automation > macro chaos:
- Clip character matters:
- You built a Macro-based Break Crunch rack using stock Ableton tools (Saturator, Drum Buss, Glue, Redux, EQ Eight, Auto Filter, Utility, Limiter).
- You mapped macros to musically useful controls (Crunch, Smash, Dirt, Filter, Air/Output).
- You automated those macros across phrases to create rolling DnB movement: clean intro → tense build → aggressive drop with fill moments.
And you’ll automate these macros in a DnB arrangement: 16-bar intro → 16-bar build → 32-bar drop with 2-bar fills.
---
3) Step-by-step walkthrough
Step 0 — Choose and prep a break (important!)
1. Load a classic break (Amen, Think, Funky Drummer, etc.) into an audio track.
2. Warp it tightly:
- Set Warp Mode: Beats
- Preserve: Transients
- Envelope: start around 10–30 (adjust to taste; lower = punchier, higher = smoother)
3. Consolidate a clean loop:
- Select 1–2 bars that loop nicely → Cmd/Ctrl + J (Consolidate)
4. Gain stage:
- Aim for break peak around -10 to -6 dB before heavy processing (gives headroom).
---
Step 1 — Build the “Break Crunch” rack
On the break track, add Audio Effect Rack and build this chain (in order):
#### A) EQ shaping (pre-crunch control)
1. Add EQ Eight
- HP filter at 30–45 Hz (24 dB/oct) to clear sub-rumble
- Optional: small dip 250–400 Hz if boxy (1–3 dB)
- Optional: gentle shelf down >12 kHz if the sample is fizzy
> Why first? Crunch devices exaggerate whatever you feed them—shape the input.
---
#### B) Saturation & clipping character
2. Add Saturator
- Mode: Analog Clip (great for DnB break bite)
- Drive: 2–8 dB (we’ll macro this)
- Turn on Soft Clip
- Keep Output adjusted so bypass doesn’t jump too much
Optional alternative: Overdrive (more mid bite), but Saturator is more controlled.
---
#### C) Transient definition (post-saturation punch)
3. Add Drum Buss
- Drive: 0–10% (we’ll map)
- Crunch: 0–30% (we’ll map)
- Boom: usually OFF for breaks (unless you want extra thump)
- Transient: start around +5 to +25
---
#### D) Parallel compression “Smash” (New York style)
4. Create parallel chain inside the Audio Effect Rack:
- Click Rack → Show Chain List
- Make 2 chains: `DRY` and `SMASH`
On `SMASH` chain add:
- Attack: 0.3 ms (fast for grab) or 1 ms (slightly punchier)
- Release: Auto or 0.1–0.3 s
- Ratio: 4:1 (or 10:1 for nastier)
- Threshold: aim for 6–12 dB gain reduction
- Soft Clip: ON
- Drive: 1–5 dB, Soft Clip ON
Then set chain volumes:
---
#### E) Controlled lo-fi “Dirt” for fills
5. Add Redux (after the rack’s parallel section or inside another parallel chain if you want)
---
#### F) Final tone control + safety
6. Add EQ Eight (post)
- Small dip 3–6 kHz if harsh when “Crunch” is high
- Low-pass 16–18 kHz if needed
7. Add Limiter (last)
---
Step 2 — Map macros like a pro 🎛️
Open Macro Mapping mode on the Audio Effect Rack. Create these macro mappings:
#### Macro 1 — Crunch
Map to:
Goal: one knob that pushes aggression + bite without losing control.
---
#### Macro 2 — Bite (Presence)
Map to:
Goal: extra presence that cuts through rolling bass.
---
#### Macro 3 — Smash (Parallel Comp)
Map to:
Goal: blend in density without flattening the dry transients.
---
#### Macro 4 — Dirt (Redux)
Map to:
Goal: use for fills, call-and-response, last bar before drop.
---
#### Macro 5 — Air Trim
Map to:
Goal: when you crank Crunch/Dirt, you can tame fizz fast.
---
#### Macro 6 — Mono Focus / Width
Map to one of:
DnB rule: keep breaks powerful in mono; width is a seasoning.
---
#### Macro 7 — Filter Sweep
Add Auto Filter near the top of the chain (before heavy saturation).
Map macro to:
Goal: classic intro/build movement, and tension into drop.
---
#### Macro 8 — Output / Level Match
Map to:
Goal: when you add crunch you often add loudness—this macro lets you compensate and make better decisions.
---
Step 3 — Automate macros in Arrangement View (where the magic happens) ✍️
#### A) Intro (16 bars): filtered, teasing, not full crunch
Arrangement idea: automate slight dips every 4 bars to “breathe” with your pads/atmos.
---
#### B) Build (16 bars): increase urgency and texture
- Macro 1 (Crunch): ramp up 25% → 55%
- Macro 2 (Bite): small ramp 0 → 30%
- Macro 4 (Dirt): quick spike to 15–25% for 1/2 bar
Tip: draw automation with breakpoint ramps, not just straight lines—DnB likes “push-pull.”
---
#### C) Drop (32 bars): stable groove + controlled variations
Your drop should feel consistent, but not static. Try this:
Default drop setting (bars 1–8):
Call-and-response (bars 9–16):
- Bite +10–15%
- Smash +5–10%
Fills (last 1–2 bars of each 16):
This keeps the break rolling but injects jungle-style mayhem at phrase edges. 😈
---
Step 4 — Record macro automation for human feel (optional but powerful)
1. Switch to Session View, loop 8 bars of drop.
2. Arm automation recording (Arrangement Record).
3. Map macros to a MIDI controller (or use your mouse) and perform Macro 4 (Dirt) and Macro 7 (Filter) during fills.
4. Back in Arrangement, simplify automation:
- Right-click automation → Simplify Envelope (careful, don’t lose vibe)
---
4) Common mistakes
---
5) Pro tips for darker/heavier DnB 🖤
- Map resonance to a small range (0.5 → 1.2) and increase only at transitions.
- In heavy rollers, keep break presence around 2–5 kHz, but carve your bass there with EQ so the break stays audible.
- Try tiny 1/8–1/4 bar macro movements on fills. It reads as “designed” rather than random.
- Glue soft clip + Saturator Analog Clip = punchy and dark.
- If it’s too bright, reduce high shelf pre-saturation or low-pass slightly post.
---
6) Mini practice exercise (15–25 minutes) ⏱️
1. Pick a 2-bar break loop (Amen/Think).
2. Build the rack with at least: EQ Eight → Saturator → Drum Buss → parallel Glue chain → Limiter.
3. Create automation:
- 8 bars intro: Filter opens 1k → 18k
- 8 bars build: Crunch ramps 20% → 60%
- 16 bars drop: stable Crunch 65%, but add Dirt spikes (25%) on bars 8 and 16 for half a bar
4. Bounce/export just the breaks and listen:
- Does the drop feel heavier without getting painfully bright?
- Can you still hear the snare transient clearly?
---
7) Recap
If you want, tell me what break you’re using (Amen/Think/other) and your target vibe (liquid, deep roller, jump-up, techstep), and I’ll suggest specific macro ranges and an 8/16/32 bar automation template tailored to it.

