DNB COLLEGE

Drum & Bass Ableton Live 12 Tutorials

LESSON DETAIL

Macro automation recording for club mixes (Intermediate)

An AI-generated intermediate Ableton lesson focused on Macro automation recording for club mixes in the Automation area of drum and bass production.

Back to lessons
Macro automation recording for club mixes (Intermediate) cover image

Narrated lesson audio

The voice track includes the tutorial plus extra teacher commentary.

Open audio file

Main tutorial

Macro Automation Recording for Club Mixes in Ableton Live 🎶

Lesson Overview

Welcome, fellow drum and bass enthusiasts! In today’s tutorial, we're diving into the world of macro automation recording. This skill will empower you to shape your tracks dynamically while crafting those heavy basslines and exhilarating breakbeats typical of DnB. By the end of this lesson, you’ll know how to effectively use macro controls to enhance your club mixes, making them feel alive and engaging!

---

What You Will Build

We will create an engaging, dynamic DnB track snippet that utilizes macro automation to control various elements like filter sweeps, reverb levels, and other effects. These techniques will help bring energy to your mixes, aligning with the pulsating intensity of club settings!

---

Step-by-Step Walkthrough

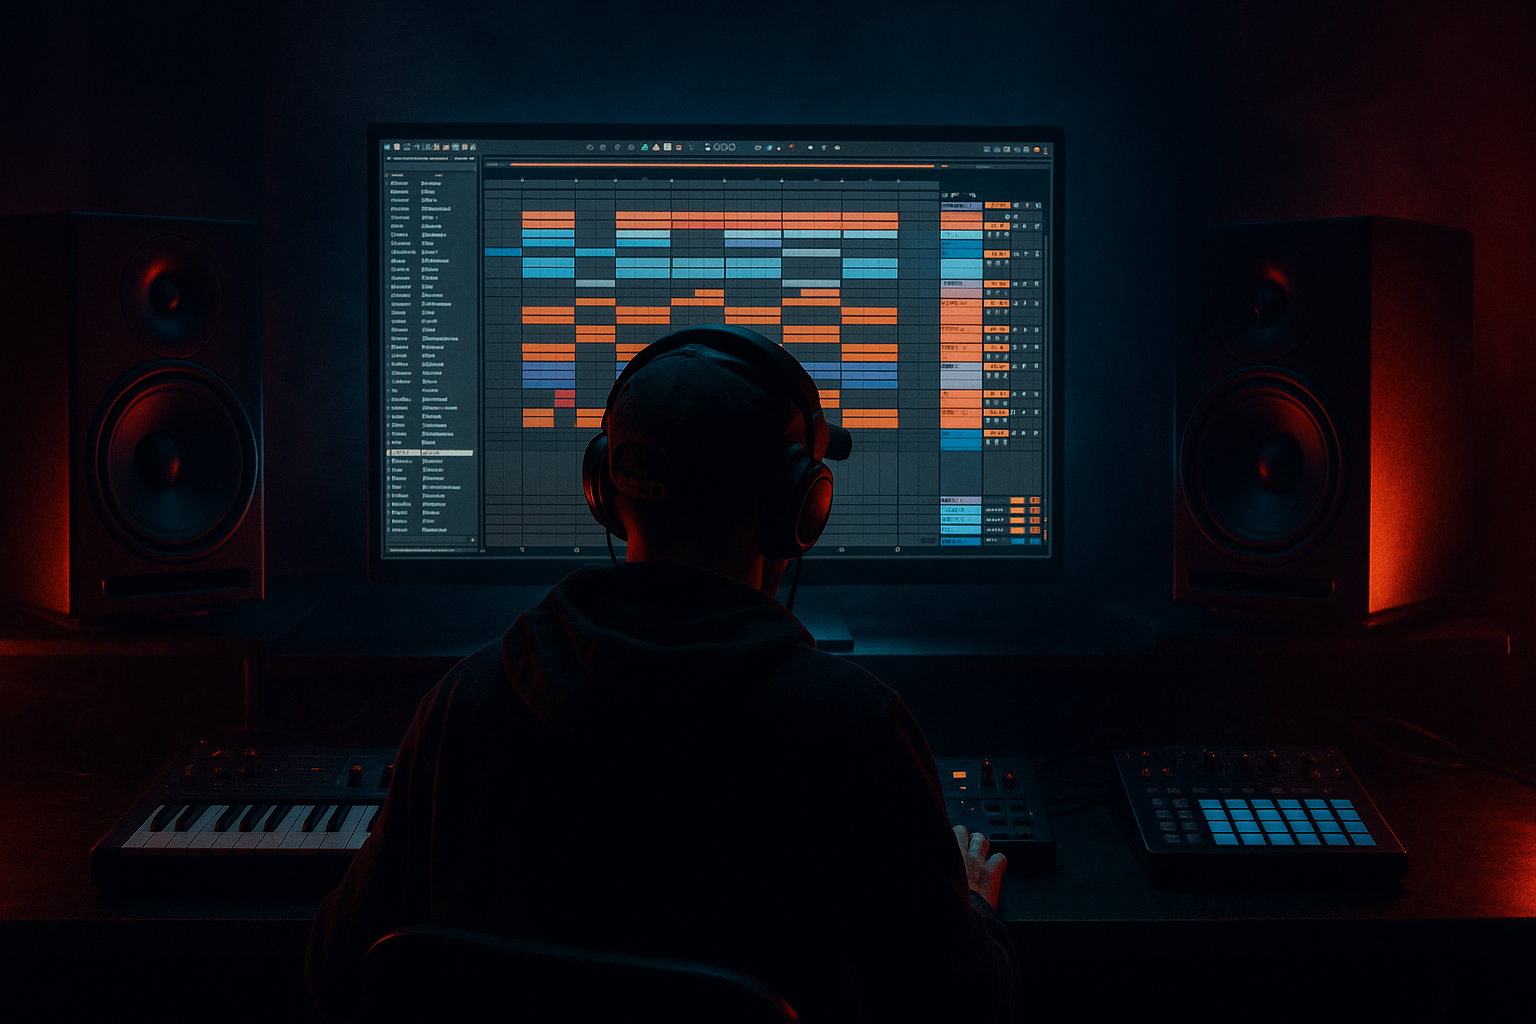
Step 1: Set Up Your Project

1. Open Ableton Live and create a new project.

2. Set the BPM to around 170-180 (classic DnB tempo).

3. Add a drum rack (Drum Hits: A909 Kick, Snare, Hi-Hats) to kick off the beat.

Step 2: Create Your Basic Drum Pattern

1. Program a standard DnB beat with a kick on beats 1 and 3, a snare on beats 2 and 4, and 16th-note hi-hats.

2. A typical pattern may look something like this:

- Kick: 1 + 3

- Snare: 2 + 4

- Hi-hats: Every 16th note

Step 3: Add a Bassline

1. Add an instance of a synth (like Analog or Operator) and choose a preset that gives you a deep sub bass.

2. Program a simple bass MIDI clip, emphasizing the root notes of your chord progression.

3. Record a 4-bar loop and make it groove by slightly adjusting note timing.

Step 4: Create Macro Controls

1. In your instrument rack (for your bass synth), press the "Tab" key to access the Macro Controls.

2. Map controls to important parameters like:

- Low Pass Filter Frequency

- Reverb Dry/Wet

- Distortion Drive

Step 5: Automation Recording

1. Turn on automation writing by toggling the "Automation Arm" button in the top-right corner of Ableton.

2. Start playing your track and manipulate the Macro knobs in real-time:

- Slowly reduce the filter frequency during the intro and lift it up before the drop.

- Increase the reverb gradually at the breakdown.

- Adjust distortion for driving energy.

Step 6: Fine-Tuning Your Automations

1. Go to the Arrangement View; you'll see the automation lanes created.

2. Edit these automation curves to smooth out any abrupt changes. Use Bezier curves for more fluid transitions.

---

Common Mistakes

1. Over-Automation: Avoid automating too many parameters simultaneously. Focus on a few key elements to maintain clarity.

2. Static Sounds: Make sure elements like the bass and leads evolve throughout your track. Avoid leaving them unchanged for too long.

3. Inconsistent Levels: Pay attention to your mix levels after automation. Changes can alter the overall balance of your track.

---

Pro Tips for Darker/Heavier DnB

  • Use Convolution Reverb on snares for a more immersive atmosphere; it can produce eerie resonances that fit dark DnB.
  • Experiment with Sidechain Compression: Apply subtle sidechain on pads and synths to create a heavy, pumping effect in tandem with the kick.
  • Time-stretched vocal samples can add haunting textures. Auto-filter them with a slow LFO modulation to give them movement.

---

Mini Practice Exercise

1. Create a new 8-bar drum pattern, keeping it minimal.

2. Redo the bassline but make it syncopated, focusing on off-beat notes.

3. Map three Macro controls and record automation for just one parameter this time, such as filter cutoff.

4. Bring everything together and listen carefully to the dynamic shifts.

---

Recap

Today, we explored macro automation recording in Ableton Live tailored for your DnB club mixes! You learned to set up a project, build a drum pattern, and implement macro controls for dynamic automation. Remember to keep your automations purposeful and focus on driving the energy through subtle changes.

Now go forth and create tracks that will make the dancefloors shake! 🎉

Don't forget to share your progress, and keep pushing the boundaries of your sound! Happy producing! 🥁

Ask GPT about this lesson

Chat with the lesson tutor, get follow-up help, or use quick actions.

Bigup 👽 Ask me anything about this lesson and I’ll answer in context.

Narration script

Show spoken script
Welcome, fellow drum and bass enthusiasts! Today, we’re diving into the exciting world of macro automation recording specifically tailored for club mixes. By the end of this lesson, you’ll be empowered to dynamically shape your tracks, enhancing the heavy basslines and exhilarating breakbeats that characterize DnB music. So, let’s get started!

In this lesson, we will be creating an engaging DnB track snippet that uses macro automation to control various elements like filter sweeps, reverb levels, and other key effects. This will bring energy to your mixes, helping them resonate with the pulsating vibe of any club setting.

First up, let’s set up your project. Open Ableton Live and create a new project. We want to keep the BPM around 170 to 180, which is the classic tempo for drum and bass. Now, let’s add a drum rack for our beat. Choose A909 for your kick, snare, and hi-hats to start laying down the foundation.

Now, let's create your basic drum pattern. Program a standard DnB beat with your kick on beats one and three, snare on two and four, and hit those 16th-note hi-hats consistently. This simple yet effective pattern forms the backbone of your track.

Next, we need to add a bassline. Insert an instance of a synth, like Analog or Operator. Choose a preset that gives you a deep sub-bass, which is crucial for that rich DnB sound. Program a simple MIDI clip focusing on the root notes of your chord progression. Keep it creative, and remember to make it groove by slightly adjusting the timing of your notes.

With our drums and bass set, it's time to create macro controls. In your instrument rack for the bass synth, hit the "Tab" key to access the Macro Controls. Map some essential parameters to those controls, such as the Low Pass Filter Frequency, Reverb Dry/Wet, and Distortion Drive. This will set you up for the next step: automation recording.

Now, let's get into automation. Turn on automation writing by toggling the Automation Arm button in the top-right corner of Ableton. Start playing your track and manipulate those macro knobs in real-time. For example, slowly reduce the filter frequency during the intro, and lift it back up just before the drop. Gradually increase the reverb level during the breakdown for added atmosphere, and adjust distortion to push the energy further.

Once you’ve recorded your initial automation, head over to the Arrangement View. Here, you’ll see the automation lanes that have been created. Go ahead and edit those automation curves to smooth out any abrupt changes. Using Bezier curves can help create more fluid transitions.

Now, let’s address some common pitfalls. First, avoid over-automation. Resist the urge to automate too many parameters at once. Focus on a few key elements for clarity. Also, make sure your sounds don’t remain static. It’s important for elements like bass and leads to evolve throughout your track. Lastly, after automation, pay attention to your mix levels—any changes can alter the overall balance, so keep your ears tuned!

Let’s explore some pro tips for crafting those darker and heavier sounds typical of drum and bass. Consider using convolution reverb on your snares for immersive, eerie resonances. Experimenting with sidechain compression can create that heavy, pumping effect alongside your kick drum. And don’t forget about time-stretched vocal samples; they can add haunting textures when processed with a slow LFO modulation.

For a mini practice exercise, create a new eight-bar drum pattern but keep it minimal. Rethink your bassline by making it syncopated, focusing on those off-beat notes. Map three Macro controls and record automation for just one parameter, such as filter cutoff. Finally, bring everything together, and listen closely to the dynamic shifts you’ve created.

To recap, today we explored macro automation recording in Ableton Live specifically for club mixes in the DnB genre. You learned how to set up a project, create a drum pattern, and implement macro controls for effective automation. Remember to keep those automations purposeful, always striving to drive the energy of your mix with subtle yet impactful changes.

Now go forth and create tracks that will shake the dancefloors! Don’t forget to share your progress, and keep pushing the boundaries of your sound. Happy producing!

mickeybeam

Go to drumbasscd.com for +100 drum and bass YouTube channels all in one place - tune in!

Generating PDF preview…