Main tutorial
```markdown
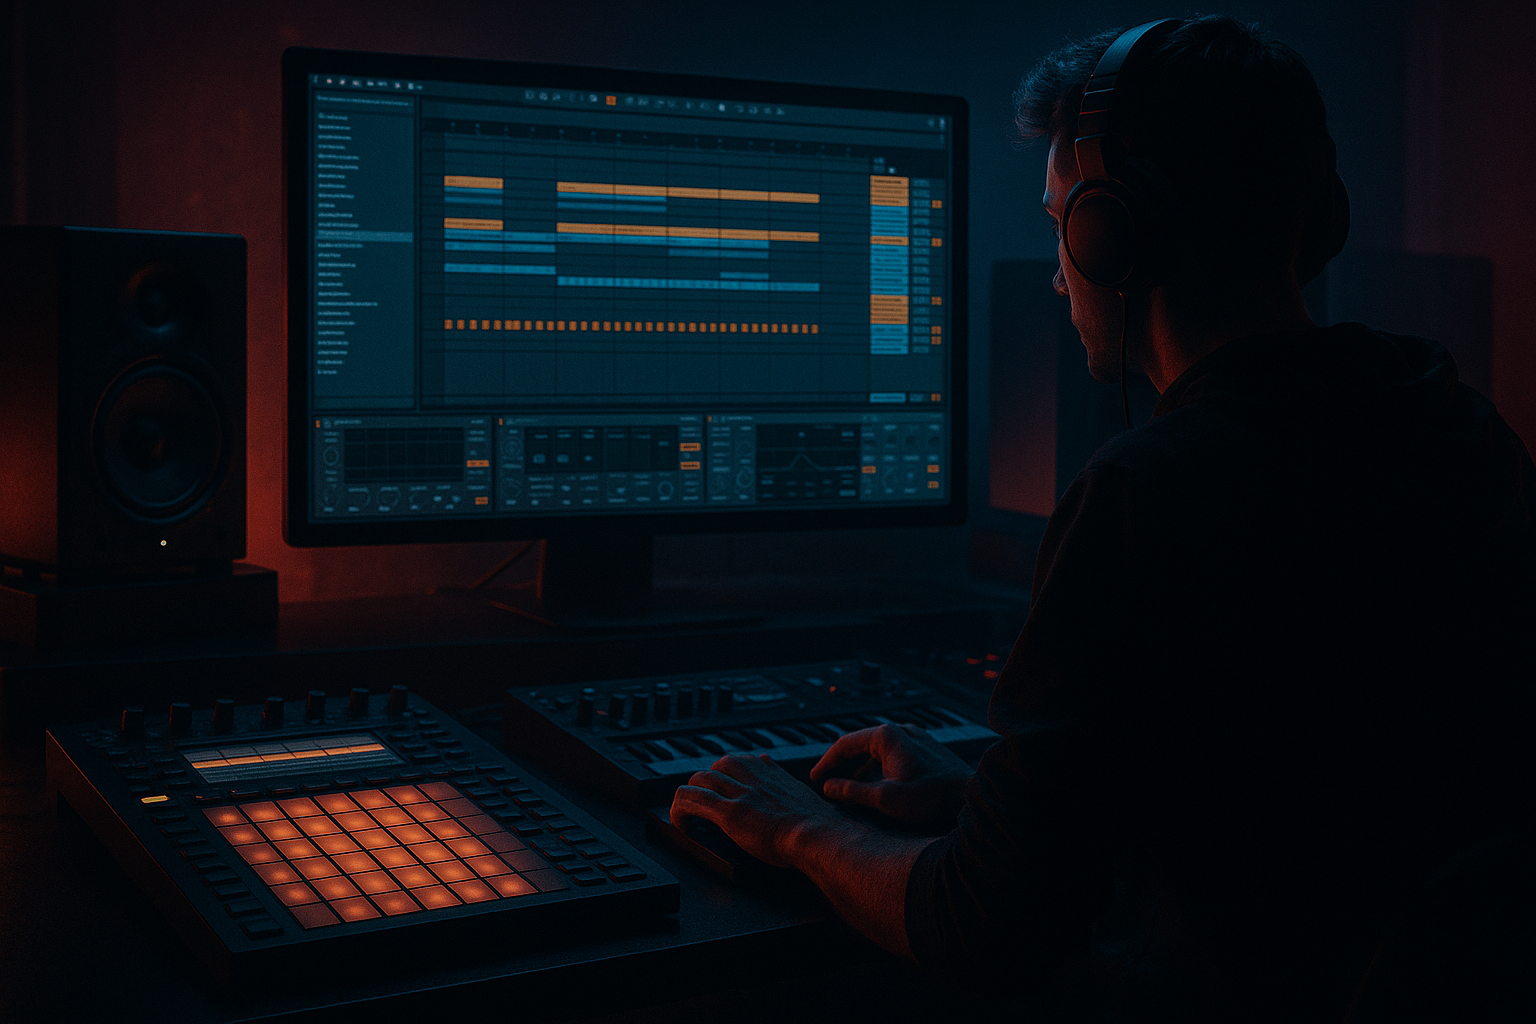
Maintaining Consistency Across an EP Workflow (DnB in Ableton Live) 🎛️🥁
1. Lesson overview
Consistency is what makes an EP feel like a body of work instead of a folder of unrelated tracks. In drum & bass, that means: cohesive drums, a shared bass “language,” a similar mix loudness and stereo image, and a repeatable arrangement/energy curve—while still letting each track have its own hook.
In this lesson you’ll build an EP workflow inside Ableton Live that keeps your sound unified: shared templates, shared busses, repeatable device chains, and a fast A/B method that stops you drifting track-to-track.
---
2. What you will build
By the end you’ll have:
- A DnB EP Template (.als) with consistent routing, busses, and gain staging
- A shared Drum Rack + “Drum Bus” chain that you can reuse across tracks
- A Bass group with a consistent sub policy (mono, headroom, phase-safe)
- A Reference & Metering lane for quick A/B across the EP
- A simple arrangement map (16/32-bar energy blocks) suited to rolling/jungle DnB
- A track-to-track checklist so you can finish faster without losing character ✅
- Tempo: 172–176 BPM (pick one; e.g., 174 BPM)
- Keys: pick 2–3 compatible keys (e.g., Fm, Gm, Cm) so bass lines and pads feel related
- Drum vibe: decide on a “spine”
- Loudness target (rough): -6 to -8 LUFS integrated for pre-master demos (don’t crush yet)
- Low-end policy:
- DRUMS (Group)
- BASS (Group)
- MUSIC (Group)
- VOCALS/SHOTS (optional)
- RETURN tracks
- MASTER
- REFERENCE (audio track, routed to Ext Out or Master with a utility switch)
- Put a Utility on each group and set:
- Break layer choice
- Ghost note pattern
- Hat swing/placement
- Fill design
- `Break Clean`, `Break Crunch`, `Break Dark`
- Use one main sub instrument across the EP (Operator or Wavetable)
- Keep sub mono under ~120 Hz
- Keep sub simple: sine/triangle, minimal harmonics
- Sidechain consistently from kick
- Operator:
- Saturator:
- EQ Eight:
- Utility:
- Compressor (sidechain from Kick):
- For MID track: use EQ Eight to cut below 120 Hz.
- For SUB track: low-pass above 120–180 Hz, width 0%.
- Hybrid Reverb
- Echo
- Optional: Saturator after Echo for tape-ish push
- Hybrid Reverb
- Drop in 2–3 reference tunes that match your target (roller, jungle, dark techy, etc.)
- Add Utility:
- Add Spectrum (optional)
- Add Limiter (optional, safety)
- Every time you adjust low end, do a 10-second A/B:
- Intro DJ-friendly: 16 or 32 bars
- Pre-drop lift: 8 bars
- Drop 1: 32 bars
- Breakdown / switch-up: 16 bars
- Drop 2: 32 bars
- Outro DJ-friendly: 16 or 32 bars
- Add Locator markers: `Intro`, `Lift`, `Drop 1`, `Break`, `Drop 2`, `Outro`
- Color-code sections (e.g., blue intro, red drops)
- Reuse the locator layout across every EP project
- Kick/snare peak relationship consistent across tracks (don’t let one tune’s snare be 6 dB louder)
- Drum bus GR consistent (~1–2 dB Glue)
- Hi-hats not painfully brighter than other EP tracks
- Sub is mono, similar level across tracks
- Sidechain behavior similar (kick cuts through similarly)
- Bass doesn’t change stereo width wildly track-to-track
- Master peak headroom consistent (e.g., -6 dB before final mastering chain)
- Similar overall brightness (use Spectrum as a sanity check)
- DJ-friendly intro/outro length consistent (if that’s your EP identity)
- Use controlled distortion, not chaos:
- Create “fear” with midrange restraint:
- Atmos consistency:
- Mono-check your drop:
- Parallel “crush” return for impact:
- Lock an EP spec (tempo, key family, low-end rules)
- Build a reusable template with stable routing and headroom
- Reuse a core drum kit and a consistent drum bus chain
- Standardize your sub workflow (mono, sidechain, level)
- Create signature midbass racks and reuse them with variations
- Share return effects to unify space
- Use a repeatable arrangement map and locator markers
- A/B constantly with a reference lane, and finish tracks with a checklist
---
3. Step-by-step walkthrough
Step 1 — Define the EP “spec” (10 minutes)
Before you open plugins, lock in a few global constraints:
EP spec suggestions (rolling / jungle):
- Example: Amen texture + modern punch
- Or: steppy rollers with tight top loops
- Sub fundamental focus: 45–60 Hz
- Sub always mono
- Kick fundamental not fighting sub (choose one to own 50–60 Hz)
Write this in your project notes or a text file inside the EP folder.
---
Step 2 — Create an EP Template in Ableton Live 📁
Open a new Live set and build this routing skeleton. Save as “EP_TEMPLATE_DNB_174.als”.
#### Track layout (recommended)
Groups
- Kick
- Snare
- Hats/Tops
- Breaks/Loops
- Perc/Fills
- SUB (audio or instrument)
- MIDBASS (Resample lane)
- REESE/LAYER
- Pads/Atmos
- Stabs/Rhodes
- FX
- A: Short Room
- B: Dub Delay
- C: Long Verb
- D: Parallel Crunch (optional)
#### Global gain staging
- DRUMS group: start at -6 dB
- BASS group: start at -8 dB
- MUSIC group: start at -10 dB
This gives headroom and keeps your mix behavior consistent across the EP.
Why this matters: if track 1 has the drum bus hitting +6 dB and track 2 doesn’t, you’ll chase “feel” with random compression instead of building repeatable tone.
---
Step 3 — Build a consistent Drum Bus (stock devices) 🥁
Inside the DRUMS group, make a dedicated DRUM BUS return/processing chain by routing all drum tracks into a single Drum Bus audio track (or process the group).
Suggested Drum Bus chain (stock Ableton):
1. EQ Eight
- HP filter: 20–30 Hz, 12 dB/oct (remove sub-rumble)
- Gentle dip: 250–400 Hz (often reduces box)
- Optional: tiny shelf at 8–12 kHz for air (+0.5 to +1.5 dB)
2. Glue Compressor
- Attack: 3 ms
- Release: Auto
- Ratio: 2:1
- Aim for 1–2 dB gain reduction on loud sections
3. Drum Buss
- Drive: 5–15% (subtle)
- Crunch: 0–10% (if you want bite)
- Boom: 0–10% (be careful in DnB—sub is usually handled elsewhere)
- Damp: adjust to keep hats from getting harsh
4. Saturator
- Mode: Soft Sine or Analog Clip
- Drive: 1–4 dB
- Turn on Soft Clip
5. Limiter (optional, safety)
- Only catch peaks (no constant limiting)
Consistency trick: Save this chain as an Audio Effect Rack named `EP Drum Bus Rack`. Use it on every EP track.
---
Step 4 — Build a shared “EP Drum Rack” for kick/snare identity 🧱
DnB consistency often comes from the same kick and snare family across multiple tunes, with small variations.
1. Create a Drum Rack named `EP Core Kit`.
2. Load:
- 2–3 kicks (one main, one clicky, one weighty)
- 2–3 snares (one main, one brighter, one rim/layer)
- Hat set (closed, open, ride)
3. Set each pad’s Simpler:
- Warp: Off
- Gain: adjust so each one hits around -12 to -6 dB peak depending on layer count
4. Create Macros in Drum Rack:
- Macro 1: `Kick Punch` (map to Saturator drive on kick chain)
- Macro 2: `Snare Crack` (map to EQ high shelf on snare bus)
- Macro 3: `Top Air` (map to hat group shelf)
- Macro 4: `Drum Dirt` (map to Drum Buss drive on drum group)
Workflow win: keep the core kick + snare consistent across the EP, but change:
That gives “same world, different chapter.”
---
Step 5 — Standardize break workflow (jungle texture without chaos) 🔥
If you use breaks (Amen, Think, Funky Drummer), consistency comes from how you process them.
Break track chain (stock):
1. EQ Eight
- HP: 120–180 Hz (leave low-end to kick/sub)
- Dip harshness: 3–6 kHz if needed
2. Drum Buss
- Drive: 10–25%
- Crunch: 10–30% (taste)
3. Gate (optional)
- Use to tighten tails; set by ear, don’t chop life out
4. Redux (optional for grit)
- Bit reduction: tiny (e.g., 12–14 bit) for texture
5. Auto Filter (for movement)
- Map cutoff to an 8–16 bar automation curve for “opening up” in drops
Consistency tip: Save 2–3 break processing racks:
Reuse them across tunes.
---
Step 6 — Lock the low end: EP-wide sub rules 🧊
This is the #1 reason EPs sound inconsistent: different sub shapes and levels per track.
Sub track rules (recommended):
Ableton stock sub (Operator) quick setup:
- Osc A: Sine
- Envelope: short-ish release (avoid long tail that overlaps kick)
- Drive: 1–2 dB (adds translation)
- Soft Clip: On
- Low-pass around 120–180 Hz
- Width: 0%
- Ratio: 4:1
- Attack: 1–5 ms
- Release: 60–120 ms
- GR: 2–5 dB on kick hits
Consistency protocol:
Pick a sub “anchor note range” (e.g., most drops centered around F/G) and don’t have one tune living at D# while another lives at A unless you intend that contrast.
---
Step 7 — Create a “Bass Character Rack” for mid layers (the EP signature) 🐍
Your EP identity often lives in the midbass/reese treatment.
Midbass Rack example (stock-heavy):
1. Wavetable (or Analog)
- Start with a saw-ish wave, add unison carefully
2. Saturator
- Drive: 4–8 dB, Soft Clip On
3. Amp (yes, stock!)
- Adds bite and aggression; keep output controlled
4. EQ Eight
- Cut mud at 200–400 Hz
- Control harshness at 2–5 kHz
5. Auto Filter
- Envelope or LFO for movement (1/4 or 1/8 synced)
6. Multiband Dynamics (gentle)
- Use as tone control, not a destroyer
7. Utility
- Width: 120–160% only above low mids (see next)
Key move: Split bass into SUB (mono) + MID (stereo).
This ensures every EP track hits the club with the same low-end discipline.
---
Step 8 — Build EP-wide return effects (same space across tracks) 🌌
An EP feels coherent when the space is consistent.
Create these Return tracks and reuse them:
Return A: Short Room
- Algorithmic
- Decay: 0.4–0.8s
- Pre-delay: 5–15 ms
- HP: 200–400 Hz
- LP: 7–10 kHz
Use on snare, hats, percussion lightly.
Return B: Dub Delay
- Time: 1/8 or 1/4
- Feedback: 20–35%
- Filter: HP ~ 300 Hz, LP ~ 6–8 kHz
- Mod: subtle
Return C: Long Verb (Atmos)
- Decay: 2–5s
- HP: 300–600 Hz
- Mix: return level low, but automate sends for transitions
Consistency trick: avoid making a new reverb on every track. Reuse these returns so the EP “lives” in the same world.
---
Step 9 — Set up “EP Reference & A/B” inside Live 🎚️
Make a REFERENCE audio track:
- Map a macro or use the device to quickly turn down reference by -6 dB (so you don’t get fooled by loudness)
A/B procedure (fast and consistent):
1. Your drop
2. Reference drop
3. Your intro
4. Reference intro
Do this across all EP tracks so they sit in the same loudness/brightness ballpark.
---
Step 10 — Use a repeatable DnB arrangement map 🧭
A huge part of EP cohesion is energy pacing. Use a similar “grid” per tune.
Common 174 BPM DnB structure (example):
Ableton workflow tip:
Consistency goal: even if one track is “weird,” the DJ structure can remain familiar.
---
Step 11 — Build an EP “finish checklist” (so tracks match)
Use this checklist when you think a tune is “done”:
Drums
Bass
Mix
Arrangement
---
4. Common mistakes 🚫
1. Changing kick + snare identity every track
Result: EP feels like a compilation. Keep a core kit.
2. Different sub philosophies per tune
One track has a long sub release, another is tight—your EP low end won’t translate as a set.
3. Rebuilding returns and spaces every time
Consistent reverb/delay returns glue the EP together.
4. Over-processing to “match” references
If you chase loudness early, you’ll destroy transient consistency. Mix clean, then master as a set.
5. No A/B method
You need repeatable reference points or you’ll drift into random tonal balance.
---
5. Pro tips for darker/heavier DnB 🖤
Put Saturator before EQ for tone, then EQ to tame harshness. For heavy reese, try:
- Saturator (Analog Clip) → EQ Eight notch at 3–4 kHz → Multiband Dynamics (gentle)
Dark tunes often have less constant 2–5 kHz. Let hats and impacts own that range; keep bass aggression focused.
Make a shared `EP Atmos Rack` using:
- Corpus (metallic resonances)
- Hybrid Reverb long tail
- Auto Pan very slow (0.05–0.15 Hz)
Reuse it across tracks at low level for a unified mood.
Put Utility on the Master (or a monitoring track) and map a Mono button. If the drop collapses, your midbass stereo is too wide or phasey.
Return D:
- Drum Buss (hard) → Saturator (more drive) → EQ (HP 200 Hz)
Send snares/fills into it for consistent grit without wrecking your main bus.
---
6. Mini practice exercise (30–45 minutes) 🧪
Goal: Make two 32-bar drops that feel like the same EP.
1. Start from your EP template.
2. Track A:
- Program a simple roller: kick on 1, snare on 2/4, hats driving 1/8s
- Add sub in F (Operator sine)
- Add a reese midbass with your Bass Character Rack
3. Track B:
- Keep the same kick/snare and same drum bus chain
- Change the groove: add a break layer or different hat syncopation
- Keep sub level and sidechain settings identical
- Change the midbass rhythm and automate filter differently
4. A/B:
- Compare drum loudness, sub loudness, brightness using Spectrum
- Adjust only with group Utility first (DRUMS/BASS/MUSIC), not random per-track moves
Pass condition: If you can switch between Track A and B and they feel like “same label, same night,” you nailed it.
---
7. Recap ✅
To maintain consistency across a drum & bass EP in Ableton Live:
If you want, tell me your EP vibe (roller/jungle/dark minimal/neuro-ish), and I’ll suggest a template layout + starting drum/bass chains tuned to that subgenre.
```

