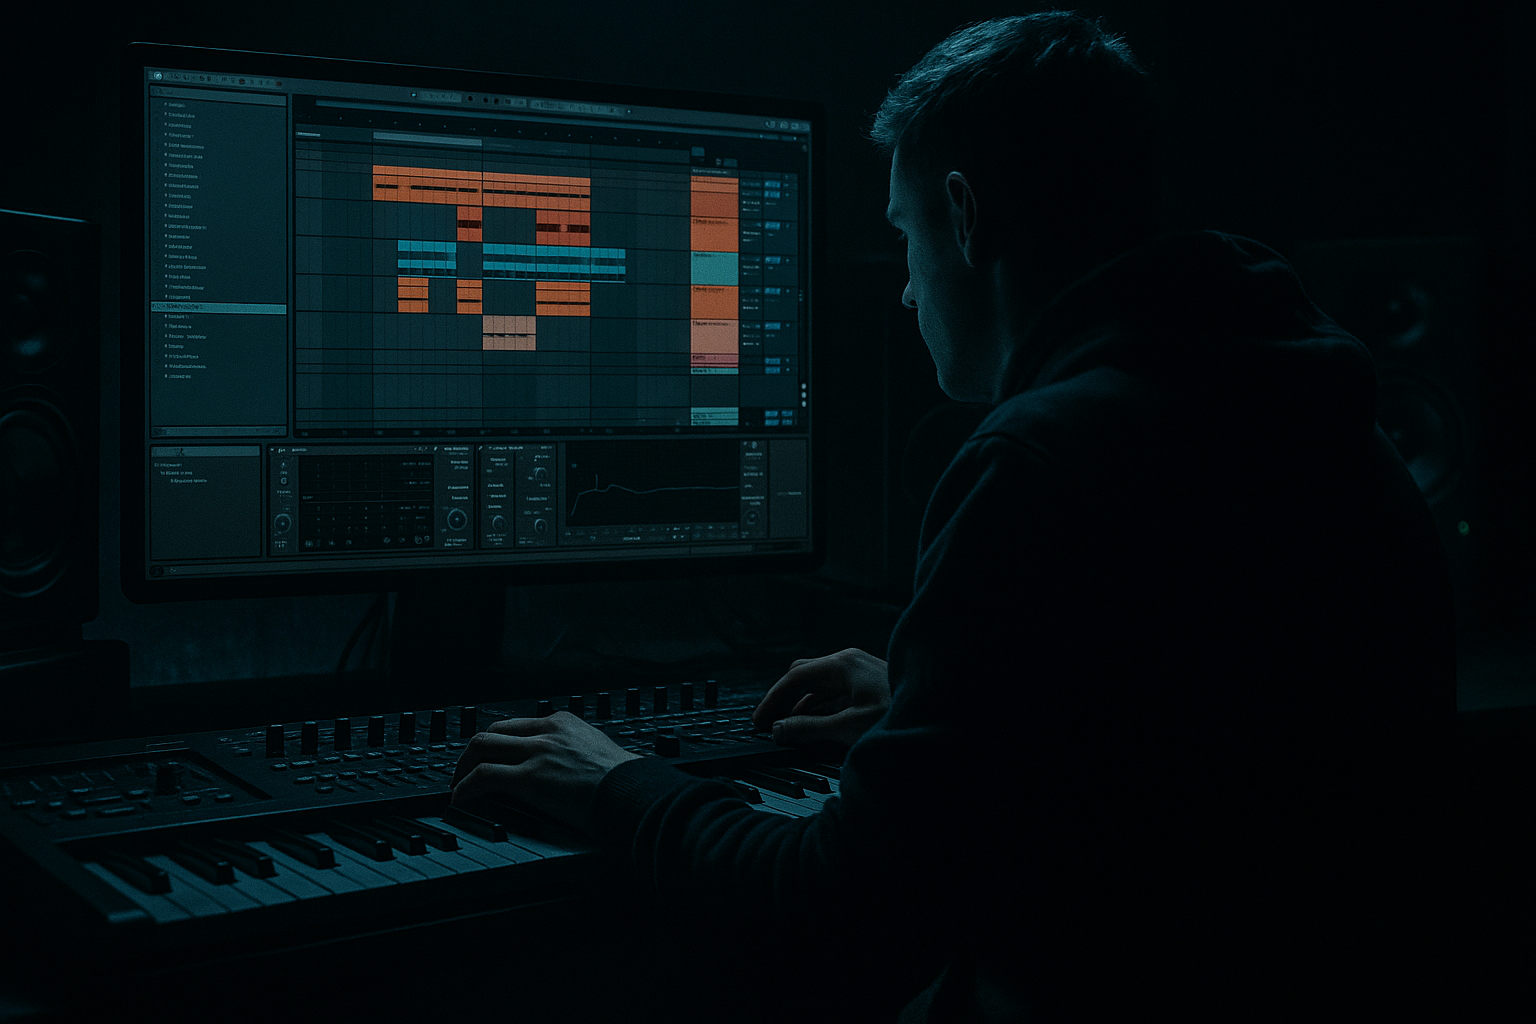
Main tutorial
```markdown
Mapping Chopped Breaks to Push Pads (DnB in Ableton Live) 🥁⚡️
1. Lesson overview
In drum & bass, chopped breaks are the DNA of movement—ghost notes, syncopation, and that rolling “forward pull.” In this lesson you’ll learn a clean, repeatable workflow to slice a breakbeat and map each slice to Ableton Push pads so you can finger-drum new jungle/DnB patterns fast.
You’ll do it using stock Ableton tools (Simpler, Drum Rack, Warp, Groove Pool) and a Push-friendly setup.
---
2. What you will build
By the end you’ll have:
- A Drum Rack (or Simpler Slice mode) where each pad triggers a break slice
- A playable Push layout (kicks/snares on sensible pads, extra hits around them)
- A tight, punchy break that sits with modern DnB (170–175 BPM)
- A mini 8-bar loop with variations: rolls, edits, fills, and re-triggers
- A MIDI track containing a Drum Rack
- Each slice loaded into a Simpler on its own pad
- A starter MIDI clip that recreates the original loop
- Mode: One-Shot
- Warp: Usually Off inside slice Simplers (you already warped the loop)
- Fade: tiny fade to avoid clicks
- Filter: enable and shape
- Envelope: shorten messy tails
- For hats and noisy slices, set Simpler Voices = 1 to prevent stacking.
- In Drum Rack, use Choke groups (great for open/closed hats):
- Bars 1–4: main loop (clean)
- Bars 5–8: add extra ghost notes + a hat layer
- Bars 9–12: add a quick edit every 2 bars (stutter or reverse slice)
- Bars 13–16: bigger fill at bar 16 (snare roll + crash slice)
- Warping badly: If the break drifts, your slices will feel off no matter what. Fix warp markers first.
- Too many slices: Transient slicing can create tiny “junk” slices. Delete or ignore unusable pads.
- No choke groups: Hats and noisy tails stack up and smear the groove.
- Over-compressing the break: You kill transients and it won’t cut through a loud sub.
- Fighting the sub-bass: Breaks with too much low-end will mask your bassline and reduce headroom.
- Resample your edits:
- Parallel distortion (safe heaviness):
- Noise/air layer:
- Dark tone shaping:
- Heavy punch without mud:
- Warp the break cleanly first (grid-tight at 170–175 BPM).
- Slice to Drum Rack so each hit becomes a Push pad.
- Reorder pads so kick/snare/ghosts are playable like an instrument.
- Use Simpler settings (one-shot, fades, voices, filters) to stop clicks and smearing.
- Add a basic break bus chain (EQ → Drum Buss → Glue) for modern DnB punch.
- Build 8–16 bar arrangements with edits, fills, and groove for real “tune energy.” 🔥
---
3. Step-by-step walkthrough
Step 0 — Session setup (DnB-ready)
1. Set tempo to 174 BPM (good modern DnB starting point).
2. Create:
- Audio Track: for your break sample
- MIDI Track: for your sliced instrument (Push will control this)
DnB note: A lot of classic breaks were recorded slower. Warping cleanly matters.
---
Step 1 — Choose a break and warp it properly 🎛️
1. Drag a breakbeat (Amen, Think, Funky Drummer, or any break loop) onto the Audio Track.
2. In the Clip View:
- Turn Warp = On
- Set Seg. BPM close to original if Live guessed wrong
- Choose Warp mode:
- Beats mode for tight transient control (great for breaks)
- Set Preserve = Transients
- Start with Transient Loop Mode = Off (cleanest slicing)
3. Right-click the clip → Warp From Here (Straight) on the first downbeat if it’s drifting.
4. Make sure the loop cycles cleanly:
- Enable Loop
- Adjust Start/End so it’s exactly 1 bar or 2 bars (common in jungle)
Goal: Your break should hit perfectly on the grid at 174 without flammy timing.
---
Step 2 — Slice the break to a Drum Rack (Push-friendly) 🔪
This is the most “Push-ready” method.
1. Right-click the warped audio clip → Slice to New MIDI Track
2. In the dialog:
- Slice By:
- Start with Transient (fast and musical)
- Alternative: 1/16 if you want strict grid slices (more “edits” vibe)
- Create one slice per: Transient (default)
- Slicing Preset: choose Built-in > Slice to Drum Rack
3. Click OK.
Ableton will create:
---
Step 3 — Get Push pads controlling the slices ✅
1. Arm the new sliced MIDI track.
2. On Push:
- Press Drums (or load Drum Rack view depending on Push model)
- You should see the slices across the 4x4 pad grid
If pads look empty: select the Drum Rack device on the track, then press Drums again.
---
Step 4 — Arrange your pads for DnB performance (kick/snare placement) 🎯
Default slicing can put random hits anywhere. For finger drumming, reorder it.
Option A (fast): Keep it as-is and just learn the layout (fine for quick edits).
Option B (better): Put key hits under your fingers.
1. Find the snare slice:
- Hit pads until you find the main snare (usually the loud backbeat)
2. Put snares on a consistent pad (example):
- Snare: Pad (row 2, col 2) (classic “home” spot)
- Kick: Pad (row 3, col 1) or nearby
3. To move a slice:
- In Drum Rack, click the pad (chain) you want to move
- Drag it to a new pad position
DnB layout tip: Keep kick + snare adjacent, and place ghost snares/hats around them for quick rolls.
---
Step 5 — Tighten each slice (Simpler settings that matter) 🔧
Click a pad → you’ll see a Simpler for that slice.
For each important hit (kick, snare, hat), adjust:
- Try 0.5–2.0 ms
- Hats: High-pass around 200–500 Hz
- Kick: Low-pass if it’s too clicky, or leave open
- Reduce Decay if slices overlap and smear the groove
Polyphony / Choke:
- Put open hat and closed hat in the same choke group so they cut each other.
---
Step 6 — Make it hit like DnB (basic processing chain) 💥
On the Drum Rack (not individual slices yet), add a simple, punchy chain:
1. EQ Eight
- Cut sub-rumble: HP around 25–35 Hz
- If muddy: small dip 200–400 Hz
2. Drum Buss
- Drive: 5–15% (taste)
- Crunch: 0–10% for grit
- Boom: careful (can fight your sub). If used: tune around 50–60 Hz, low amount.
3. Glue Compressor
- Attack: 3–10 ms
- Release: Auto or 0.1–0.3s
- Ratio: 2:1
- Aim for 1–3 dB gain reduction on peaks
4. Optional: Saturator
- Soft Clip On
- Drive 2–6 dB for density (watch levels)
DnB rule: let your sub-bass own 40–80 Hz; breaks should be punchy and crisp, not subby.
---
Step 7 — Create a playable pattern (classic rolling 2-step base) 🏃♂️
1. Make a new MIDI clip (1–2 bars) on the sliced track.
2. Start with a DnB 2-step skeleton at 174 BPM:
- Snare on beat 2 and 4
- Kick on beat 1 and the “and” of 3 (common variation)
3. Add ghost notes:
- Use low-velocity snare slices just before/after the main snare
- Sprinkle hat slices in 1/16 or 1/8 patterns
Velocity tip: Ghosts often sit around 30–60, main snare 90–120.
---
Step 8 — Add swing and movement (Groove Pool) 🌀
DnB breaks often feel “human” but tight.
1. Open Groove Pool.
2. Try grooves like:
- Swing 16-xx (subtle)
- Or extract groove from the original break:
- Right-click the original audio clip → Extract Groove
3. Apply groove to your MIDI clip.
4. Adjust:
- Timing: 10–30%
- Velocity: 0–20% (careful)
- Random: 0–10%
---
Step 9 — Arrangement idea: 16 bars that feel like a tune 🧱
Try this structure (super common in rolling DnB):
Easy fill trick: repeat a snare slice in 1/16 for the last half-bar, increasing velocity slightly.
---
4. Common mistakes
---
5. Pro tips for darker/heavier DnB 🖤
Create a new audio track → set input to “Resampling” → record your finger-drummed break → re-slice again for even gnarlier edits.
Make an Audio Effect Rack on the Drum Rack with:
- Chain A: Clean
- Chain B: Saturator (Drive 6–12 dB) + EQ Eight (band-limit 200 Hz–8 kHz)
Blend Chain B quietly for aggression without wrecking transients.
Add a tight hat loop or vinyl noise very low to glue slices (use Auto Filter HP to keep it airy).
Use Auto Filter on the break bus:
- Low-pass around 10–14 kHz with a little resonance for that “shadow” top.
On snares, boost presence around 2–5 kHz (small EQ Eight bump) and cut boxiness 250–500 Hz.
---
6. Mini practice exercise (10–15 minutes) ⏱️
1. Slice a 1-bar break by Transients to Drum Rack.
2. On Push, find:
- 1 main kick slice
- 1 main snare slice
- 2 hat/ghost slices
3. Make a 2-bar MIDI clip:
- Bar 1: basic 2-step
- Bar 2: add a ghost-snare pattern + one micro-fill at the end
4. Add Drum Buss + Glue Compressor on the Drum Rack.
5. Export a quick bounce and listen on headphones:
- Does it roll?
- Is the snare consistent?
- Are hats too loud/harsh?
---
7. Recap
```

