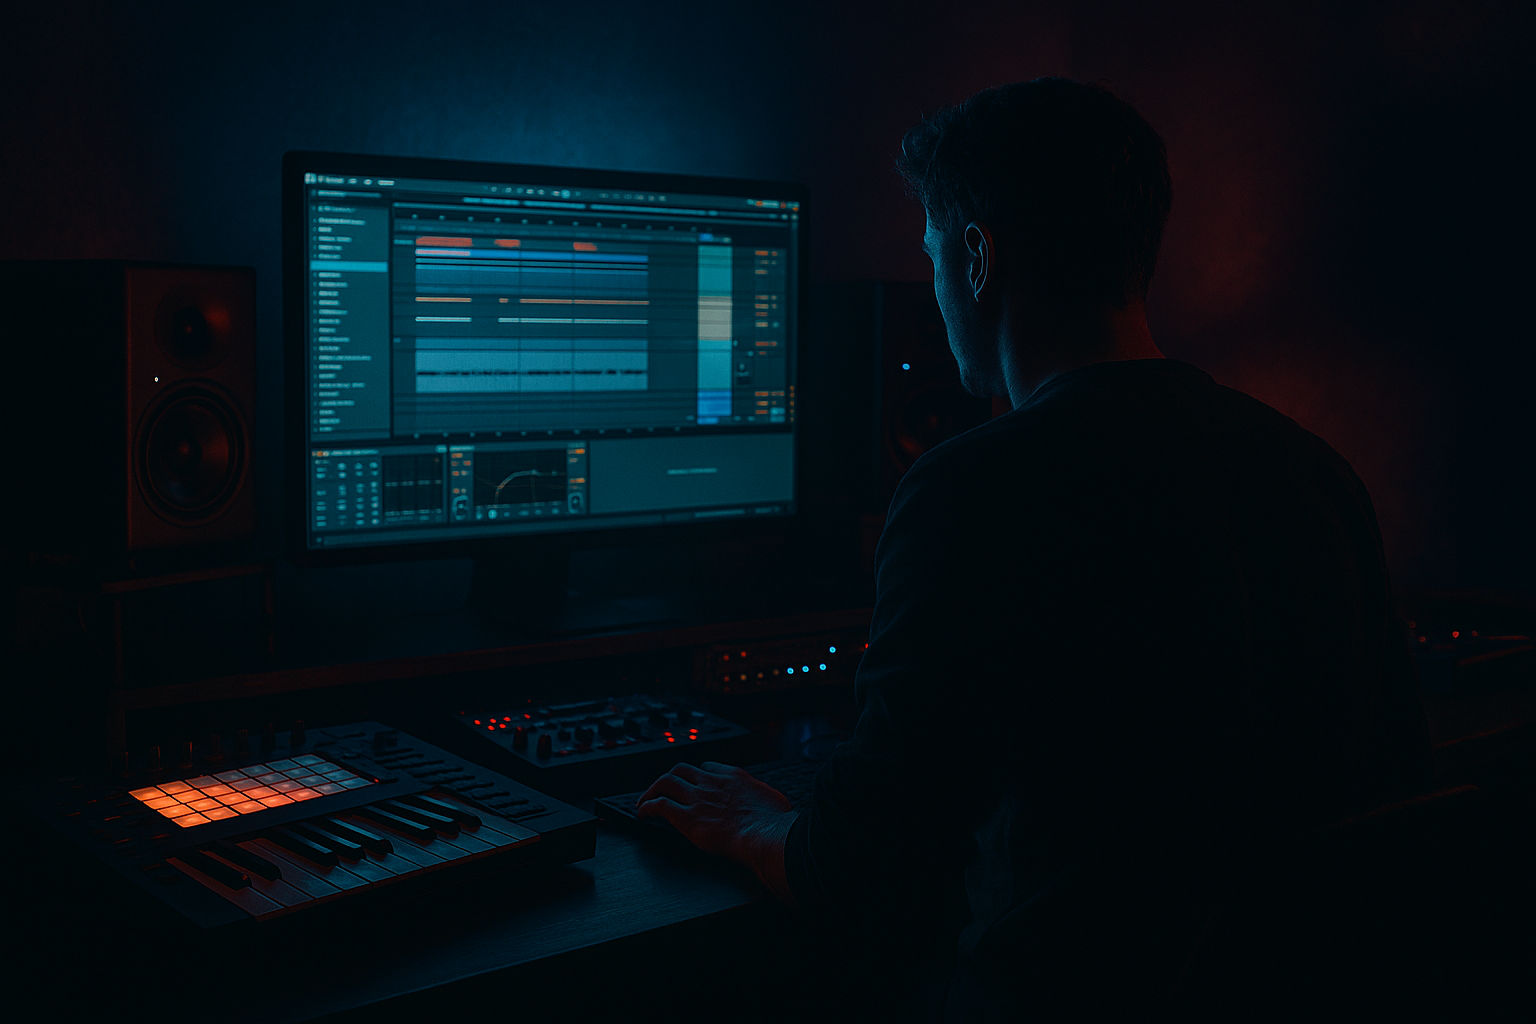
Main tutorial
Masterclass: Amen Variation Using Macro Controls Creatively in Ableton Live 12 🥁⚡
1. Lesson overview
In this masterclass, you’ll build a performance-friendly amen variation system in Ableton Live 12 that lets you create evolving drum and bass breaks fast — without manually editing every hit.
We’re going to treat the amen like a playable instrument:
- slice it,
- map key elements to Macros,
- use Resampling to print new variations,
- then re-process those resamples into darker, tougher, more musical DnB break patterns.
- jungle-style switch-ups
- rolling DnB build energy
- drop variations
- live arrangement ideas
- transition fills and call/response break edits
- A drum rack-based amen variation patch
- Macro controls for:
- A resampling workflow to print improvised or automated amen variations
- A second-stage resampled audio chain for heavier processing
- A simple arrangement method for using the variations across a DnB track
- 1–2 bars long
- reasonably clean, not over-compressed already
- from a source with a strong kick/snare relationship
- Set Warp Mode to Beats
- Preserve the transients
- Keep Transient Loop Mode off unless you want a more chopped feel
- Keep the original break timing roughly intact
- Don’t over-quantize the soul out of it
- Let the natural ghost notes breathe
- Slicing Preset: Transients
- Slicing Format: Drum Rack
- Warp markers: use transient positions
- rearranging ghost notes,
- swapping snare accents,
- building fills,
- triggering repeated fragments.
- Kick slices
- Snare slices
- Ghost hits
- Hats / ride noise / tail pieces
- Kick Main
- Snare Main
- Ghost 1
- Ghost 2
- Hat Tail
- Break Noise
- State 1: Clean Roll
- State 2: Dusty Shuffle
- State 3: Snare Push
- State 4: Full Chaos Fill
- Break Level: 0 dB
- Ghost Density: medium
- Grime: low
- Space: low
- Filter Sweep: open
- Snare Crack: higher
- Kick Weight: slightly up
- Ghost Density: slightly down
- Grime: moderate
- Space: higher
- Filter Sweep: more closed
- Tail Length: longer
- Break Level: slightly reduced
- Stutter: high
- Pitch Drift: negative
- Grime: high
- Snare Crack: aggressive
- Filter Sweep
- Ghost Density
- Grime
- Stutter
- Space
- Slow 4–8 bar rises into drops
- Quick 1/2 or 1 bar snare push before a fill
- Tiny 1/16 dips on grime for rhythmic motion
- Automation “bumps” on bar ends to punch transitions
- draw automation for one macro at a time
- use curved ramps rather than linear only
- keep some variations subtle so the groove stays strong
- Resampling or
- Audio From your drum bus / return chain
- play clips live
- automate macro changes
- record the output into audio
- capture moments of happy accident
- 1 bar for tight edit ideas
- 2 bars for musical variation
- 4 bars for full phrase evolution
- record several passes with different Macro Variations
- leave space before and after the phrase
- capture fills and transitions on purpose
- consolidate the best resampled sections
- reverse tiny bits
- nudge transient timing for swing
- layer resampled audio with the original break
- roll off brittle highs
- emphasize snare body and break hiss
- keep the transient edge intact
- don’t crush the swing
- Intro: filtered break fragments, ghost notes, atmosphere
- Build: add kick/snare anchors, light grime
- Drop 1: main amen variation with subtle automation
- Mid-phrase switch: resampled fill or stutter edit
- Drop 2: heavier version with more saturation, less space
- Breakdown: sparse, reverbed break tails
- Final section: most aggressive resampled version
- Use a call and response between original and resampled breaks
- Drop in 1-bar fills every 8 or 16 bars
- Alternate between:
- Let the drums answer the bassline, not compete with it
- high-pass the break if the bass owns the sub
- use macro-controlled filtering to create space during bass hits
- keep kick and snare emphasis aligned with the groove
- leave room for the low end in the 40–120 Hz region
- reduce low-mid mud in the break
- use resampled edits to make the break more percussive
- automate ghost-note density downward during bass-heavy phrases
- the Drum Rack
- the Macro Variations
- the resampling routing
- the processing chain
- jungle break mangling
- halftime switch-up layer
- dark roller percussion tool
- fill generator
- Saturator for warm aggression
- Drum Buss for punch and thickness
- Redux for broken digital texture
- subtle Overdrive on snare-focused chains
- map snare intensity to a macro
- add a small high-mid boost around 2–5 kHz
- use short room reverb for size without washing out the break
- more grit
- more filtering movement
- less ghost-note density
- tighter tails
- high-pass carefully
- use EQ Eight to remove sub clutter
- let the bassline dominate below the kick region if needed
- reverb throws
- distant vinyl noise
- field recordings
- foggy pads
- filter opening
- extra snare crack
- a resampled reverse tail
- slight gain rise
- Slice the amen into a Drum Rack
- Build a macro-driven control surface
- Use Macro Variations to create distinct break states
- Automate movement for evolving DnB energy
- Resample your performances to capture new edits
- Re-process the printed audio for darker, heavier impact
- Arrange those variations like a proper jungle/DnB track
This is especially useful for:
You’ll learn how to use stock Ableton devices to make a break feel alive and responsive, rather than copy-pasted.
---
2. What you will build
By the end, you’ll have:
- kick/snare balance
- transient shaping
- filter movement
- pitch movement
- reverb/delay send intensity
- bitcrush / saturation aggression
- break stutter / repeat behavior
This is not just about chopping breaks — it’s about building a variation engine you can perform and automate. 🔥
---
3. Step-by-step walkthrough
Step 1: Pick and prep your amen
Start with a clean amen break sample. Ideally:
If needed, warp it lightly:
For a classic DnB feel:
If the break is too flat, you can layer extra snares later.
---
Step 2: Slice the amen to a Drum Rack
Right-click the break and choose:
Slice to New MIDI Track
Recommended slicing method:
This gives you each hit on a pad, which is ideal for:
#### What to do next
Open the Drum Rack and inspect the slices:
Rename key pads so you can work faster:
This matters a lot when building Macro mappings later.
---
Step 3: Build a controlled variation chain inside the Drum Rack
On the Drum Rack’s chain or inside individual pads, add devices that respond well to macro control.
A strong starting chain on the main break group:
1. EQ Eight
- High-pass around 25–35 Hz
- Gentle cut if boxy around 250–400 Hz
2. Drum Buss
- Drive: 5–20%
- Crunch: tastefully, not destroyed yet
- Boom: usually off for break samples unless you want extra low-end weight
3. Saturator
- Soft Clip: on
- Drive: 2–8 dB
4. Auto Filter
- Low-pass with a resonant sweep
5. Gate or Envelope Follower-style control via macros
- for tighter break chops
6. Optional: Redux
- for digital grime
7. Optional: Hybrid Reverb
- tiny room / plate for depth
You are not trying to “mix the whole drum track” here. You are creating variation controls.
---
Step 4: Map the most useful Macros
Now group the Drum Rack device chain into an Instrument Rack if needed, or use nested racks for more macro depth.
#### Suggested Macros for amen variation
Here’s a strong macro layout:
1. Break Level
- overall volume of the break group
2. Kick Weight
- boost/lower kick slice chain volume
- or EQ low-mid gain on kick pads
3. Snare Crack
- transient enhancement / saturator drive on snare pads
4. Ghost Density
- balance of ghost-note slice volumes
5. Filter Sweep
- Auto Filter cutoff
6. Grime
- Saturator/Redux drive amount
7. Space
- Reverb send amount
8. Tail Length
- sample release / decay / reverb decay
9. Stutter
- beat repeat amount or note repeat-style behavior
10. Pitch Drift
- transpose small amounts on selected slices
This is where the creative part begins.
---
Step 5: Use Macro Variations to build “performance states”
Ableton Live 12’s Macro Variations are perfect for making amen states like:
Create 4–8 Macro Variations that store distinct behavior.
#### Example variation map
Variation 1 – Clean Roll
Variation 2 – Pressure
Variation 3 – Dubby
Variation 4 – Rude Edit
This allows you to move between very different amen personalities with a single click or automation lane.
---
Step 6: Add movement with automation-friendly macro assignments
For advanced DnB, static loops feel weak. You want micro-evolution.
Assign automation to:
#### Best automation shapes
In Arrangement View:
---
Step 7: Build a resampling chain
Now we move into the resampling phase — the key part of this lesson.
#### Create a new audio track
Set the input to:
Arm the track and print performances of your amen variations.
You can:
This is huge for DnB, because you often want a break to feel like it has been recut by hand, not programmed in a sterile way.
---
Step 8: Resample in phrases, not endlessly
Record specific chunks:
Best practice:
Then comp the best takes.
You can also:
---
Step 9: Process the resampled audio for heavier DnB weight
Once your break variations are printed, treat the audio like raw material.
A strong resampled chain:
1. EQ Eight
- clean unnecessary low rumble
2. Drum Buss
- add weight and smack
3. Saturator
- for density
4. Transient shaping via Drum Buss attack or Envelope shaping
5. Auto Filter
- for movement
6. Echo or Delay
- short dub-style throws
7. Glue Compressor
- light glue, not squashing
8. Optional Limiter
- only if necessary
For darker DnB:
---
Step 10: Arrange the amen variations like a DnB track
Use your variations in a song structure like this:
#### Typical arrangement idea
#### Practical arrangement tips
- “open” break states
- “tight, filtered” break states
---
Step 11: Layer the amen with a sub or bass-friendly framework
In DnB, the amen must sit with the bassline.
To avoid clutter:
If the bass is heavy neuro/rollers:
---
Step 12: Save your rack as a reusable template
Once it works, save:
Make a template for:
This becomes a personal signature workflow. 🎛️
---
4. Common mistakes
1. Overprocessing before resampling
If you crush the amen too early, you lose flexibility.
Fix: keep the first rack dynamic, then resample and process the printed audio.
2. Too many macros with no clear purpose
If every macro does everything, the instrument becomes confusing.
Fix: make each macro do one obvious musical job.
3. Ignoring ghost notes
Ghost notes are the soul of the amen.
Fix: preserve them, but use macro control to emphasize or reduce them by section.
4. Making the break too busy
Advanced doesn’t mean crowded.
Fix: leave negative space so the bassline and snare accents can breathe.
5. Resampling only “perfect” takes
The best DnB edits often come from slightly messy, human-feeling passes.
Fix: record multiple versions, including imperfect ones.
6. Forgetting arrangement context
A great break in isolation may fail in a full track.
Fix: test your variations against bass, atmospheres, and drop energy.
---
5. Pro tips for darker/heavier DnB
Use controlled dirt, not random distortion
For heavier amen variation:
Make the snare the anchor
Dark DnB often lives or dies by the snare.
Create “drop-only” macro states
Set one Macro Variation for:
Then automate that variation only in the drop.
Use resampled reverse tails
Reverse tiny resampled tails before snare hits or at phrase ends.
This adds tension without sounding cheesy.
Keep the low end clean
If the amen has rogue low-end energy:
Combine with atmosphere
Dark breaks often sound bigger when paired with:
But keep the drums front and center.
---
6. Mini practice exercise
Exercise: Build 4 amen states and resample them
#### Goal
Create four distinct amen variations from one break and print them to audio.
#### Steps
1. Slice one amen to Drum Rack.
2. Build a macro rack with:
- Filter Sweep
- Grime
- Ghost Density
- Snare Crack
- Stutter
3. Create 4 Macro Variations:
- Clean
- Tight
- Dirty
- Fill
4. Record 2 bars of each variation into a resampling audio track.
5. Consolidate the best moments.
6. Rearrange the audio into an 8-bar DnB loop:
- bars 1–2 clean
- bars 3–4 tighter
- bars 5–6 dirty
- bars 7–8 fill
7. Add a bassline underneath and check whether the break still punches through.
#### Challenge
Try making the final 2 bars feel like they “lift” into the next section using:
If the loop feels predictable, you haven’t pushed the macros enough yet.
---
7. Recap
You now have a practical workflow for amen variation using Macro controls creatively in Ableton Live 12:
The key idea is this:
don’t just program the amen — perform it, print it, and reshape it.
That’s how you get breakbeats that feel alive, musical, and ready for a proper drop. 🥁🔥
If you want, I can also turn this into:
1. a screen-by-screen Ableton Live 12 workflow, or
2. a macro mapping template with exact parameter ranges for darker DnB.

