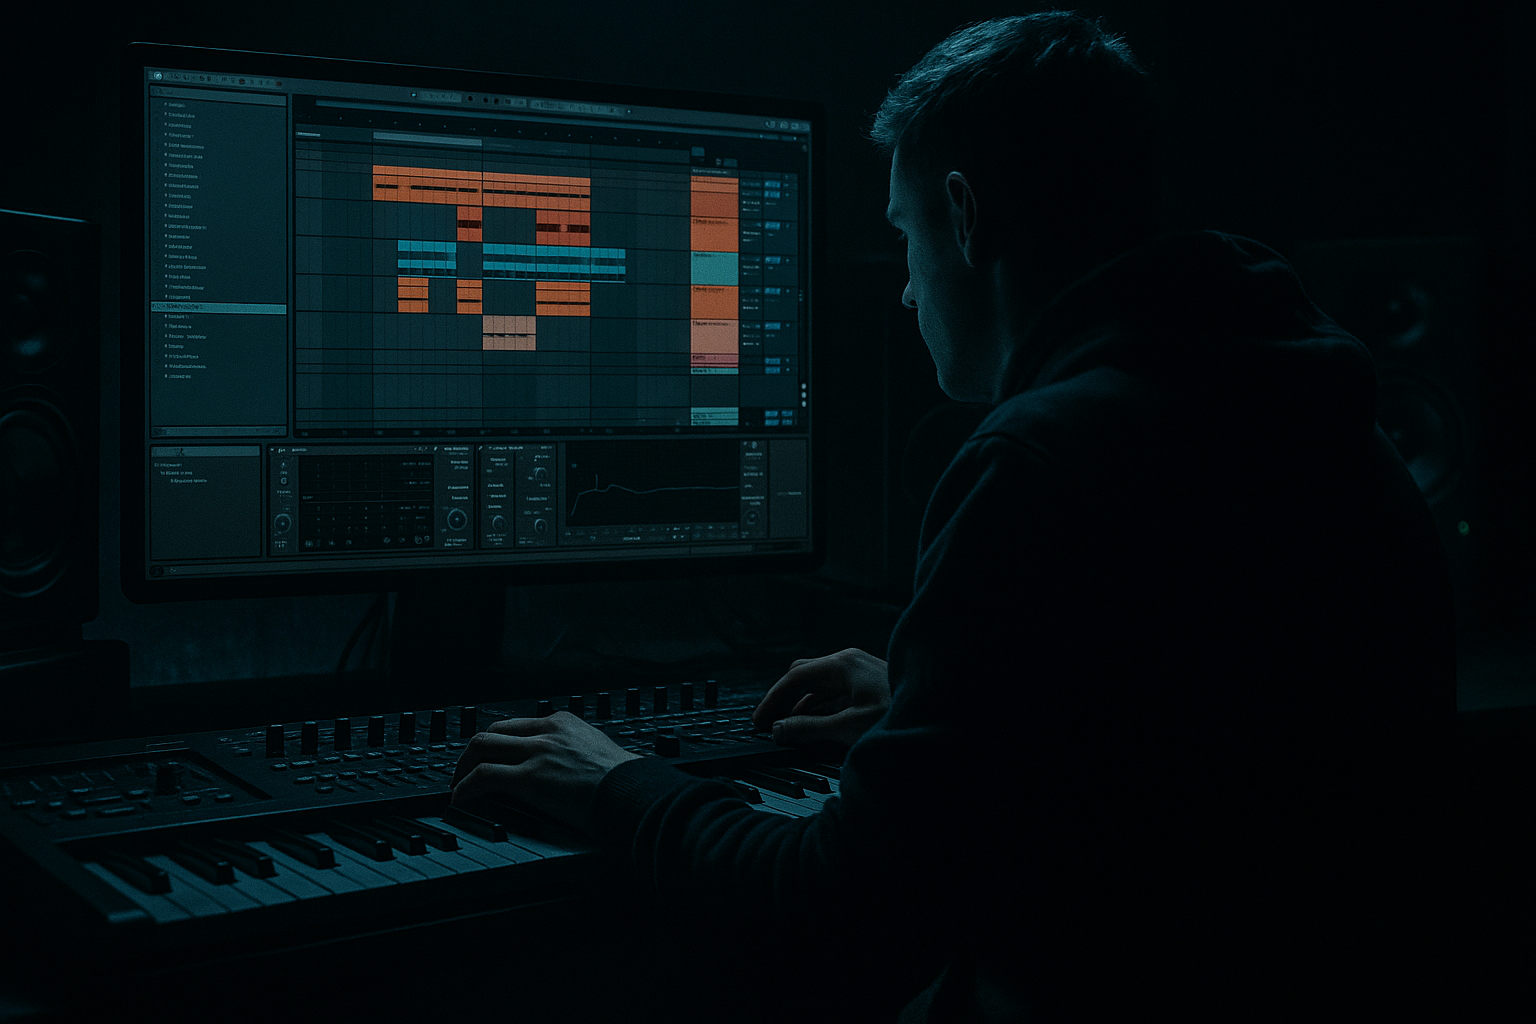
Main tutorial
```markdown
Masterclass: Resampled Pads for Oldskool Jungle / DnB Vibes (Ableton Live 12) 🎛️🌫️
Skill level: Intermediate
Category: Mastering (tone control, loudness, glue, translation)
Goal: Build big, haunted pads that sit like a record—wide, gritty, and controlled—using resampling workflows in Ableton Live 12.
---
1. Lesson overview 🚀
Oldskool jungle pads aren’t “clean synth presets.” They’re usually sampled/re-sampled, pitched, time-warped, and processed in stages—often through saturation, chorus, filtering, and room/plate verbs—then re-recorded again to lock in vibe.
In this lesson you’ll:
- Create a pad source
- Resample it through multiple passes (printing character each pass)
- Shape it to fit a rolling jungle mix (breaks + sub + stabs)
- Add “mastering-style” control so it stays wide but not messy, loud but not harsh
- warm + slightly degraded (90s sampler-ish)
- wide in the highs, focused in the lows
- moving and “alive” (chorus + subtle pitch drift)
- ready to drop behind breaks and bass without masking
- A printed audio pad (not MIDI)
- A pad bus chain that’s mix/master friendly
- Optional dark/heavy variants for modern jungle rollers
- Device: Wavetable
- Osc 1: Saw
- Osc 2: Sine or Triangle (low level)
- Unison: Classic, Amount 20–35%, Voices 4–6
- Filter: LP24, cutoff 1–3 kHz, drive 2–5
- Amp Env: Attack 25–60 ms, Decay 2–4 s, Sustain -6 to -12 dB, Release 2–6 s
- Device: Drift
- Set a mellow waveform + slightly detuned voices
- Use the built-in drift for gentle instability
- Minor 7 / sus chords work great.
- Warp: On
- Warp mode:
- Consolidate to a clean clip: select → Cmd/Ctrl + J
- Create Pad Print 2 (audio)
- Input: Pad Print 1
- Record 8 bars
- Bar 1–4: original
- Bar 5–8: transpose -2 or +5 semitones for a moody lift
- Or reverse one bar for a ghostly moment 👻
- Use Utility
- Add Compressor
- Sidechain: Kick/snare group or full drum bus
- Ratio: 2:1 to 4:1
- Attack: 5–15 ms
- Release: 80–160 ms
- GR: 2–5 dB on hits
- Too much low-mid (200–500 Hz): makes your breaks sound small and your mix cloudy.
- Pads fighting the reese/sub: if your pad has any real energy under ~150–200 Hz, it’ll blur the bassline.
- Over-widening: super wide pads can disappear in mono and weaken the center (snare/bass impact).
- Printing reverb too wet too early: once you resample, you can’t “un-reverb” it—print in stages.
- No sidechain: pads that don’t duck will feel like a blanket over the drums.
- Transpose down after printing: -3, -5, -7 semitones = instant doom.
- Use Roar with restraint:
- Auto Filter movement:
- Reverb discipline:
- Mid/Side EQ (stock workaround):
- Create “vintage sampling” artifacts:
- Jungle/DnB pads shine when you commit to audio and resample in passes.
- Use a staged workflow: design → print → degrade/shape → print → mix control.
- Mastering-style moves on the pad bus (EQ, gentle glue, width control, sidechain) keep it huge but disciplined.
- The final pad should support the break and bass, adding atmosphere and nostalgia without stealing impact.
---
2. What you will build 🧱
A 4–8 bar pad loop that sounds like:
You’ll end with:
---
3. Step-by-step walkthrough ✅
Step 0 — Session prep (DnB context)
1. Set tempo: 160–170 BPM (try 165 BPM).
2. Drop in a simple jungle skeleton:
- 1 break loop or chopped Amen on Track 1
- Sub bass on Track 2 (even a sine is fine)
- Leave space for the pad to live behind the groove
Why: You want to design the pad against real drums + bass so you don’t overfill the spectrum.
---
Step 1 — Make a solid “source” pad (MIDI) 🎹
Create a MIDI track: Pad Source (MIDI)
Option A: Wavetable (stock)
Option B: Drift (stock, instant vibe)
Chord idea (classic jungle mood):
Example in A minor: Am7 → Fmaj7 → G6 → Em7 (4 bars)
---
Step 2 — “90s pad” tone chain (pre-resample) 🧪
On the Pad Source (MIDI) track, build this chain:
1. Saturator
- Mode: Analog Clip
- Drive: 2–6 dB
- Soft Clip: On
2. Chorus-Ensemble
- Mode: Chorus
- Rate: 0.15–0.35 Hz
- Amount: 15–30%
- Width: 120–160%
3. Auto Filter
- Type: LP12
- Cutoff: 800 Hz – 3 kHz (set by ear)
- Envelope: small (5–15%) for movement
4. Hybrid Reverb 🌫️
- Algo: Plate or Room
- Decay: 2.5–6 s
- Pre-delay: 15–30 ms
- Low Cut: 200–400 Hz
- High Cut: 6–10 kHz
- Wet: 15–35% (don’t drown it yet)
DnB rule: Pads should feel huge but not steal sub/low-mid from bass + breaks.
---
Step 3 — Resample pass #1: print the vibe 🎚️➡️🎧
You’ll now commit it to audio (this is where the “record-like” tone begins).
Method (clean + easy):
1. Create a new Audio track called: Pad Print 1
2. Set its input to Resampling
3. Arm Pad Print 1
4. Solo your pad source and record 8 bars
Now you have audio that “locks in” the chorus/reverb/saturation interaction.
Quick cleanup:
- If you want vintage smear: Texture (Grain Size ~ 80–150)
- If you want stable pad: Complex or Complex Pro
---
Step 4 — Resample pass #2: degrade + shape like an old sample 📼
On Pad Print 1, add a printing chain that makes it feel sampled.
Device chain (classic jungle pad resample):
1. EQ Eight
- High-pass: 24 dB/oct @ 120–250 Hz (depends on bass)
- Gentle dip: 250–500 Hz if boxy (1–3 dB)
- Soft shelf down: 8–12 kHz (1–4 dB) to tame “modern” sheen
2. Roar (or Saturator if you prefer)
- Roar: pick a mild curve, drive small (you want density, not fuzz)
- If Saturator: Analog Clip drive 1–3 dB
3. Redux (subtle!)
- Bits: 10–12
- Downsample: 1.2–2.5 (watch the fizz)
- Dry/Wet: 5–15%
4. Hybrid Reverb (shorter, for “room in a box”)
- Room / Ambience vibe
- Decay: 0.8–1.8 s
- Pre-delay: 5–15 ms
- Wet: 8–18%
Now print again:
This second print is where the pad stops sounding like a synth and starts sounding like a sample you found.
---
Step 5 — Make it move: micro-warp + pitch tricks 🌀
Oldskool pads often have subtle “tape instability.”
On Pad Print 2 clip:
1. Open Clip View
2. Turn Warp ON
3. Try:
- Warp mode: Texture
- Grain Size: 90–140
- Flux: 10–25 (if available/depending on mode)
4. Add tiny pitch drift:
- Clip Transpose: -3 to -7 semitones (instant darker jungle)
- Then adjust formants/tone by ear (Complex Pro formants if used)
Arrangement move:
Duplicate the clip and create variation:
---
Step 6 — “Mastering-style” pad bus: make it fit the mix 🔧
Group your pad tracks (Pad Print 2 and any layers) into PAD BUS.
On PAD BUS, use this mastering-leaning chain:
1. EQ Eight (surgical control)
- HPF @ 120–250 Hz, 24 dB/oct
- If it masks snare crack: small dip 1–3 kHz
- If it’s harsh: dip 5–8 kHz slightly
2. Glue Compressor (glue, not smash)
- Attack: 10 ms
- Release: Auto
- Ratio: 2:1
- Gain reduction: 1–2 dB
- Soft Clip: On
3. Limiter (only if needed)
- Aim: catch peaks from chorus/reverb swells
- Keep it gentle: 1–2 dB max on loud moments
Width management (important in DnB):
- Bass Mono: set below 120–200 Hz (or just keep lows filtered out)
- Width: 110–140% (don’t go crazy or it’ll vanish in mono)
---
Step 7 — Sidechain it like a record (breaks + bass win) 🥁
Pads should breathe with drums and bass.
On PAD BUS:
Settings:
Pro jungle trick: sidechain more to snare than kick (snare drives the groove).
---
Step 8 — Layering option: “air layer” vs “body layer” ✨
If your pad is either too thick or too thin, split it:
1. Duplicate Pad Print 2
2. Pad Body: low-pass around 2–4 kHz, keep it warm
3. Pad Air: high-pass around 1–2 kHz, add chorus + reverb, widen more
Blend to taste. This keeps the pad huge without stepping on bass.
---
4. Common mistakes ❌
---
5. Pro tips for darker/heavier DnB 🖤
- Add harmonics in 600 Hz–2 kHz so the pad reads on small speakers.
- Map cutoff to a slow LFO (Rate 0.05–0.15 Hz) for evolving tension.
- Use two verbs: one short room (glue), one long plate (tail), and print them separately.
- Use EQ Eight in M/S mode:
- Cut lows on Sides
- Keep Mids more controlled so snare stays strong
- Tiny fades, clip start offsets, and occasional reverse hits in the pad audio clip.
---
6. Mini practice exercise 🧠
Timebox: 20 minutes
1. Build a pad on Wavetable (or Drift) with the Step 2 chain.
2. Record Pad Print 1 (8 bars).
3. Add Redux + EQ shaping, record Pad Print 2.
4. Warp Pad Print 2 in Texture, transpose -5 semitones.
5. Put it behind a breakbeat and sub:
- Sidechain pad bus to snare
- HPF pad @ ~180 Hz
6. Render a quick A/B:
- Pad muted vs pad on
Your goal: the mix should feel bigger, not muddier.
---
7. Recap 🔁
If you want, tell me your tempo + whether your drum bus is punchy or dusty, and I’ll suggest specific cutoff points and sidechain timings for your exact vibe. 🎚️
```

