Main tutorial
Lesson Overview
Swing is one of the most misunderstood tools in jungle and DnB production. Used badly, it turns your groove lazy or cartoonish. Used with intent, it creates that timeless roller momentum: the slightly-off-kilter push that makes a break feel alive, makes bass phrases breathe, and keeps a loop rolling without sounding quantized to death.
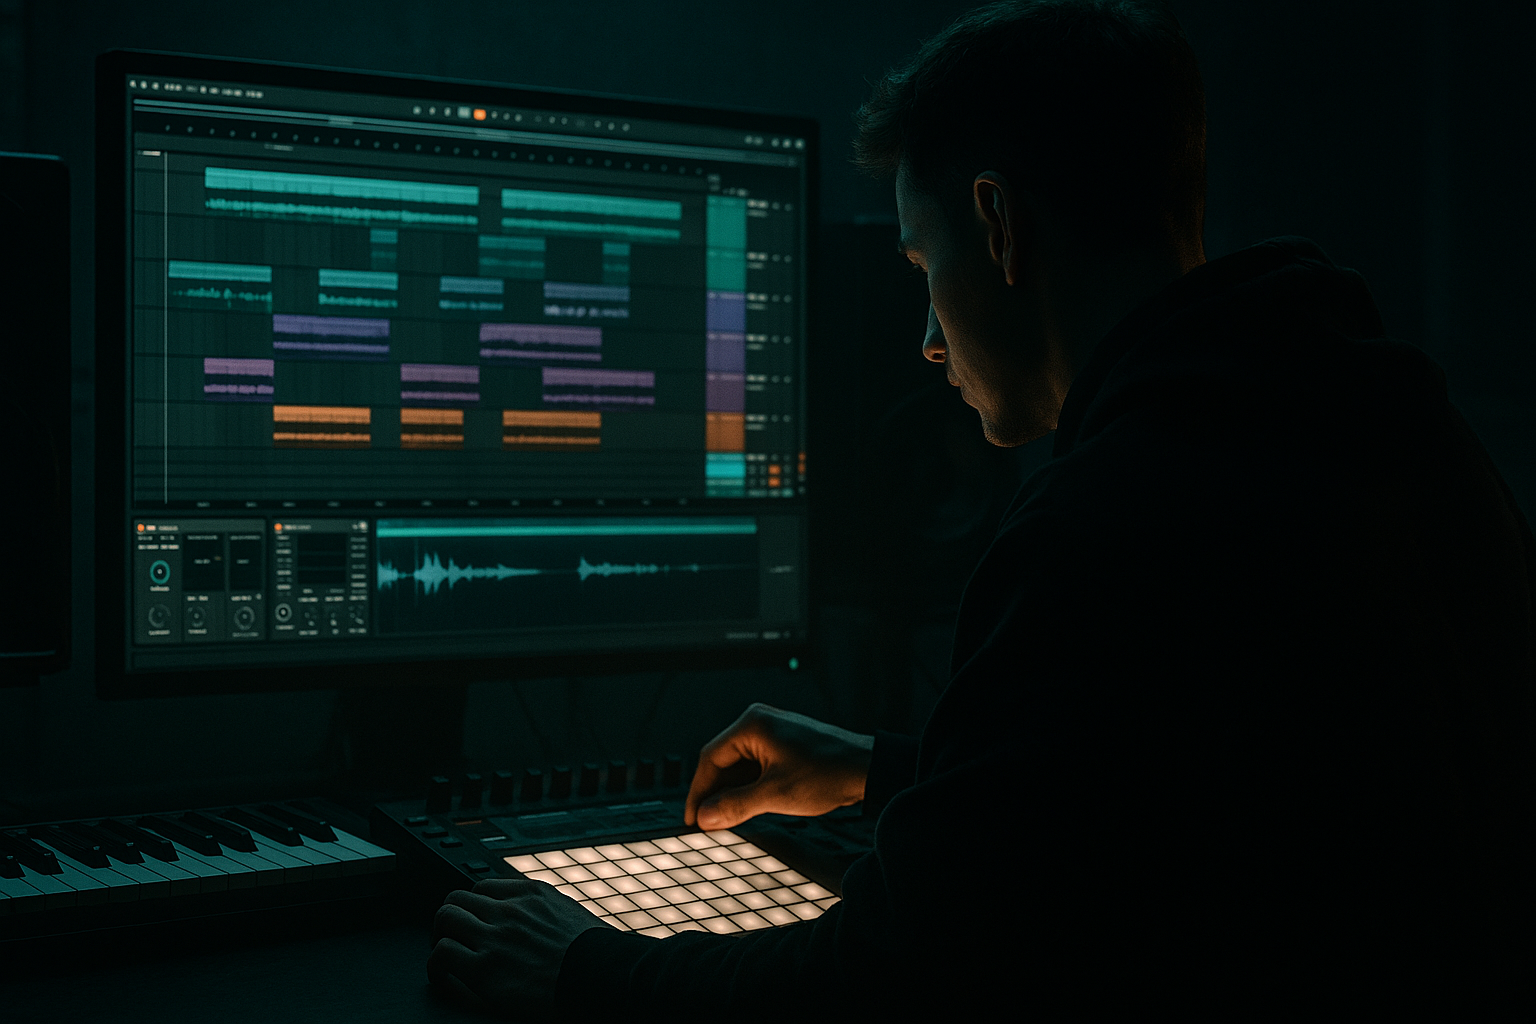
In this lesson, you’ll build an advanced Ableton Live 12 swing workflow for oldskool jungle / roller DnB using sampling at the center of the process. The goal is not just to “add groove” to drums — it’s to shape the micro-timing of breaks, ghost hits, bass stabs, fills, and transitional moments so the track feels like it’s moving forward even when the pattern is minimal. This is especially important in rollers and darker halftime-influenced DnB where momentum comes from phrasing, displacement, and subtle timing rather than constant note density.
Why it matters in DnB: the best roller grooves often sit between rigid grid precision and human drag. A break that’s too straight loses swagger. A bassline that hits too perfectly can feel stiff and modern in the wrong way. Oldskool jungle energy lives in the interaction between sampled drums, chopped phrasing, and the tiny tension created when transients land just ahead of or behind the pocket. If you can control that balance inside Ableton, you can make a loop feel instantly more expensive and more “record-like” 🎛️
What You Will Build
You’ll create a 16-bar roller framework with:
- A sampled breakbeat chopped into tight fragments
- Controlled swing variations across drum layers, ghost notes, and fills
- A resampled bassline loop with weighted sub, reese movement, and call-and-response phrasing
- A groove system that keeps the main loop rolling while allowing tension lifts in every 4 and 8 bars
- A mix-ready drum/bass pocket with mono-safe low end, controlled transient shape, and subtle saturation
- Oldskool jungle DNA in the drums
- A modern roller’s spacious bass balance
- Slightly late ghost hats and snapped snare-related pushes
- Bass phrases that answer the break rather than fight it
- A groove that sounds intentional when looped for 64 bars, not just good for one bar
- Making every element swing the same amount
- Quantizing the life out of the break
- Letting sub notes drift too far behind the beat
- Overusing Saturator or Drum Buss on the whole mix
- Adding too many fills and losing the loop’s hypnotic quality
- Ignoring mono compatibility
- Use a slightly late ghost-snare layer to create a “sucked back” feel under a firm main snare.
- Print a clean break and a processed break, then alternate them between sections for tension without clutter.
- Put a tiny bit of saturation on the bass mids only, then high-pass the distorted layer so the sub stays clean.
- Use Drum Buss on the break bus with Drive around 5–10%, Transients +10-ish, and keep Boom very restrained unless you want a heavier, modern tear-out edge.
- Try sidechaining only the mid-bass to the kick/snare pocket, not the sub, if the sub already sits well. This preserves weight while keeping movement.
- In darker rollers, a more restrained swing on the snare plus looser top percussion often sounds more expensive than a huge global shuffle.
- Use resampled one-shot impacts from your own break edits as fills; this keeps the groove sonically consistent.
- For underground character, let one or two ghost hits intentionally stay a hair messy. Perfection can kill jungle attitude.
- Swing in DnB is about layered timing, not one global shuffle value.
- Keep the main snare and sub stable, and let ghosts, hats, and fills move more.
- Sampling is the fastest route to authentic jungle momentum in Ableton Live 12.
- Resampling lets you turn timing decisions into editable audio, which is huge for advanced arrangement work.
- The best rollers use contrast: tight low end, loose top percussion, and bass that answers the drums instead of crowding them.
- Small, repeated changes every 4 and 8 bars keep the groove alive without losing the hypnotic loop feel.
Musically, the result should feel like:
Step-by-Step Walkthrough
1. Set the session up for groove-first sampling
Start with a clean Ableton Live 12 set at 170–174 BPM. Build your session around a 2-bar or 4-bar loop, because swing decisions are much easier to judge when the loop repeats often enough for your ear to lock in.
Create these tracks:
- Drum Break Sampler track
- Drum layer track for kicks/snares
- Ghost percussion track
- Bass track
- FX return or audio track for resampling
- Reference track if you want to A/B against an oldskool roller you know well
Put a Groove Pool on hand immediately. The key idea: do not treat swing as one global number. In DnB, groove is layered. Your break, hats, bass stabs, and fills may each need different timing behavior.
Useful starting move:
- Warp your break sample in Simpler or Sampler
- Consolidate your initial clip once the edit feels close
- Keep the arrangement short and repeatable while you sculpt timing
2. Choose and chop a break like a drummer, not like a loop user
Drag in a classic-style break or any drum loop with clear transients. Oldskool jungle momentum comes from the break’s internal swing, so do not flatten it completely. Use Simpler in Slice mode or Sampler for more control if you want deeper manual editing.
In Simpler Slice mode:
- Slice by Transients
- Set fade time low, around 1–5 ms, to avoid clicky fragments if the source is clean
- Use filter envelope sparingly; the break should stay lively, not over-processed
Now chop into roles:
- Main snare hits
- Ghost notes
- Offbeat hats / shuffles
- Small pickup fragments before the snare
- Tiny fill pieces at bar ends
Why this works in DnB: oldskool swing is often embedded in the sample itself. When you separate the break into roles, you can keep the core pocket intact while pushing ghost notes and fill fragments more aggressively. That preserves authenticity while giving you control.
3. Build a groove map using multiple swing layers
In Ableton, use Groove Pool with a few different groove sources. You don’t need a huge library of grooves; you need contrast. Extract groove from your sampled break or use a classic MPC-style groove as a starting point, then apply different amounts to different clips.
Practical starting settings:
- Main break clip: Groove amount 25–45%
- Ghost hat/percussion clip: Groove amount 45–65%
- Bass stab clip: Groove amount 10–25%
- Fill clips: Groove amount 15–35%
Keep an eye on Commit timing. If your swing feels good, commit it to the clip so you can manually refine transients afterward.
Advanced move:
- Set global quantization to 1/16 or 1/8 only for recording ideas, then stop relying on it
- Nudge selected notes manually by ear rather than over-quantizing
- Use clip Start markers and tiny clip warps to offset the “weight” of a loop without making it obviously late
The big mindset shift: swing in DnB is not just “late notes.” It’s intentional distribution of energy. Main hits can stay anchored while in-between notes dance.
4. Shape the break’s pocket with timing, not just processing
Open the MIDI from your sliced break and refine the groove manually. This is where the advanced work lives.
Focus on three timing zones:
- Snare anchor: keep the main snare firm
- Pre-snare pickups: move these slightly earlier or later depending on the feel
- Ghost notes and hat ticks: these can sit further behind the beat for laid-back roll, or slightly ahead for urgency
Two strong parameter ideas:
- Move ghost hats 10–20 ms late for lazy, rolling shuffle
- Move pickup hits 5–15 ms early to create forward lean into the snare
If you’re using Drum Rack:
- Put the snare on one pad and ghost hits on another
- Route both to a drum bus
- Use transient control with Drum Buss lightly: Drive 5–15%, Crunch low, Transients +5 to +20 depending on how much snap you need
Keep the core break narrow in the stereo field. The groove should feel wide through movement, not through low-end stereo spread. If the break has excessive ambience, use EQ Eight to high-pass the break return around 150–250 Hz so the sub space stays clean.
5. Design a bassline that dances around the swing, not on top of it
For the bass, create either:
- A Reese in Wavetable, Operator, or Analog
- A resampled bass loop built from a synth phrase
- A sub layer in Operator with a pure sine
For this lesson, use a split-layer approach:
- Sub layer: Operator, sine wave, mono, low-pass above 90–120 Hz if needed
- Mid bass layer: Wavetable or Analog with a detuned saw/reese character
- Optional texture layer: resampled noise/grit layer with a high-pass around 200–300 Hz
Program a bass phrase that leaves holes for the break. Use call-and-response phrasing:
- Bass hits on beat 1
- Short answer on the “and” of 2
- A tail or slide into beat 4
- Rest in at least one obvious pocket so the snare can breathe
Timing suggestions:
- Place some bass notes slightly behind the beat for roller weight
- Keep sub notes more conservative than the mid layer, so the low end doesn’t smear
- Try 5–10 ms delay on mid-bass notes if the break feels too busy, but keep the sub anchored
Add subtle movement:
- Auto Filter with slow LFO-like automation on cutoff, 1–2 dB of movement only if needed
- Saturator with Soft Clip enabled, Drive 2–6 dB
- Utility on the sub layer with Width at 0% for mono discipline
Why this works in DnB: the bass becomes a rhythmic partner to the break. In rollers, the bass doesn’t need to dominate every beat — it needs to imply momentum and tension while the drums carry the swing signature.
6. Create swing contrast between drums and bass
This is where many producers overdo it. If everything swings the same, the loop can feel mushy. You want contrast.
Strategy:
- Keep kick and main snare fairly stable
- Let ghost notes, percussion, and top loops swing more heavily
- Give bass a slightly different timing profile than the drums
In practice:
- Apply more groove to top percussion than to the snare
- Keep bass stabs tighter in the first 2 bars, then loosen them in bars 3–4
- Use MIDI note length as a groove tool: shorter notes feel punchier, longer notes feel more legato and can drag the pocket
If using MIDI effects:
- Note Length can help standardize short bass hits
- Velocity can vary attack intensity, especially on ghost percussion
- Random is useful only in tiny amounts; keep it subtle or the groove becomes unreliable
A strong technique for advanced rollers: duplicate the bass clip, then create a “response” version with fewer notes and slightly later placement. Alternate the two every 2 bars. That creates natural phrasing without needing obvious fills.
7. Resample the groove and commit to audio
Once the break/bass interplay feels right, resample the loop. This is one of the most powerful sampling workflows in Ableton Live 12 for jungle and rollers.
Create an audio track set to resample your drum bus or master-safe pre-master bus. Record 8 bars of the groove, then comp or cut the best moments back into the arrangement.
Benefits:
- You can slice the audio and re-time individual transients
- You can process the whole groove as a single musical object
- You can reverse tiny fragments, create stutters, or automate tape-style edits
- You can print the exact bounce of your swing decisions instead of leaving them abstract
Advanced workflow:
- Freeze/flatten or resample the bass bus
- Re-chop transient pickups into a new sampler rack
- Use tiny reverse hits before snare turns or breakdown entries
- Layer resampled ambience underneath the clean loop for depth
This is where the track starts sounding like a record, not a programming exercise.
8. Automate arrangement movement every 4 and 8 bars
Swing only feels “timeless” when it evolves. In DnB, loop fatigue kills the vibe fast, so give the groove subtle arrangement arcs.
Every 4 bars, change one or two elements:
- Close the filter slightly on the bass in bar 4
- Add a ghost kick pickup into bar 5
- Remove one hat tick before a snare for tension
- Bring in a short fill or reverse slice on the last 1/2 beat of bar 8
Every 8 bars, escalate:
- Add a second break layer
- Open the reese filter a little more
- Increase saturation by a small amount
- Insert a 1-bar drop-out or drum mute for DJ-friendly phrasing
Useful Ableton devices:
- Auto Filter for transition movement
- Echo for short dubby tails on fills, feedback low, wet automated
- Utility to narrow the bass before a breakdown, then restore width only in non-low elements
- Drum Buss for fill impact and transient excitement
Keep your arrangement classic:
- 16-bar intro for mixability
- 16-bar first drop section
- 8-bar variation
- 8-bar tension lift
- 16-bar stronger second drop idea
Common Mistakes
Fix: keep drums, ghost notes, and bass on different groove strengths.
Fix: preserve the main snare anchors and only adjust the supportive micro-hits.
Fix: keep sub timing tighter than mids, especially in dense rollers.
Fix: process on buses and keep low-end distortion controlled.
Fix: use small changes every 4 bars and bigger changes every 8 bars.
Fix: check the bass and low break layers with Utility in mono and keep sub dead center.
Pro Tips for Darker / Heavier DnB
Mini Practice Exercise
Spend 15 minutes building a 4-bar loop using only Ableton stock tools.
1. Load one break into Simpler and slice it by transients.
2. Build a 4-hit drum phrase with a main snare, one ghost hit, and one pickup.
3. Apply Groove Pool swing to only the ghost layer at around 50%.
4. Create a simple 2-note sub bass in Operator and a detuned mid layer in Wavetable.
5. Offset one bass response note by 5–10 ms late.
6. Resample the loop for 4 bars.
7. Chop the resample and make one 1-bar variation with a reverse fill.
8. Compare the original loop and the resampled version. Ask: which one feels more like a roller?
Goal: make the groove feel better after resampling, not worse. If it gets flatter, your timing contrast is too small.

