Main tutorial
Lesson Overview
This lesson is about building a percussion layer with modern punch and vintage soul for oldskool jungle / DnB vibes inside Ableton Live 12. The goal is not just “more drums” — it’s to create a layered percussion bed that feels hard, alive, and musical, the kind of groove that supports breakbeats, bass movement, and arrangement energy without crowding the mix.
In DnB, percussion is a big part of the identity. A strong layer can make a simple beat feel like it was pulled from a deeper record collection: dusty, swung, and human. At the same time, modern DnB still needs tight transients, clean low-end management, and controlled stereo width so the track hits hard on club systems.
This technique fits especially well in:
- Intros and drops, where layered percussion can build tension
- Breakdown grooves, where the drums keep motion alive without full kick/snare impact
- Roller sections, where subtle percussion adds momentum under a bassline
- Jungle-style edits, where break slices, ghost notes, and sampled texture create character
- A crisp modern top layer for attack and definition
- A warm vintage layer for grit, dust, and movement
- A controlled bus processing chain that glues everything together
- A tight shaker/cowbell/tambourine-style rhythmic layer
- A filtered break texture or chopped percussion sample with oldskool feel
- A subtle “air” layer that fills gaps between kicks, snares, and ghost notes
- a 95–100 BPM jungle-inspired intro before a halftime drop,
- a 174 BPM roller with rolling ghost notes,
- or a dark amen-based tune where the percussion adds movement without stealing focus.
- Making the percussion too loud
- Using two layers that occupy the same frequency space
- Over-compressing the bus
- Putting too much low end into the percussion layer
- Ignoring swing and timing
- Widening everything
- Using harsh samples without EQ
- Layer a filtered break top under the percussion bus for that shadowy jungle patina. Keep it low in the mix and high-pass it so it only adds texture.
- Use light Saturator Drive before compression to make quiet hits more audible without increasing peak level too much.
- Automate a low-pass filter down in breakdowns to create tension, then open it at the drop for impact.
- Add very short reverb only to selected hits, not the whole layer. Use Reverb with a short decay and low wet amount for depth without washing out the groove.
- Use Erosion carefully on the highest layer to create dirt and metallic edge. A little goes a long way.
- Make a call-and-response rhythm between the percussion layer and the snare ghost notes. This helps the track feel more like a living drum conversation.
- For darker rollers, keep the top layer sparse and let the bassline do the heavy lifting. The percussion should sound like pressure, not clutter.
- For neuro or modern darker bass music, tighten the transient layer and keep the vintage layer more filtered so the mix stays aggressive and controlled.
- a minimal dark roller groove
- a busier oldskool jungle drop
- Use two contrasting sources
- Keep the rhythm supportive and sparse
- Add swing for oldskool feel
- Shape the modern layer for clarity and attack
- Shape the vintage layer for dust and character
- Glue lightly on a bus
- Check in mono
- Use automation and resampling to make it feel like part of the arrangement
Why this matters: in DnB, listeners feel the interaction between drums and bass more than almost any other genre. If your percussion layer is too flat, the track feels empty. If it’s too busy, the groove collapses. The sweet spot is a layer that adds soul, swing, and density while leaving space for the main break, kick, snare, and sub.
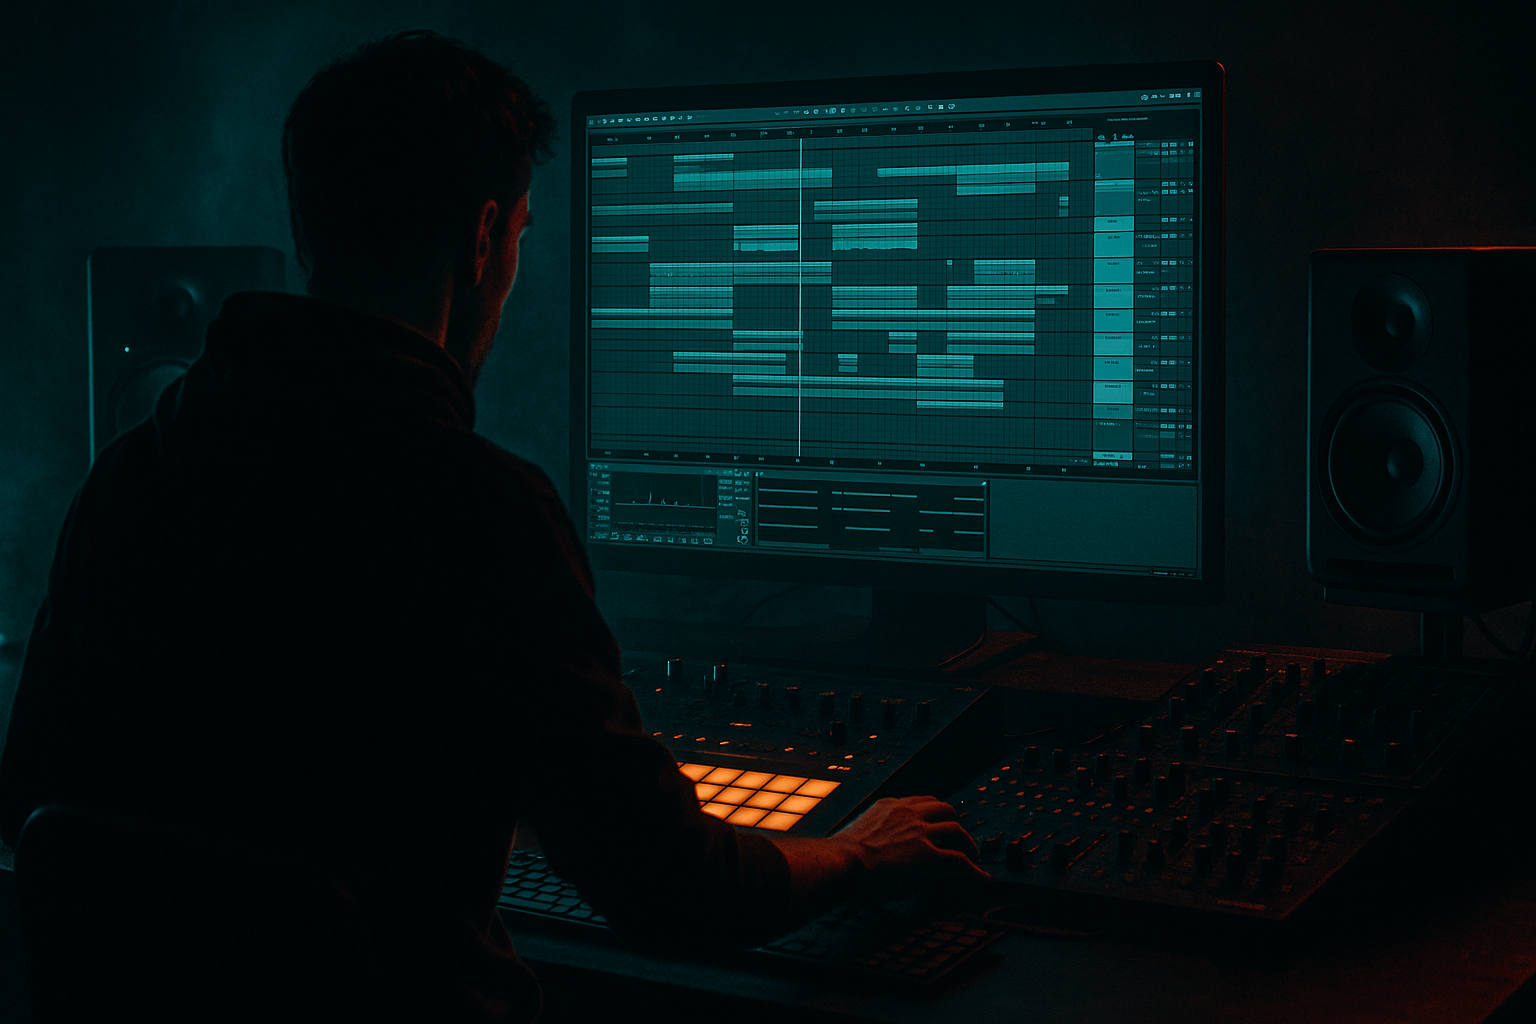
We’ll build this in Ableton Live using stock tools only, with a beginner-friendly workflow that still sounds serious. 🎛️
What You Will Build
By the end of this lesson, you’ll have a 3-part percussion layer that sits under or around your main drum break and gives your DnB track:
Musically, this will sound like:
You’ll also create a basic master-safe drum bus approach, so your percussion layer can be added to a full track without causing harshness, clipping, or low-end mess.
The end result should feel like the kind of percussion that could sit under:
Step-by-Step Walkthrough
1. Start with a clean drum group and reference the role of the layer
In Ableton Live 12, create a Drum Group or separate group named something like Percussion Layer. Keep this separate from your main kick/snare group so you can shape it independently.
Before adding anything, decide what the layer is supposed to do:
- Add top-end rhythm?
- Add dusty midrange texture?
- Add shuffle and swing between the main hits?
For a beginner-friendly oldskool DnB approach, think of the layer as the “glue” between the beat and the break. It should not replace your main drums — it should make them feel more lived-in.
Why this works in DnB: jungle and DnB often rely on layered rhythmic detail. The ear locks onto repeated micro-motifs, so even a simple shaker pattern can create strong forward motion when it’s placed well.
2. Choose two contrasting sources: one modern, one vintage
Build the layer from two sample types:
- Modern punch source: a tight shaker, rim, short hat, or tick with clear transient
- Vintage soul source: a chopped percussion break, tambourine loop, conga hit, or dusty hat loop
In Ableton’s Drum Rack, load each source onto a pad. If you don’t have a curated sample pack, use:
- Simpler for one-shots
- Slice to New MIDI Track for a break/percussion loop you want to chop
Beginner tip: keep the modern source short and the vintage source a little looser. That contrast is what gives the layer character.
Good starting choices:
- Modern hat: short decay, bright attack
- Vintage layer: sampled percussion loop with some room tone, or a filtered amen top slice
3. Program a simple rhythm that supports the drum break, not fights it
Open the MIDI clip and write a pattern that fills space rather than copying the main break.
A strong beginner pattern is:
- Closed hat or shaker on offbeats
- Occasional 16th-note pickups
- One or two ghost hits before the snare
Example feel in a 2-bar loop:
- Bar 1: light hits on the “&” of each beat
- Bar 2: add extra pickups before beat 2 or 4
Keep it sparse at first. In DnB, the percussion layer becomes powerful when it sounds intentional, not crowded.
Try this rule: if the main break already has a busy top end, your percussion layer should mostly add space between the hits. If the main drum pattern is simple, you can add a little more rhythmic detail.
4. Use groove and timing to create the oldskool feel
Open Ableton’s Groove Pool and try applying a subtle swing groove to the vintage layer only. This is one of the fastest ways to make percussion feel more human and jungle-adjacent.
Good starting settings:
- Timing: 54–58%
- Random: 1–5%
- Velocity: 5–15%
Don’t overdo it. The modern punch source can stay tighter, while the vintage source gets a little drag and human feel. That contrast creates motion.
If you want even more oldskool character:
- Nudge a few notes slightly late
- Leave some ghost hits intentionally softer
- Offset a few hits ahead of the beat for urgency
This is classic jungle logic: the groove feels exciting because it’s not perfectly rigid.
5. Shape the modern layer with stock Ableton devices for punch
On the modern percussion channel, add EQ Eight, then Saturator, then maybe Drum Buss.
Suggested starting settings:
- EQ Eight: high-pass around 150–250 Hz to keep it out of the bass zone
- Small boost around 6–10 kHz if it needs sparkle
- Cut a little around 2.5–4.5 kHz if it gets harsh
- Saturator: Drive around 2–5 dB
- Use Soft Clip if you want safer transient control
- Drum Buss: Drive lightly, around 5–15%, and keep Boom off or very low for this layer
This gives the modern layer punch without making it oversized. The goal is clarity and definition, not a huge drum sound on its own.
If you want more snap, you can add a very small amount of Transient shaping by using Drum Buss Transients. Keep it subtle — enough to make the tick speak, not enough to click.
6. Shape the vintage layer with filtering, color, and controlled dirt
On the vintage percussion channel, use Auto Filter, EQ Eight, and Saturator or Erosion for texture.
Good starting settings:
- Auto Filter: low-pass around 8–12 kHz if the sample is too bright
- Or high-pass around 120–200 Hz if the sample has muddy lows
- Saturator: Drive 3–8 dB for grain
- Erosion: very light amount, especially in Noise mode, for dusty top texture
For oldskool jungle character, the vintage layer should feel like it came from a sampler or a chopped loop, not a pristine modern sample. A bit of roll-off and grit helps sell that feeling.
If the sample has too much room sound, tame it with EQ and maybe reduce the stereo width later in the chain. You want soul, not haze.
7. Glue the layer on a percussion bus and keep it mix-safe
Route both percussion channels to a group bus called Percussion Bus. This is where the layer becomes a coherent part of the track.
On the bus, use:
- EQ Eight for cleanup
- Glue Compressor for gentle cohesion
- Optional Drum Buss for extra density
Safe beginner bus settings:
- Glue Compressor: Ratio 2:1 or 4:1
- Attack 10–30 ms
- Release Auto or around 0.1–0.3 s
- Aim for only 1–2 dB of gain reduction on peaks
Keep the bus from flattening the life out of the groove. You want the hits to feel connected, not crushed.
If the percussion starts cluttering the mix, use a very small cut around 300–600 Hz on the bus. That area can get boxy fast, especially with dusty samples.
8. Add automation to make the percussion feel like part of the arrangement
This is where the layer starts acting like arrangement, not just rhythm. In DnB, percussion automation is a big part of tension and release.
Try automating:
- Auto Filter cutoff on the vintage layer for intro builds
- Send amount to reverb or delay for transitions
- Volume fades so the percussion enters and exits smoothly
- Saturator Drive slightly up in drops or switch-ups
Musical context example:
- In an 8-bar intro, start with the vintage percussion filtered low and slowly open it
- In the last 2 bars before the drop, remove a few notes or thin the layer out
- At the drop, bring the modern punch layer fully in for impact
This works especially well in jungle and rollers because the groove keeps moving while the arrangement breathes.
9. Check the layer against bass and kick in mono
Percussion can sound exciting in stereo and still cause problems in mono. In DnB, that is a common trap.
Use Ableton’s Utility on the bus:
- Set Width to 0% temporarily to check mono compatibility
- Then return it to normal width
Listen for:
- Does the percussion disappear?
- Does it clash with the snare?
- Does it distract from the sub or reese?
Keep the lowest part of your percussion layer mono or near-mono. If you use any stereo widening, do it only on the upper texture, not on the core rhythmic hits.
For mastering-minded control, leave room on the master. Don’t chase loudness here. A cleaner percussion layer will make the final master punch harder later.
10. Bounce and resample if you want a more authentic jungle texture
Once the layer is working, record it to audio or use Resampling to capture a version with the processing baked in. This is a classic DnB workflow because it helps you commit to a sound and build around it.
Then you can:
- Chop the audio into new fills
- Reverse a hit before a snare
- Create a one-bar variation for the second half of the drop
- Print a filtered version for intro sections
Resampling is especially useful in oldskool-inspired DnB because the sound often comes from layered, committed audio decisions rather than endless tweaking.
If you’re working on a full track, keep two versions:
- Dryer version for dense drop sections
- More processed version for intros, breaks, and transitions
Common Mistakes
- Fix: turn it down until you miss it when muted, but don’t clearly hear it as a lead element.
- Fix: make one layer bright and tight, the other darker and more textured.
- Fix: keep compression gentle. DnB needs punch and movement, not a flattened loop.
- Fix: high-pass aggressively enough to stay clear of kick, sub, and bass.
- Fix: add subtle groove or manual offsets so the layer feels human and oldskool.
- Fix: keep the rhythmic core centered. Stereo should be a detail, not the foundation.
- Fix: tame 3–5 kHz if the hats slice too hard, and roll off unnecessary highs.
Pro Tips for Darker / Heavier DnB
Mini Practice Exercise
Spend 10–20 minutes building a percussion layer from scratch:
1. Load one modern shaker or hat and one vintage percussion loop or hit into a Drum Rack.
2. Program a 2-bar pattern with only 6–10 hits total.
3. Apply a subtle Groove Pool swing to the vintage layer.
4. On the modern layer, use EQ Eight + Saturator.
5. On the vintage layer, use Auto Filter + Erosion.
6. Group both tracks and add Glue Compressor on the bus.
7. Toggle the group on and off while listening to a jungle-style break or roller loop.
8. Adjust until the percussion feels like it adds motion without stealing attention.
Challenge yourself to make the layer work in two different contexts:
If it works in both, you’ve built something flexible enough for real track use.
Recap
The core idea is simple: in DnB, a percussion layer should give you modern punch plus vintage soul without overwhelming the main drums.
Remember the essentials:
If you get this right, your percussion stops sounding like an extra loop and starts sounding like a real part of the record. That’s the difference between a beat that just plays and a DnB groove that actually moves people.

