Main tutorial
```markdown
Micro Fades on Every Chopped Slice (DnB in Ableton Live) 🎛️🥁
1. Lesson overview
When you chop breaks, tops, fills, or bass resamples into lots of tiny slices, you often get clicks/pops at slice boundaries. In drum & bass—especially tight jungle edits and rolling break programming—those clicks kill punch and groove.
Micro fades are tiny fade-ins/outs (often 1–10 ms) applied to every slice so each hit starts/ends cleanly, even when you rearrange aggressively.
By the end of this lesson, you’ll be able to:
- Chop audio like a junglist 🔪
- Apply micro fades quickly (not manually 200 times)
- Keep edits tight and punchy without clicks
- Every slice is clean (no pops)
- Groove stays sharp (micro fades are short, not “soft”)
- You can rearrange slices freely in Arrangement or as MIDI in a Drum Rack
- A Drum Rack with each slice on a pad
- A MIDI clip triggering the original pattern
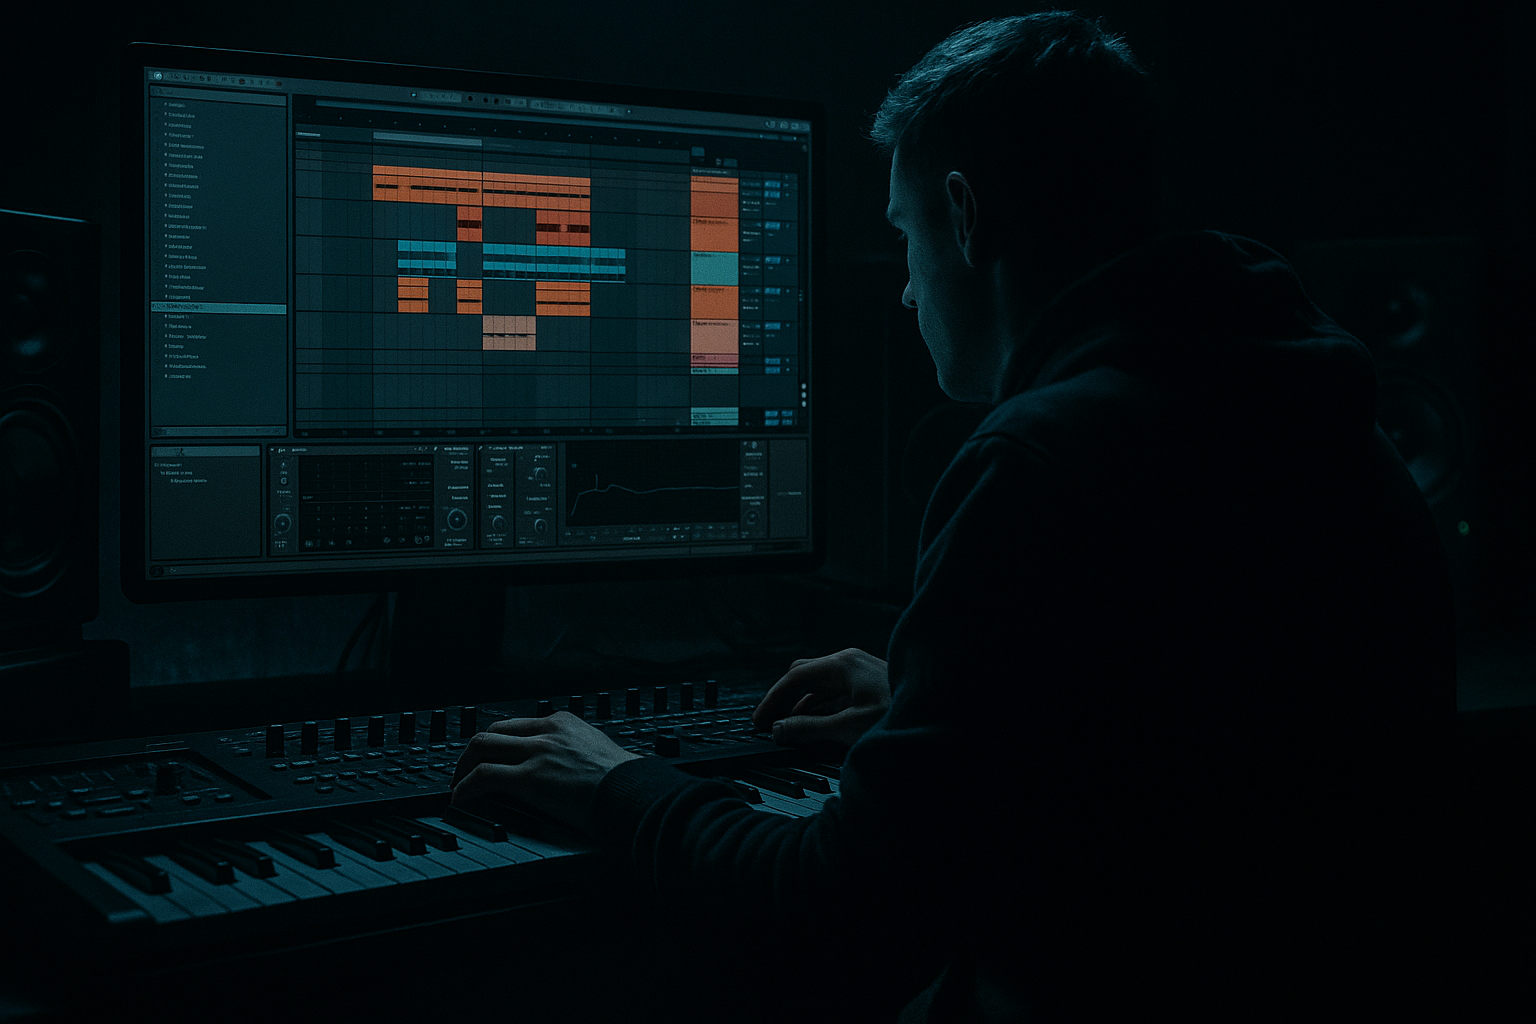
- In Arrangement view, make sure Fades are visible:
- Fade-in: `2–5 ms`
- Fade-out: `2–8 ms`
- Select that clip → Cmd/Ctrl + C
- Select multiple other slices → Paste Attributes
- Set fades on one clip
- Duplicate it a few times and replace audio content via consolidation steps, or
- Use the alternative method below (Consolidate trick).
- Some clicks come from clip boundaries or tiny DC offsets.
- Consolidating often “prints” a cleaner file, making fades more predictable.
- Keep fade-in as short as possible
- If the transient is getting softer:
- Kick-ish slice on 1
- Snare slice on 2 and 4 (or 2 & 4 in halftime feel depending on break)
- Ghost notes: quiet little hits between snares
- Swap one snare for a different snare slice
- Add a quick 1/32 stutter before beat 4
- End with a short fill (2–4 slices)
- Use Velocity to create ghost hits (e.g. `30–60` velocity)
- Nudge timing slightly for swing (but keep it tight—DnB is precise)
- Drum Buss
- EQ Eight
- Saturator
- Shorter fades for heavier impact:
- Layer a clean snare over chopped breaks:
- Gate noisy tails (after fades):
- Mono your low break content:
- Resample your best 2 bars:
- Micro fades remove clicks at slice boundaries while keeping your edits pro.
- For DnB/jungle, aim for tiny fades: ~`2–5 ms` in, `2–8 ms` out.
- Make sure you’re not fading the transient—slice starts matter.
- Use Ableton’s stock tools (Drum Rack, Drum Buss, EQ Eight, Glue Compressor, Saturator) to keep it heavy and controlled.
- Always check your edits in the groove, not just solo.
---
2. What you will build
You’ll create a 2-bar DnB break edit (think Amen-style energy) where:
---
3. Step-by-step walkthrough
A) Prep your break for slicing
1. Load a break into an audio track
- Drag in an Amen, Think, Apache, or any 170–175 BPM-friendly break.
2. Set tempo to `172 BPM` (typical rolling DnB zone).
3. Warp correctly
- Double-click the audio clip.
- Turn Warp: ON
- Try Beats mode first:
- Preserve: `1/16` or `1/8` (depends on how busy the break is)
- Transient Loop Mode: `Off` (cleaner for drums)
- If the break is very organic and warp gets weird, try Complex Pro temporarily for timing, then later resample to clean it up.
✅ Goal: It should loop smoothly in time with the grid.
---
B) Slice the break (two solid workflows)
#### Workflow 1 (fast + DnB-friendly): Slice to New MIDI Track
This is the classic for jungle edits.
1. Right-click the clip in Session/Arrangement → Slice to New MIDI Track
2. In the dialog:
- Slice By: `Transients` (best for breaks)
- Create one slice per: Transient
- Slicing Preset: start with `Built-in > Slicing` (default is fine)
Ableton creates:
Now you can rearrange slices in MIDI like a proper break chopper.
---
#### Workflow 2 (Arrangement chopper): Split + micro fades
If you prefer slicing directly in Arrangement:
1. Place the break in Arrangement and loop 2 bars.
2. Zoom in (`+` key) and place your cursor on transient peaks.
3. Use Cmd/Ctrl + E to Split at transients (or on grid divisions like 1/16).
This method is great for detailed audio edits and quick arrangement building.
---
C) Apply micro fades to every slice (the clean way)
Ableton has Clip Fades (not crossfades) that are perfect for this.
#### Step 1: Enable clip fades
- Click the Show/Hide Fade Controls button (in the Arrangement View toolbar), or
- If you don’t see it, use the menu: View → Show Fades
You’ll now see small fade handles on each audio clip.
#### Step 2: Set micro fade length
For DnB drums, start here:
How to do it fast:
1. Click a slice/clip.
2. Drag the fade-in handle slightly right (tiny amount).
3. Drag the fade-out handle slightly left.
🎯 You’re aiming for just enough to remove the click, not enough to dull the transient.
#### Step 3: Copy fades to other slices (time-saver)
Once you have one slice perfect:
- Cmd/Ctrl + Shift + V (Paste Attributes)
- Choose Fades (and only fades, if you want)
If “Paste Attributes” isn’t available (version-dependent behavior), do this:
---
D) The “Consolidate then slice” trick (super clean)
This is a very Ableton-native workflow that keeps things consistent.
1. Select the region (e.g., 2 bars) of the break.
2. Cmd/Ctrl + J to Consolidate
- Now it’s one clean clip.
3. Add a tiny fade-in/out to the consolidated clip:
- Fade-in: `2 ms`
- Fade-out: `5 ms`
4. Now do your splitting (`Cmd/Ctrl + E`) on that consolidated clip.
Why this helps:
---
E) Keep the groove tight while fading (important!)
Micro fades can reduce punch if they’re too long.
To preserve that DnB snap:
- Reduce fade-in from `5 ms` → `2 ms`
- Or move the slice start slightly earlier so the transient isn’t being faded
Pro move:
Zoom in and ensure your slice start is just before the transient peak, not halfway into it.
---
F) Build a rolling 2-bar pattern (arrangement idea)
Once your slices are click-free, try this classic DnB arrangement:
Bar 1:
Bar 2 (variation):
If using Drum Rack slices:
---
G) Useful stock devices (simple, effective chains)
Here are clean, beginner-friendly chains to make the chopped break slap:
#### Drum Rack chain (on the sliced MIDI track)
- Drive: `5–15%`
- Boom: `20–40` (tune to break fundamental, subtle)
- Transients: `+5 to +15` (if fades soften the bite)
- HP filter: `30–60 Hz` (remove rumble)
- Small dip around `250–400 Hz` if boxy
- Soft Clip: ON
- Drive: `2–6 dB` (watch levels)
#### Parallel smash (classic DnB)
1. Create a Return Track: “Break Smash”
2. Put:
- Glue Compressor
- Attack: `0.3 ms` (fast)
- Release: `Auto` or `0.1–0.3 s`
- Ratio: `4:1`
- Aim: `5–10 dB` gain reduction
- Saturator (Soft Clip ON)
3. Send your break to it lightly: `-18 to -10 dB` send as a starting point
This gives weight without ruining your clean micro-faded edits.
---
4. Common mistakes
1. Fades too long → drums lose snap
- Fix: keep fade-in around `2–3 ms` unless absolutely needed.
2. Slicing mid-transient → you’re fading the punch itself
- Fix: start slices just before the transient rise.
3. Warp artifacts + heavy slicing → crunchy/phasey hits
- Fix: try Beats warp mode; resample if needed.
4. Not checking in context
- A micro fade that sounds “fine” solo might feel weak under bass.
- Fix: audition with your sub + hats playing.
---
5. Pro tips for darker/heavier DnB 🖤
Dark rollers often rely on tight transient definition. Keep fade-in minimal and use processing for weight.
Use a one-shot snare (tight, modern) layered with your chopped snare slices for that neuro/roller punch.
- Stock: Drum Rack + Simpler for the one-shot layer
If slices still have messy tails, use Gate (lightly) on the break bus:
- Threshold: just enough to reduce room noise
- Release: `80–150 ms` so it doesn’t chatter
On the break group, use Utility:
- Bass Mono: `120–180 Hz`
Once your edit is perfect, resample to audio and re-chop for even tighter control (classic jungle workflow).
---
6. Mini practice exercise 🎯
Do this in 10–15 minutes:
1. Grab a break and warp it to `172 BPM`.
2. Consolidate 2 bars (`Cmd/Ctrl + J`).
3. Split into ~16–32 slices (transients or 1/16 grid).
4. Apply micro fades:
- Fade-in: `2–3 ms`
- Fade-out: `5–8 ms`
5. Rearrange:
- Create a fill at the end of bar 2 using 4 rapid slices.
6. Add a Drum Buss with:
- Drive `10%`
- Transients `+10`
7. Listen for clicks:
- If any click remains, shorten/adjust slice start slightly and re-check.
Deliverable: a click-free 2-bar loop that still hits hard.
---
7. Recap ✅
If you tell me which workflow you prefer (Drum Rack slicing vs Arrangement chopping) and what kind of DnB you’re making (jungle, rollers, neuro, jump-up), I can suggest exact fade ranges and a punchy processing chain for your style.
```

