Main tutorial
Mid-track breakdown development with simple racks (Drum & Bass, Ableton Live)
Teacher tone: energetic, clear, professional — let’s make the breakdown hit hard and feel purposeful 🎛️🔥
---
1) Lesson overview
This lesson shows you how to design a mid-track drum & bass breakdown using small, efficient Instrument + Audio Effect Racks in Ableton Live. You’ll learn to:
- Build 3 simple racks (Atmos/Pad Rack, Drum Chop Rack, Riser/Impact Rack).
- Map useful macros to morph the breakdown live or with automation.
- Arrange a 16-bar breakdown that creates tension and a heavy, satisfying return.
- A textured pad/noise Atmos Rack that can be “morphed” (filter cutoff, reverb, width).
- A Drum Chop Rack to stutter/half-time the loop and reintroduce elements piece-by-piece.
- A Riser/Impact Rack for tension transitions with pitch automation and synced delay/reverb.
- Auto Filter start freq: 600 Hz (map min 200, max 8500).
- Reverb: Pre-Delay 20–60 ms (keeps transients), Decay 4–6 s.
- Beat Repeat: Interval 1/16, Grid 1/16, Decay 200–500 ms, Filter on.
- Compressor (post-drum): Threshold -18 dB, Ratio 4:1, Attack 10 ms, Release 40–80 ms.
- Pitch automation: if automating the macro, ramp transpose across the last 4 bars of the breakdown (+6 to +12 semitones is classic).
- Echo: 1/8 dotted or 1/16 sync with feedback ~30%.
- Over-using long reverb on many tracks: kills transient clarity and muddies lows. Use return sends and duck reverb with sidechain.
- Losing the sub: removing all low frequencies during breakdown makes the drop feel weak later. Keep a sub-only chain or rumbler pad.
- Too many overlapping effects: too many independent delays and reverbs can mask important transient info. Use sends and consolidated returns.
- Macro ranges too wide: mapping a macro from 0 → 100% on many devices can lead to extreme, unusable states. Narrow ranges for musical values.
- Stereo widening on sub: don’t widen below ~150–200 Hz. Use Utility to limit width of low frequencies.
- Use simple Instrument + Effect Racks to sculpt a mid-track breakdown that’s controllable and performance-friendly.
- Key components: Atmos Rack (filter/reverb/width), Drum Chop Rack (chain selector/Beat Repeat), Riser/Impact Rack (pitch + reverb), and a bass bypass chain to keep low-end weight.
- Map 3–4 macros for expressive automation; keep sub intact; avoid over-using reverb and stereo widening on lows.
- For heavier DnB, lean on parallel distortion, carefully controlled reverb, Redux/subtle bitcrush, and transient shaping.
All workflows use stock Ableton devices (Simpler/Sampler, Drum Rack, Auto Filter, Reverb, Echo, Compressor, Saturator, Utility, Glue Compressor, Redux, Delay), so no 3rd-party plugins required.
Target level: Intermediate. You should be comfortable with routing, racks, macro mapping, and basic MIDI/audio editing.
---
2) What you will build
A flexible, automatable breakdown section (8–16 bars typical) with:
Plus recommended routing for a bass-bypass chain and effect-return setup so the low end stays heavy when needed.
Result: a mid-track breakdown that sits in a DnB context (rolling bass, sub integrity, snare/gap fills) and is easy to control via 4 macros.
---
3) Step-by-step walkthrough
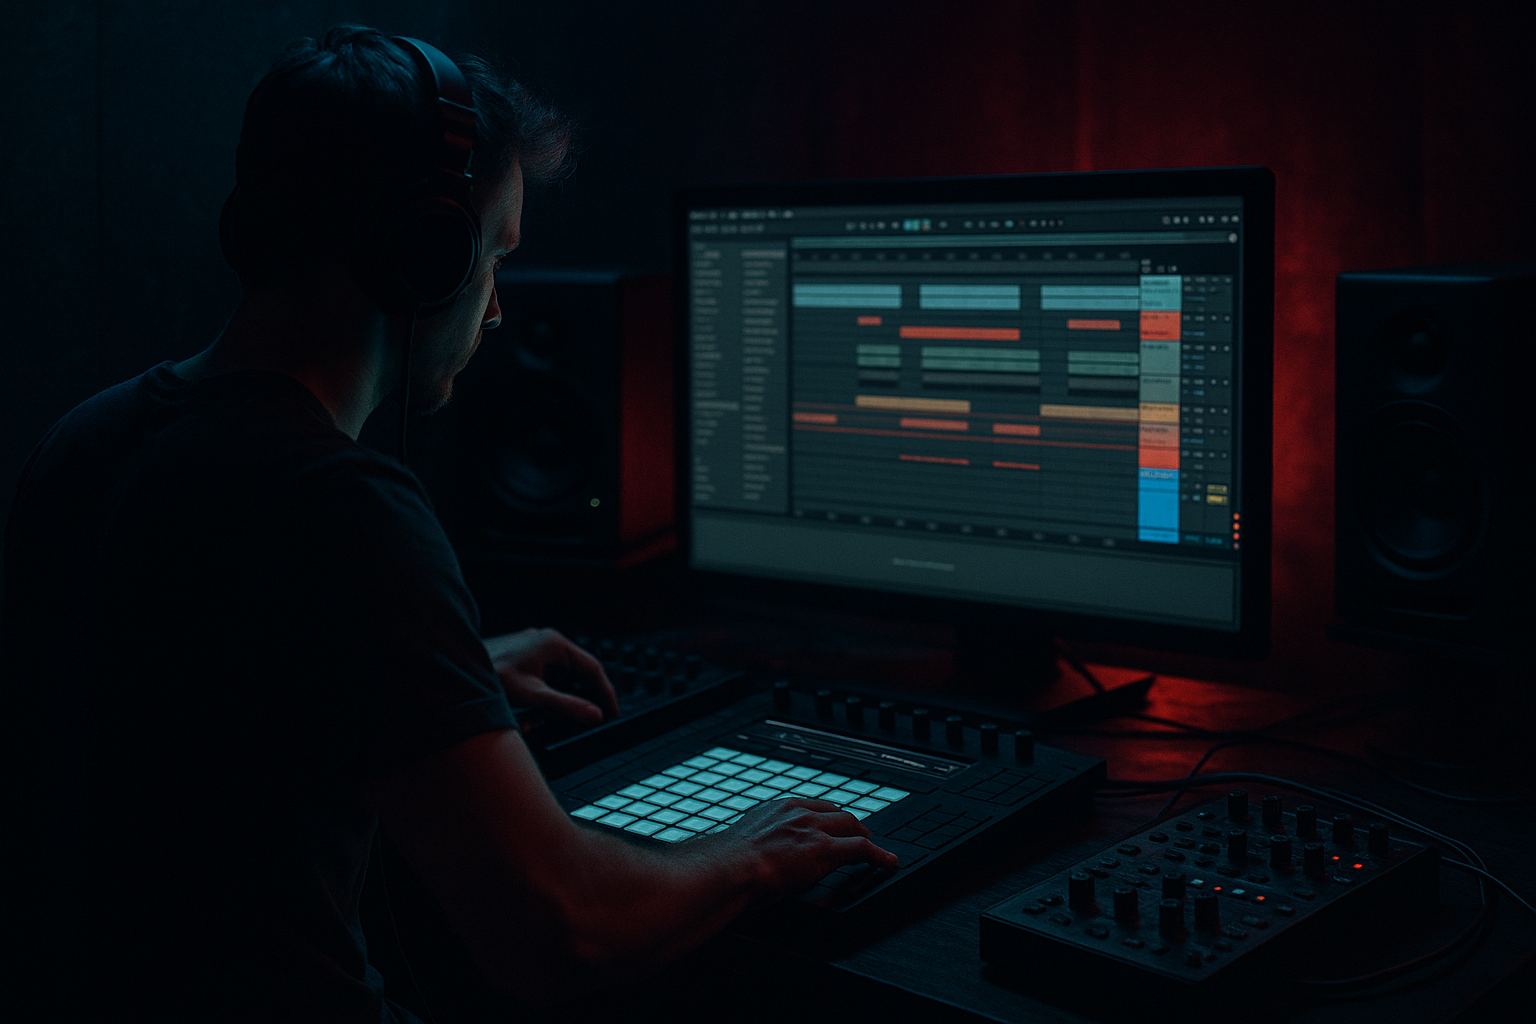
We'll create three racks and a simple arrangement. Follow in Ableton Live (9/10/11+).
A. Project setup & timeline
1. Set project BPM to your DnB tempo (typically 170–176 BPM). I’ll use 174 BPM.
2. Create tracks:
- MIDI: Pad_Atmos_Rack (Instrument Rack)
- MIDI or Audio: Drum_Chop_Rack (use Drum Rack for sliced loops or MIDI drums)
- Audio: Riser_Impact_Rack (simple audio track playing a sample or white noise)
- Audio: Bass (keep as dedicated track)
- Return tracks: A (Reverb), B (Delay)
3. Plan breakdown: put the breakdown at bar 65 (for a 128-bar format) as an example. Use 16 bars for development (bars 65–80).
---
B. Atmos / Pad Rack (Instrument Rack)
Goal: evolving pads, slow movement, gated/noise texture for a DnB breakdown.
1. Create a new MIDI track, Insert Instrument Rack.
2. Chain 1: Simpler (Classic, looped pad sample)
- Load a long pad sample or layer a couple (stack by duplicating chains).
- In Simpler: set Loop on, Grain OFF (simpler is fine), set Filter to Lowpass, Drive ~3.
- Detune slightly on duplicate chain (-6 & +6 cents).
3. Chain 2: Simpler with a processed field-recording / noise sample
- High-pass at 200–500 Hz inside Simpler (or use EQ Eight after Simpler).
- Add Light Saturator after Simpler (Drive ~1–3 dB).
4. Rack devices after chains:
- Auto Filter (Lowpass 24 dB): Type = 24 dB, Resonance 0.3–0.6, Frequency initially ~600 Hz.
- Reverb (Send or Insert): If insert, set Size 60–70%, Decay 4–8s, Dry/Wet 20–40%.
- EQ Eight to notch anything clashing with bass: high-pass 40–60 Hz.
- Utility for stereo width control.
5. Macro mappings (map 4 macros):
- Macro 1: Auto Filter Frequency (range 200 Hz → 8.5 kHz). This will open the pad.
- Macro 2: Reverb Dry/Wet (10% → 60%). Wet for more space in breakdown.
- Macro 3: Utility Width (10% → 160%). Narrow for buildup, wide for break.
- Macro 4: Noise Level (volume of Chain 2) or send level to Reverb for texture.
Practical settings:
Workflow tip: Use the rack’s chain volume slider for the noise chain as the mapped parameter (right-click -> Map to Macro 4).
---
C. Drum Chop Rack
Goal: quickly switch between full groove and chopped/half-time/percussive breakdown.
1. Use an audio break loop or your programmed drums. Right-click the audio loop -> Slice to New MIDI Track (Slice by transients, option = Complex for breaks).
- This creates a Drum Rack with simpler-slices (or Sampler depending on settings).
2. Tidy the Drum Rack: remove undesired slices, keep 6–12 key slices for chops.
3. Add devices to the chain or after Drum Rack:
- Beat Repeat (optional) for glitchy chops: Interval 1/16 – Grid 1/16, Chance low (10–20%), Offset small.
- Auto Filter (Band-pass or lowpass) for gating: Frequency mapped to Macro 1 (or Macro within the Drum Rack).
- Compressor with sidechain (optional) to duck to kick when you reintroduce the beat.
4. Create two Macro states by using Chain Selector:
- Create Chain A (Full Groove): unchanged slices, normal volume.
- Chain B (Chopped/Half-time): create a new chain with MIDI effects like Arpeggiator (Set Rate to 1/4 with Sync to create half-time feel) or add an LFO on pitch for slight detuning. You can also slow the pattern by halving BPM inside the Drum Rack using a MIDI effect (Scale/Arp technique).
- Use Chain Selector to morph from Chain A → Chain B across a macro.
5. Macro mappings:
- Macro 1: Drum Chain Blend (map Chain Selector thus moving from full groove to chopped).
- Macro 2: Beat Repeat Chance (0% → 40%) for glitch intensity.
- Macro 3: High-pass Drum Filter (60 Hz → 2.5 kHz) — keeps the snares but removes low-end if you want the bass to dominate.
Practical settings:
---
D. Riser / Impact Rack (Audio Effect Rack)
Goal: quick build/resolution tool with pitch and reverb macros.
1. Create an audio track, drop a long white noise or riser sample.
2. Insert devices (order matters):
- Utility (gain control)
- Pitch Shifter: Use simpler method — use Simpler in Classic mode with transpose or use an audio clip and automate Transpose (Clip Transpose or Warp Formants). For live macroable control, use Sampler in a Rack with mapped Transpose +/- 12 semitones.
- Filter: Auto Filter (High-pass) to cut lows as it rises.
- Echo (set Sync to 1/8–1/16, Feedback 20–40%, Dry/Wet 20–40%)
- Reverb (Tail with Decay 4–8 s), Pre-Delay 0–30 ms.
- Glue Compressor or Saturator at end for color.
3. Macro mappings:
- Macro 1: Transpose (map Sampler/Clip Transpose -12 → +12 semitones).
- Macro 2: Reverb Dry/Wet (10% → 60%).
- Macro 3: Filter Frequency (HPF or LPF depending on use) — HPF if you want the riser to “open” into the drop.
4. Add an additional macro for a “hit” — map a transient/reverse sample chain volume to Macro 4 for instant impacts.
Practical settings:
---
E. Bass bypass / Low-end integrity
Important: mid-track breakdowns often remove mid-high drums but preserve the sub.
1. Send bass track to a dedicated bus. After your bass instrument, add Utility and EQ Eight.
- Create an Audio Effect Rack on the Bass track with two chains:
- Chain 1: Sub-only (Lowpass at 160 Hz + minimal processing).
- Chain 2: Full bass (distorted, midrange).
- Map a Macro to crossfade between chains when the breakdown starts (keep Chain 1 active during beatless parts).
2. This ensures when you auto-filter or remove drums, the sub remains felt — essential for DnB weight.
---
F. Arrangement & Automation ideas (16-bar example)
1. Bars 1–4 (of breakdown): Reduce drums via Drum_Chop_Rack Macro to 50% (cut hi-hats, let snare remains muted). Pad Auto Filter Macro at 40% (partially closed).
2. Bars 5–8: Open Pad Auto Filter (Macro 1 increases), raise reverb (Macro 2), noise chain comes up (Macro 4). Drum Chain Selector morphs to chopped at 60%.
3. Bars 9–12: Drum_Chop_Rack goes to half-time/chopped fully, introduce riser pitch starting -12 rising to +3 semitone over 4 bars. Reduce bass chain to sub-only (crossfade).
4. Bars 13–16: Full beatless moment on bars 13–14 (remove drums), long riser up across 14–16 (transpose +10 → +12), reverb tails and then impact/white-noise sweep returns on bar 17 for the drop.
Workflow tip: Draw envelope automation for the Racks’ macros, but also set Live’s Arrangement loop on your breakdown and record tweak automation in real-time to capture humanized movement.
---
4) Common mistakes
---
5) Pro tips for darker / heavier DnB
1. Parallel Distortion: Send a copy of drums and bass to a saturation/overdrive chain (Saturator + Glue) and blend with macro. This adds aggression without crushing the sub.
2. Modulate filters with slow random LFOs: use Auto Filter LFO or Max for Live LFO to add subtle unpredictability to pads/noise.
3. Use pink-noise risers with band-pass automation: a resonant band-pass following a macro creates haunting sweeps.
4. Tight transient control on snare/clap: use transient shaping or a fast attack compressor to make hits cut through reverb.
5. Sub-bass automation: momentarily low-pass the bass (cut mids) during the build — then slap a fast high-cut removal at drop: sub punches harder.
6. Use Redux lightly on percussive loops to get a crunchy, gritty texture — 12–16 bit with downsample low (10–20 kHz tweak).
7. Short plate reverb on snare hits before the drop with pre-delay 30–60 ms to create a huge snap without smearing.
8. Layer reverse effects: reverse a short 1/4–1 bar of noise before the drop, with tight pre-delay, to create a darker inhale.
---
6) Mini practice exercise (20–40 minutes)
Build a 16-bar breakdown with these checkpoints:
1. Set tempo to 174 BPM. Place a full drum loop + bass and a pad in the project.
2. Create Atmos Rack (Simpler pad + noise). Map Auto Filter Frequency to Macro 1 (200→8k), Reverb to Macro 2 (10→60%).
3. Slice your drum loop to a Drum Rack (Right-click -> Slice to New MIDI Track). Create a Drum Chain Selector for full → chopped. Map it to Macro 3.
4. Put a white-noise riser on a track. Map transpose from -12 → +12 to Macro 4.
5. Automate macros over 16 bars:
- Bars 1–4: Macro 1 = 40%, Macro 3 = 20% (mostly full drums)
- Bars 5–8: Macro 1 = 70%, Macro 3 = 60% (open pad, chopped drums)
- Bars 9–12: Macro 2 = 60% (big reverb), Macro 3 = 100% (half-time chops)
- Bars 13–16: Macro 4 ramp -12 → +12 (riser), Macro 1 => fully open, drums cut to sub-only
6. Play back and tweak: ensure sub is audible during beatless bars. Bounce a quick render and check how the build resolves into the next section.
Goal: a usable breakdown you can place in a DnB arrangement and iterate on.
---
7) Recap
You now have a compact toolkit for creating dramatic, dancefloor-focused mid-track breakdowns in Ableton. Go make something dark and rolling — and automate it with intention 🔥🥁🎚️
If you want, I can export a sample Ableton rack preset (text instructions + device maps) or walk through automating the macro clip envelopes for a specific bar layout. Which would you like next?

